I've skipped a few updates but thought it would still be worth me doing an end-of-year assessment with where I stand on Craftsy classes. They're not as high priority for me now that I've got other classwork I need to attend to first, so reviews and updates won't be as frequent in 2016 as they were in the first half of 2015. Still n' all, I love doing Craftsy classes and will continue to work away at them as I'm able.
By the way, I've now added links to all of my reviews in the final list of completed classes at the bottom. There are a handful that I completed prior to starting to write official reviews so there are no reviews for those classes available--that's noted where appropriate.
New Completions
(+4)
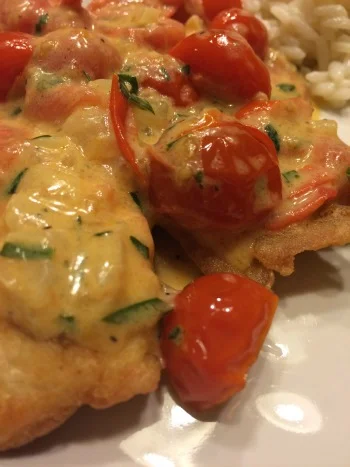
- Cook Smarter: Solutions for Weeknight Dinners with Sara Moulton. See my review here.
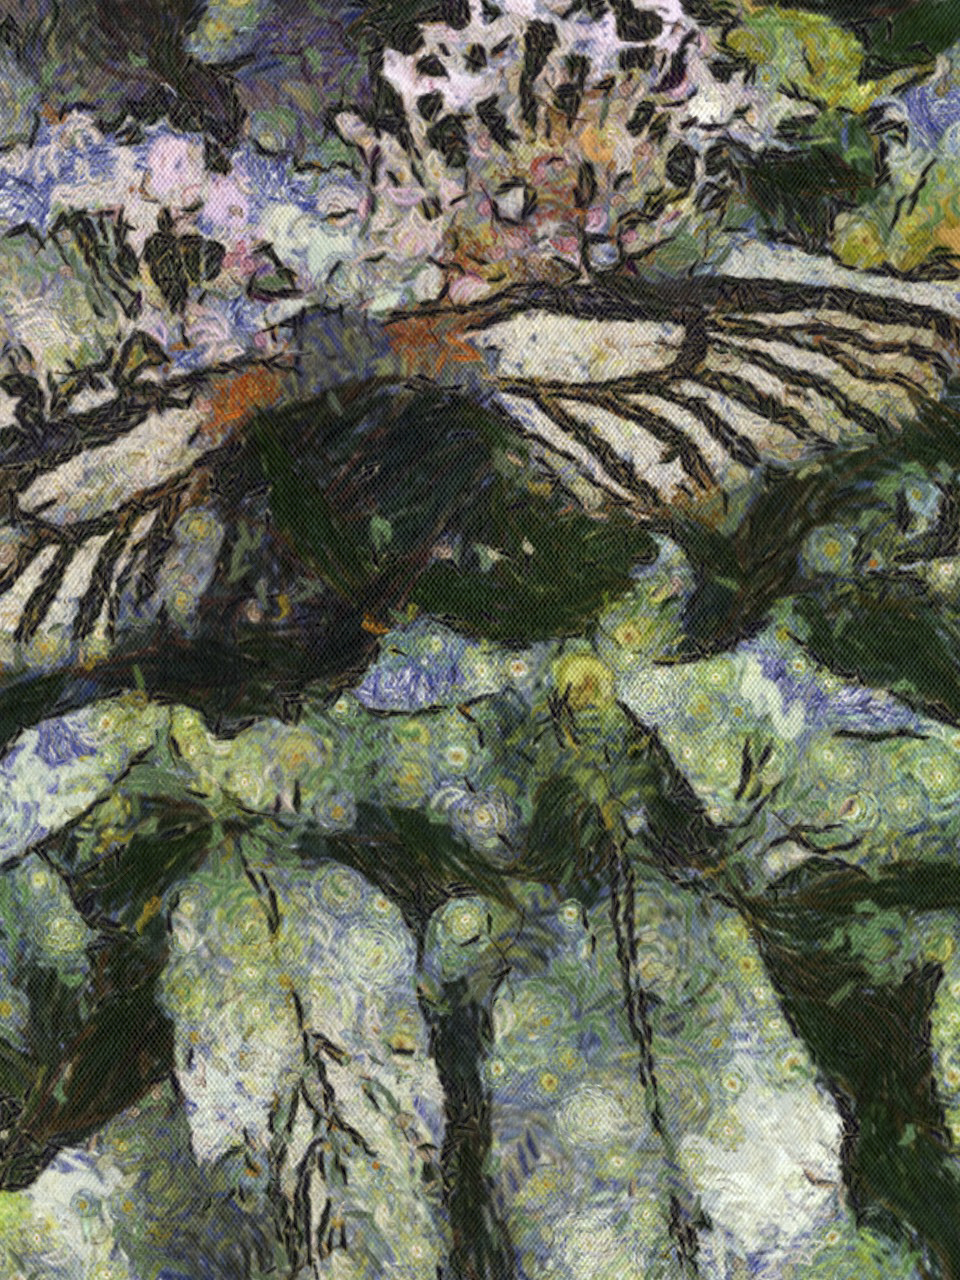
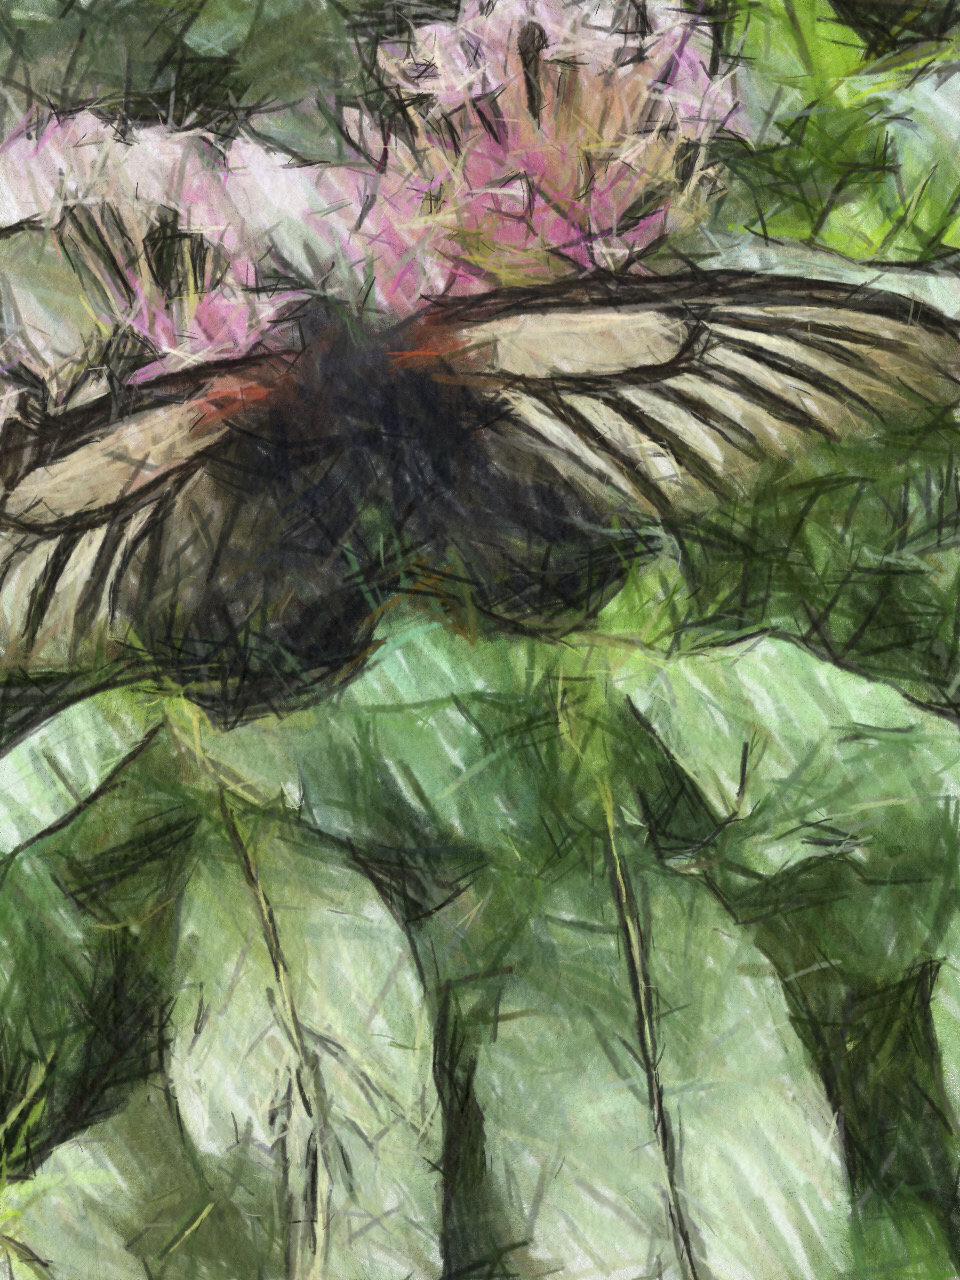
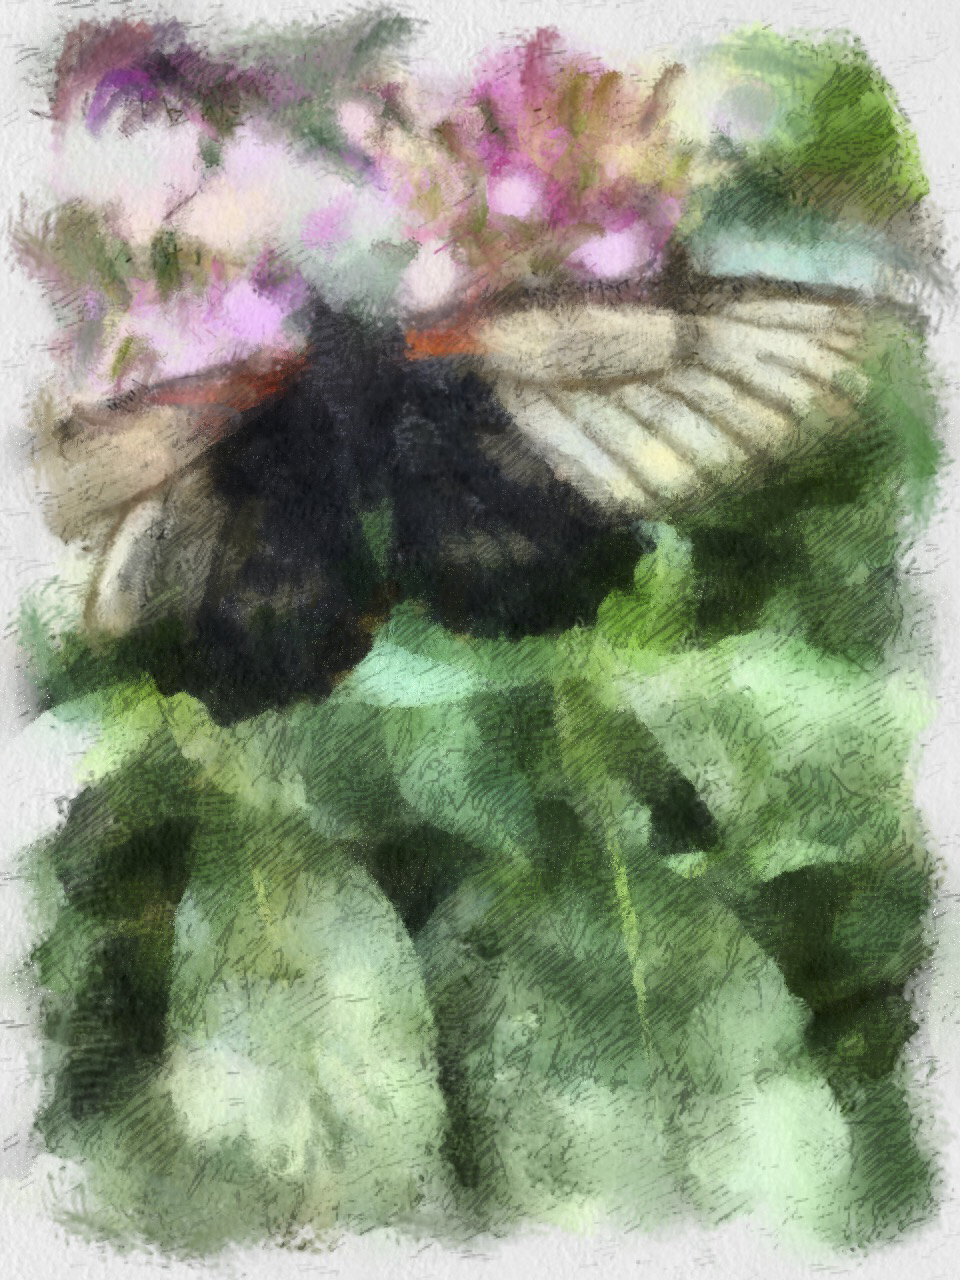
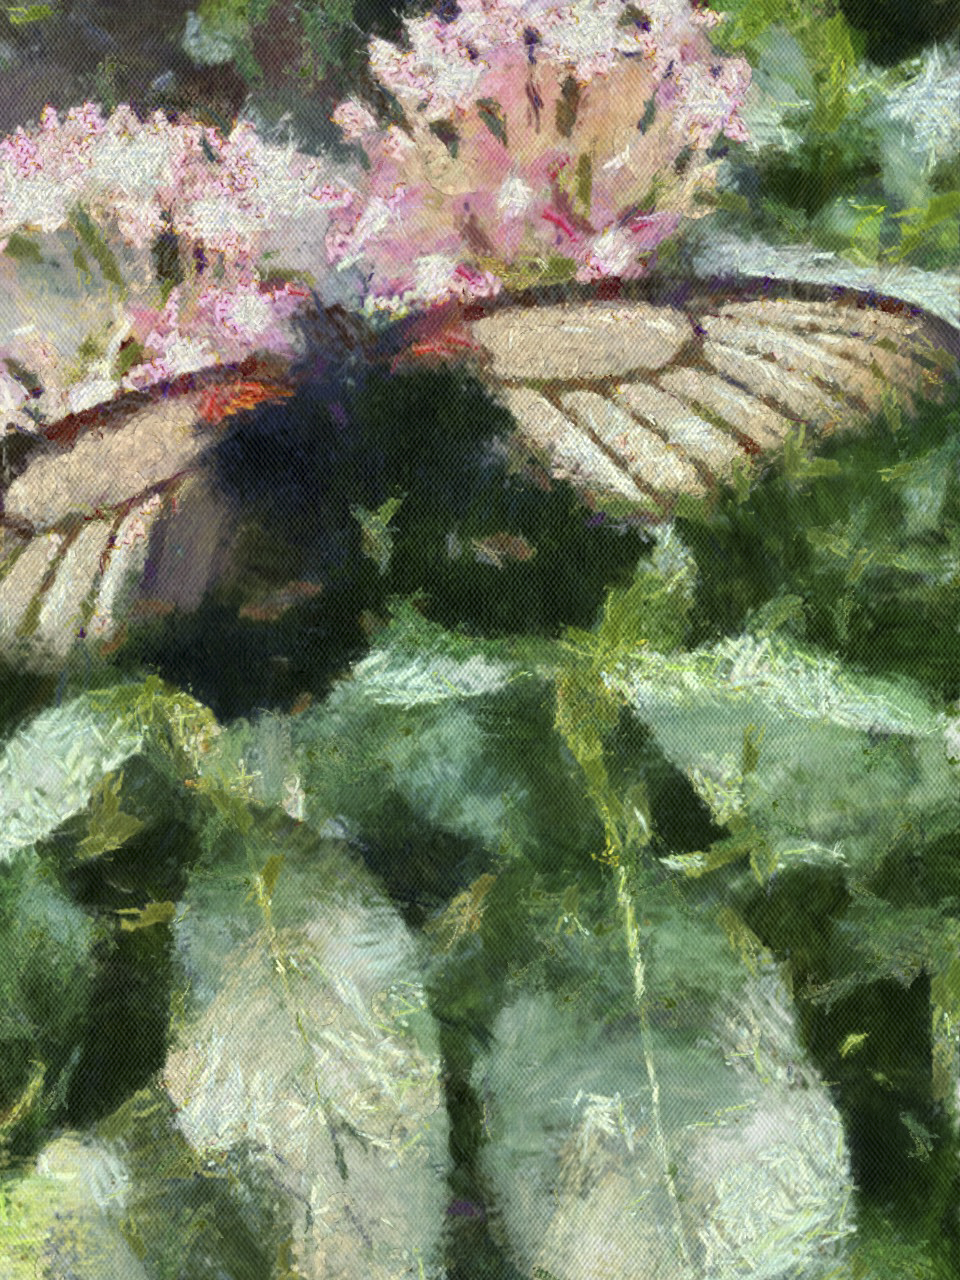
- Mobile Photography: Perfect Photos in Your Pocket with Jack Davis. See my review here.
- Building Better Bags: Interfacing and Structure with Sara Lawson. See my review here.
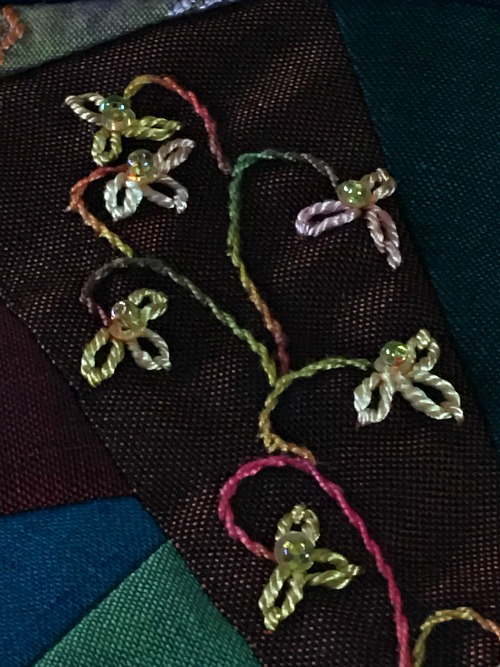
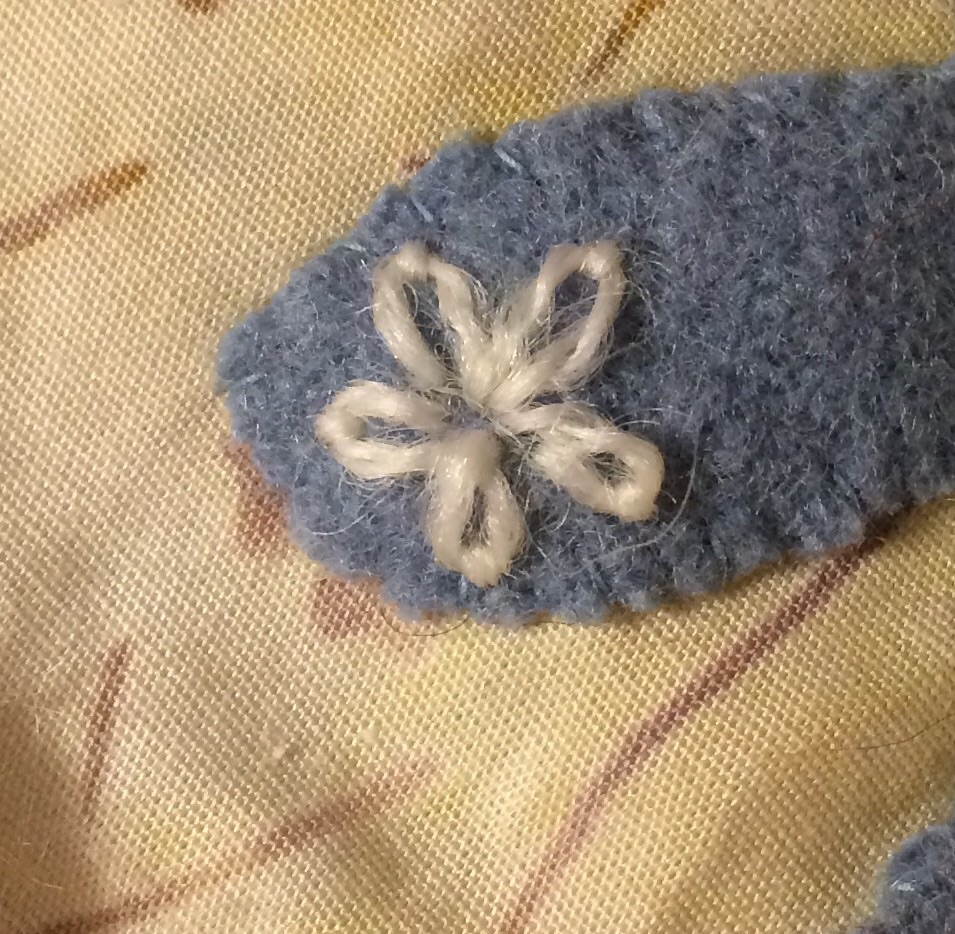
Bead Embroidery: Beyond the Basics with Myra Wood: added since the last update and completed. See my review here.
Classes in Progress
(4)

- The Essential Guide to Photoshop with Skott Chandler (yep, still on the list)
- Crazy Quilts with Allie Aller (Have owned this for a long time, watched it awhile ago, am finally working my way through the blocks in the class)
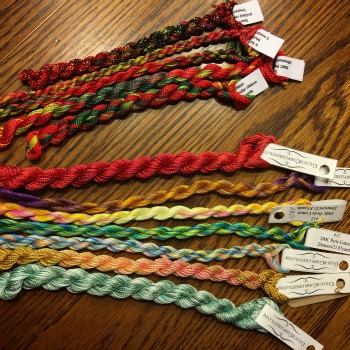
- Embroidering with Ribbon with Mary Jo Hiney (see below)
- Slow-Cooker Savvy: Make Your Best Meals with Michele Scicolone (see below)
As a note here: I've removed Jinny Beyer's 2015 BOM from the "in progress" list because I don't have a category entitled "Bagged For Now." It's still in the "To Be Completed" list but it's no longer on my current radar.
Classes added since last update
(+6, but remember, it's been a few months since my last update!)
- Bead Embroidery: Beyond the Basics with Myra Wood: added and completed.
- 20 Essential Techniques for Better Bags with Lisa Lam: Added during a Black Friday class sale and part of my compulsion to learn how to do bags more easily even if I never learn to love the process
- Embroidering with Ribbon with Mary Jo Hiney: Added during a class sale after I began working on the crazy quilt blocks, as I can definitely see adding a few ribbons here and there.
- The EveryDay Gourmet: Making Healthy Food Taste Great with Bill Briwa & Connie Guttersen: This one is a Great Courses class that I've had on my wishlist there forever, but never wanted to pony up for it. Craftsy now carries several Great Courses classes and they're often far more affordable that way.
- Slow-Cooker Savvy: Make Your Best Meals with Michele Scicolone: I use my slow-cooker often in the winter months and decided this might be a good way to go beyond my usual go-to recipes.
- Stumpwork: Raised Embroidery Essentials with Celeste Chalasani: This one went on sale right in the middle of me stressing out over writing a paper. I was weak.
Classes To Be Completed
Current count: (18, +6 from last report)
- 2015 Craftsy Block of the Month with Jinny Beyer
- 20 Essential Techniques for Better Bags with Lisa Lam
- Art Quilt Backgrounds: Beyond Log Cabin with Judith Trager
- Crazy Quilts with Allie Aller
- Embroidering with Ribbon with Mary Jo Hiney
- The Essential Guide to Lightroom with Skott Chandler
- The Essential Guide to Photoshop with Skott Chandler
- The EveryDay Gourmet: Making Healthy Food Taste Great with Bill Briwa & Connie Guttersen
- Fabric Patterning with Wax Resist with Malka Dubrawsky
- Free Motion Fillers Vol 1 with Leah Day
- Free Motion Fillers Vol 2 with Leah Day
- Free Motion Machine Embroidery with Terry White
- Machine Quilting the Home Sweet Home Quilt with Frieda Anderson
- Moving Between Lightroom & Photoshop with Lesa Snider
- The New Chicken Dinner with Ian Knauer
- Pictorial Quilting Techniques with Wendy Butler Berns
- Slow-Cooker Savvy: Make Your Best Meals with Michele Scicolone
- Stumpwork: Raised Embroidery Essentials with Celeste Chalasani
Completed Classes

Current count: 65 (+3)
- 20 Essential Cooking Techniques with Brendan McDermott: Review here.
- A Modern Take on the Mother Sauces with James Peterson: Review here.
- Art Quilting 101 with Wendy Butler Berns (no review done)
- (The) Art of Cloth Dyeing with Jane Dunnewold (no review done)
- Artisan Bread Making with Peter Reinhart: Review here.
- Basics of Digital Photography with Rick Allred: Review here.
- Bead Embroidery with Myra Wood: Review here.
- Beyond Basic Machine Quilting with Ann Petersen: Review here.
- Building Better Bags: Interfacing and Structure with Sara Lawson: Review here.
- Building Flavorful Soups with Peter Berley: Review here.
- Chain of Stars Mystery Quilt with Kimberly Einmo (no review done)
- Clever Cuts for Efficient Quilting with Debbie Caffrey: Review here.
- Color Play for Quilters with Joen Wolfrom (no review done)
- Complete Knife Skills with Brendan McDermott: Review here.
- Continuous Line Quilting with Ann Petersen: Review here.
- Cook Smarter: Solutions for Weeknight Dinners with Sara Moulton: Review here.
- Cooking Essentials: All About Chicken with Marge Perry: Review here.
- Cooking the Perfect Steak with Bruce Aidells: Review here.
- Craftsy Block of the Month 2013 with Laura Nownes (no review done)
- Creative Photography: Capture Life Differently with George Lange: Review here.
- Creative Quilt Backs with Elizabeth Hartman (no review done)
- Creative Ways with Whole Grains with Anna Bullett: Review here.
- Cut to It: Strategies for Smarter Quilting with Debbie Caffrey: Review here.
- Designing Modern Quilts with Weeks Ringle: Review here.
- Design It, Quilt It: Freeform Quilting Techniques with Cindy Needham: Review here.
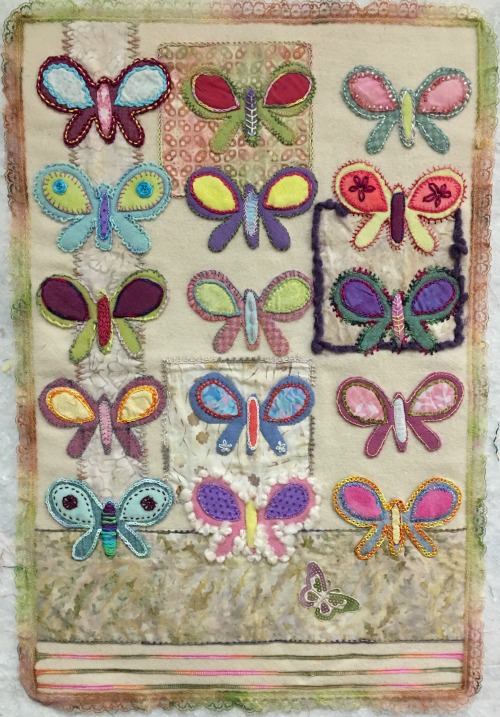
- Design It, Stitch It: Hand Embroidery with Jessica Marquez: Review here.
- Dot-to-Dot Quilting with Angela Walters: Review here.
- Embroidering Texture & Dimension by Hand with Sue Spargo: Review here.
- Finishing School: Edges and Bindings with Mimi Dietrich: Review here.
- Fire up the Fish with David Bonom: Review here.
- Fun Techniques with Fabric Paints with Cindy Walter: Review here.
- Free Motion Quilting a Sampler with Leah Day: Review here.
- Free-Motion Quilting with Feathers with Angela Walters: Review here.
- Hand-Stitched Collage Quilts with Laura Wasilowski. (No review done.)
- Homemade Italian Pasta with Guiliano Hazan: Review here.
- Homestyle Pan Sauces with Martha Holmberg: Review here.
- Know Your Wool with Deborah Robson (No review done.)
- Learn to Sew: Simple Bags with Nicole Vasbinder: Review here.
- Love Your Vegetables with Anna Bullet: Review here.
- Machine Quilting with Wendy Butler Berns: Review here.
- Machine Quilting Negative Space with Angela Walters: Review here.
- Machine Quilting: Small Changes, Big Variety with Angela Walters: Review here.
- Magical Jelly Roll Quilts with Kimberly Einmo (No review done.)
- Mobile Photography: Perfect Photos in Your Pocket with Jack Davis: Review here.
- Painted Pictorial Quilts with Annette Kennedy: Review here.
- Pattern Free Quilt-making with Joe Cunningham (No review done.)
- Pictures to Pixel Quilts with Carol Sheridan: Review here.
- Piece, Patch, Quilt: Basic Quiltmaking Skills with Gail Kessler (No review done.)
- Perfect Pizza at Home with Peter Reinhart: Review here.
- Roasting Techniques Every Cook Should Know with Molly Stevens: Review here.
- QuiltCon Lecture Series 2013
- Scrap Quilting with Pepper Cory (No review done.)
- Secrets of Slow Cooking: Mastering the Braise with Molly Stephens: Review here.
- Secrets to Cooking Fish: Eight Essential Techniques with Joel Gamoran: Review here.
- Sew Sturdy Travel Organizers with Annie Unrein: Review here.
- Shoot It! A Product Photography Primer with Carol Sheridan: Review here.
- Simple Soups from Scratch with Kathy Gunst: Review here.
- Spindling from Fluff to Stuff with Drucilla Pettibone: Review here.
- Stitch & Slash with Carol Ann Waugh (no review done, though here's my finish from the class)
- Stitch it with Wool: Crewel Embroidery with Kristin Nicholas: Review here.
- Strip Your Stash with Nancy Smith: Review here.
- Stupendous Stitching with Carol Ann Waugh: Review here.
- Thread Art with Lola Jenkins: Review here.
- Travel Photography with Jad Davenport: Review here.
- Zip it Up: Easy Techniques for Zippered Bags with Joan Hawley: Review here.
(Disclosure: As a Craftsy affiliate, using Craftsy links on this post helps support my podcast and blog. Thank you!)