Staycation Day 2 and Online QuiltFest Class 2

Today’s was a much better class! I’d give it maybe an A-, but that’s only because there were long periods of silence while we were all doing our sewing. I joked in the chat room that our teacher should be telling us stories to keep us entertained but she didn’t see it. If we’d been in a classroom, you’d have heard some chatter and such, but it is what it is.

This was Curvy Log Cabin with Augusta Cole. Students had the option of using their regular rulers or using the Creative Grids Curvy Log Cabin Trim Tool. As I think I mentioned in a previous blog post, I have a thing for log cabin quilts and that includes curvy ones. My Mom made me a couple of different standard log cabins and then a curvy one as a college graduation/wedding gift, so some of it’s straight nostalgia. However, it’s mostly because I love a block that can create a completely different look depending on which way you twist it. (My other fave block is a Jacob’s Ladder for the same reason.)

I’d gotten a 4” Curvy Log Cabin ruler in a Sew Sampler box a few months ago and was quite excited about it, but wasn’t quilting at that point so didn’t ever play with it. I then decided to make a curvy log cabin quilt as a wedding quilt and designed it around an 8” block, so I went ahead and bought the 8” version of the ruler—I have a lot of trust in Creative Grids. This class used a 6” ruler. I dithered for awhile and then decided, “why not?” So I now own this same ruler in three sizes. I’m okay with that.


IMG_0783.JPEG

From a technological standpoint, today’s class went much, much better. Augusta knew how to use this platform to its advantage. She also had a couple of helpers present with her for managing, which was great. She began with a simple visual demonstration of the stages of the block.

However, as she had two groups of students—one with the curvy trim ruler, and one using standard rulers, she then used Zoom break-out rooms to separate the two groups. For each group, she had separate pre-recorded videos to show us within the appropriate break-out room.

Go, Augusta. Way to really leverage the utility of the platform!

The only thing I found myself wondering was whether the folks in the standard-ruler classroom got as much attention as we did, or if they were largely off in their own little world. There were only two of them, whereas there were 8 or so of us in the other room. We seemed to be seeing her most of the class, so I might have a different impression had I been in the other group.


IMG_0787.JPEG

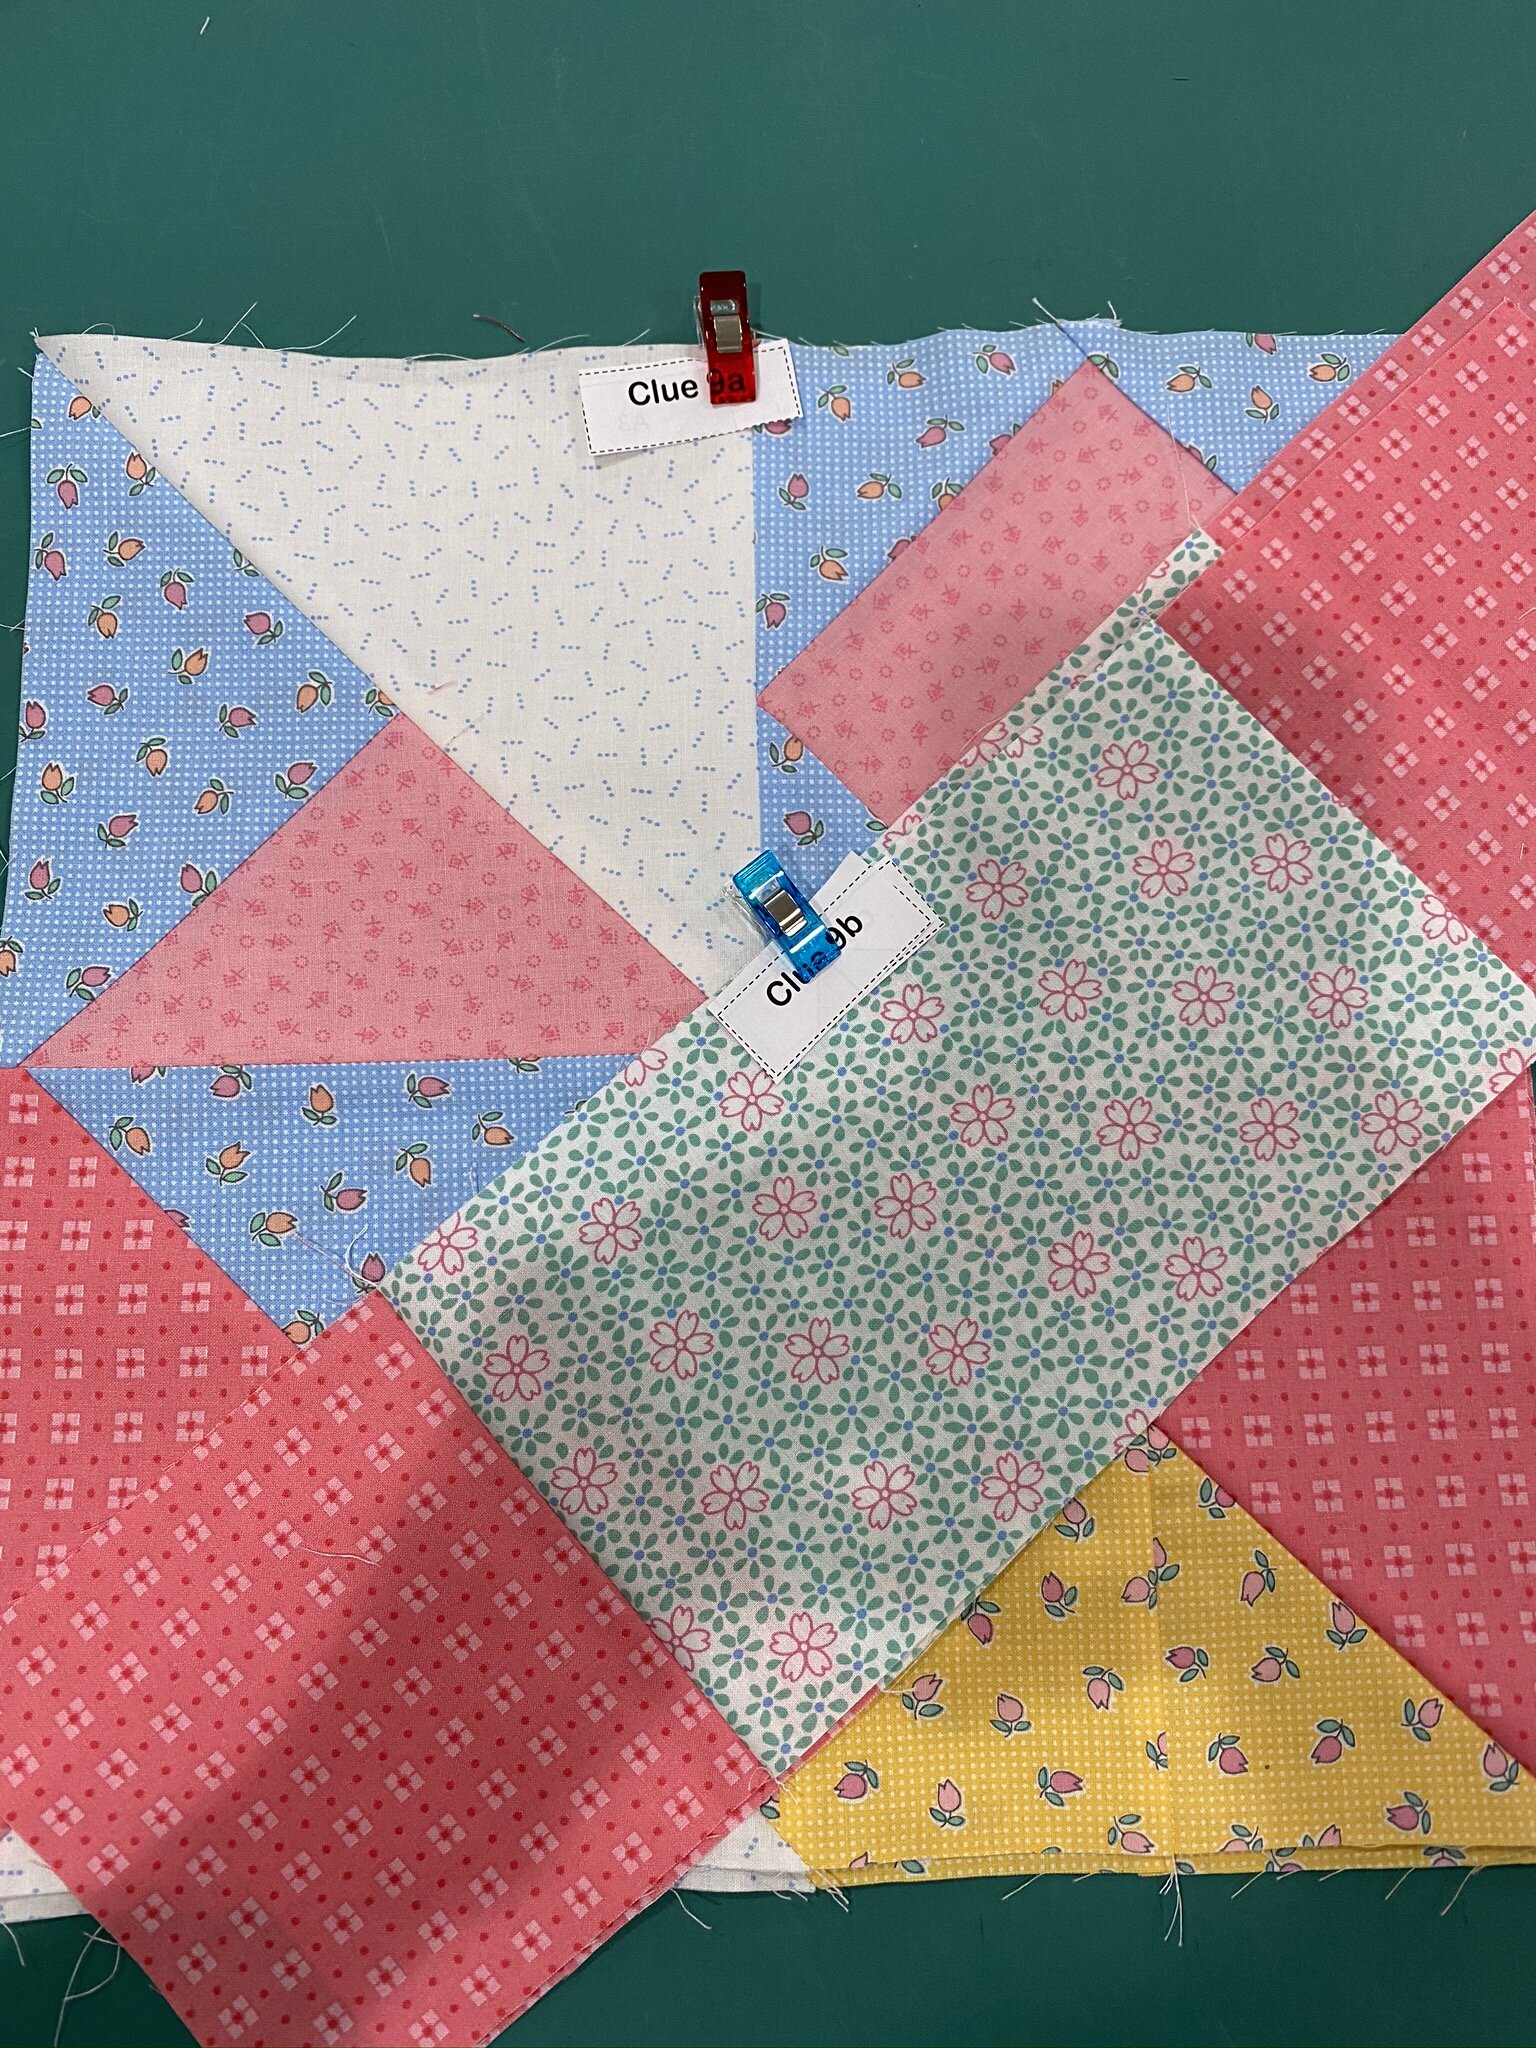
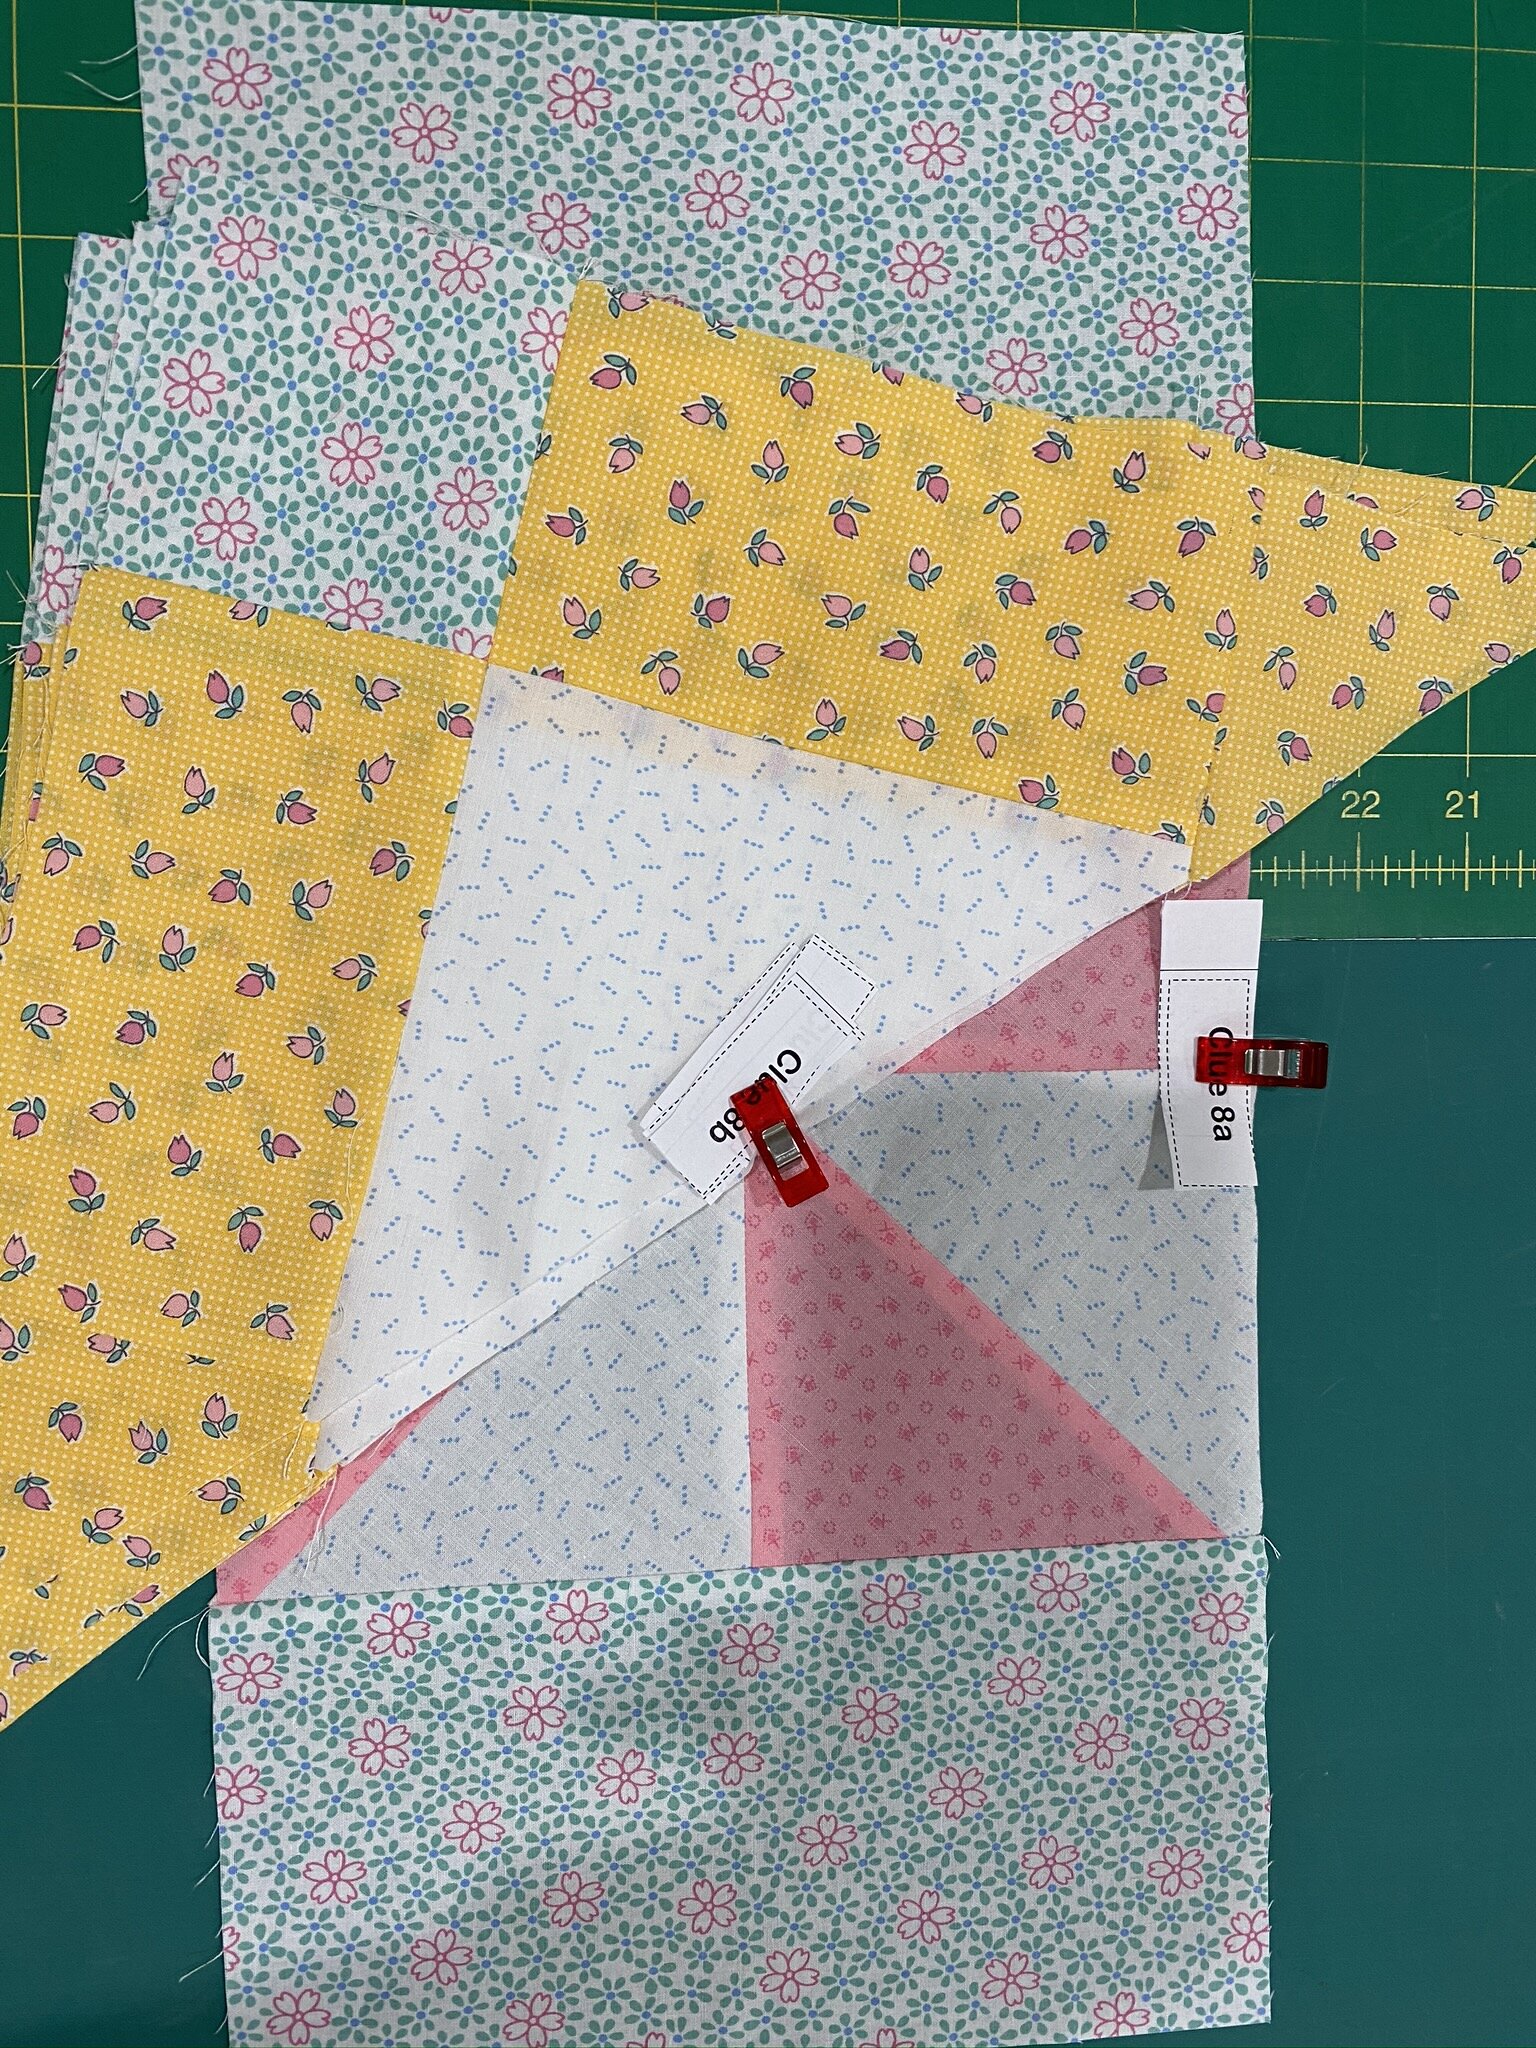
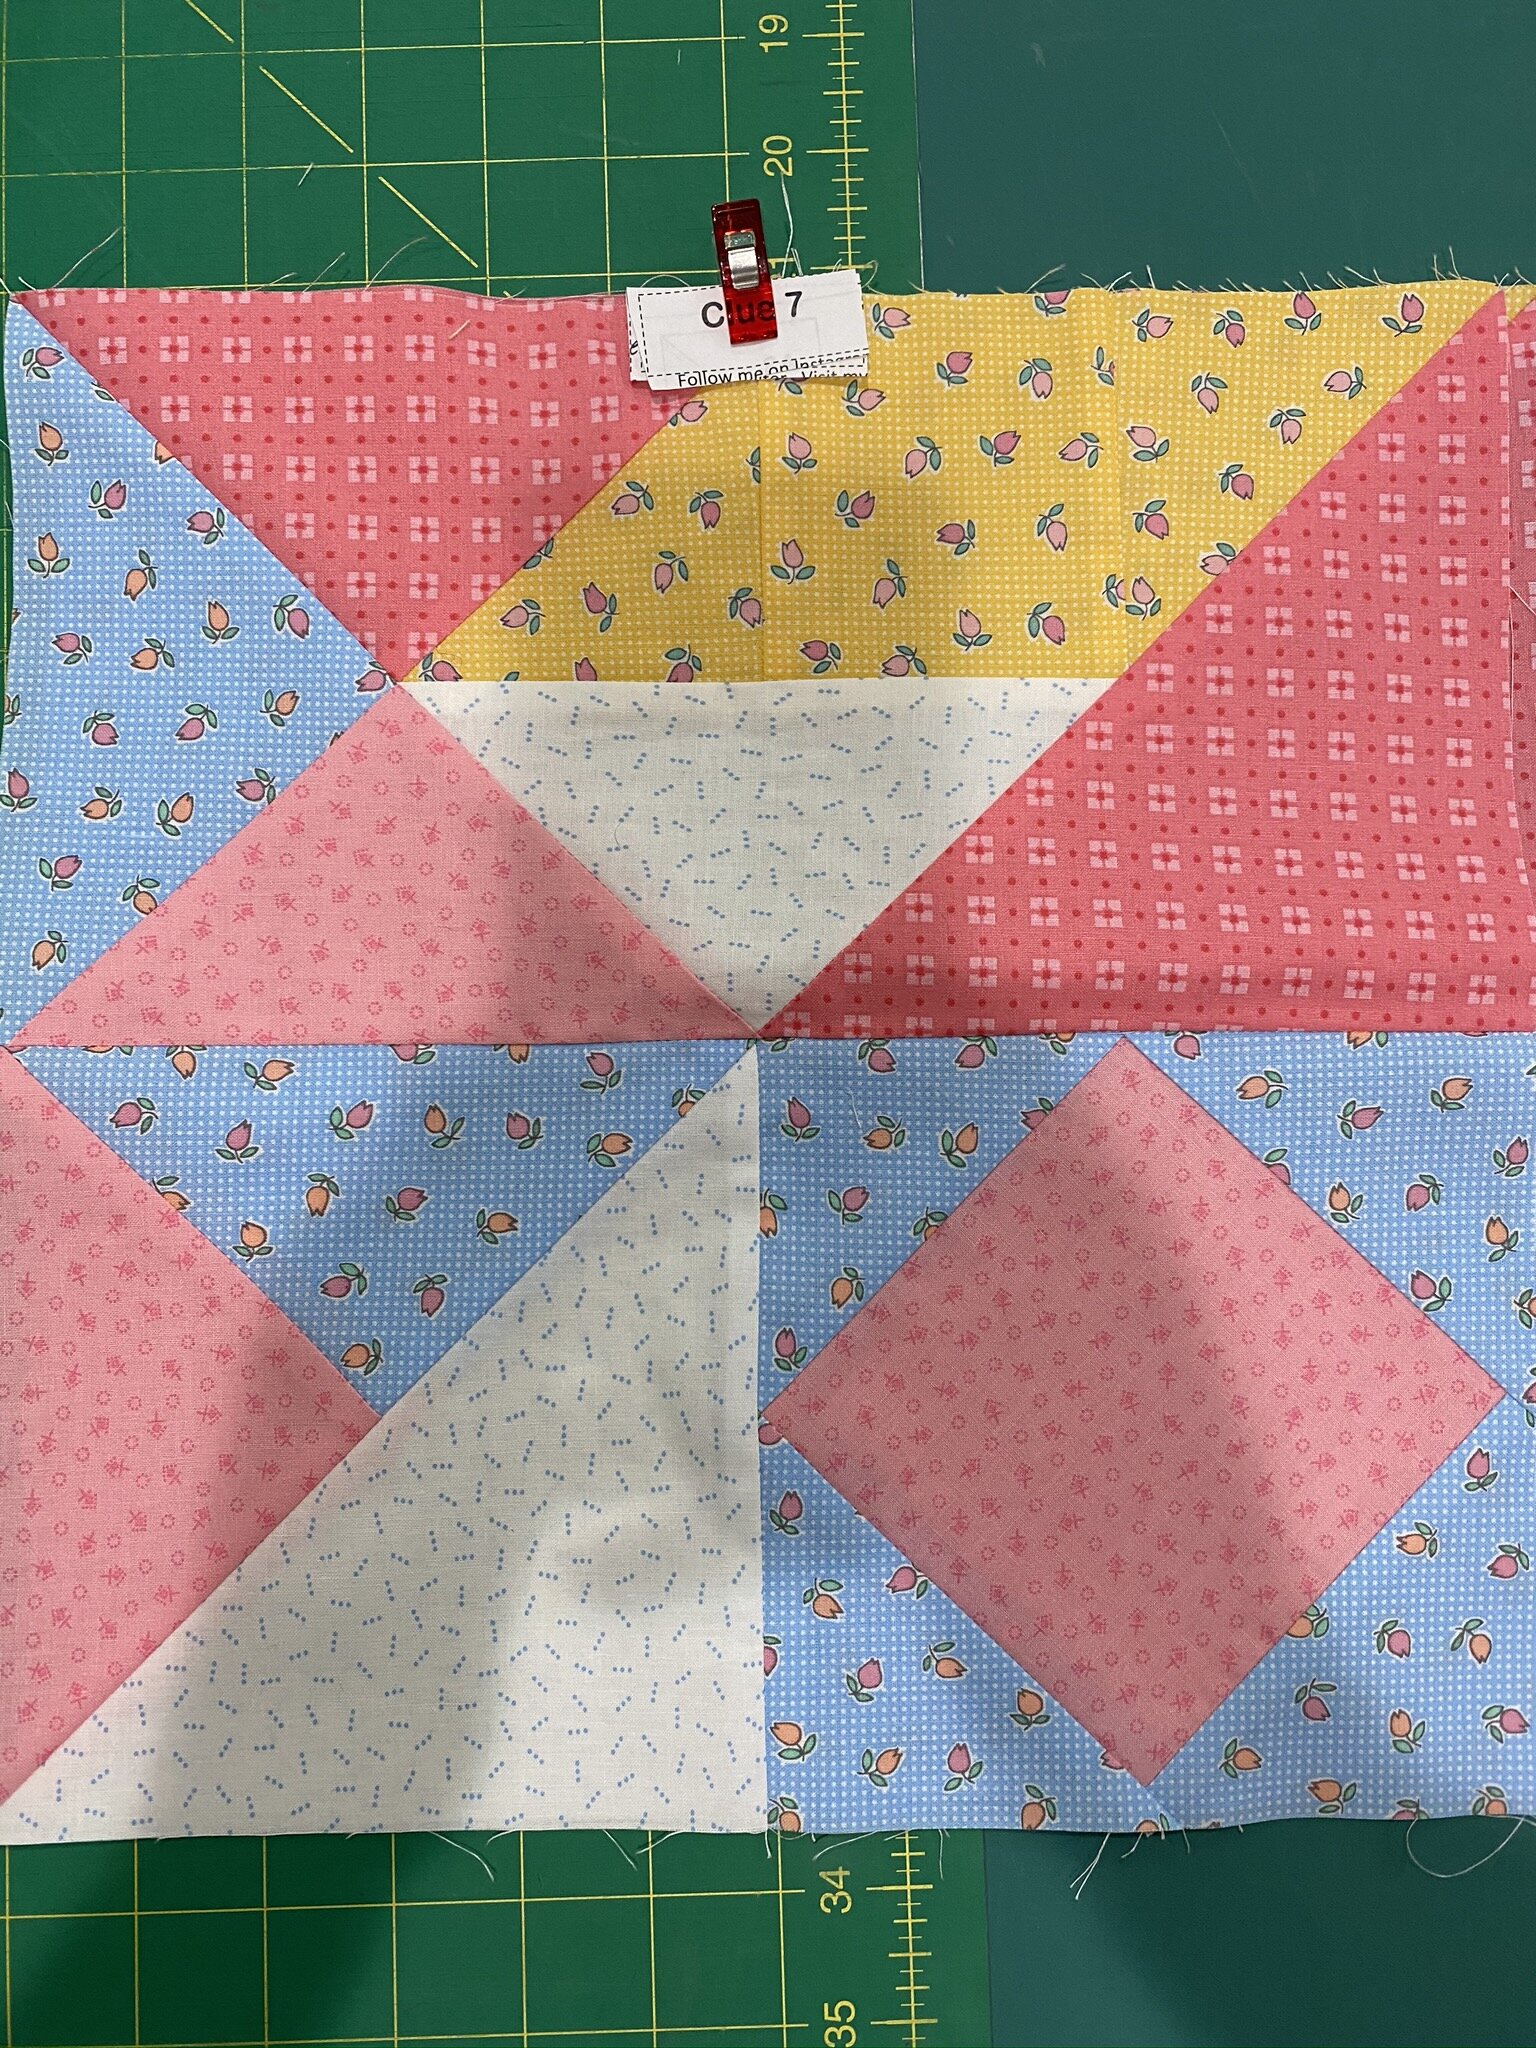
We did one round of strips at a time, with a short video for each round and then sewing and trimming time with Q/A if we needed. It took me awhile to get the first round right. I had several reject blocks that I tossed aside and started with a new block as I wanted to get one block completely right before she got to the next section. It’s just one of those things that you need to logic out, and if you start off the wrong way you never get it straight. That, and the fact that twice I put the fabric wrong-way up while sewing. That was just distraction. I’ll be doing some seam-ripping and salvaging all those rejects but I didn’t take the time to do it during class. I had plenty of fabric to work with and just kept moving on.

BTW, at one point, I did sew a piece of fabric wrong-side showing, but as it was a light, and a very thin strip, you can’t even tell. That one stayed as-is. I’ll probably never even be able to find it once this whole thing is done.


I’m going full-on scrappy, to use up as many of my 2 1/2” strips as possible. The beautiful thing about the trim tool is I didn’t have to precut anything other than the initial center square. It all gets trimmed as you go.

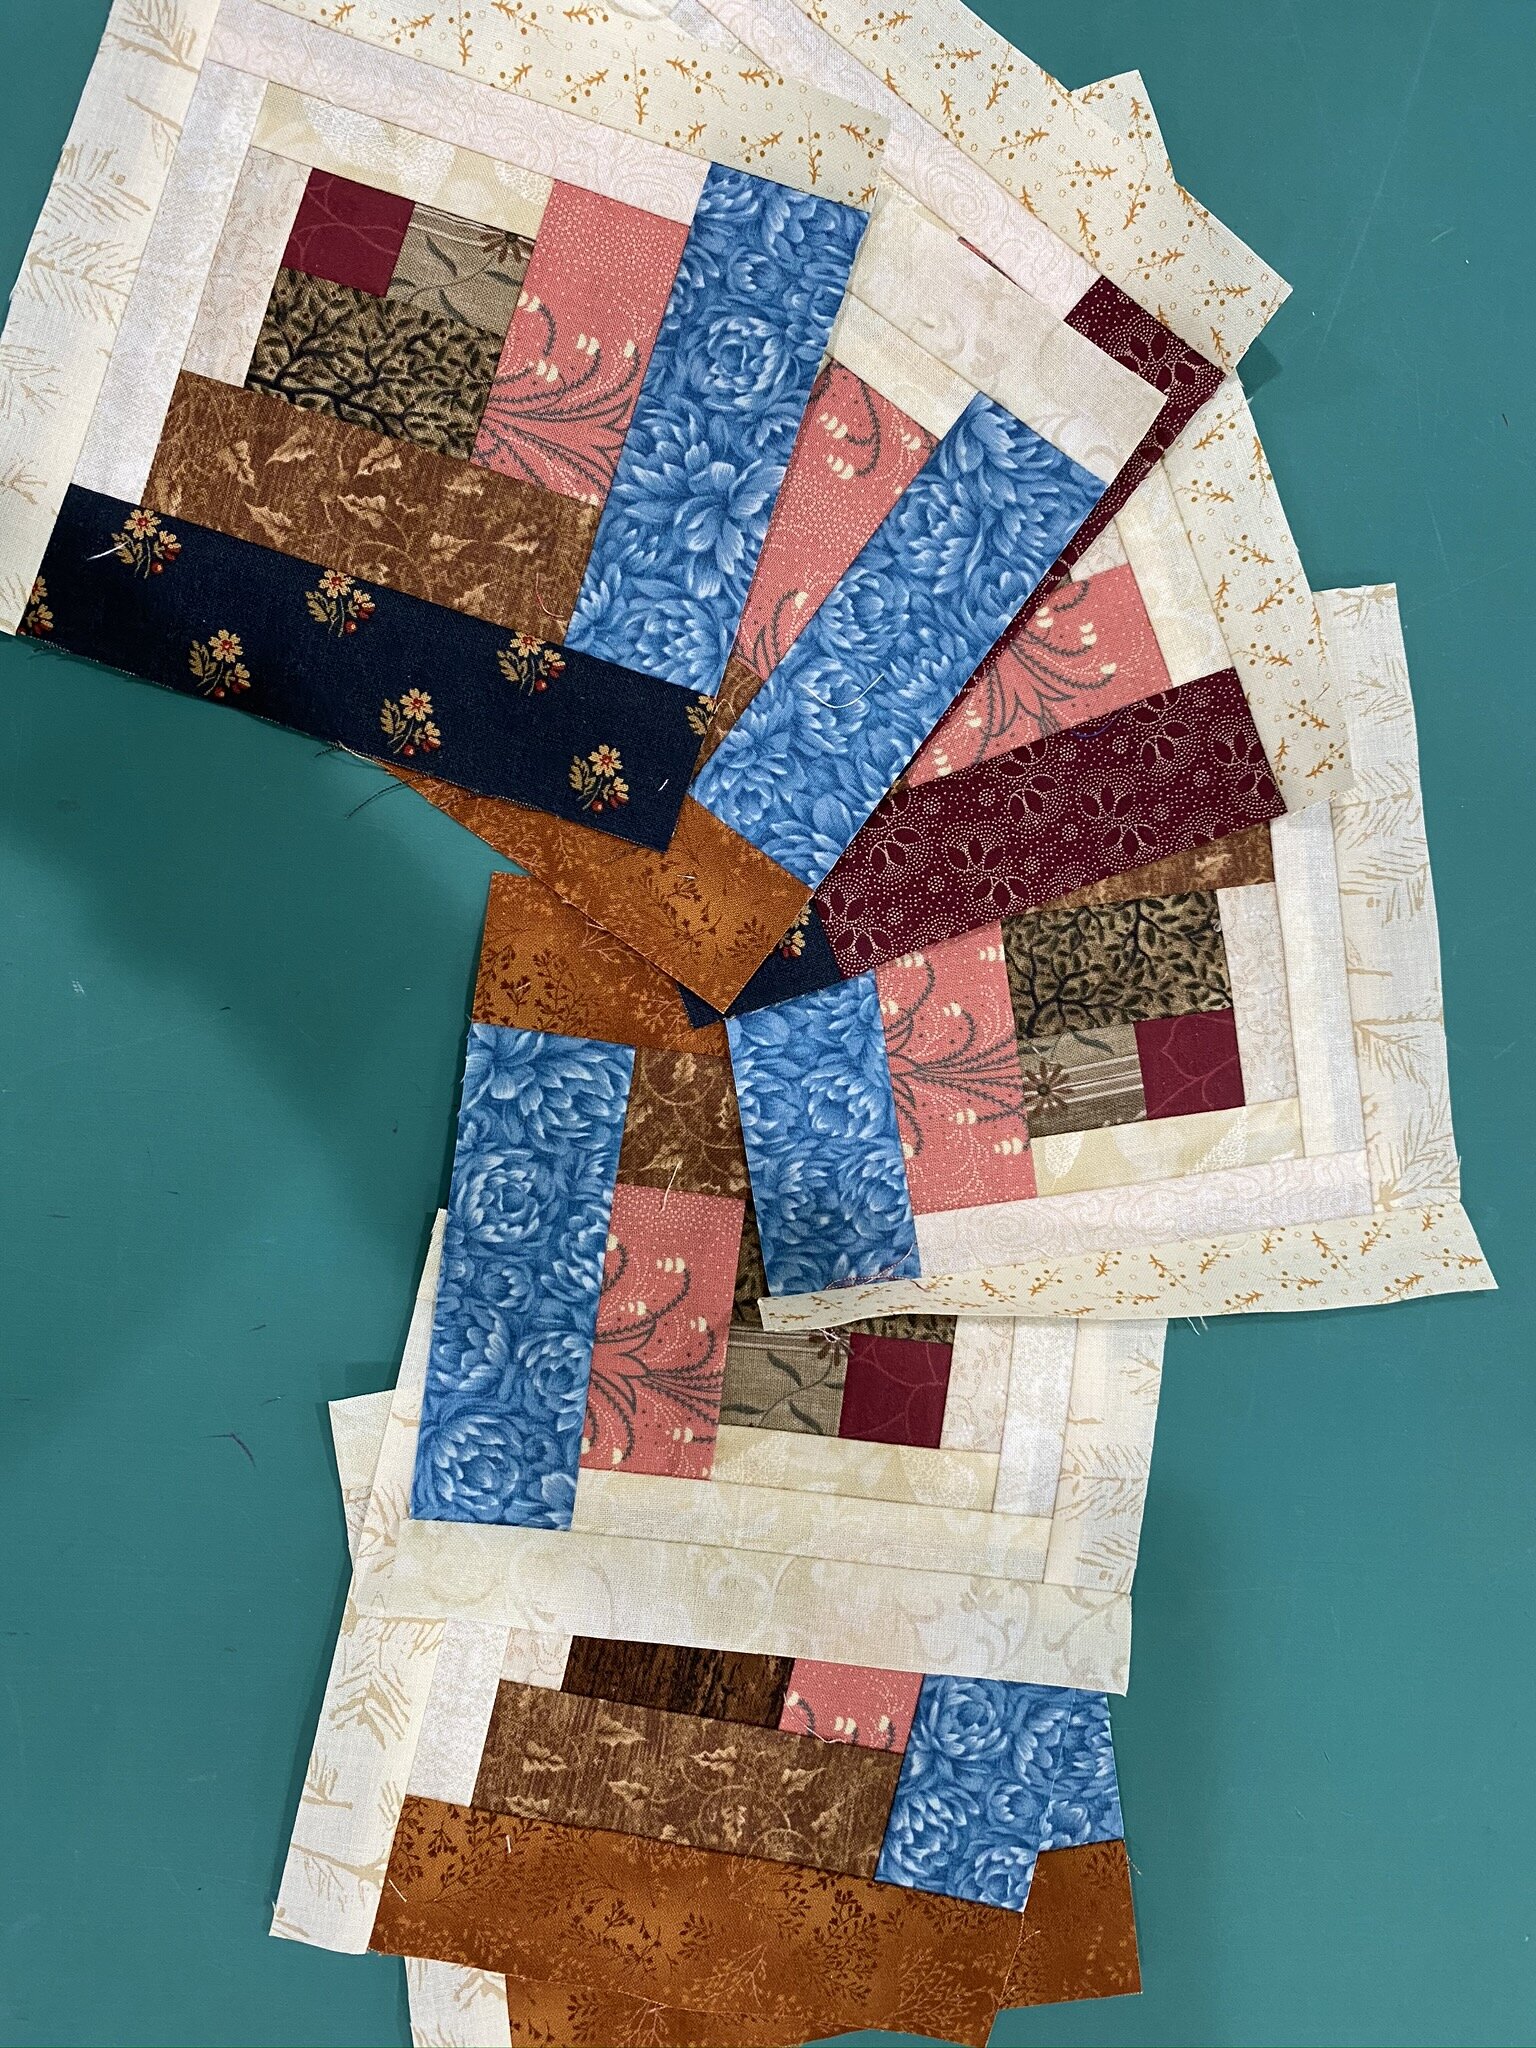
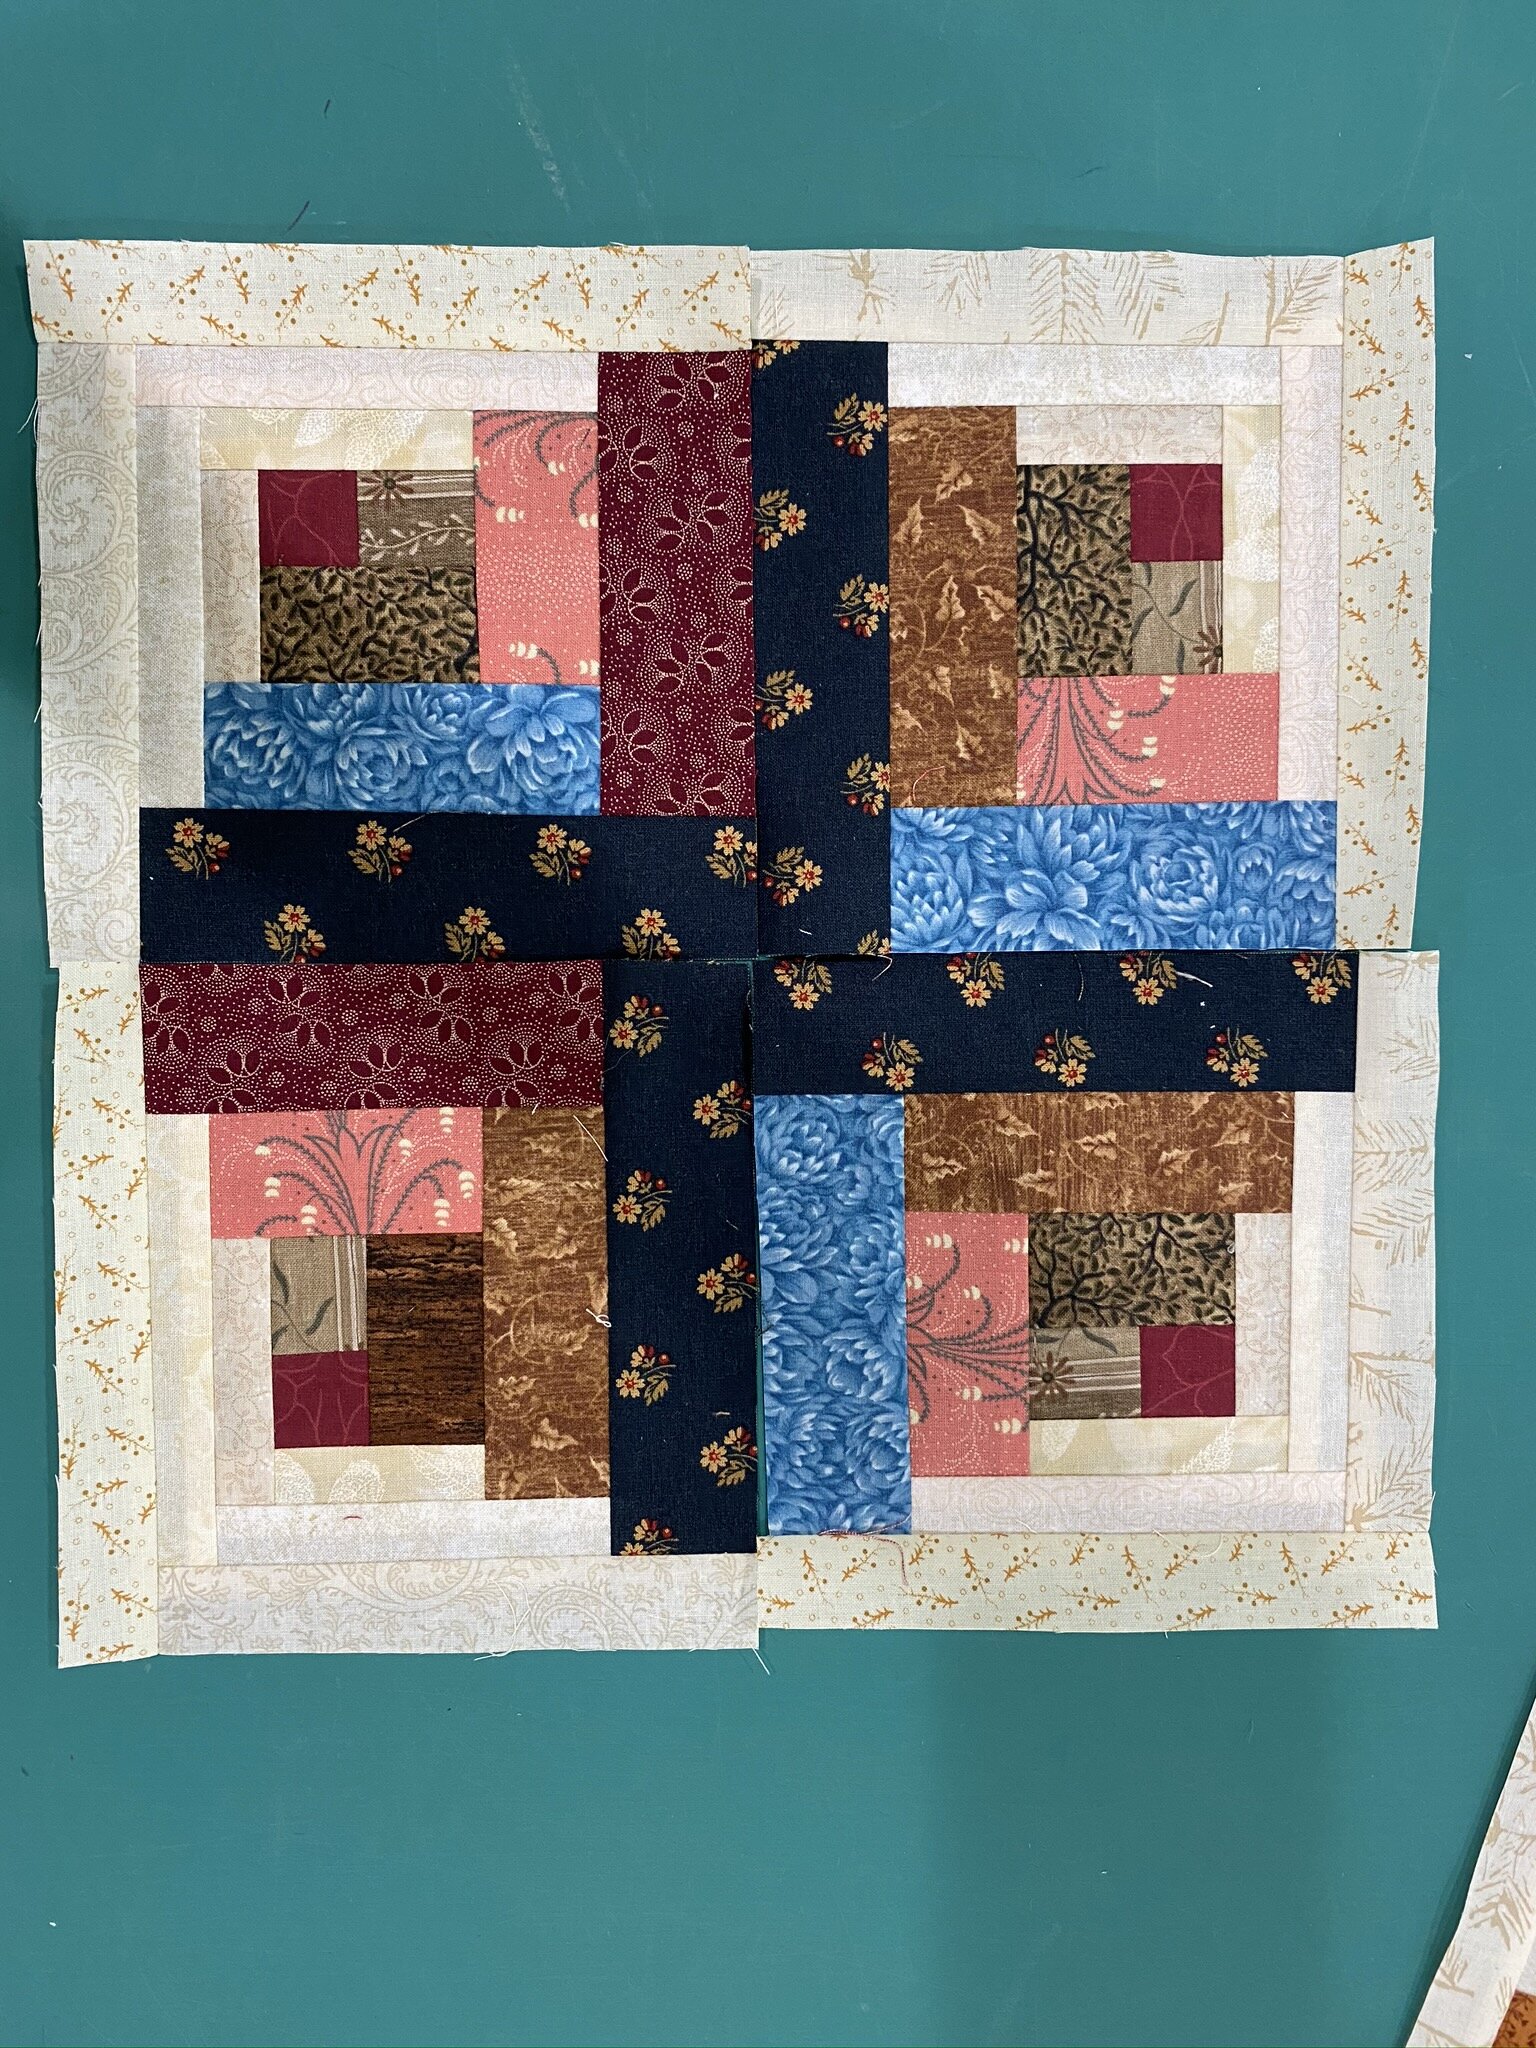
(Photos at left—the 10 blocks I got done during class; four of them together so you can see the curvy effect. I wouldn’t try to put four matching logs like that together in the middle—that would take a whole lot more planning than I’m putting into this. They’ll be far more random.)

Note to self: Never, ever again fold fabric twice (WOF) to get the whole thing into my Creative Grids Stripology XL ruler. Everyone says you can do it. Every time I do it, I end up with wonky squares. I was trimming up my center squares today as I went but I’m still not happy. The rest of these are going to get cut with my traditional ruler. Does anyone know what I’m talking about? Any tips? (I own the 2 1/2” Accuquilt Strip Die but I don’t want to buy other strip dies quite yet. Trying to give the die purchasing a rest.)

I loved using the curvy log cabin ruler so much, and love how easy it made it to have a square block, that I ended up going online after class and buying the Creative Grids Log Cabin rulers—the 8” ruler and then the 6”/12” (both in one ruler). I can see making a lot of Log Cabins and Courthouse Steps in the rest of my quilt-making career, and even if I do end up buying the Accuquilt strip dies in the future, this ruler still keeps everything from getting whacked mid-block.

Time to close out this Staycation Day with some time on my patio with a novel: The Ballad of Songbirds and Snakes by Suzanne Collins. Thoroughly enjoying it!

Staycation Day 1 & Online QuiltFest Class 1

Today is my first day of my “staycation”—today, tomorrow, and all next week. I did have to put in a couple of hours work today and I’ll likely have to put in maybe an hour tomorrow with things I just couldn’t get finished up and am waiting on other people in order to get them squared away, but it is what it is.

I way overslept this morning as I had a slew of Zoom calls yesterday and a webinar in the evening, and was just fried. It’s okay to sleep in on a vacation day but I felt like I lost the whole morning as it took me awhile to get myself actually feeling awake. So the morning was mostly reading blogs, news, social media, and such.

By the way, Have you heard of the app Serial Reader? You choose the book you want to read and it gives it to you in daily 15-minute-reading increments. It’s got a bunch of the classics. I’m reading The Narrative of Sojourner Truth. I really like doing it in these short snippets because her writing style is, obviously, an older one and not always easy to get through. I think if I sat down and started it as a book, I’d get partway through and feel overwhelmed. But knowing I just have a few pages to get through makes it easy. It’s a really good book!


Getting ready for class

Getting ready for class

The main focus of my first day of vacation, however, was my first class of the Online Quilt Festival. I took “Not So Boring Stippling” with Julia Quiltoff, a three-hour class to help inspire us with all sorts of ways to do more interesting stippling designs.

The instructions were to log in at 11:30a (the class started at noon) so that she could check to make sure everyone’s audio and video were working. Since I’m a Zoom Maven, I was able to just say “yep” and “yep” and then I turned my video and audio off and proceeded to straighten up my sewing area while other folks were doing the usual, “Can you hear me? Can you hear me? What mute button?” or being really chatty (which I still wasn’t feeling awake enough to do).

Here’s a quibble for me, though: The teacher never took the time to walk people through the basics of using Zoom—mute yourself, use the chat room, pin the video. Turns out, partway through the class, the third time she froze and had to log out and back in again, this was the first time she’d used Zoom herself. She had used other platforms so clearly assumed it would be close enough. I wish she’d taken a little time to familiarize herself a bit more. I ended up being the Zoom Tipmaster for the class in the chat box. Don’t get me wrong—I certainly understand participants who may not have been comfortable with it (although please, people, look it up before you try to log in for the first time!). But for the teacher to not take the time to walk people through the basics? It just wasted a lot of time later in the class. And it felt WAY too much like a regular work day for me again rather than a fun vacation-day-quilt-class. But I got over myself.

(Really fun side note: Guess who was another student? Pokey Bolton! I private messaged her that I had her books and was happy she was in the class, which she appreciated. Julia Quiltoff clearly had no clue who she was so I wanted to let Pokey know that she was recognized!)


Julia demonstrating tips for better pearls

Julia demonstrating tips for better pearls

Julia started out by saying she was cramming a 10-hour class into our 3 hours so we should get ready for an intense class. It actually wasn’t that bad, although by Hour 2 I was having problems staying engaged. She went through five “tricks” for creating more complex designs at top speed, drawing everything out in a notebook. I was also drawing things out in my sketchpad along with her, but by Trick 4 it was pretty easy to figure out what the variation would be. I’m guessing in her 10-hour version, you do a lot of actual machine practice with each section so it breaks it up more.

Somewhere in Hour 2 she asked one of the participants to demonstrate a problem the participant had asked about. Said participant then took a good 5 minutes to get herself set up with her phone camera aimed at her sewing machine needle (including having to call someone in from another room to hold the phone), then sewed for a few minutes, and then the two of them talked it through. That’s exactly what classes are for, of course, but in a normal class, she’d have been standing with that student at a sewing machine while the rest of us were working away on whatever we were working away on. It was just really annoying to have to sit there and wait while everything got set up and such. I know. I sound like a crankbucket. I just spend WAY WAY WAY too much time on Zoom to have patience anymore.

So I turned on my sewing machine, grabbed some quilt sandwiches I made several years ago for practice (and then quickly stopped quilting at all, so I’ve still got quite a stash!), and with my video and audio still muted, just took the next half hour or so to practice myself.

Yikes.

IMG_0781.JPEG

It’s really not just like riding a bike. I was never a fantastic FMQer but I’d at least reached “Confident Beginner” stage, if not dabbling my toes into intermediate. I actually had gotten some decent feathers going on occasion. Today? Not so much.

One thing I did remind myself of, though. I had learned, back when I was doing this FMQ thing more regularly, that my drawing skills had nothing to do with my FMQ skills. I can’t draw worth a lick. But when I take a hen-scratch design from my sketchbook and did it as FMQ, I often had far better results.

Not today, of course. But there’s still a whole lotta rust on this girl from lack of use. I’ll get there again.

So, I think I’d give the class—in this online format—an overall grade of a B-. I got good ideas, but I could’ve gotten them in a shorter amount of time with a book and without the frustration of technological issues. That being said, I did like Julia Quiltoff quite a bit—she’s got great personality and clearly knows her stuff. I’d take an in-person class with her anytime. Some classes just translate better to an online format than others. She is sending us memory sticks with her full 10 hour class on them so that will help me feel like I got my money’s worth.

Now it’s time to do as much cutting as I can get done for tomorrow’s class on the curved log cabin. I’m really looking forward to that one—it’ll be good to have a project with progress to measure during the class!

Weekend Check-in Number One: Mostly Prep-work

I got my new Accuquilt Mask dies this week so I was anxious to make up some masks to see how well they worked.

82B24FE7-A7A9-4607-9B5F-6EAC34BB08FC.jpg

Learn from me: Do NOT use the instructions that come packaged with the die. Lots of important steps left out.

I ended up with this mess—exposed seams, fabrics every which-way, some sort of something going on with the elastic as it didn’t explain that well at all and I finally ended up shoving the ends of the elastic in and nailing them down the way I had been doing in the other masks but this one had all sorts of seams coming together and it was a heck of a lump…. ahem. I kept looking at the instructions thinking I must have misread something but I’d followed those dang instructions exactly. Poor quality control.

Had I watched the Accuquilt video first, or used the downloadable directions from the website, I’d have been at least somewhat better off as they both had correct instructions for the cutting and sewing. Mostly.

The downloadable instructions tell you to use a different seam allowance than the video I was watching (which was from a quilt shop) because the Accuquilt tutorial video also leaves out a key step: how to attach the ties or elastic.

C’mon, Accuquilt. Get your act together.

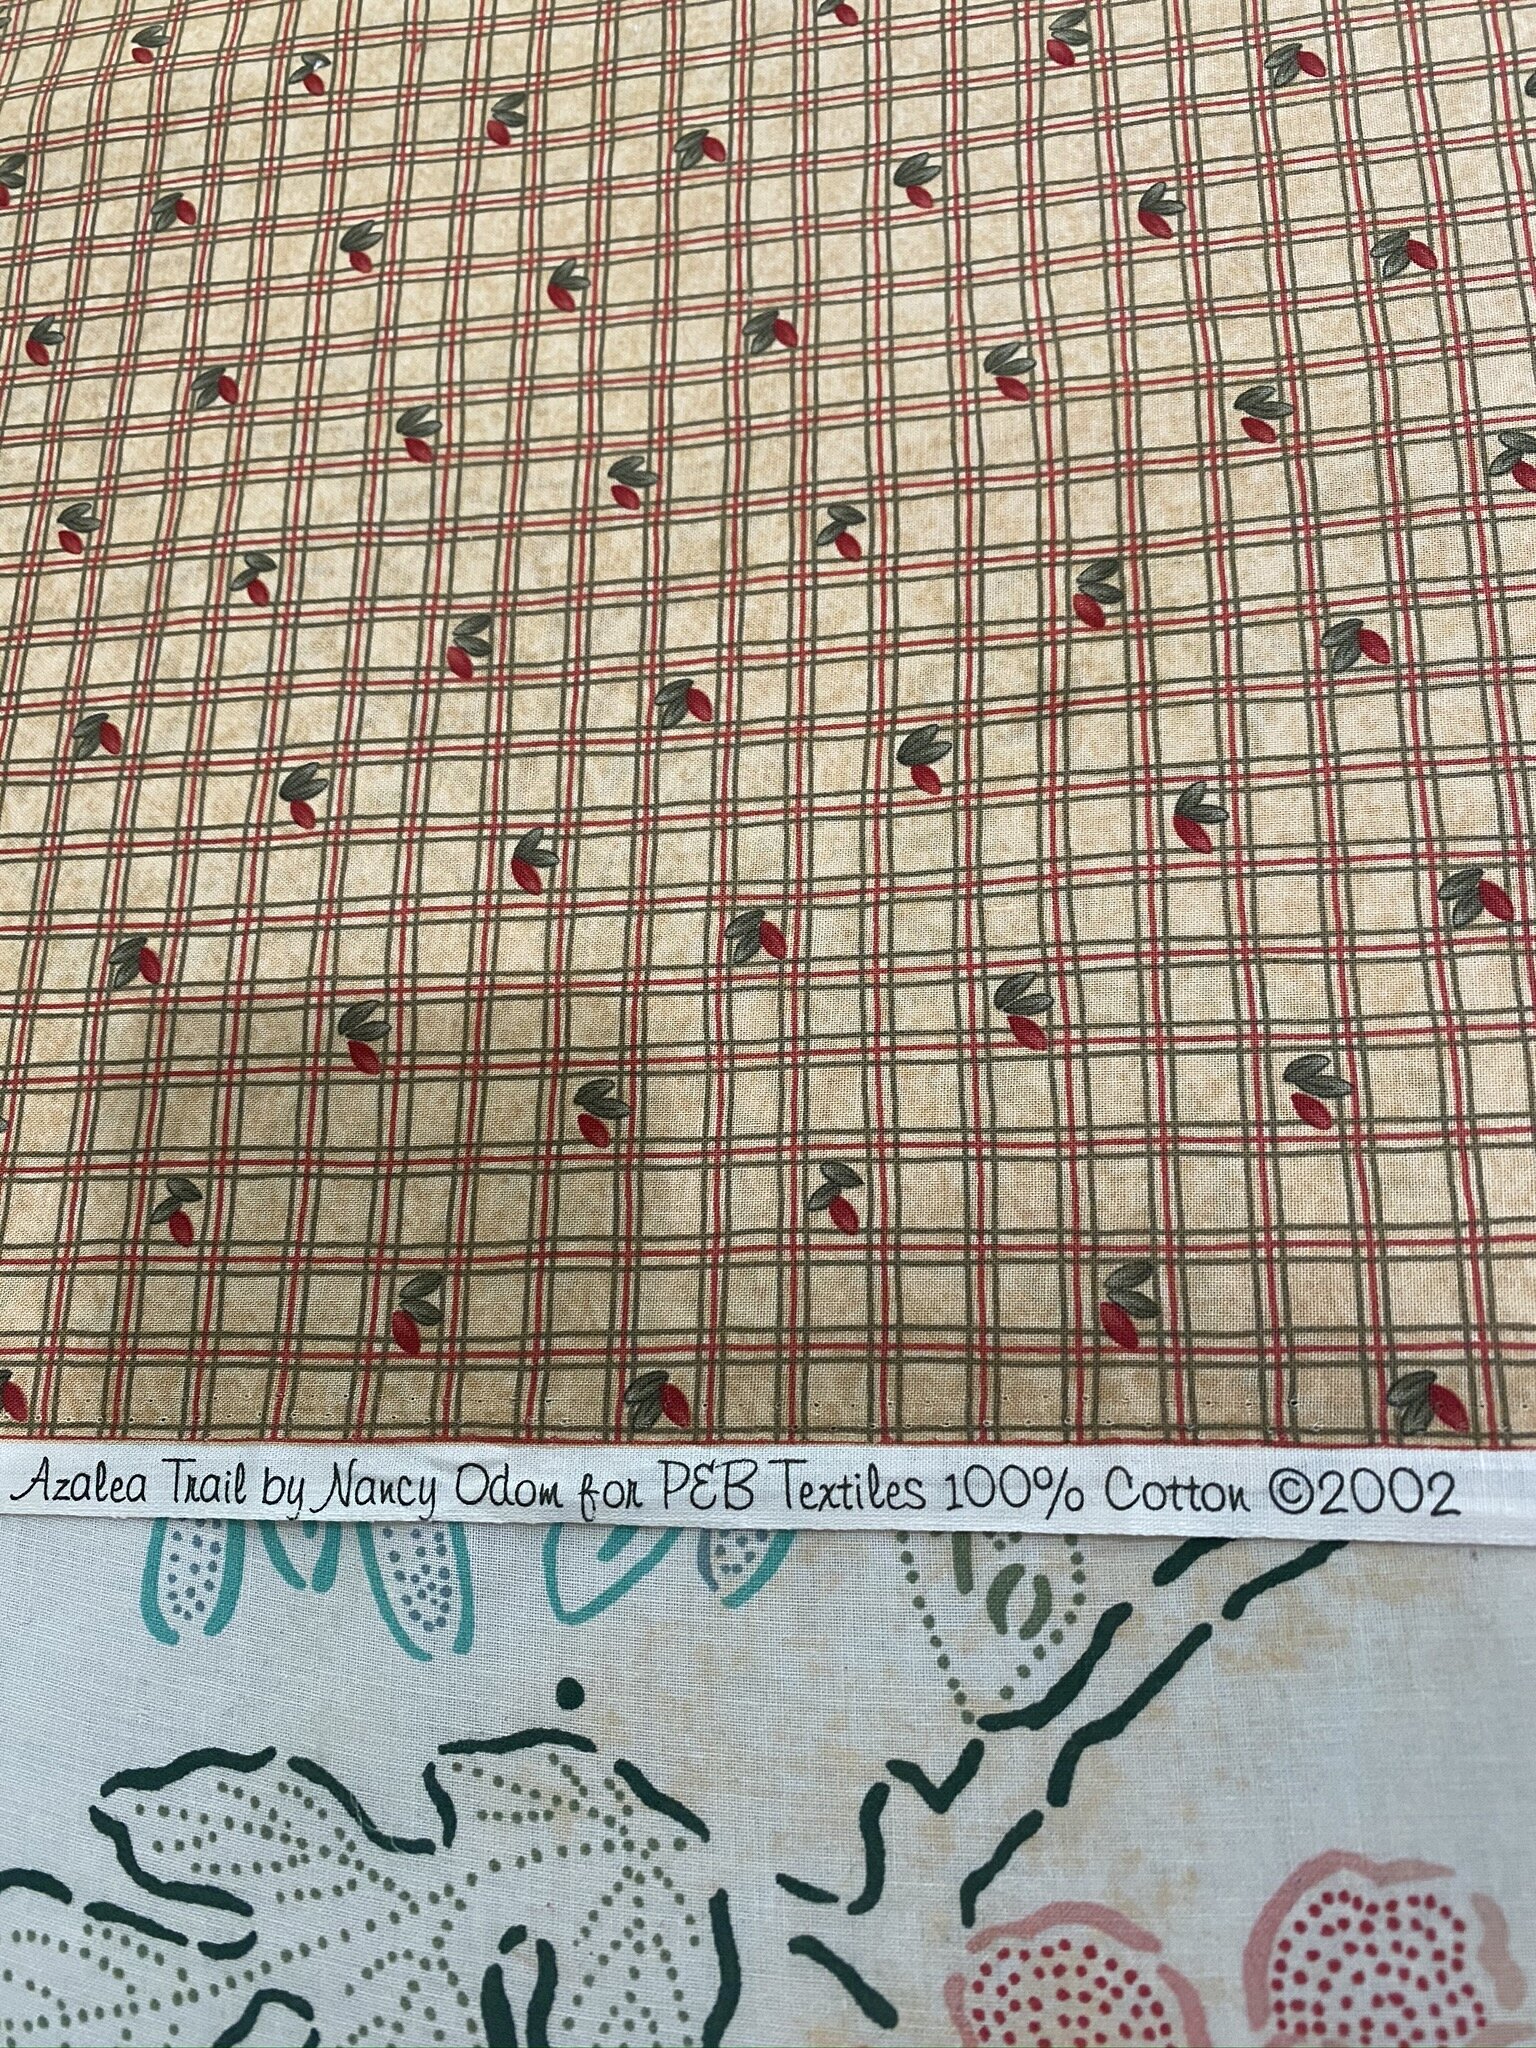
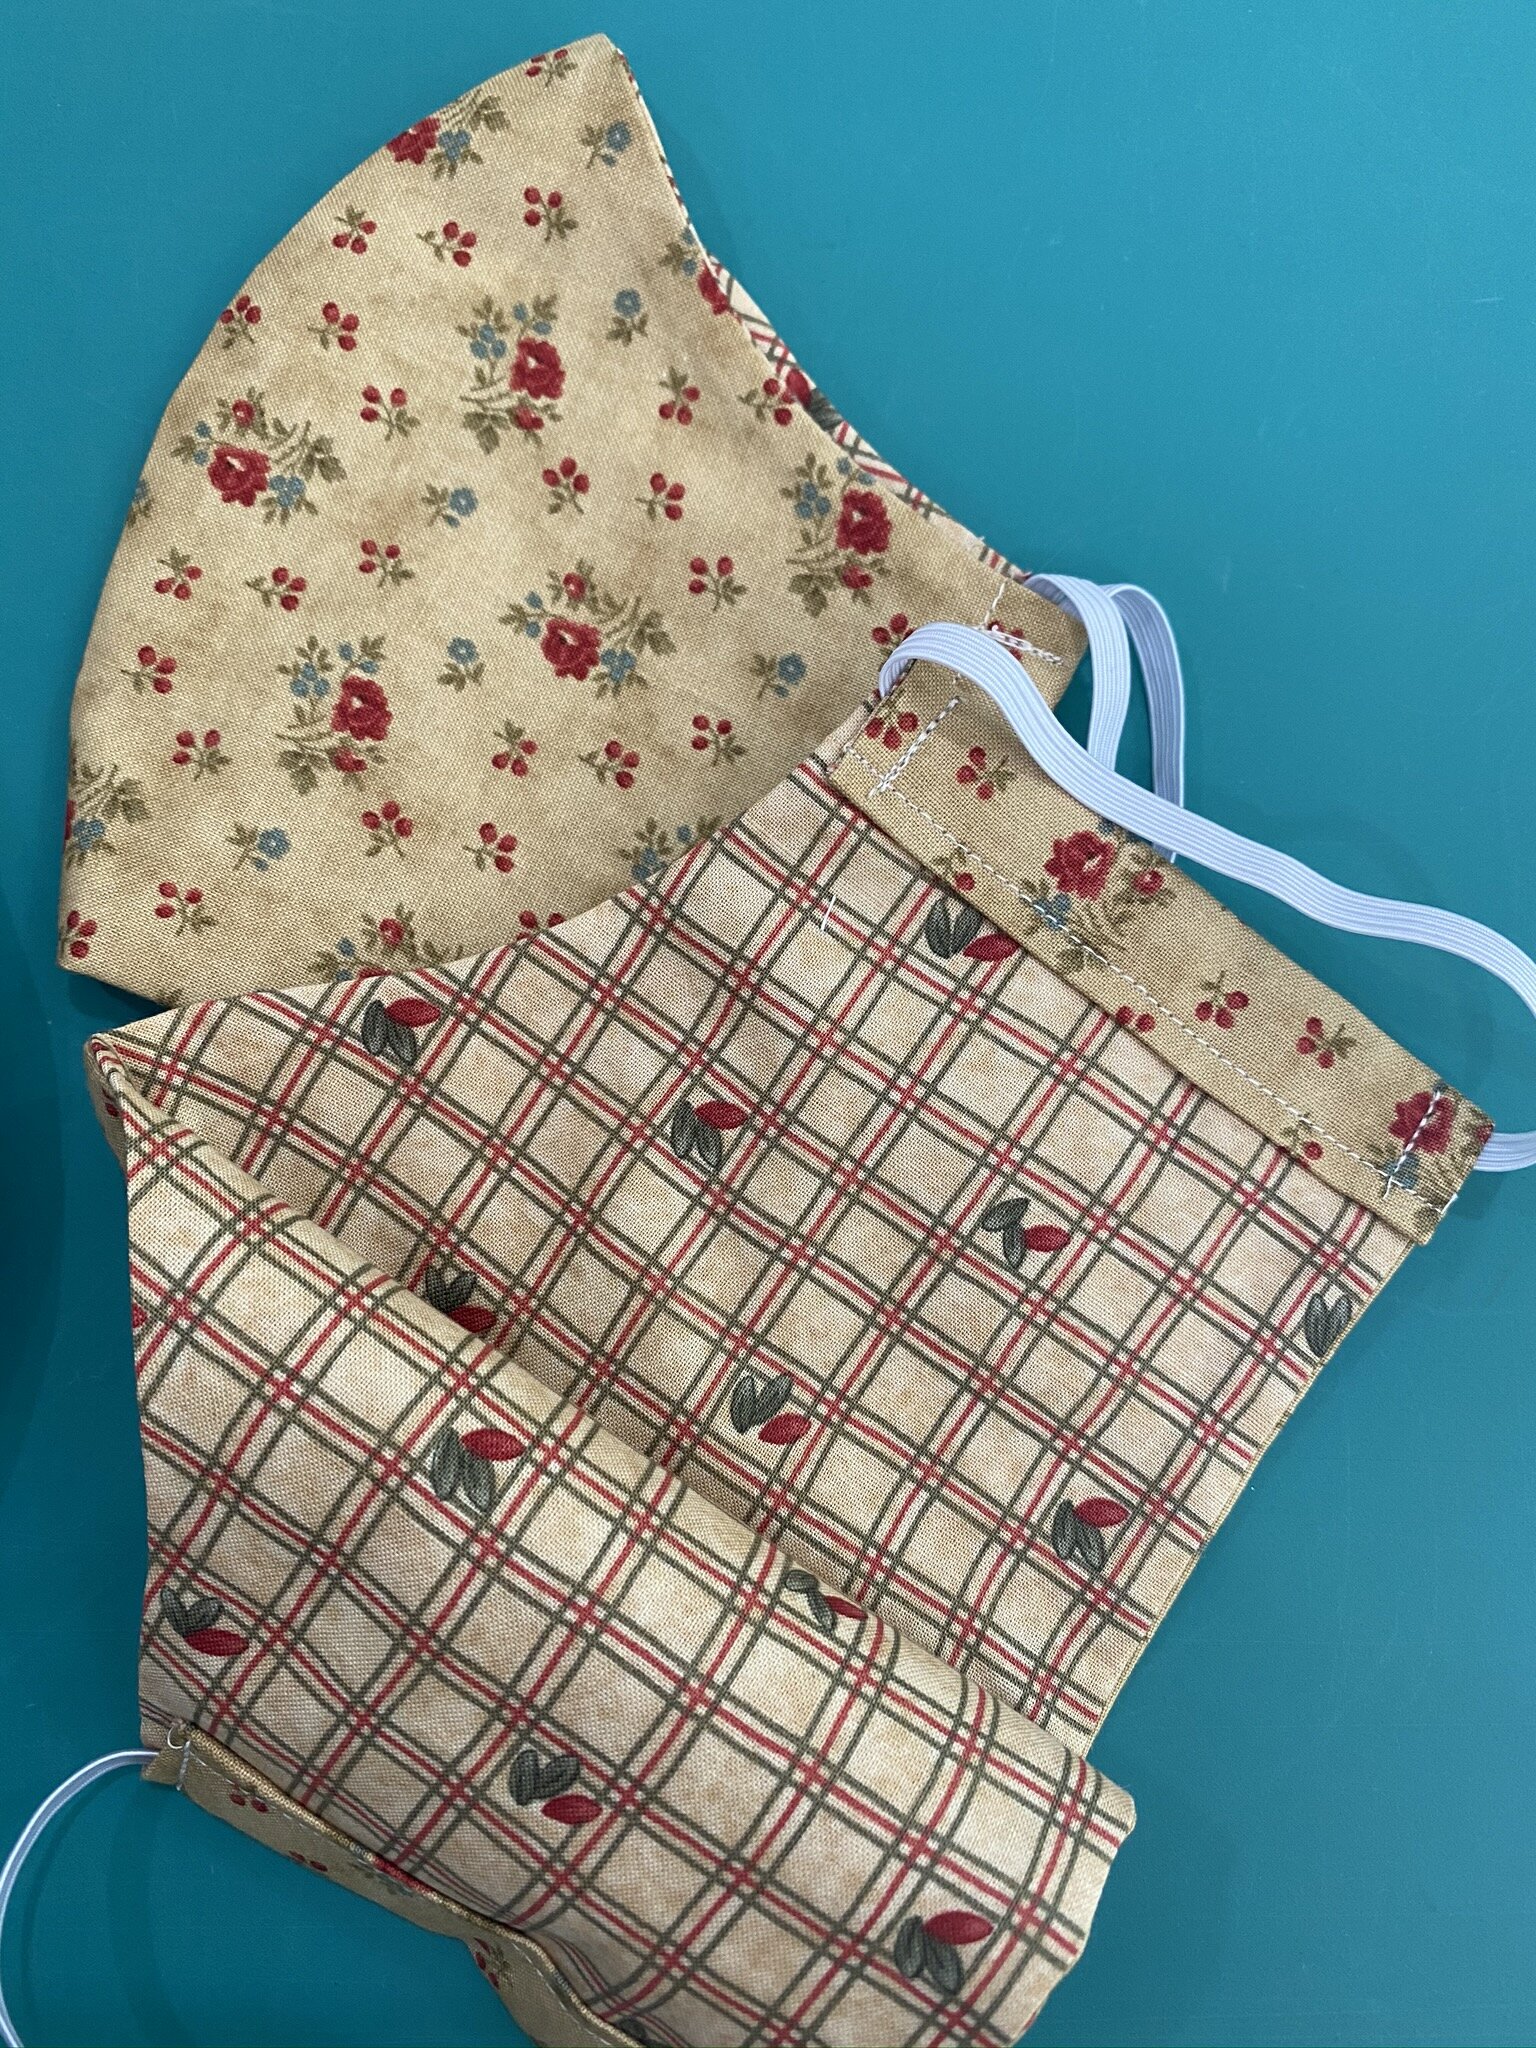
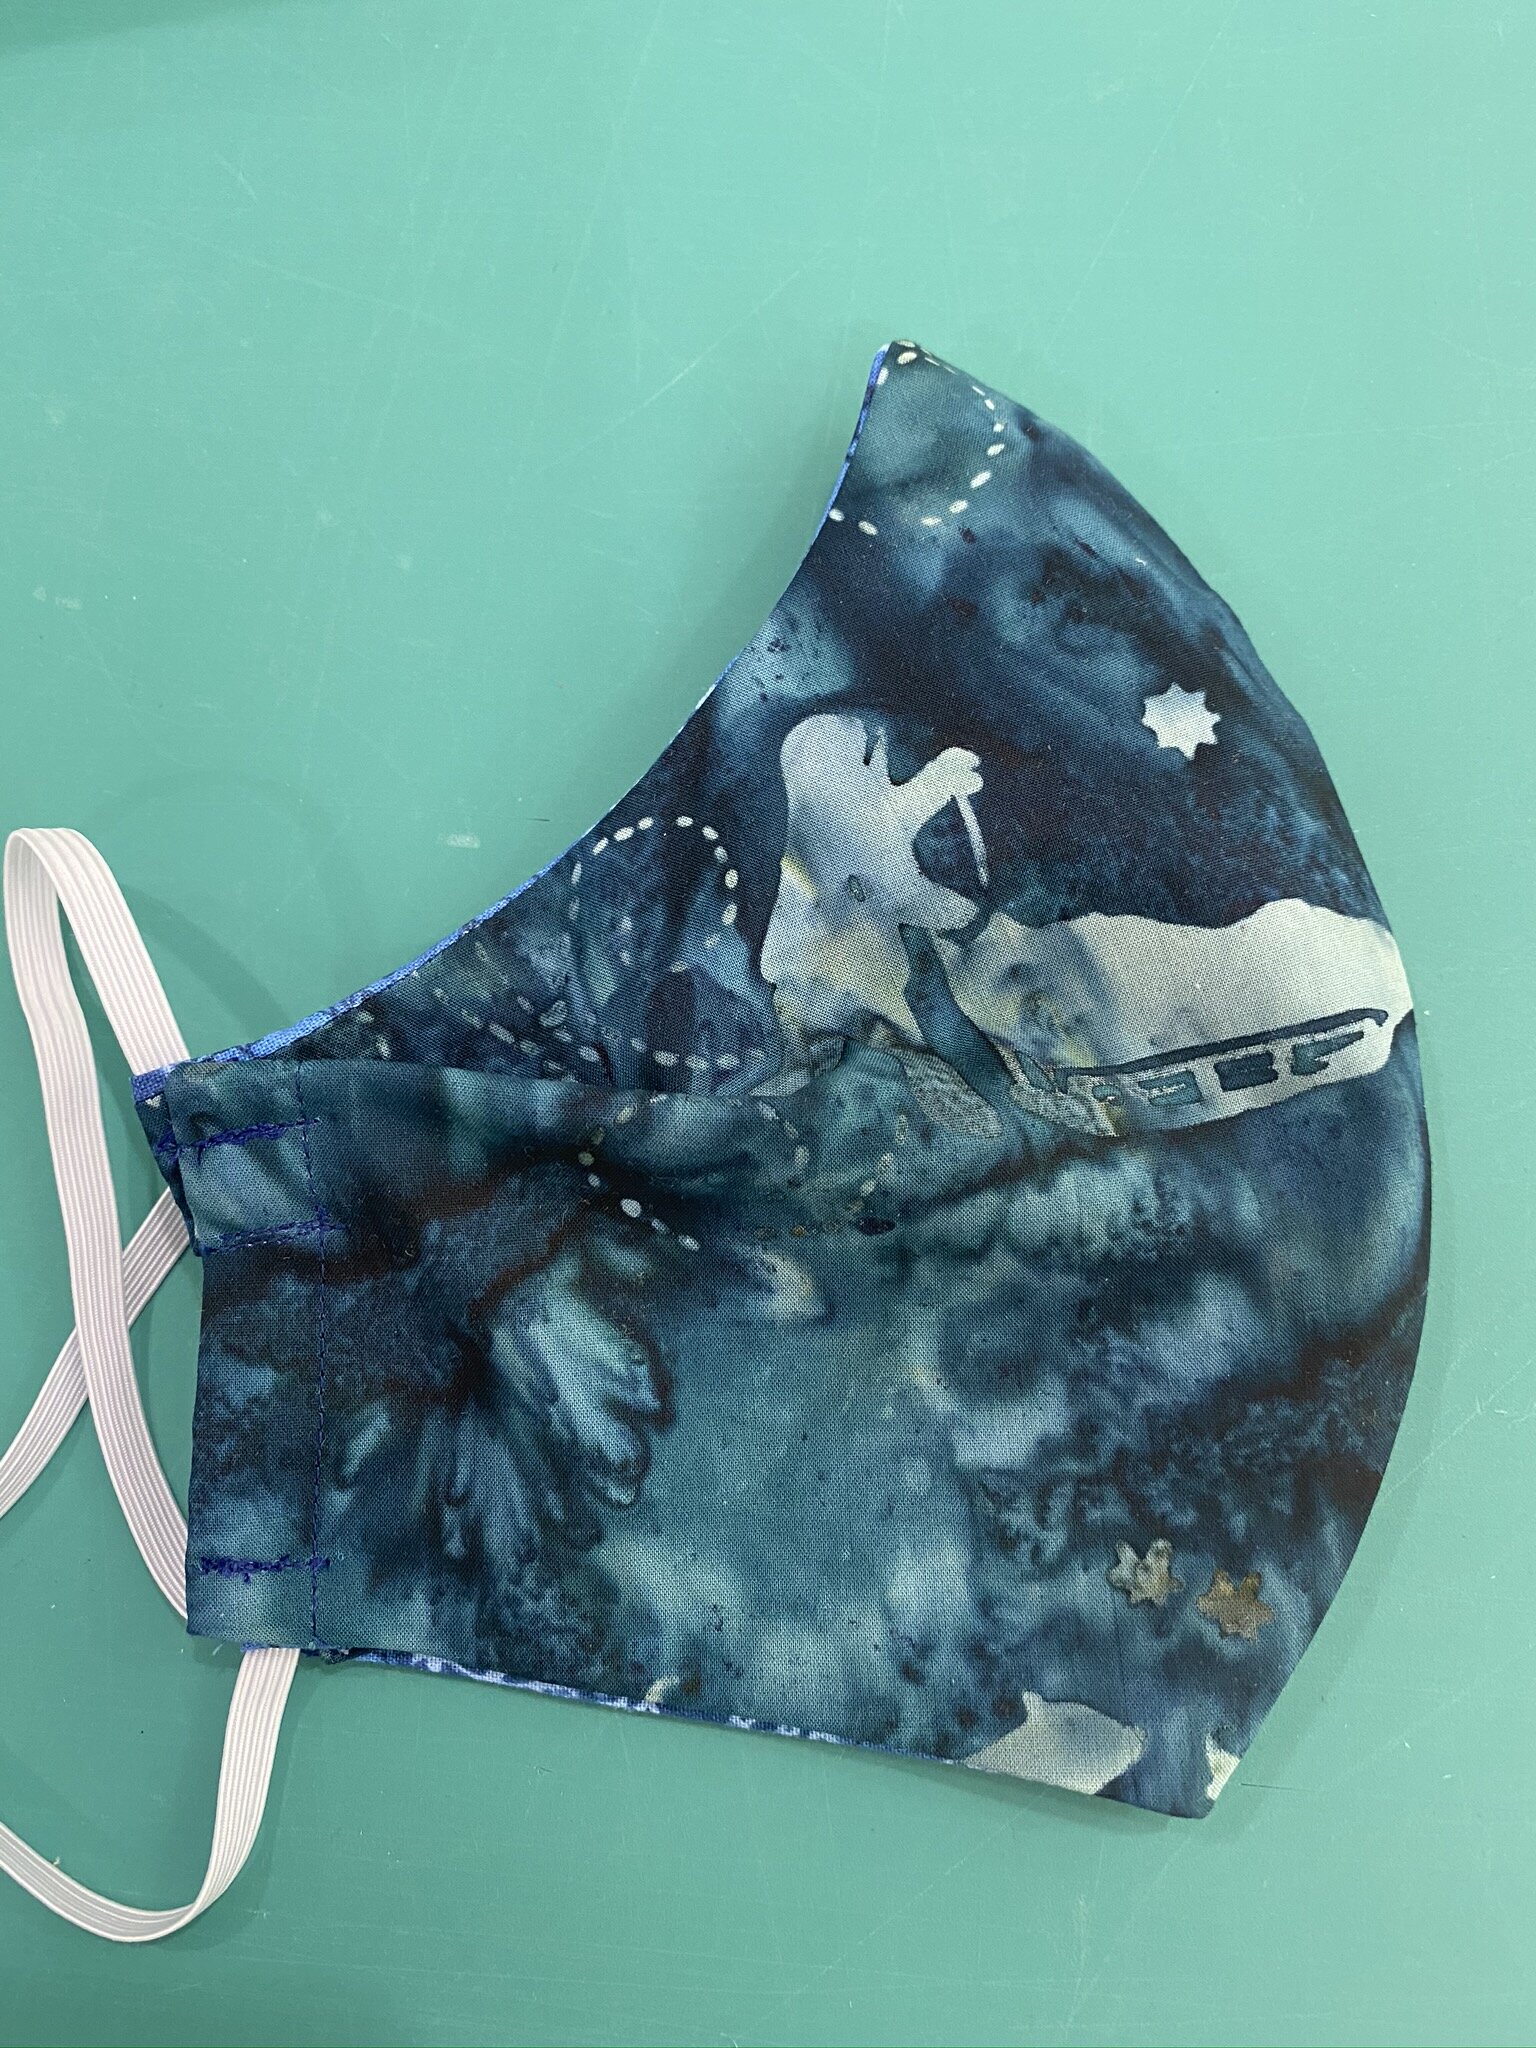
Anyway, between the downloaded directions, the quilt shop’s video, and what I’d already figured out how to do by making other mask patterns, I finally got some made. The first photo shows you just how old some of these fat quarters are that I’m using up to make masks—2002? Yikes. My Thimbleberries Era. They make very pretty masks, even if they’re not really my jam anymore. The blue mask is one I made for my husband. The outer fabric is a batik he brought me back from a work trip he took to Alaska—the lining is another really old fat quarter I was glad to use (and it’s cotton, which is far more comfortable against the face than batik is). He didn’t like the way his bulged out at the sides so I took in a quick tuck on either side. It’s not pretty but it’s wearable. I don’t mind mine bulging out—I don’t have to wear mine for as long at a time as he does.


Then I got to work making “kits” to give to a friend of mine who is making masks to sell as a fundraiser for an orphanage in her home country of Myanmar.

She’s going to use elastic so I’m not worrying about cutting the ties. This is the perfect partnership as I don’t mind doing the cutting and donating lots of fabric to the cause, and she doesn’t mind doing the sewing.

I have 13 medium-sized sets cut right now—that represents lots of fat quarters. For the medium and large dies, I get two out of each fat quarter—haven’t done any small ones yet but I’m thinking I may be able to squeeze three. Sadly, I haven’t even made much of a dent in my fat quarter stash yet, but at least it’s no longer overflowing its drawer.

And I’ve got lots of decent-sized scraps left over that I’ll be able to cut down into usable sizes for other scrap projects.


IMG_0744.JPEG

Finally, I mentioned in the Twilters! Facebook group that I’ve registered for the Mancuso Online Quilt Festival this coming week. I’m taking Thursday and Friday and all next week as vacation, and I plan on sewing my head off!

I’m taking a class on the curved log cabin on Friday (I think—not sure which class is which day). It uses 2 1/2 yards of lights and 2 1/2 yards of darks, so I’m pulling entirely from my strip stash. 80 strips total, and I still have a ton left. However, it feels good seeing all of these finally getting used!

I’ve got a pretty wide variety in my darks but I’m hoping that helps it have a little sparkle. The yard of burgundy is the center squares, and can I tell you how glad I’ll be to use that one? It’s one I inherited from my Mom’s stash, and she passed away in 2009, and it looked like it had been on her shelf for quite awhile before I took it. That one is just crying for a home. It’s just an odd enough color that I’ve never found a project I could use it in—so this one is perfect. Cut into pretty small squares, the oddness of the color won’t stand out.

I’m trying to channel my Inner Charlotte with the randomness of the darks. I was mostly sticking to “colonial” and/or “country” tones (again, from my Thimbleberries Years and a whole lot of strip exchanges at my guild), but have a few ringers in there. I think it’ll be okay.

Now I have to start chopping all of these down into the appropriate sizes for the blocks. That’ll be tedious. Saving that for tomorrow.


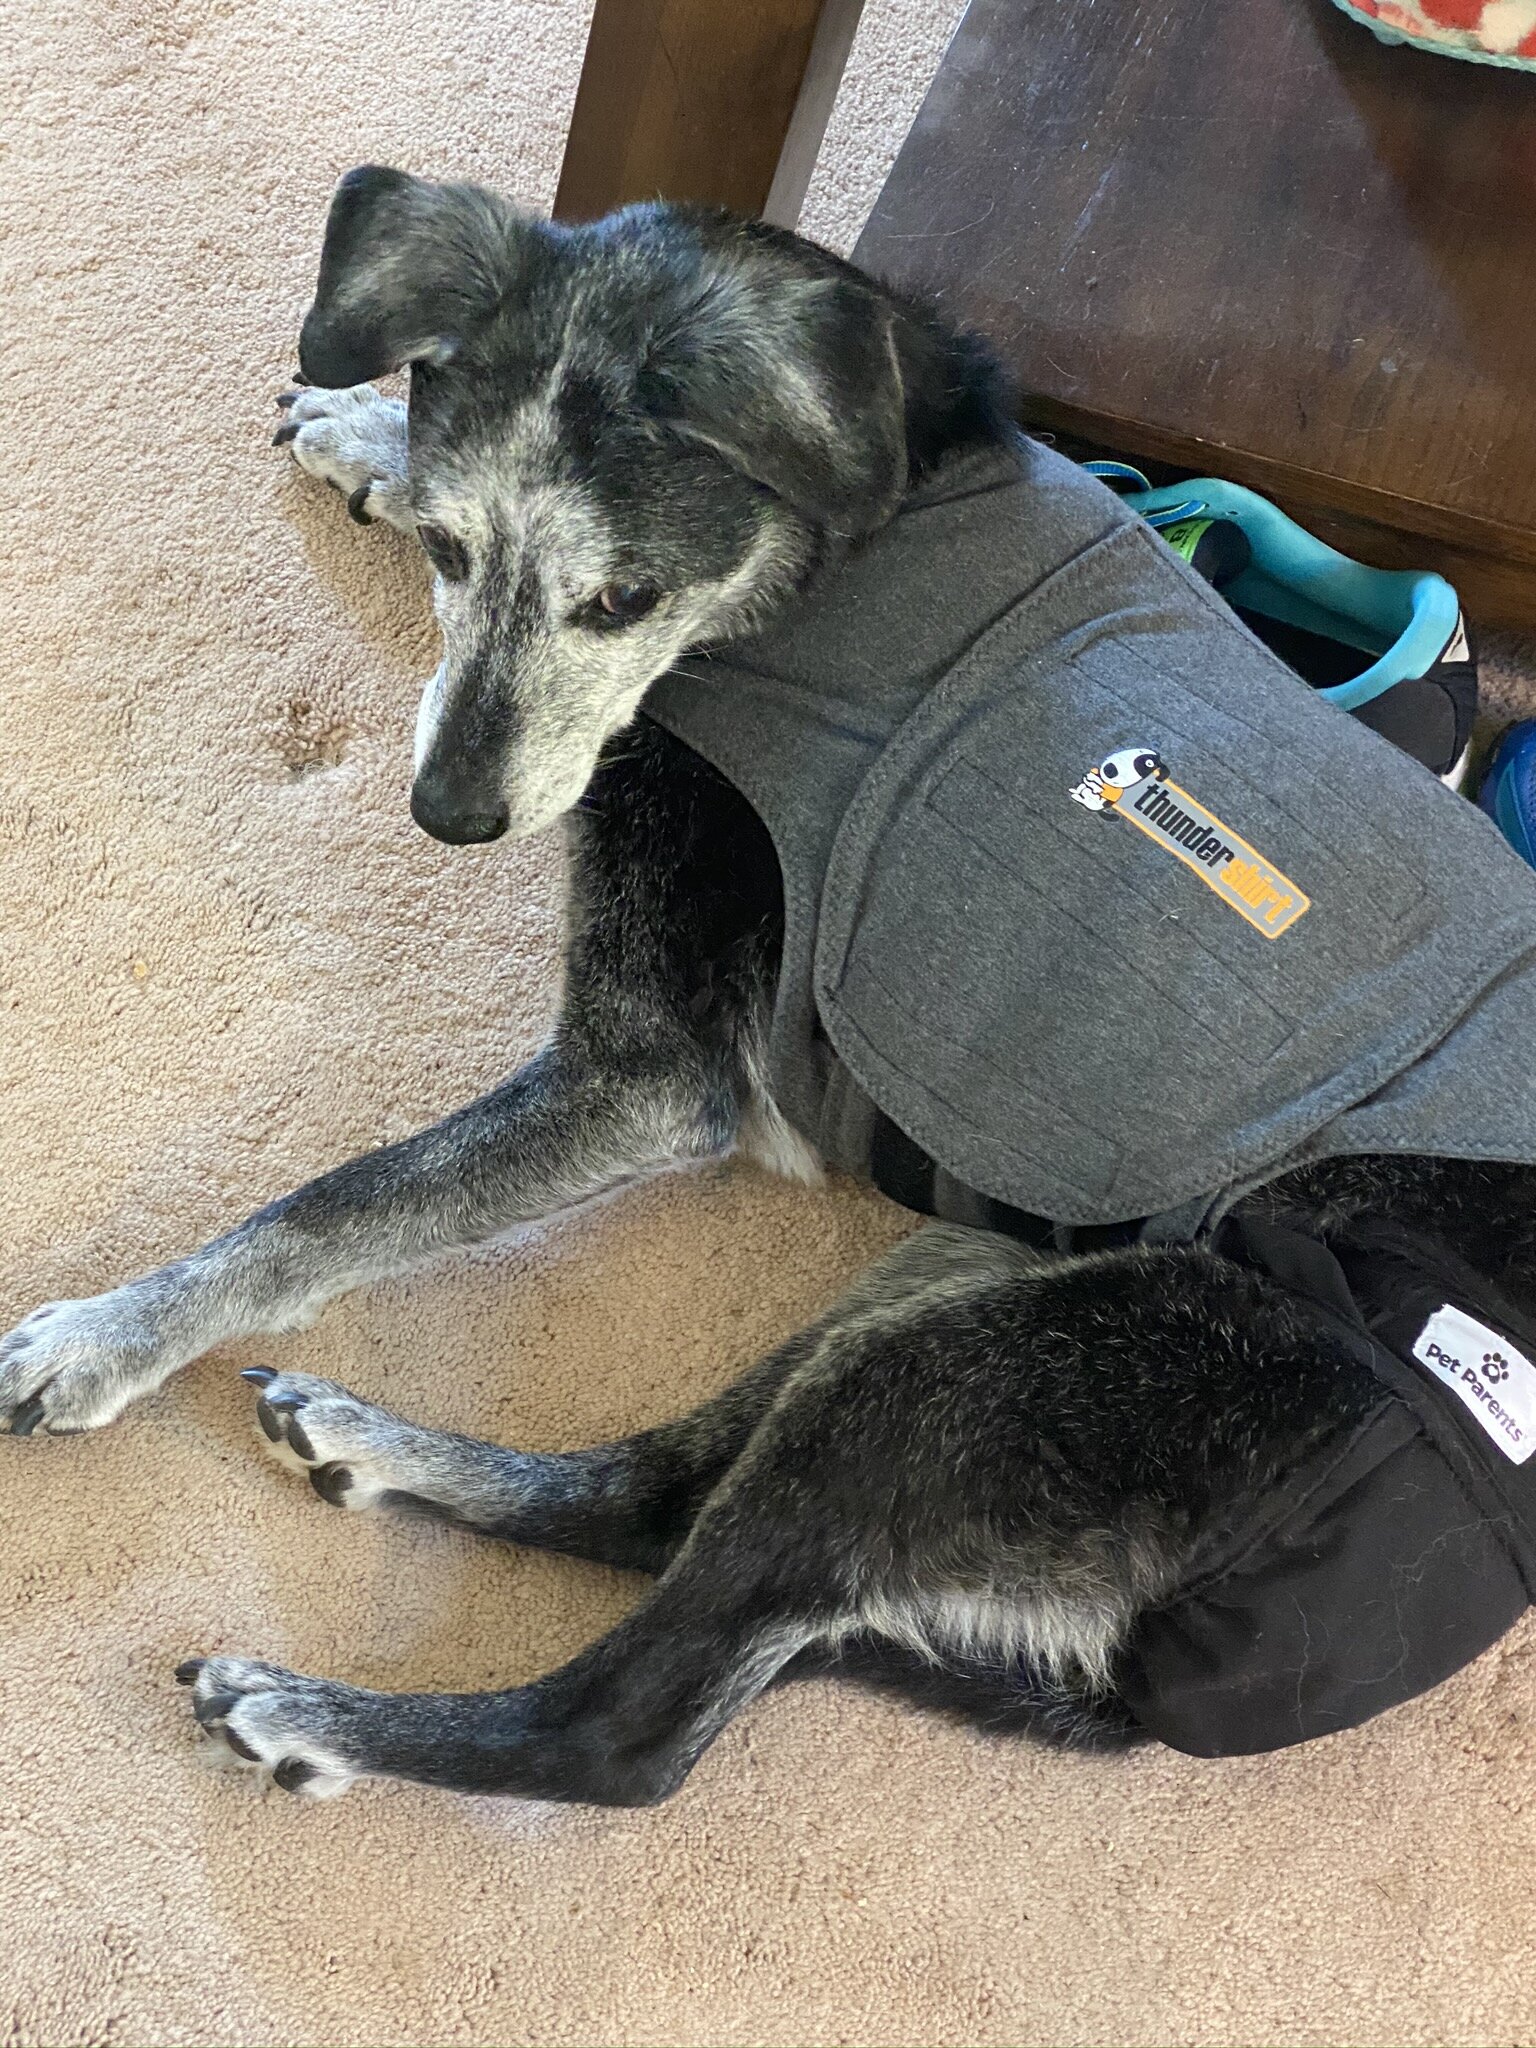
Last news of the day: Doggos got into the groomer today for the first time since February. Sadly, this turned out to be the last time Princess Doggie goes. She’s going to be 16 in September and is showing her age in rapidly increasing stages. She’s deaf, almost blind, has joint issues, and this past week has started losing her balance pretty frequently. She only let the groomer give her a bath but only one toe got its toenails trimmed before she freaked out. I’ll have to see if I can get her to let me do the rest of them. Otherwise, it was clearly just too stressful for her at this point. Aug-dog, though, was in his glory, having people pay so much undivided attention to him. As the groomer said, “He has so much [pregnant pause] personality!” I’ll bet.

Spencer was in such a fuss when she got home I put her thundershirt on her to help her calm down.

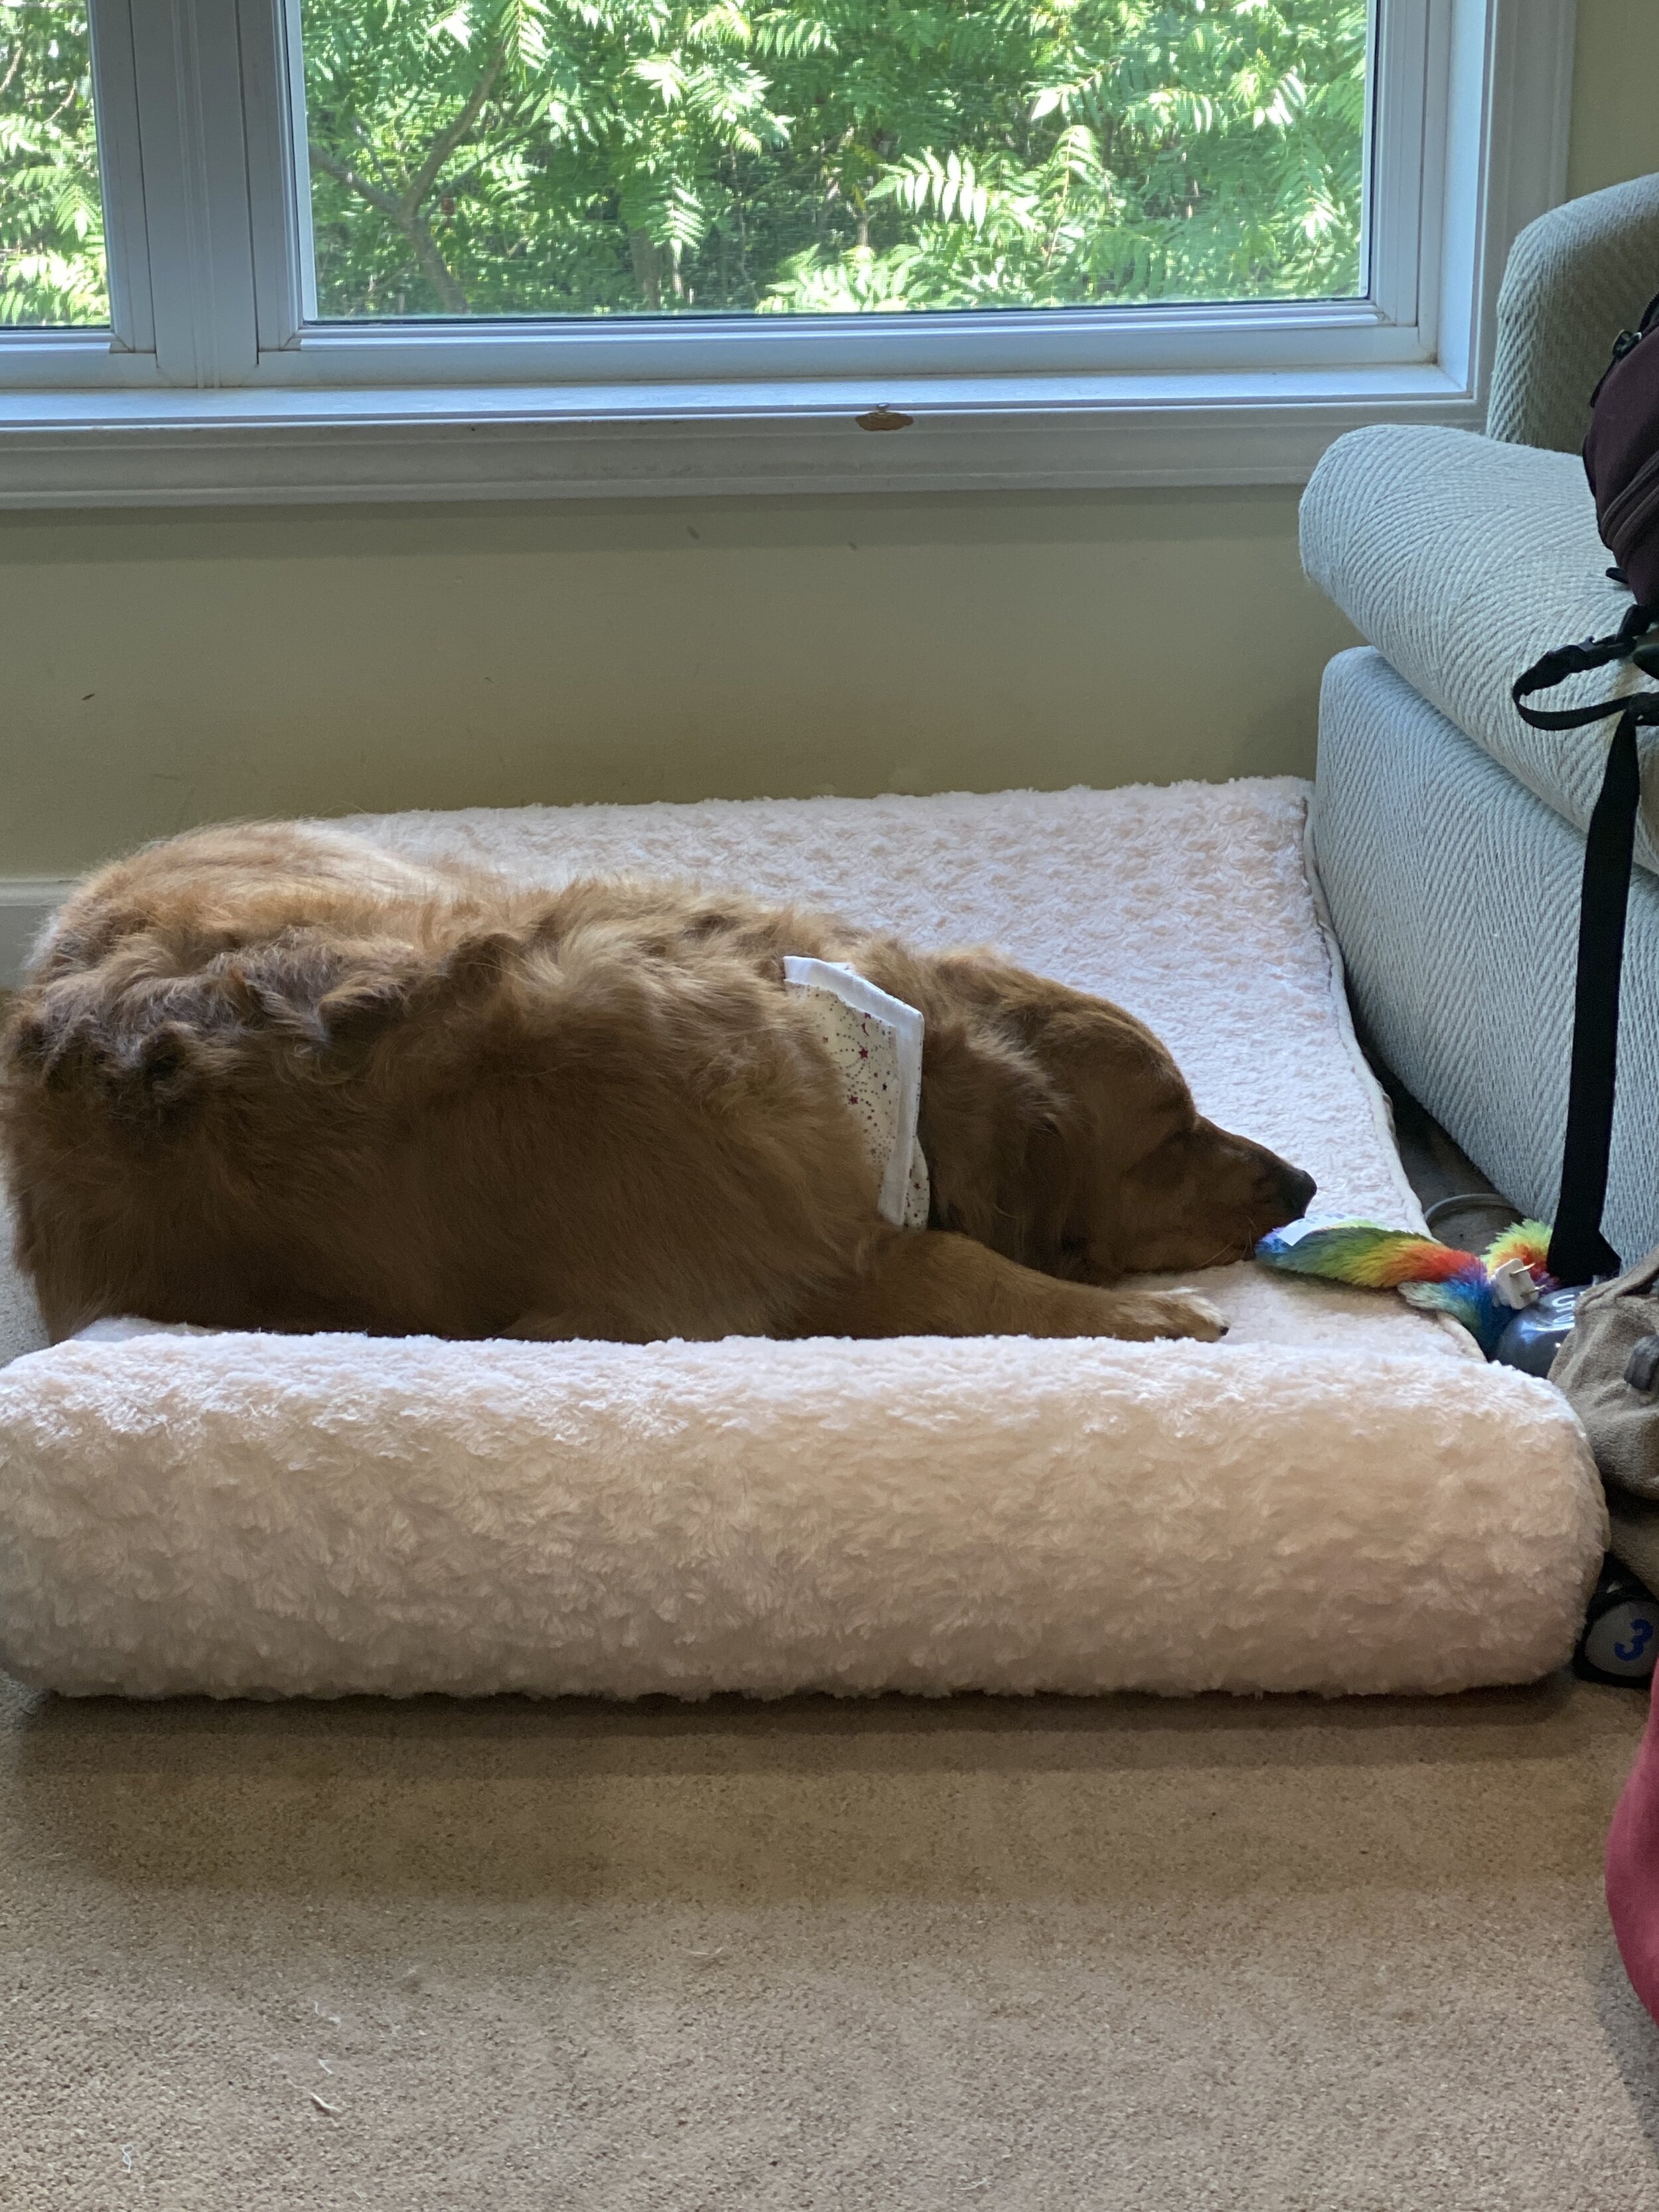
Auggie came with me up to my sewing room and crashed on his bed.

Hygiene is tiring.

(And btw, they got groomed before I did. I still haven’t brought myself to make a hair appointment yet!)

Done and Delivered!

IMG_0699.jpeg

First done? Got some embroidery done.

To refresh your memory, this project was first mentioned here.

Yep, it’s been awhile. I’ve actually gotten a fair number of blocks done on this but periodically stalled here and there. In fact, this particular embroidered block was sitting in the hoop for umm…maybe two years? Hard to remember when I started this one. It’ll need a heck of a steam to get it to lay flat again.


IMG_0715.jpeg

Continuing the embroidery theme, I got a good start on another block this morning.

It really is more relaxing to sit and do embroidery in the evening while I am watching TV than it is to play stupid iPad games. I actually took one game (Runefall) off my iPad because I was spending way too much time on it.

Here’s to one more summer thinking, “Maybe I’ll have this done before Halloween THIS year???”


IMG_0717.jpeg

Then I knew I wanted to get the baby quilts officially delivered to my niece, but to do that, I really needed to finally make myself a face mask. First one for me! After wearing one I’d made my husband yesterday (the pleat style) when I went grocery shopping, I was really struggling with it because the pleats always seemed to be right up against my nostrils no matter which way I flipped it, making it particularly hard to breath. So today I decided to try the other style that’s more of a cup. (Honestly, sorry to any guys reading this, don’t a whole lot of masks look like they cut a bra in half?)

Anyway, this went together really easily, except for the fact that I had to make a template. Got to drag some old template plastic out of a drawer, and I used my little finger-tip rotary cutter for the first time in awhile for the curved edge.

I made three out of this set of fat quarters; two medium sized and then one large just to see whether that larger size would fit the guys in the house. Yes, it does, but the floral fabric means it’ll be mine, despite being large. They’re both comfortable with their masculinity, but, well, they weren’t fans.

After the template plastic, tracing, and having to carefully cut that curve…yep, I ended up ordering myself the AccuQuilt dies for face masks. My reasoning is twofold: 1) we’re going to need masks for a long time to come so I may as well be ready to knock them out faster; 2) I don’t have time to sew masks for donation but I can create die-cut fabric “kits” to give to the new arrival families I used to work with. Many of them sew and have sewing machines, but may not be able to afford much in the way of fabric. So I’ll cut up my stash and give it to them as kits, and they can sew them for their families. Win-win.


IMG_0716.jpeg

Mask ready to go, i decided to use up a significant portion of the fabric left from Baby Quilt #1 to make a pillowcase that would serve as a gift bag.

This picture was taken once the quilts were already in the pillowcase so it looks a bit odd, but you can see the combo of leftover fabrics.

And then I got to deliver the fun! Still couldn’t get in any baby cuddles, but this time I was able to be 6’ away rather than the only other time I’ve seen her, which was from about 20’ away in her driveway. She woke up briefly and did actually look at me. What a thrill.

I try not to think about how this all is going to affect the ability of our extended family to really bond with her—from her perspective. Not being an immediate part of her circle until she’s probably done with most of her first year? Anyway, at least I know she’ll be wrapped up in my quilt, if I can’t be giving her raspberries and playing with her toes.


IMG_0722.jpeg

One last thought. Doesn’t this feel like insults we used to hurl at each other in middle school? Surely there must be a better way to say this in LED.

Another finish! Baby Quilt #2

What a week. I did some protesting last weekend which, go figure, being outside all weekend in the pollen-filled air, subsequently felled me for much of this week. I did go in for my COVID-19 test as suggested for all protestors and it came back negative. I wasn’t expecting anything else. Everyone was masked at the protests and although we weren’t always able to keep the 6’ distance with a couple of thousand of us marching through city streets, it was still pretty amazing that no one even bumped into me. I’d say we were keeping 3’. All of my symptoms this week were my regular ol’ allergy symptoms—sinus, fatigue, itchy eyes, etc.

So, unfortunately, although I’d planned on finishing baby quilt #2 last weekend, I didn’t feel up to doing anything with it until this afternoon.

Yay—it’s done!

IMG_0692.JPEG

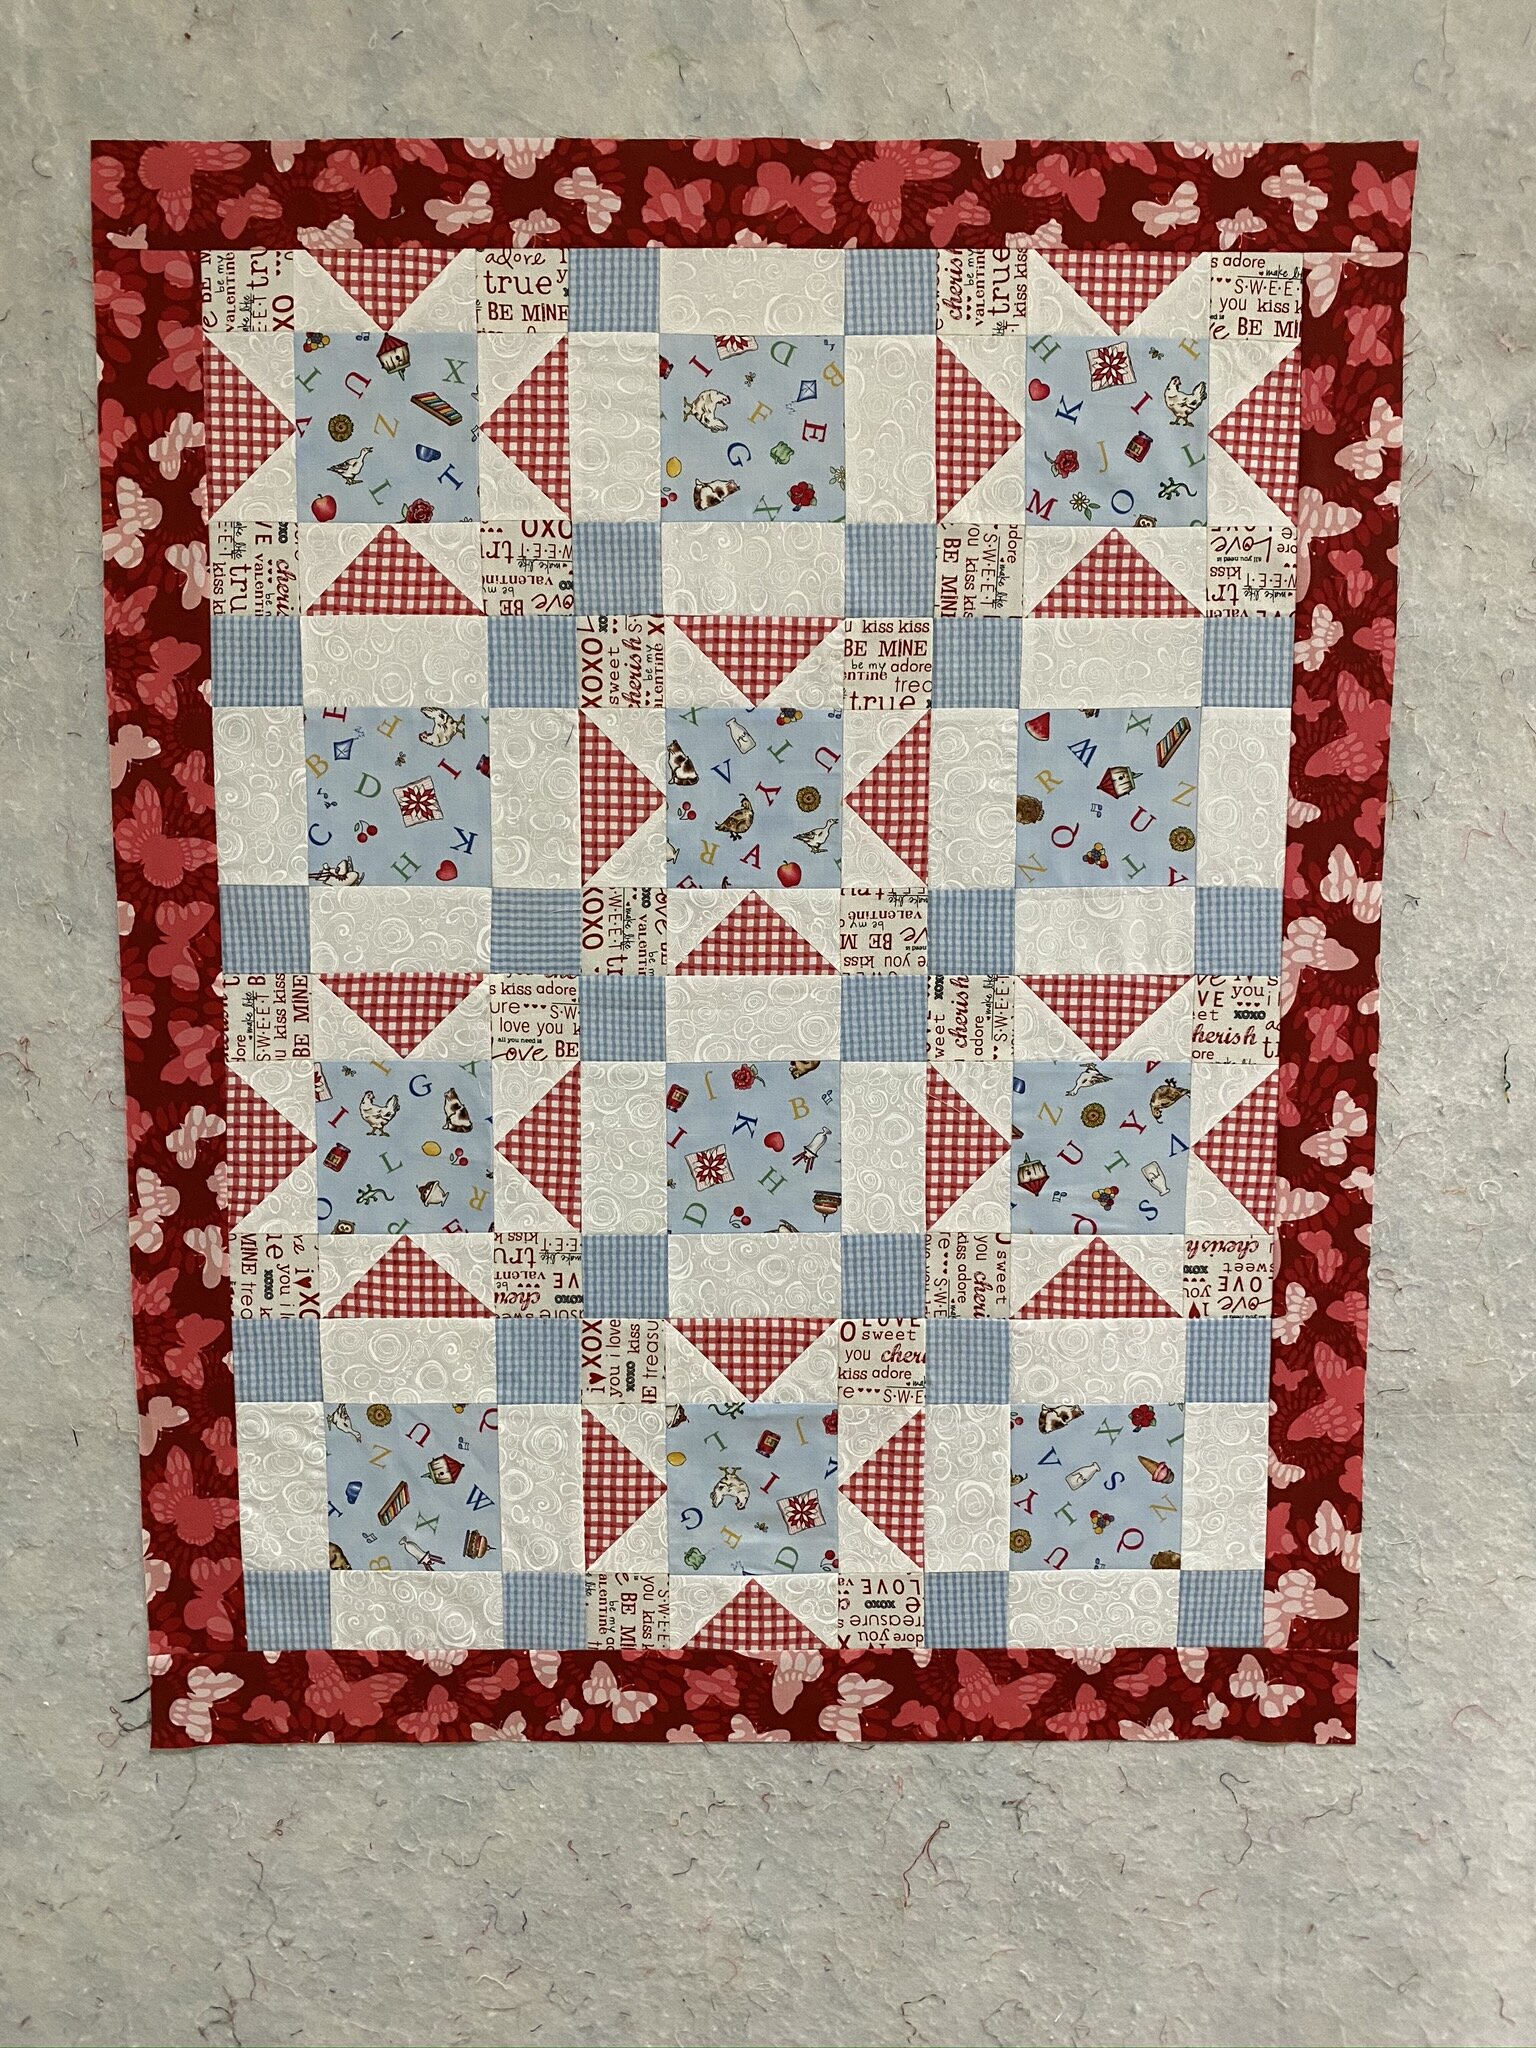
To recap: This started out as a way for me to play with some of my (at the time brand-new) Accuquilt dies, and a fat quarter collection I’d had for a long time, focused on the alphabet fabric. I scanned the fabric and did a quick design in EQ8 to figure out fabric layout.

I then miscut the fabric that was supposed to be in the corner squares of the star blocks, and didn’t have enough left to be able to fix it with the same fabric. Lo and behold, I decided to fussy cut some valentine fabric I’ve had in my stash for years, not using any squares that had “Feb 14” on it so it could be more generically lovey-dovey. Don’t like it as well as the original posy fabric but it works and I’m glad to have that fabric out of my stash.

When it came to the border, the butterfly fabric was the only thing I had that was even close to the right red. Again, wouldn’t have been what I picked if I were in a quilt shop with all sorts of options, but it works and, again, nice to have that fabric out of my stash. (I believe both fabrics came from the same scrap box from Fat Quarter Shop or wherever I used to periodically buy those from. Neither of them are anything I’d have selected myself for my stash.)

I dug into my strip stash for the binding and found four strips of the same mottled red that works just about perfectly. Phew.

In the grand question of “do you buy for a project or do you buy for a stash,” this project is an excellent example of why it’s handy to buy for a stash. I created this whole quilt on impulse without buying a single piece of fabric. We won’t include the money spent on the AccuQuilt, of course.


IMG_0693.JPEG

If you remember some previous waffling I was doing about this, I did end up doing the whole binding by machine this time.

I watched a quick refresher video from Jenny Doan (I’ll post it below) and realized that in my past efforts I’d chosen stitches that required me to stick right along that seam line and have everything lined up with a precision that just made life more difficult than I needed. After watching the stitch that Jenny Doan used, I decided to use a fun loopy stitch on my machine and life was ever-so-much simpler!

And can’t beat the speed. I had the whole binding put on within 30-45 minutes. Sure, it’s a small quilt, but still. Love that kind of a finish.


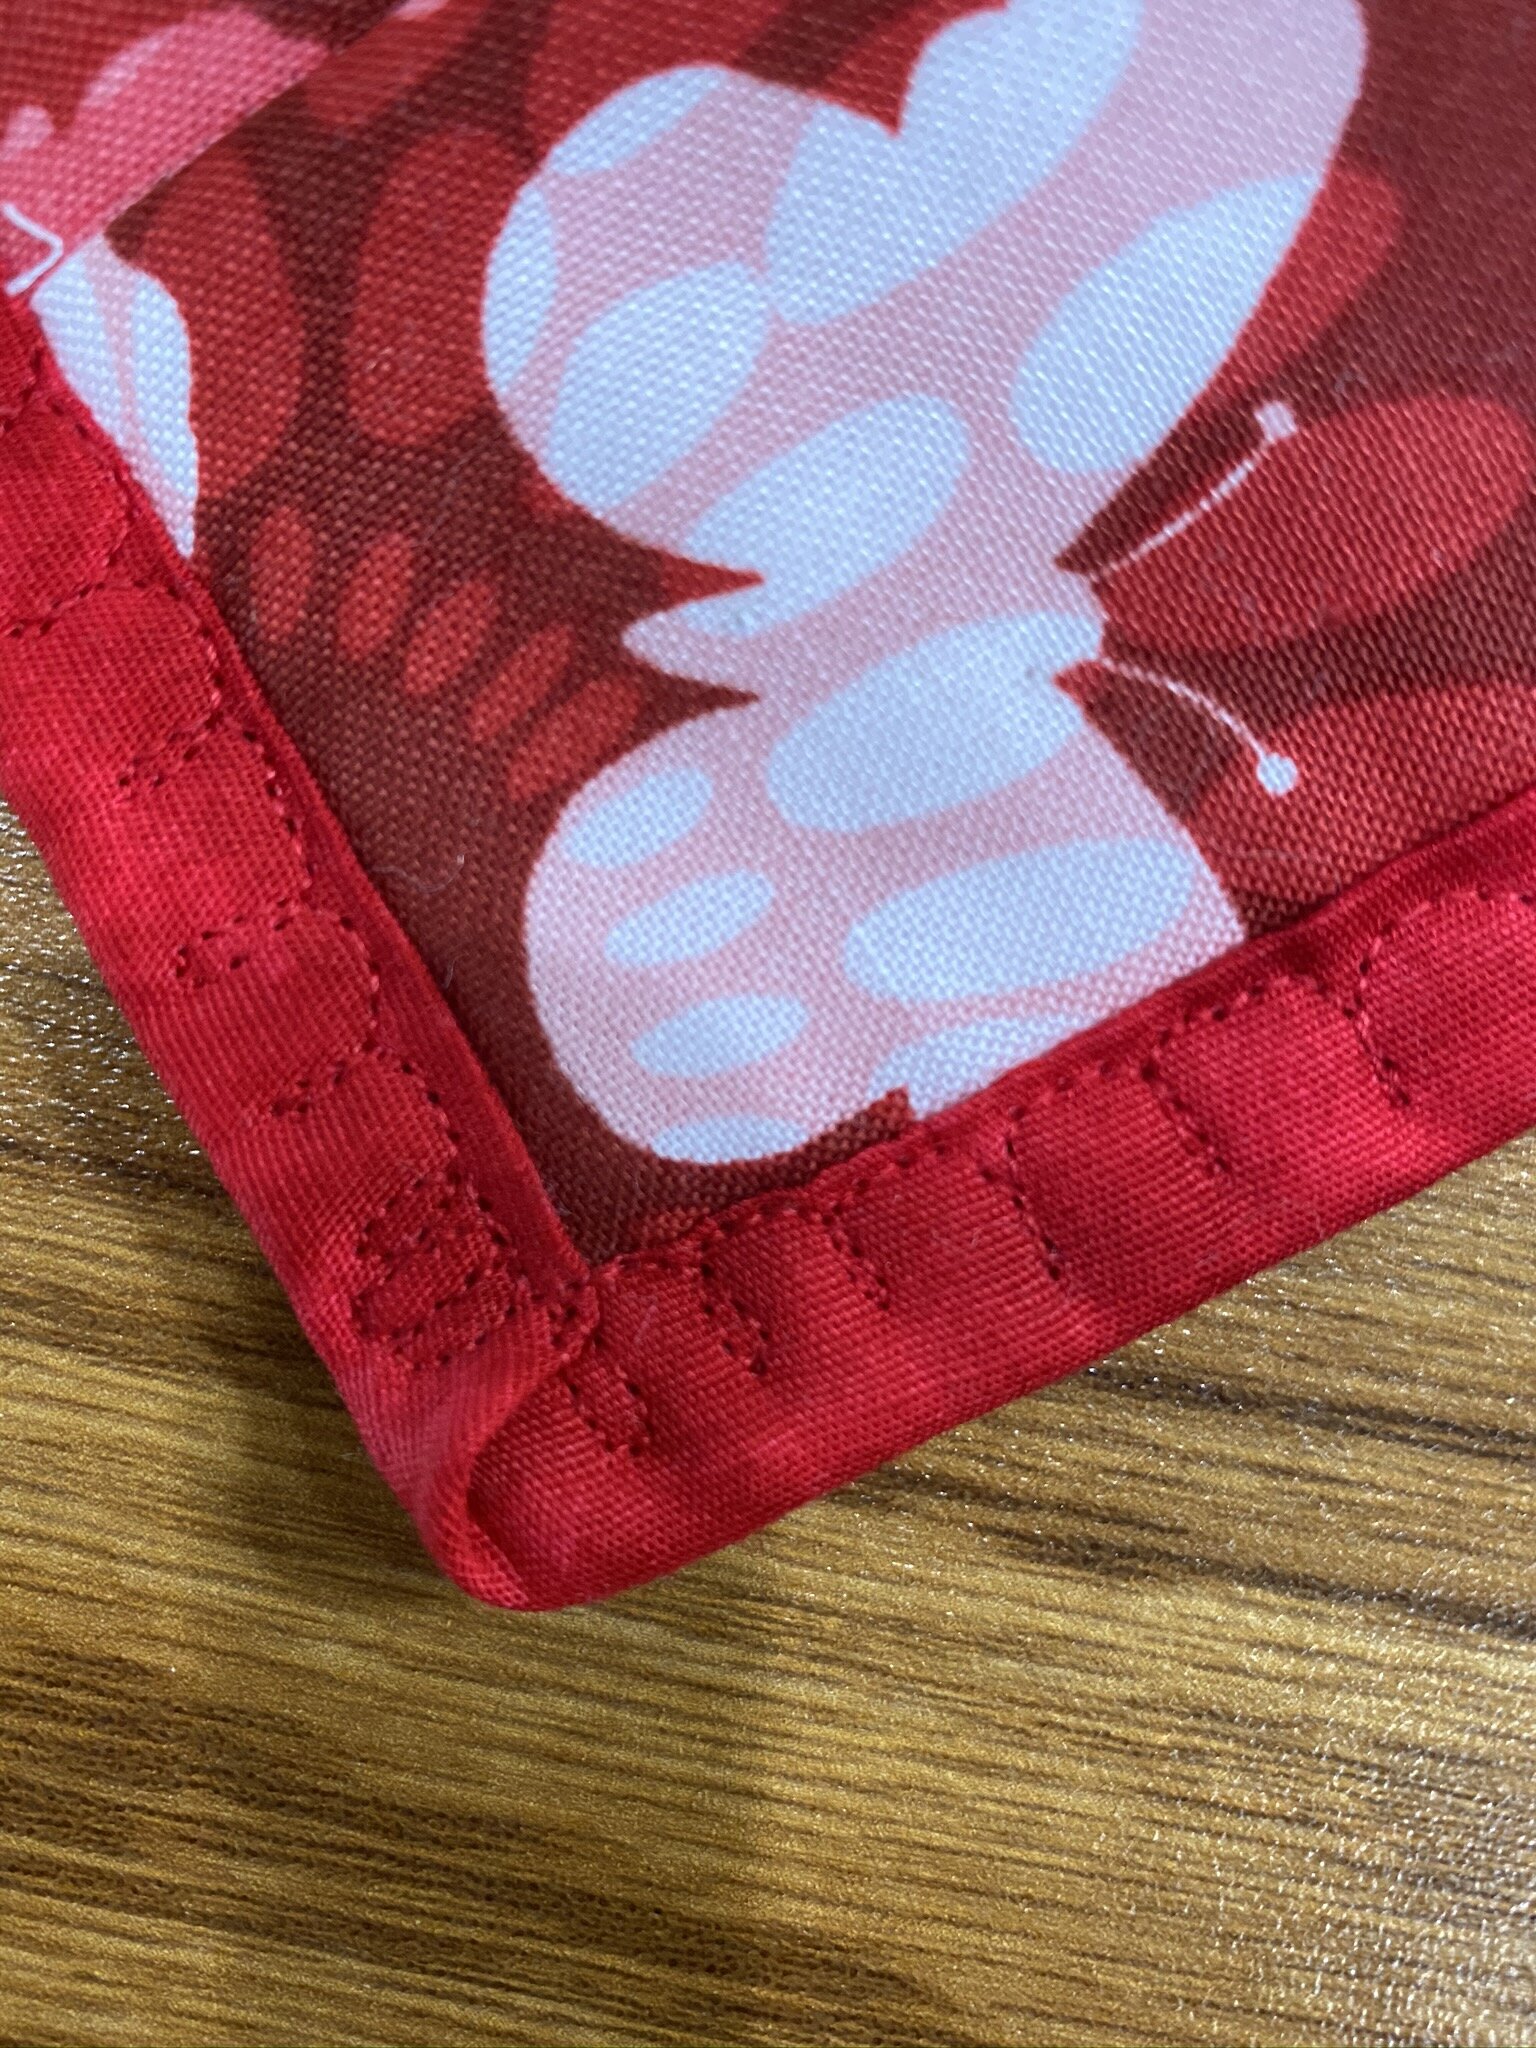
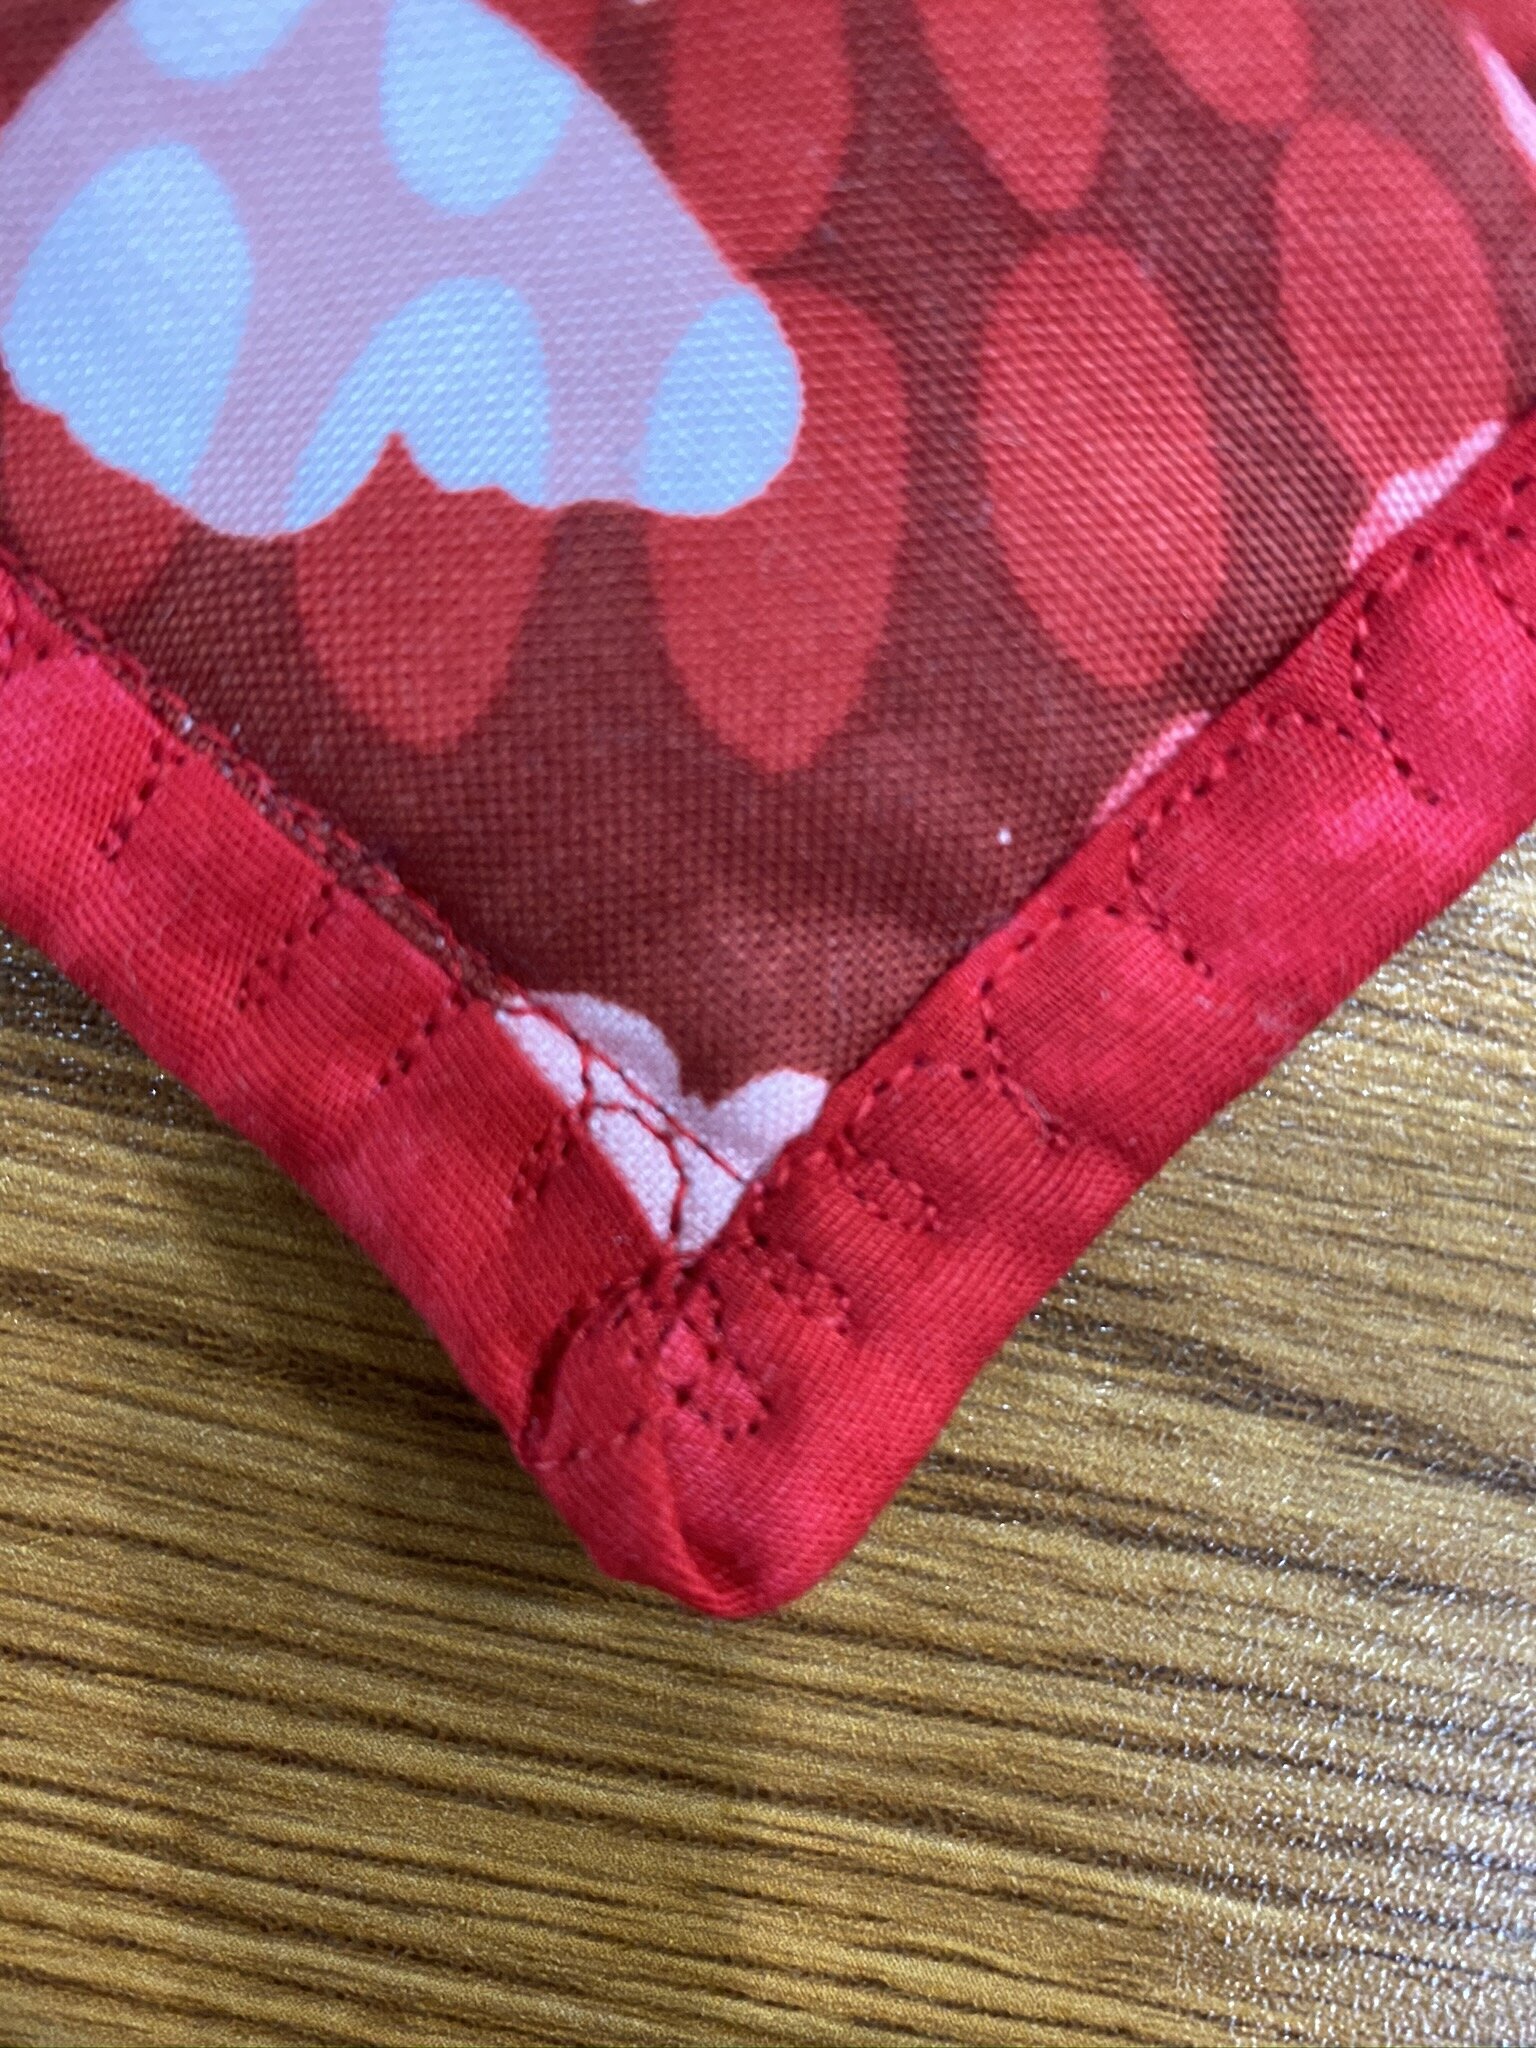
I’d mentioned during my “waffling” comments that I’d had difficulty with the corners in previous attempts at machine binding. That was the only reason I’d gone to the Jenny Doan well, to see if she had good tips. And sure enough she did—just sew right over the top of them! So I got my miters folded down neatly and then just continued the design right around the corner. It worked really well, 50% of the time.

Best corner in image on top; worst corner in image on the bottom. The other two were pretty dang good and not quite so bad, respectively.

The worst corner was the last one, and I think I was having problems with stuff getting a little stretchy by then. Plus I was wearing out (still allergy-ridden), so I wasn’t being quite as patient and careful.

But what do we say? Altogether now…

“Baby quilt. Baby quilt. Baby quilt.”


IMG_0696.JPEG

And in the same theme of using up my stash, the backing was a random yellow flannel sitting on my shelves that I can’t identify at all. No idea where or how it came to be living in my sewing room. Apparently it was waiting for me to have a new baby niece.

You can see the extremely simple ditch quilting I did on this puppy. I really wanted this to be as worry-free a baby quilt as possible for the parents, so I made an effort not to make an effort, if that makes sense.

Now that it’s done, I’m going to toss it in the wash with a handful of color catchers and a prayer that all that red stays exactly where it is.

Baby quilt. Baby quilt. Baby quilt.


#CDSI: Comp Day Sew-In & a Finish!

I spent almost all of Sunday on Zoom between church and a meeting, plus the pre- and post-meeting meetings. All good, but tiring. So today (Monday) was mostly a comp day with only about an hour and a half of work necessary to get a grant app in by the deadline. Someone else was doing the heavy lifting on it, so I feel very fortunate my part was low-key.

I really needed some breathing time after the events of the last week, as most of us do.

i spent the morning hand-sewing the binding on Baby Quilt #1. It is now officially a finish!

Adjustments.jpeg

I forgot to put a label in, but I’m okay with that. The backing is the sloth fabric as that was my favorite of the collection. It’s going through the wash now so I can deliver it as germ- and dog hair- free as possible.

i debated what to work on next, but then decided I should really just bang out the finish on Baby Quilt #2 so I can deliver them both by the weekend. That one is small enough I was able to baste it right on my cutting table. I just drape towels over anything around it to protect it from the spray baste. I found a very random yard of a yellow flannel—no idea why I had it in my stash, but I decided to use that as backing. It’ll be soft and cozy. I started working on the machine quilting—just doing ditch quilting—but suddenly lost steam halfway through. Oh well. I’ll have time tomorrow after work, I think.

IMG_0663.jpeg

I had gotten a notification today from Libby that the library book I have on my Kindle is due in three days. There are too many people in line for it to renew so I decided to end my day on the patio reading. I’m at about 30% through right now. Can I make it to 50% before I have to stop to make dinner?

IMG_0664.jpeg

It's open and I bit...Cotton Cuts Puzzle Mystery Quilt

Catan puzzle mystery quilt.jpeg

The Fall 2020 Puzzle Mystery Quilt just opened for orders today. I had picked out a couple of the colorways I liked but when I went into the website (and it’s still morning) those were already sold out. I debated putting my name on the waiting list for one of them but then as I was looking at the others I finally made the connection—this time the theme is games, and one of the colorways was named “Catan.”

Had to do it.

Our family has a long-standing history of Catan tournaments with my kids and their friends. We haven’t had one in awhile as the kids are all adults now and harder to track down, but we keep talking about it. I’m sure whenever we feel free to move about again, we’ll celebrate with a Catan tourney.

Admittedly, this isn’t my favorite colorway as I’m a bit concerned about all those mediums and darks, but I trust the designer. It may turn out to be my favorite yet. And if not, I have a few young adults I know who would appreciate the connection. Some gifting possibilities there.

These really are fun to do. Check it out at https://www.cottoncuts.com/about-pmq.

May 2020 Sew Sampler Box Unboxing

IMG_0630.JPEG

It helps being a bit behind because now I don’t think I have to worry about spoiling anyone else’s fun. If you haven’t gotten your May 2020 Sew Sampler box yet, though, STOP HERE!


IMG_0628.JPEG

This month’s theme is “Birds and Blooms.” Not that the theme has a whole lot to do with what’s in the box—sometimes more than others. But still, fun to see this on the top of the box and play the momentary guessing game of “hmmm. I wonder what this will mean?”


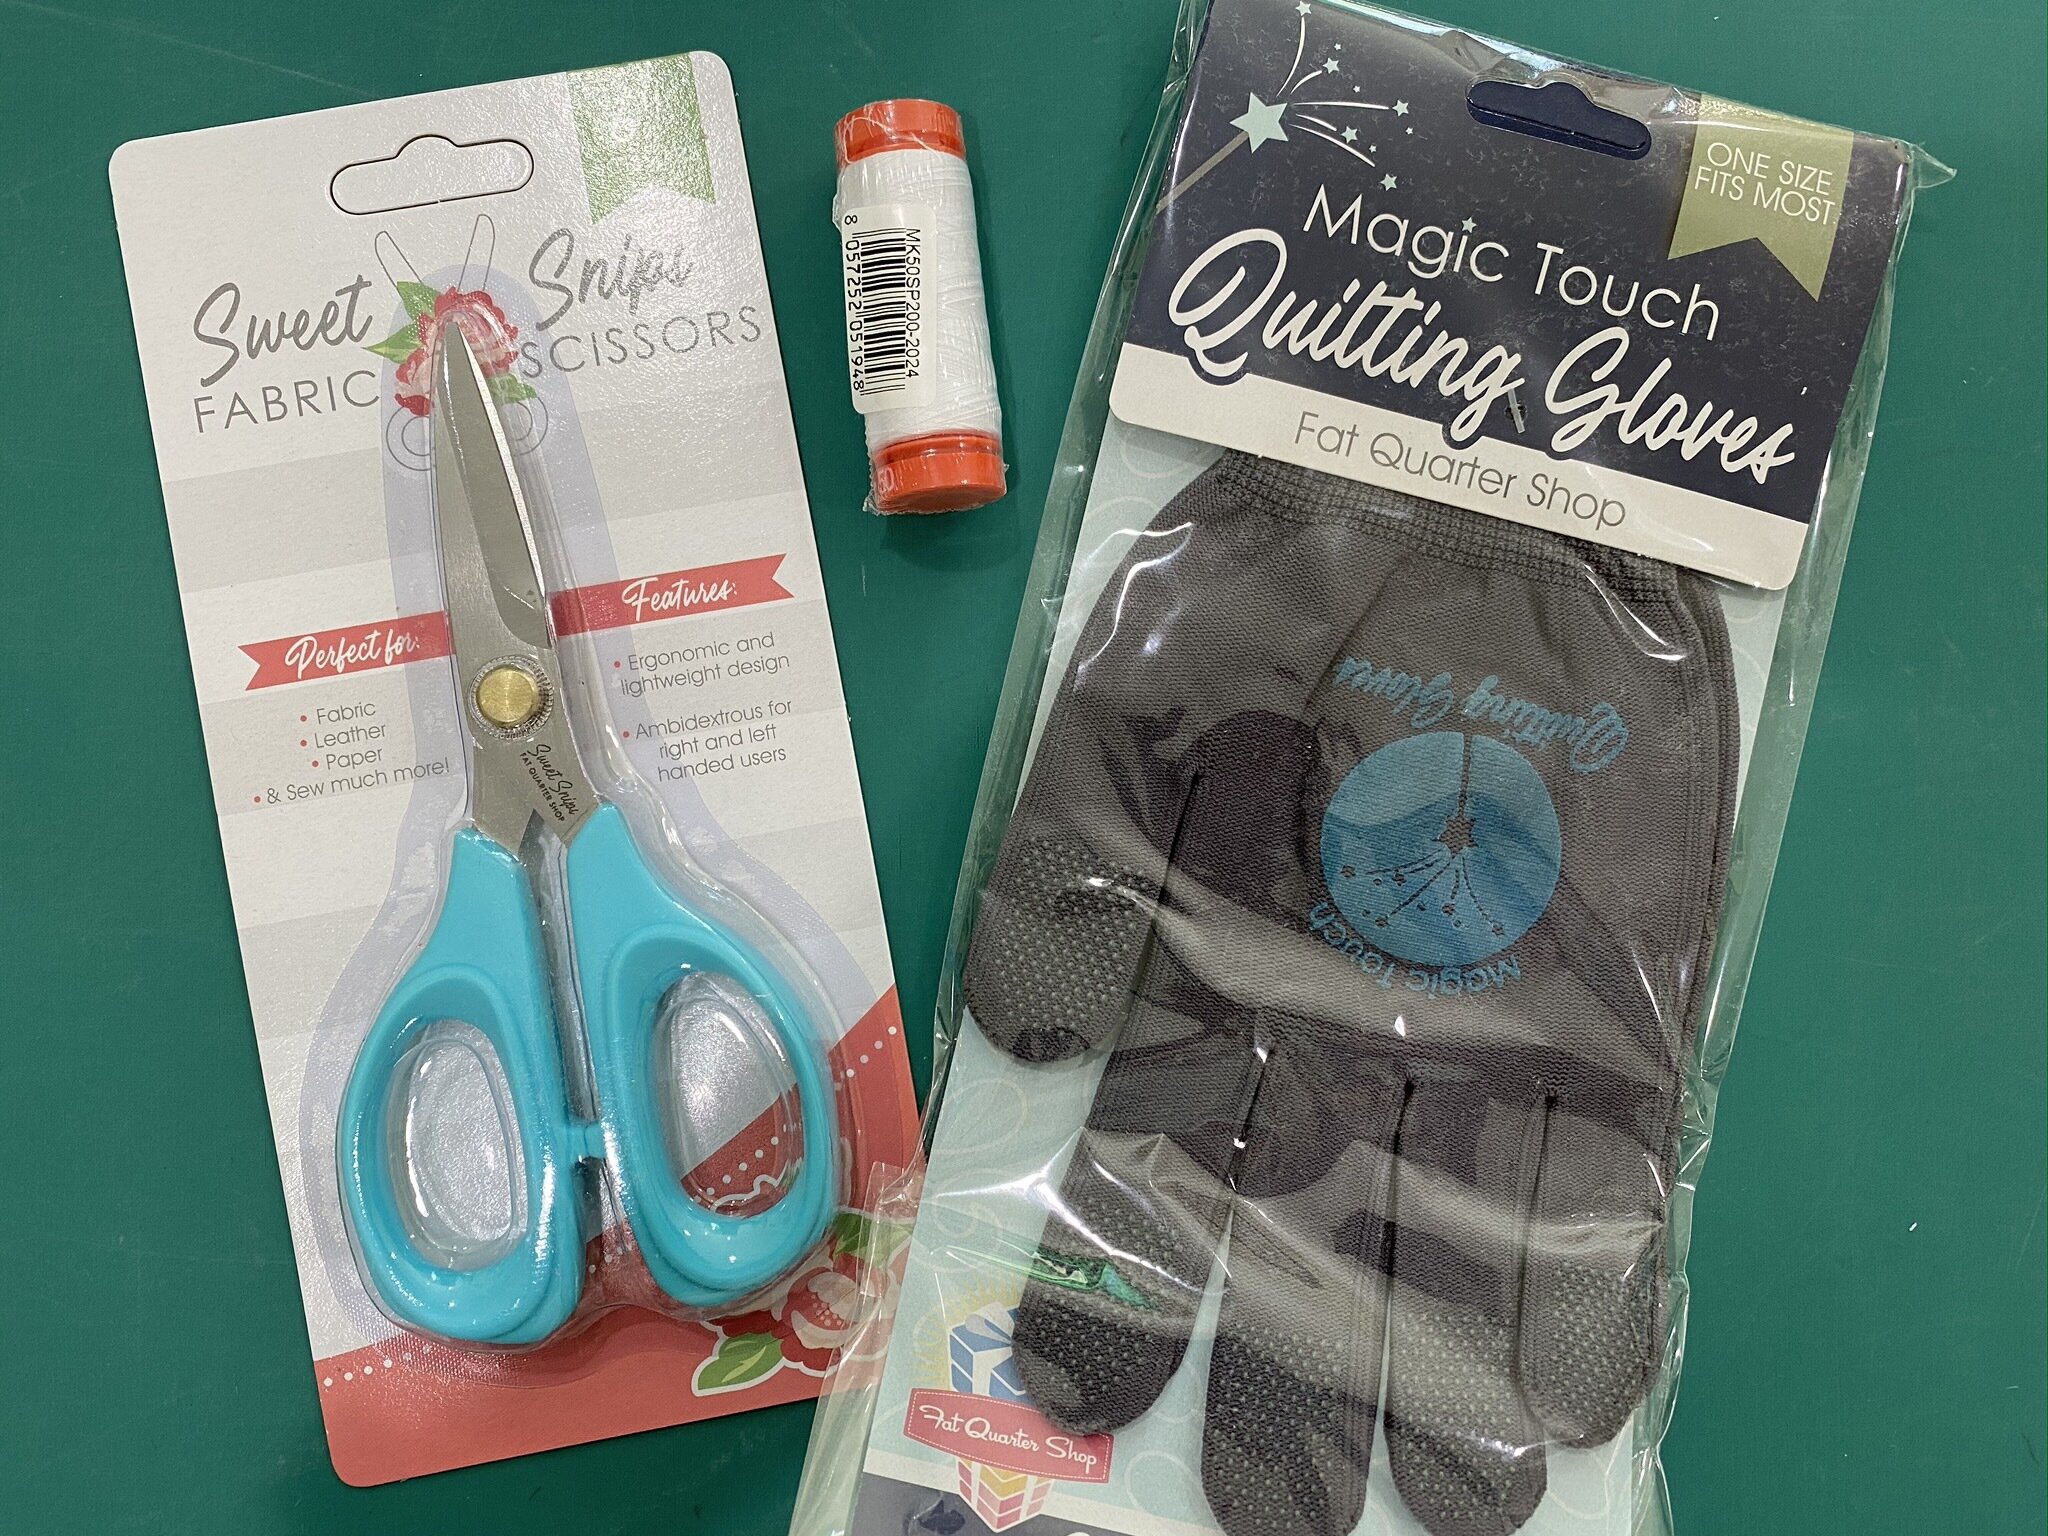
In terms of notions, this was a great month. These fabric scissors feel great in my hand and are well balanced. I have a really good pair of full-size scissors and a great pair of snips, but I tucked these into the tool holder on my sewing table as you never know when you’ll need to make a small cut somewhere.

Aurifil thread. What can I say? I’m a fan.

Quilting gloves. Niiiice.

And the usual patterns. The Rose Garden pattern is pretty. I could see myself doing that someday.

The other two are just nice little things to tuck away in case I ever want to use them. Probably in 5 years I’ll be going through the bin where I stash all these and ditch 80% of them, but they don’t take up much space for now.

And, as always, the fabric.

I couldn’t get a decent picture as I’d already rolled it out of its neat little package. It’s 20 layer cake squares of Bloomington of Lella Boutique for Moda Fabrics.

Of course, nowadays, I immediately think, “Which Accuquilt die could I use for this???” Hmmm.


Just another few words about those machine quilting gloves.

I’ve had my current gloves for well over 10 years.

They’re pretty disreputable, and pretty stretched out.

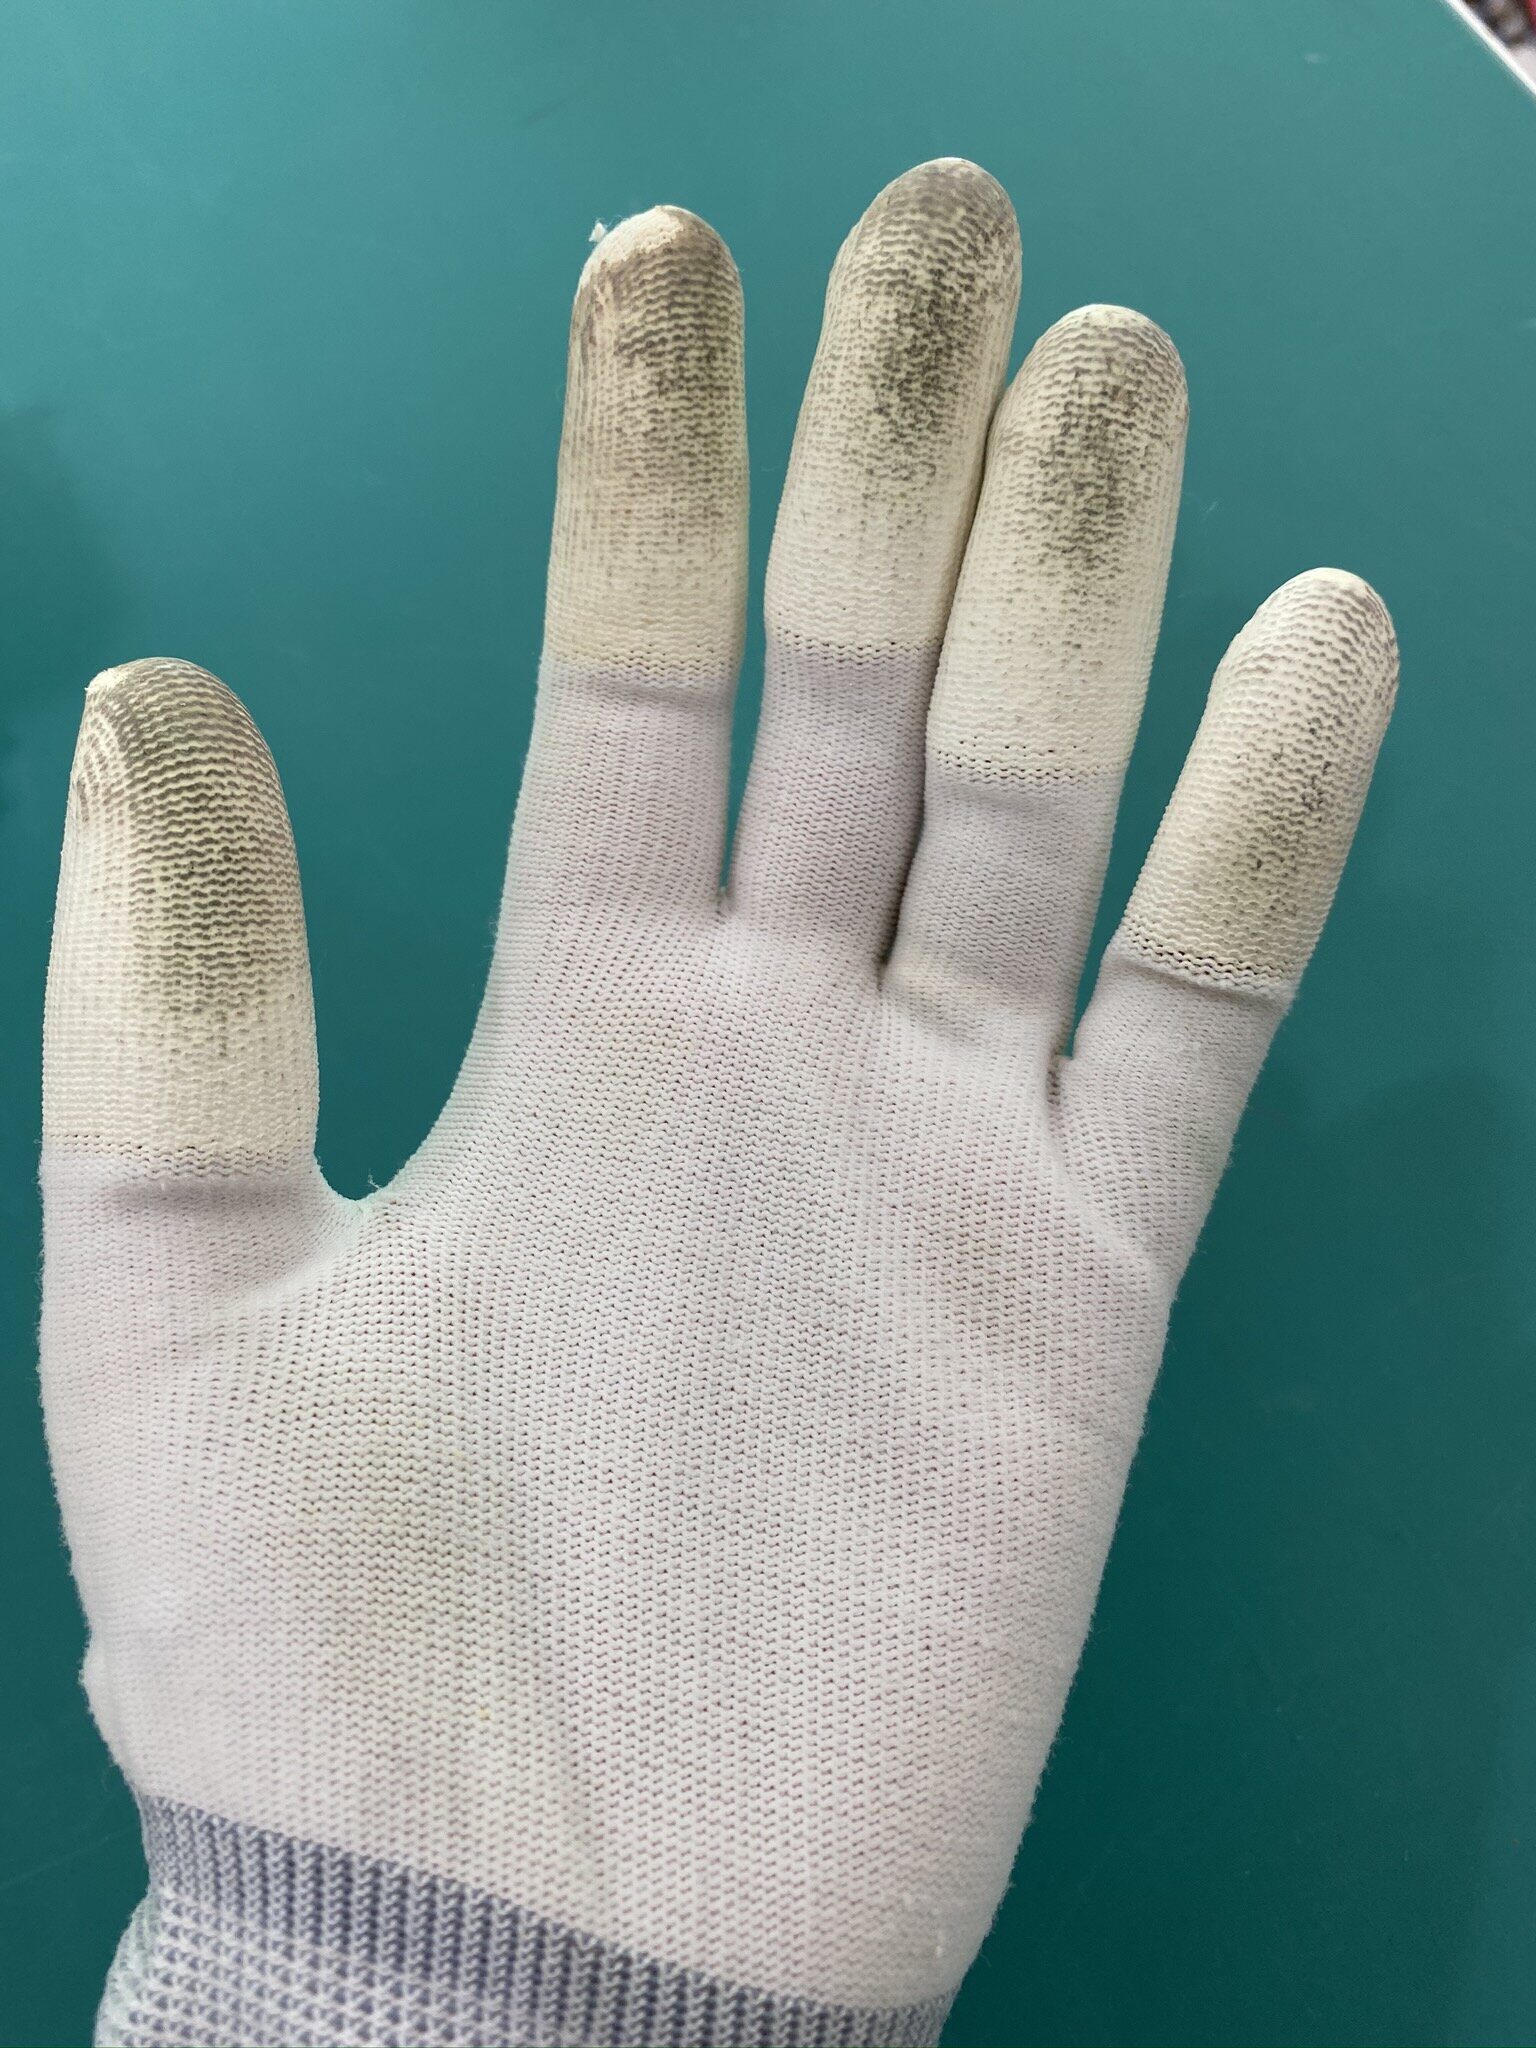
I tried on the new ones and could immediately feel such a difference. They fit more snugly so they won’t be slipping, and I love that they have the decal on the palm so that all the grippy isn’t just in my fingers.

And the gray won’t show wear and tear as easily.

A win all around.

Because I have problems throwing out quilt supplies, I’ve put my old quilting gloves in my retreat tackle box/tool kit, although I never do machine quilting on retreat because the set-up is so bad for it. Still, ya never know.

I was pleased with this box, especially with the new gloves. Very nice.

Cotton Cuts Fabric Box Unboxing

Well, not the actual unboxing. I did that a couple of days ago. Just pics of what I got.

As you may recall (I think I mentioned this in a blog post awhile back), now that I’m back to sewing I decided to do the Cotton Cuts fabric club again. I’m doing 6 @ half-yard fabrics. I’m not sure how long I’ll do it, but it was sort of a celebration-of-quilting-again gift to myself.

IMG_0622.JPEG

The three on the left are all batiks from Indah Batiks based on an original ME + YOU by Sarah Sharp design for Hoffman Fabrics. They’re pretty enough, but the fabric doesn’t have a particularly nice hand to it. Batiks are always a tighter weave and stiffer fabric but these feel a bit rough.

The two on the right are from Brightly Blooming by Laura Muir of Create Joy Project for Moda Fabrics.


IMG_0624.JPEG

I had to do the 6th fabric separately to give you the full effect.

Yummy.

If you couldn’t tell, it’s the same Brightly Blooming by Laura Muir line as two of the above. I’ll have to find a project that will let me cut this in larger chunks.

I think I already have enough totebags to last me a lifetime, so that’s not on the table.

Anyway, this shipment was worth it for this one fabric.

I’m scanning them directly into EQ8 to give them more of a chance to get used anytime soon.

Memorial Day Sew-In

A little o’ this, a little o’ that…all-in-all, a pretty productive day.

I started out my personal quilting retreat day by putting the bindings on Baby Quilt #1. I decided to hand-stitch the back down rather than doing it all by machine because I’m just not good enough at those corners yet on the machine bindings. So I can’t quite call it a finish yet as I need to do the hand-sewing. However, I really enjoy doing that—it’s pretty relaxing—and I can do it while watching TV tonight so it’s very close. No pics until it’s a finish.

IMG_0634.JPEG

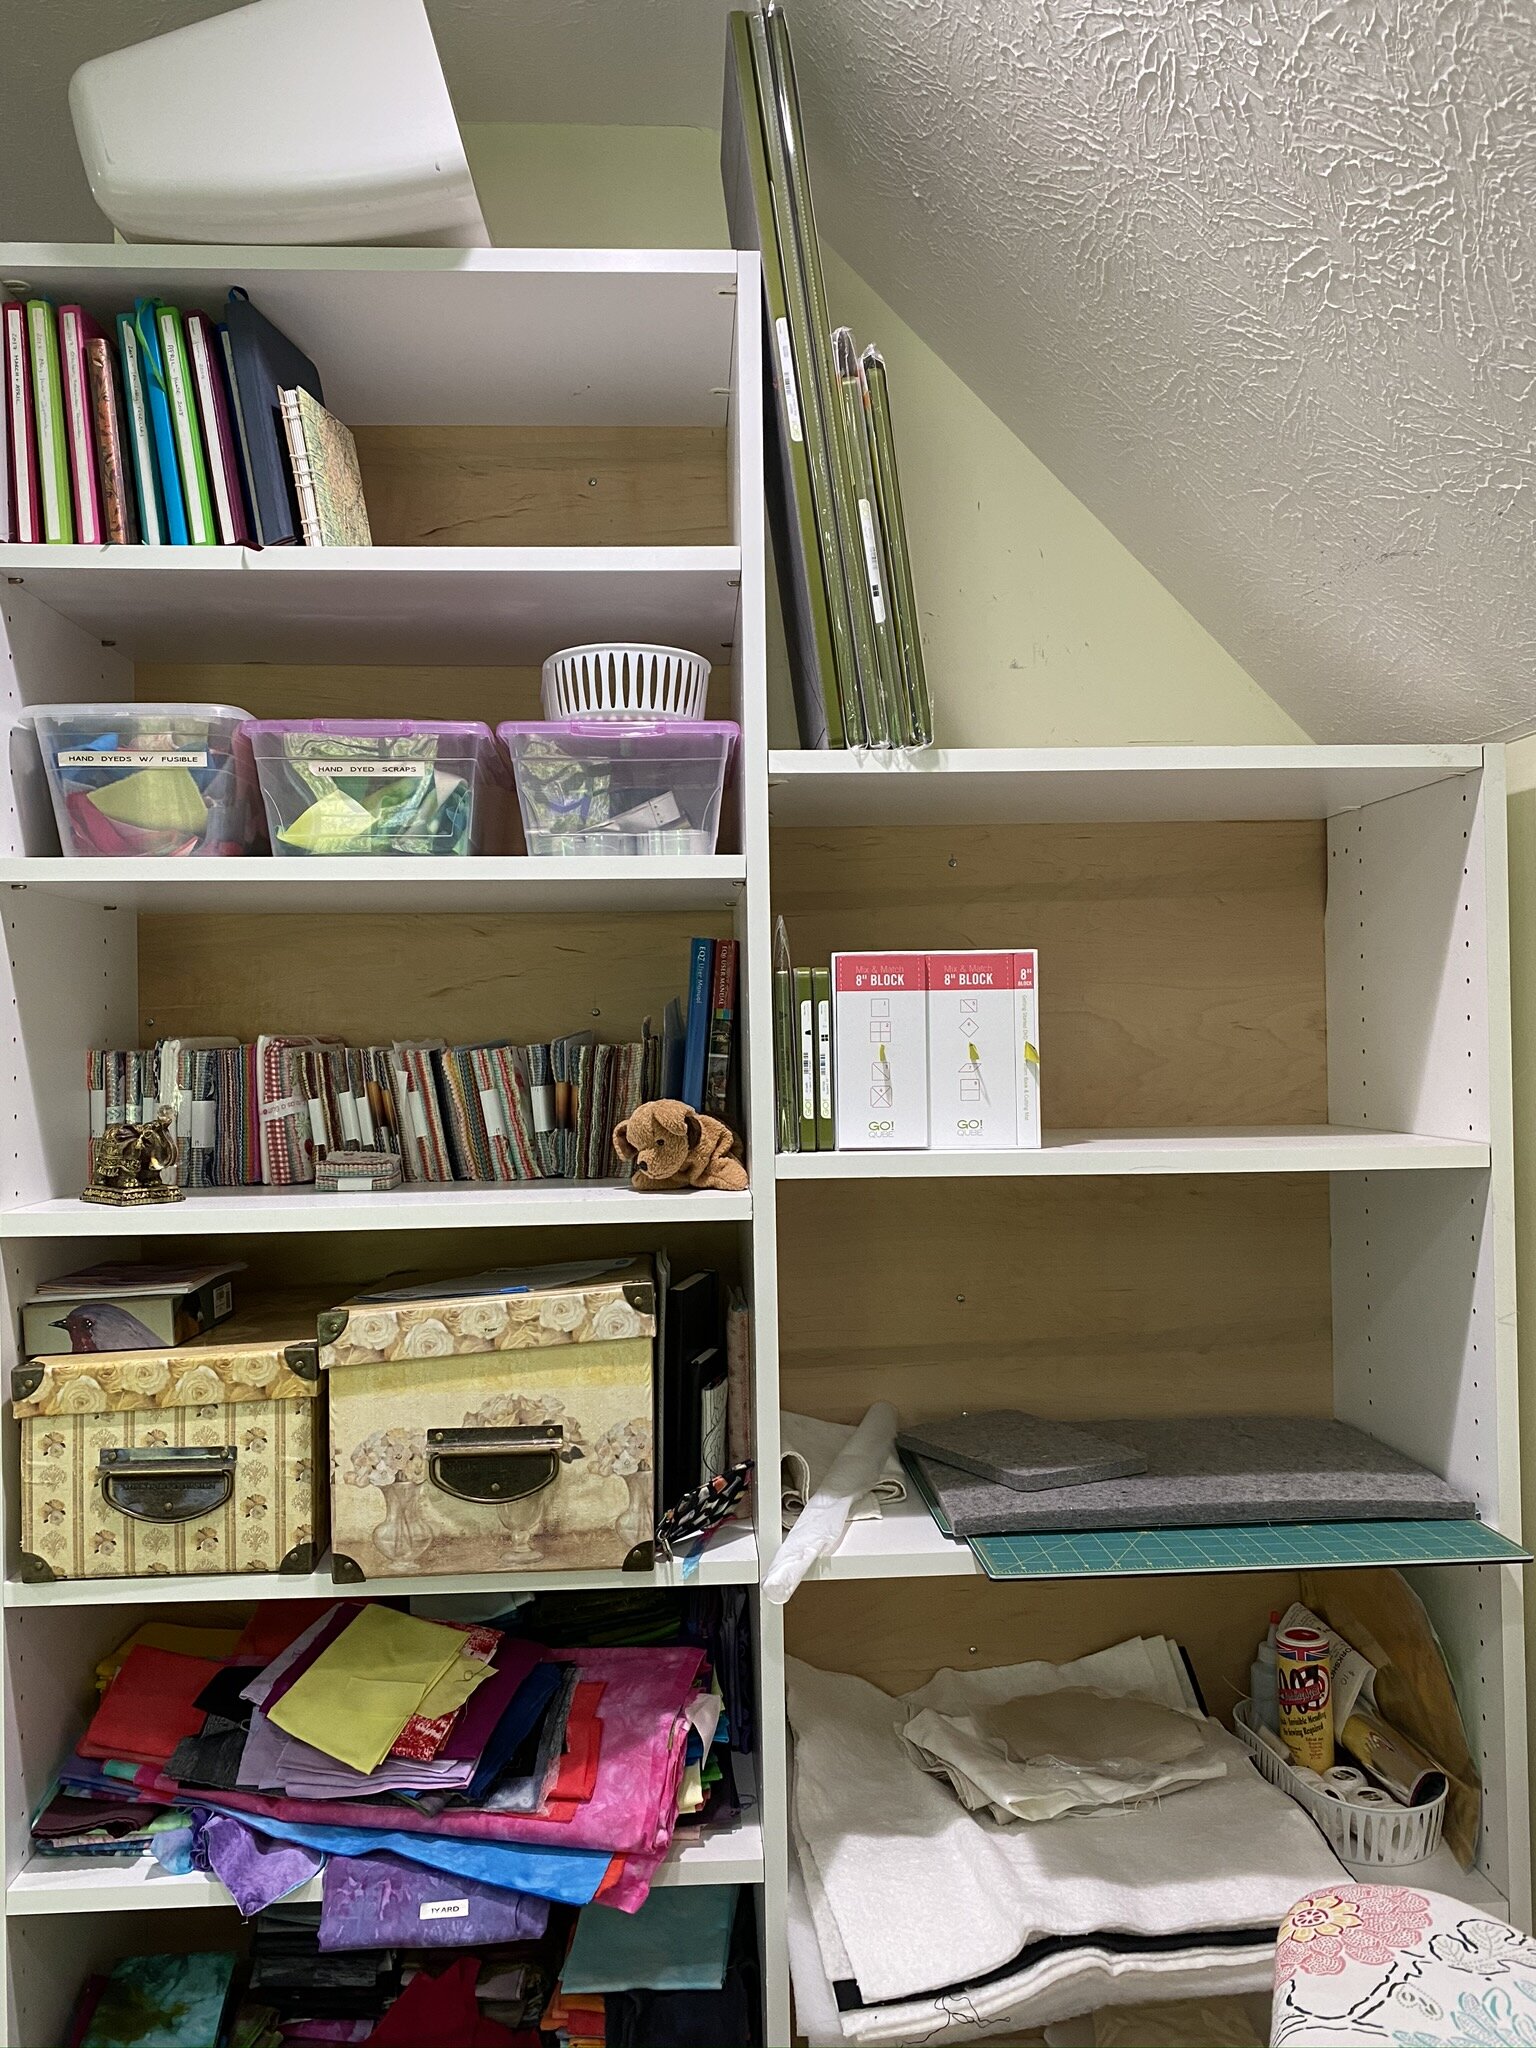
After that, I debated what I wanted to work on next and decided a little organizing was in order. My former home office is still my home office but absent this pandemic isolation is no longer my full-time office. I now have an office outside of the home. I’ve been wanting to clear off several shelves of former work stuff that either needs to go into my new out-of-home office, get put in storage, or just get dumped as it was related to old work and not current work. As I’m now also collecting some Accuquilt dies which have to be stored standing on end, my best bet was just to finally get down to clearing off those shelves.

The tall dies fit perfectly in the slope of the ceiling. I’ll get a rack so they can actually stand up straight. The smaller dies are on the lower shelf and yes, I’ll be putting those in a rack too.

I didn’t take a before picture, but it had gotten pretty bad. This is a pretty serious difference. It’s amazing how much stuff just keeps getting stuffed on a shelf when one wasn’t even quilting anymore. You may not be able to see it that well but I also moved my charm pack collection from the drawer where it had been to being lined up on the shelf to the right. They’re more visible and, therefore, more likely to get used.


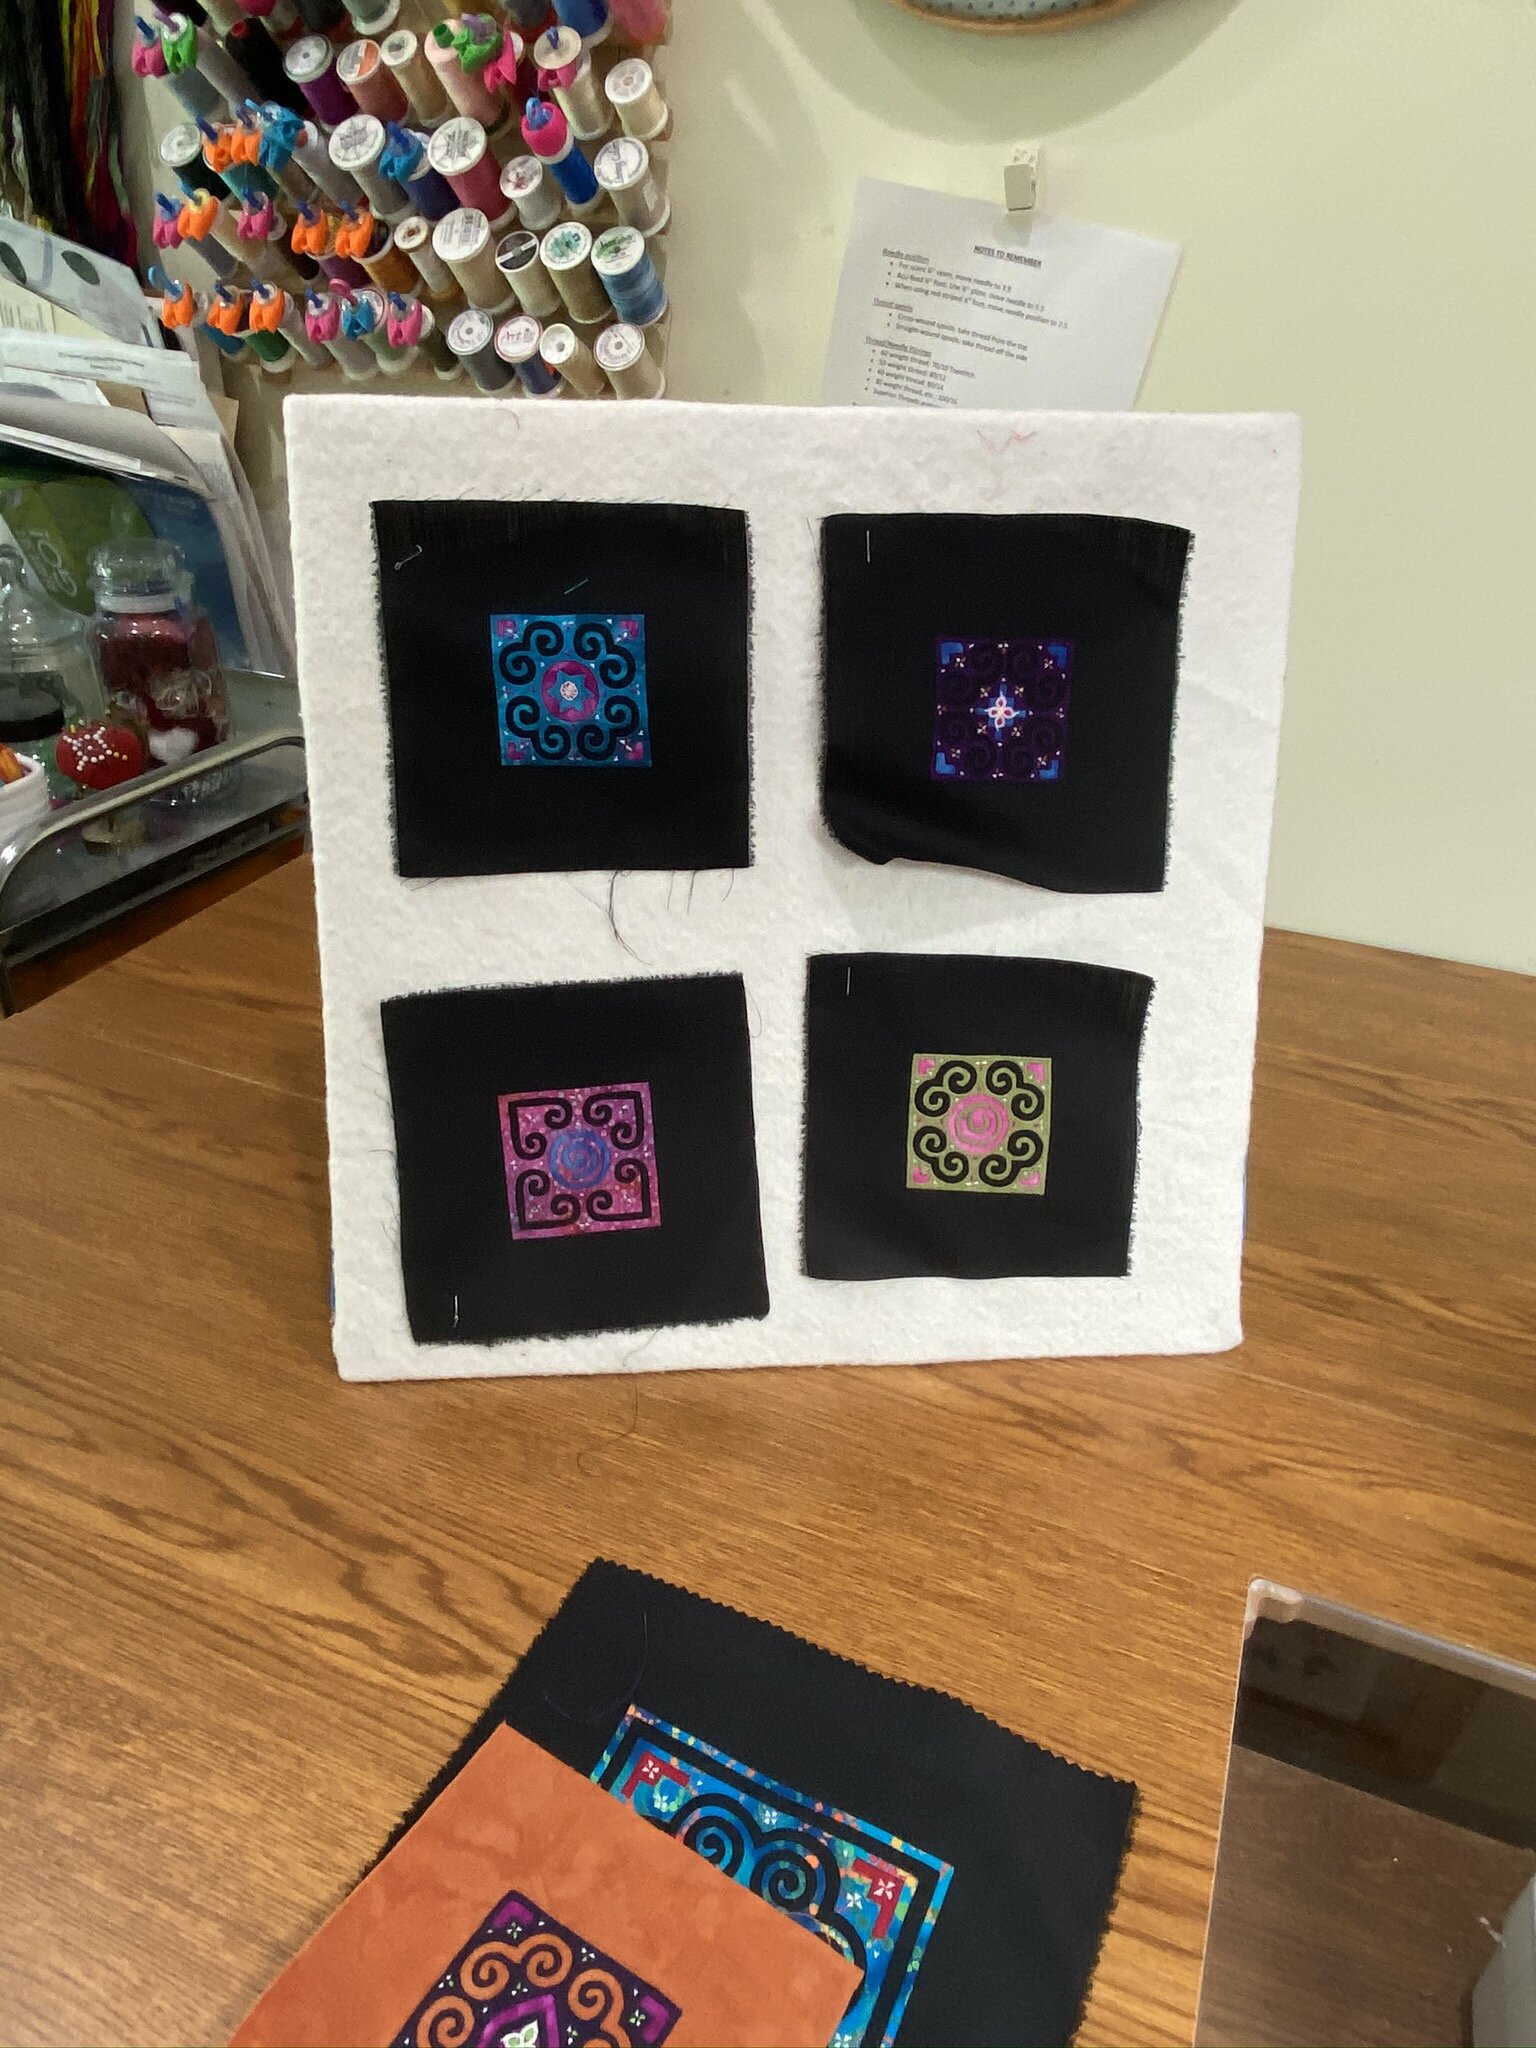
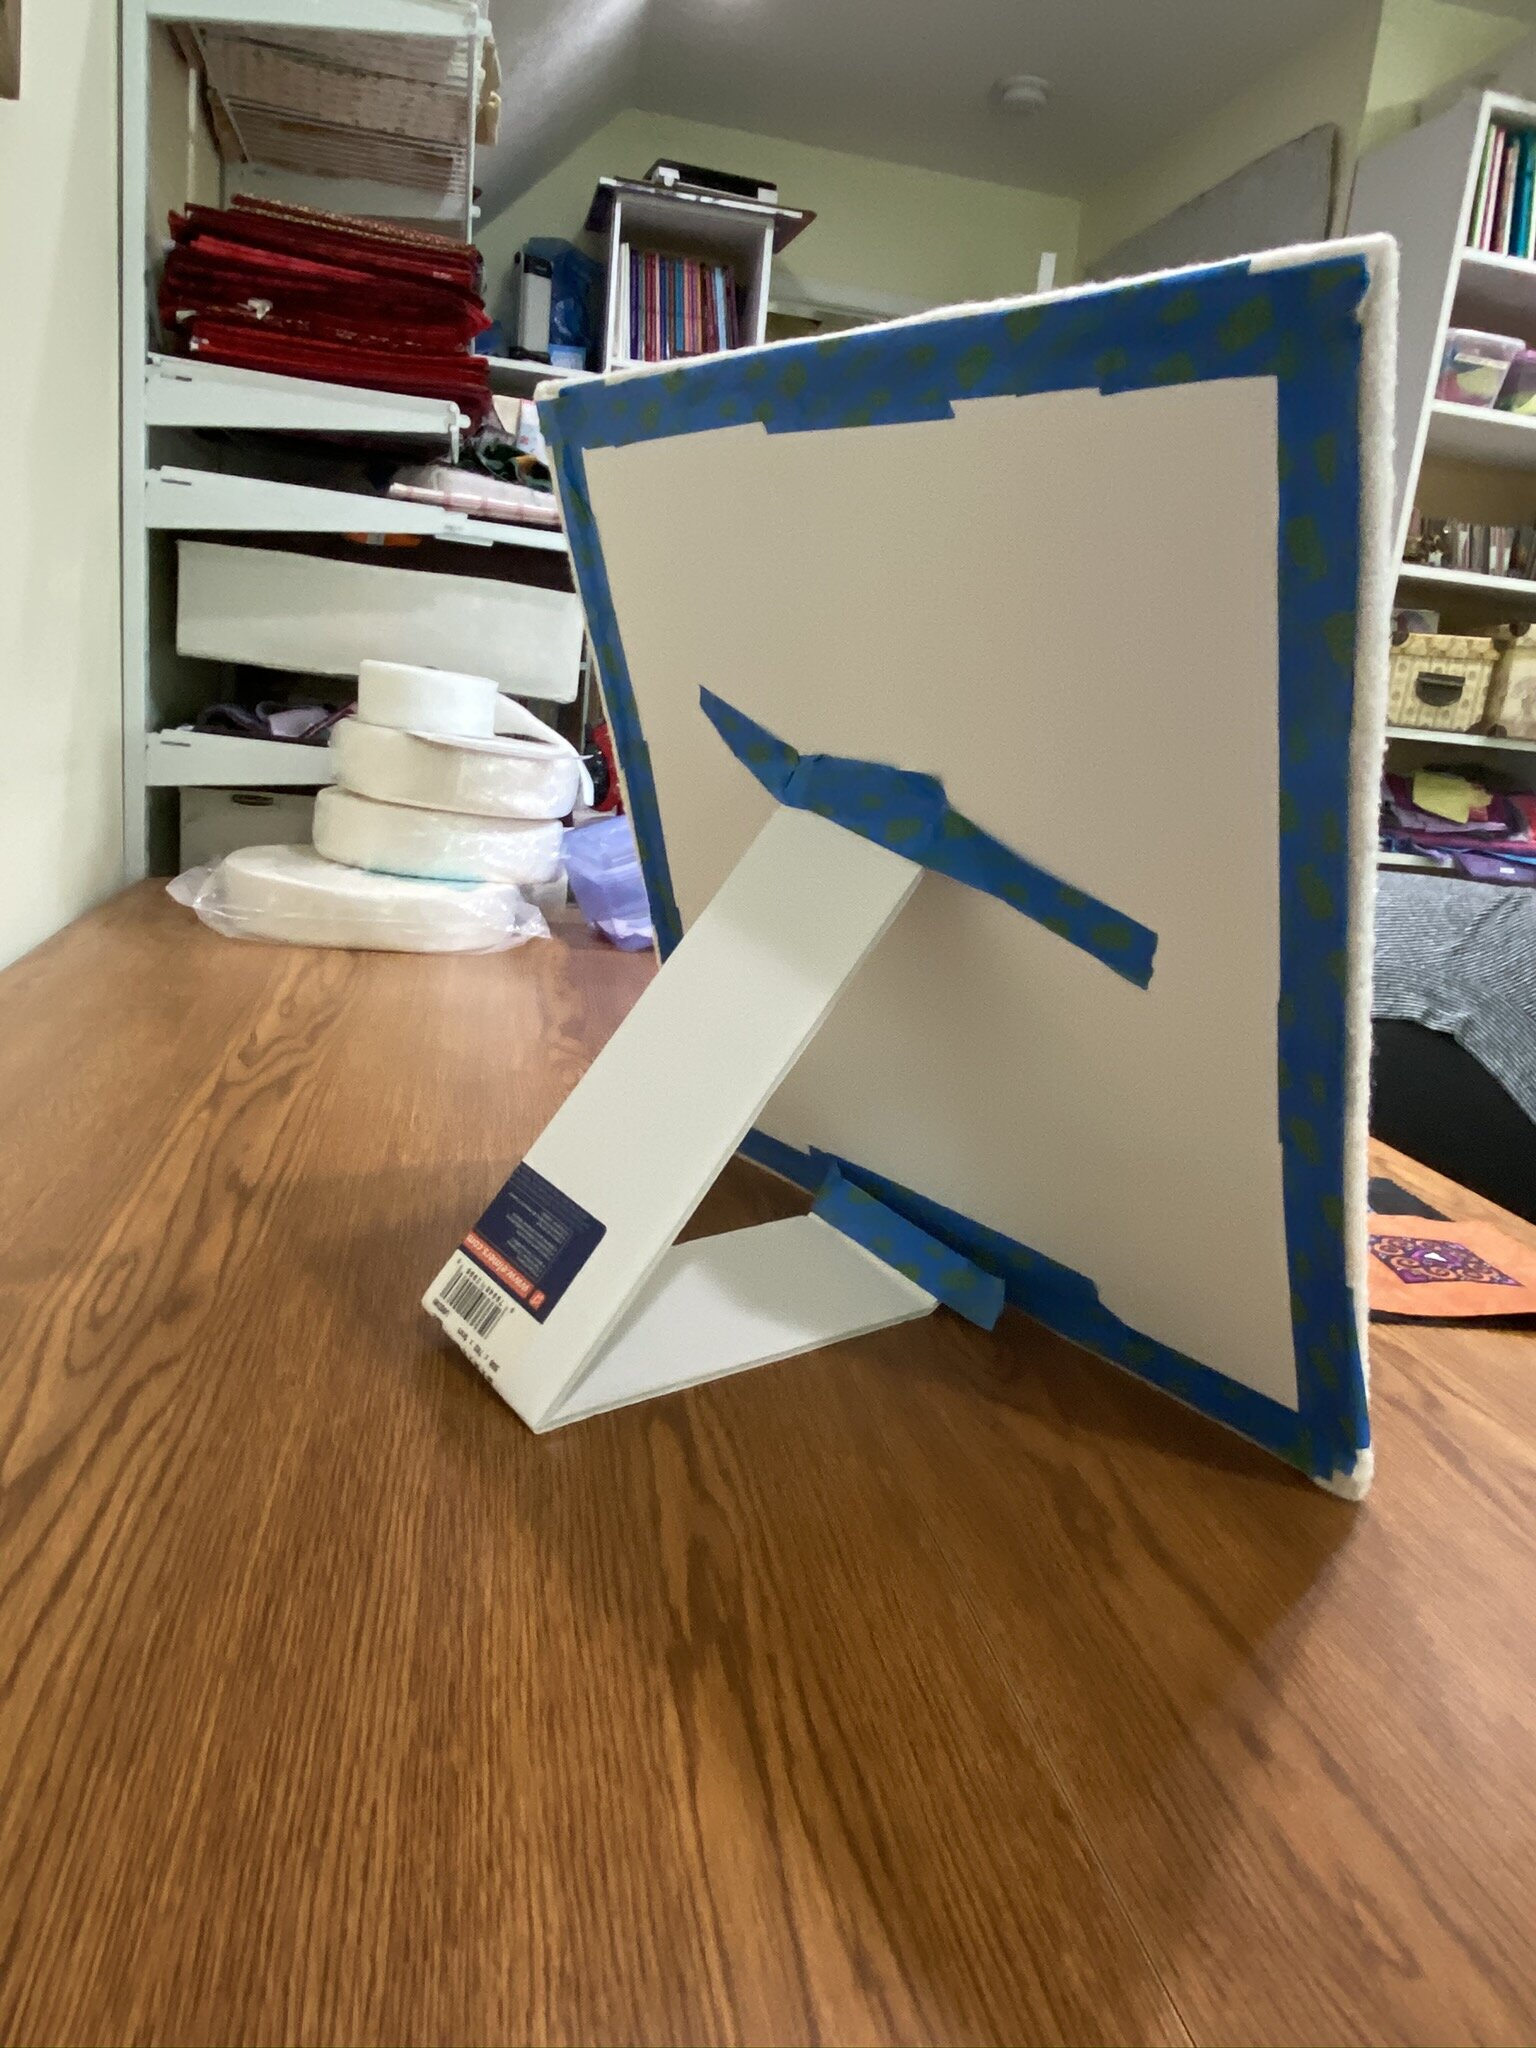
Then…what does one do when one finds a whole stack of batting samples one had purchased at some quilt show or another, and a piece of thin foam board left over from some work project? Why, one jerry-rigs a 16” small design board to sit next to the sewing machine.

It’s not pretty and I’m not sure how long it will last, but I feel better than I would have ditching the last scrap of perfectly good foam board.

I already have a block design board that I got from a woman at guild, made much more securely with a heavier foam board, better batting, and actually stapled down. But that one is big enough for 3 or 4 blocks, depending on the size, and takes up a lot of room next to my machine if I’m only working on one block at a time.

Anyway, I feel all sorts of industrious. And that’s what matters.

(The blocks on the board are some Hmong blocks I’d picked up somewhere. No idea what I’ll do with them, but they’re exquisite and my Mom always loved Hmong applique so they remind me of her. Someday I’ll figure out a project for them.)


IMG_0635.jpeg

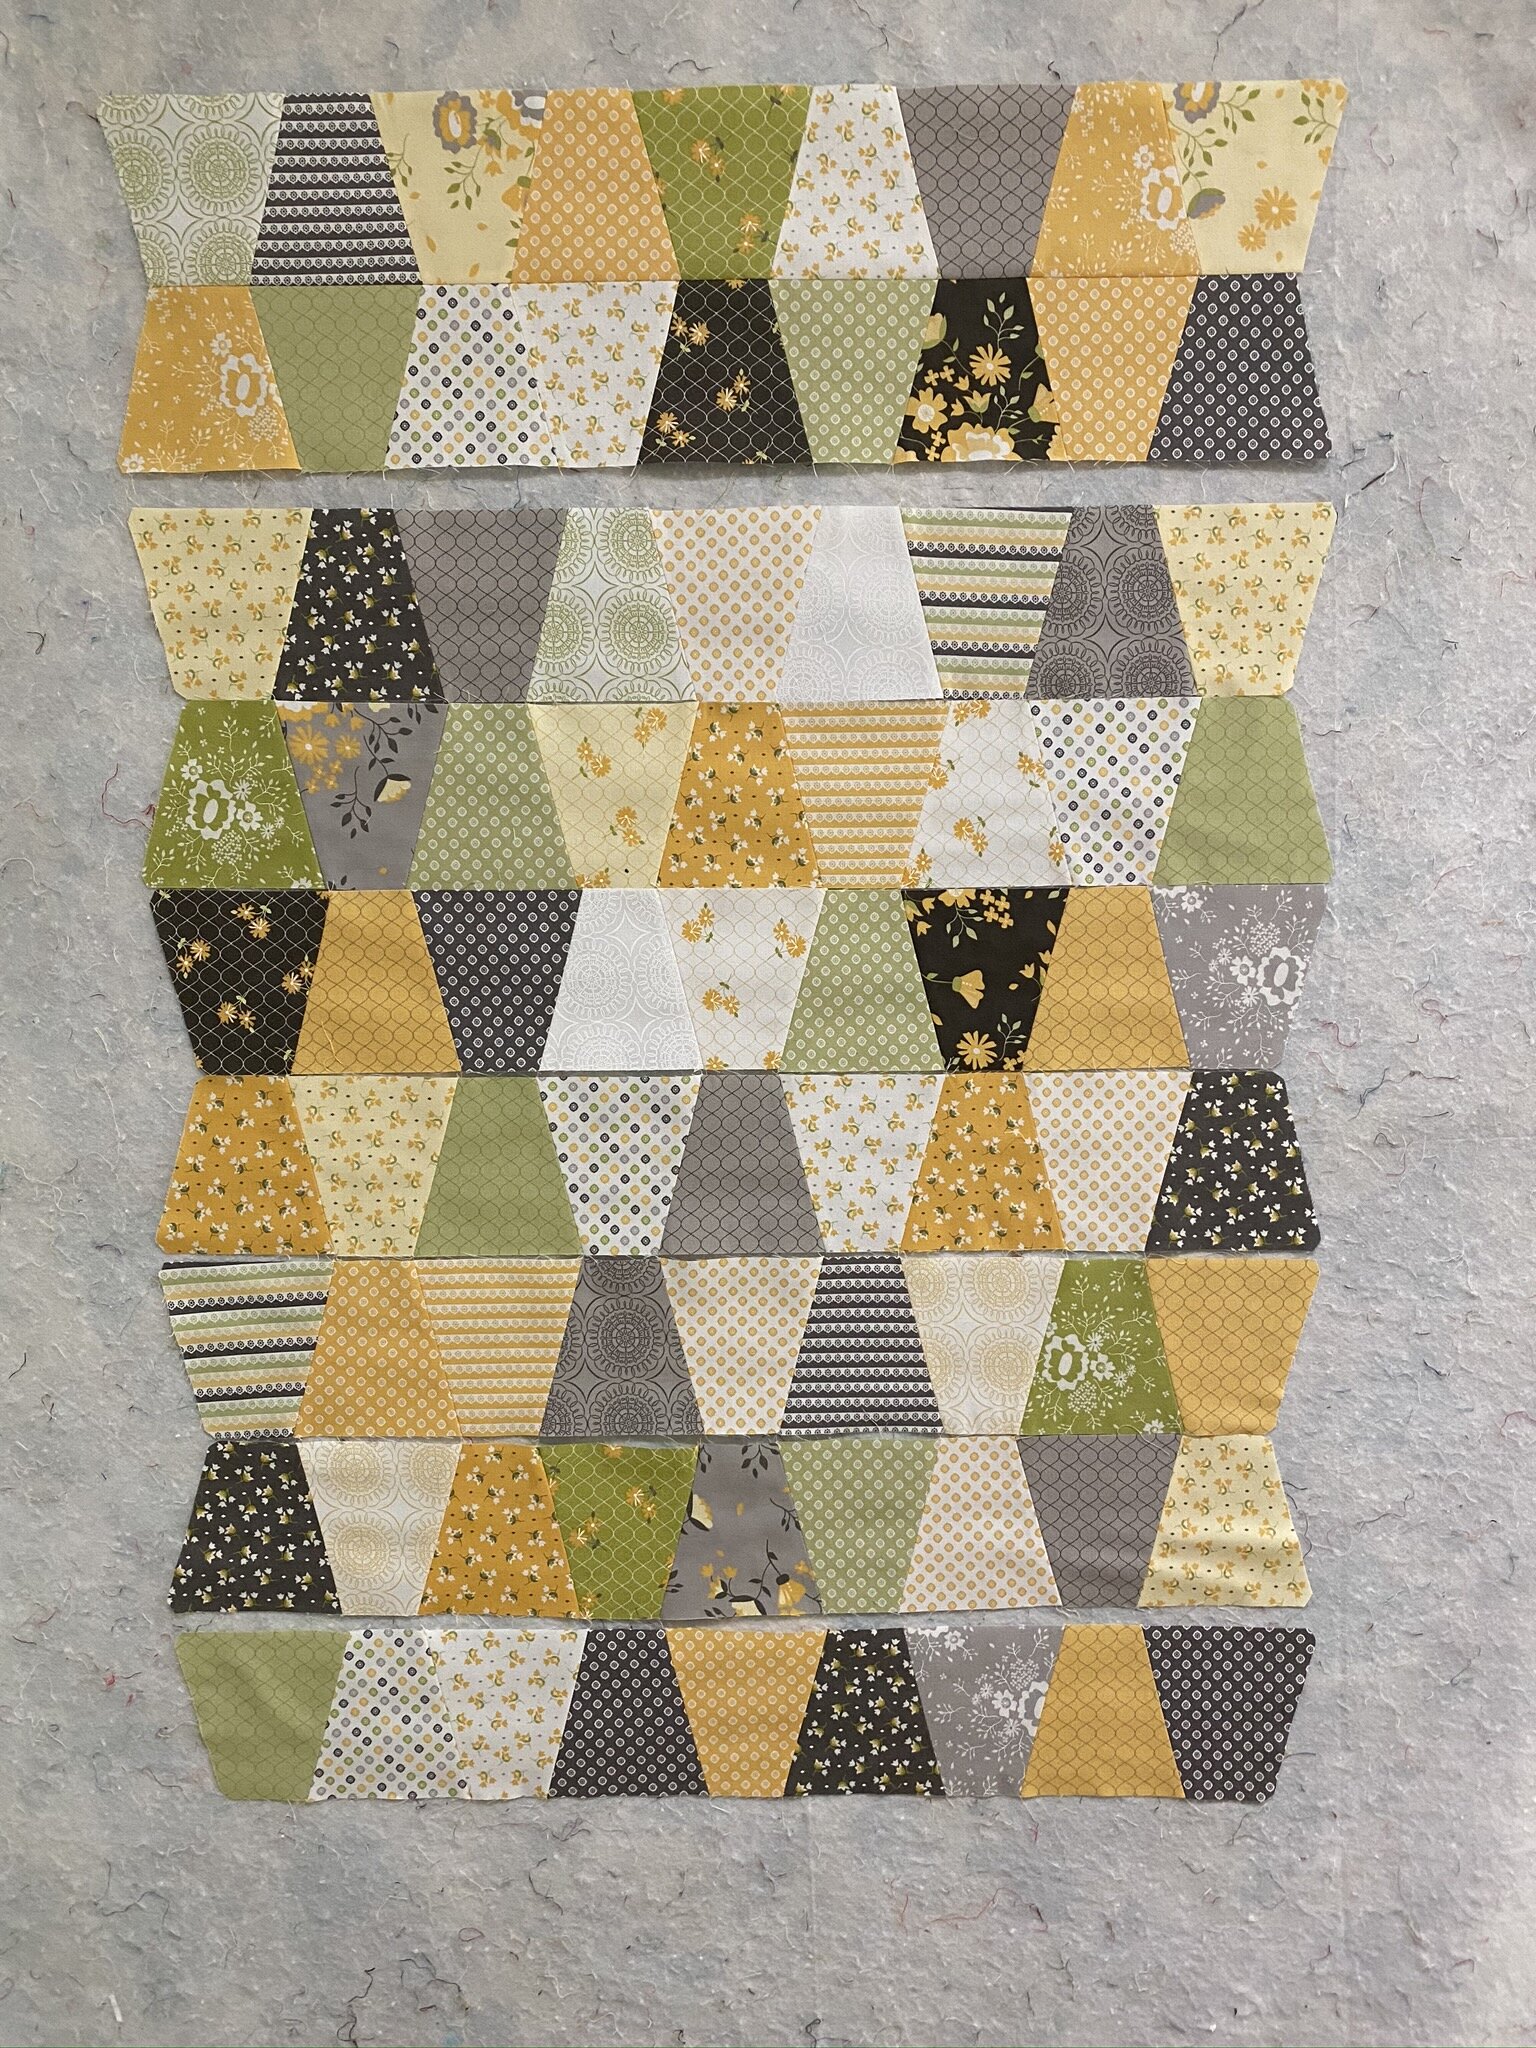
Once I got that done and had lunch (grilled cheese and tomato soup made by my wonderful daughter, the world’s best grilled cheese sandwich maker!), I returned to my sewing room and thought, “What sounds like fun right now?” My eyes landed on a 5” x 10” fabric collection I’d gotten from one of the Sew Sampler boxes awhile back. I had pulled it out of the drawer when I was removing charm packs and tossed it temporarily on my sewing table. I hadn’t liked the pattern that had come in that box so the fabrics had gotten stashed and forgotten. Now, looking at them as I returned to my sewing retreat day, I immediately thought, “Ooh! I can use my tumbler die!” Sure enough, perfect size to get two tumblers from each piece of fabric. So, without any plan at all, I just started slicing up tumblers.


IMG_0636.jpeg

It won’t be big enough to be much more than a lap quilt. I lost steam before I could finish piecing the rows together.

I decided to press all the seams open and I think I’m regretting the choice. A couple of my corners aren’t meeting exactly—I think it would’ve been a little easier if I’d been able to nest the seams.

And random is the hardest, isn’t it? No matter how much I’d laid everything out and tried my hardest to keep everything straight while sewing, I ended up with a number of pieces in places I know they weren’t in the layout pre-sewing.

Oh well, this was just a play project, so I’m not going to sweat it.

It’s been a long, productive day. Time to go relax on the patio.

If only I’d listen to myself sometimes

No spoilers here as I’m several months behind the clue schedule on this one, so this has already been revealed.

Finally got the 2019 Cotton Cuts Puzzle Mystery quilt top pieced! It took longer than it should have because, well, I’m me. And I do stupid things. Even when I’m screaming at myself, “Don’t do it! Don’t do it!” I still do it and live to regret it.

I finished piecing the center top and thought, “I’m done!” I knew there was a collection of fabric that had come with the last clue but somehow had it in my head it was backing and binding.

Nope. There were two more borders to be done.

IMG_0616.jpeg

The first border went along quickly enough—just strips of fabric. But I somehow totally got in my own head on the last border that had cornerstones. I’ve done them before, I know how to do them I didn’t have a problem with them. But this time on the third side (first cornerstone), I cut the strip too short. So I had to add a piece back in to get the cornerstone to match. Nope. Measured wrong. Seam ripper back out, cut a new piece, got it right.

For the last border I started doing the measuring thing and it didn’t seem to be coming out right so I finally cut to the chase, hung the quilt and border back up on my design wall, matched out where that cornerstone had to hit, drew a line with a pencil, added a quarter inch and hacked off the rest. Problem solved. Who needs to measure?

Anyway. Done.

Nope, don’t love it. It’s just not my style. Too pastel, I think. I’ve seen 30s fabrics quilts before that, even though they weren’t my style, I liked. Can’t like this one, so I think it’s the pastel. Still, someone in my life will likely enjoy it—someday. Once it’s fully done I’ll put it on a closet shelf until a gift-giving opportunity offers itself.

(With thanks to my old quilt hanger who is back to living with us during her isolation, although she’s gotten word she needs to be back in the office full time again starting the first week of June, so she moves back into her apartment next weekend. We’ll miss her, and her cats!)

I’m trying to decide what project I’ll work on tomorrow. I do need to get bindings on the baby quilt but that won’t take that long, and I’m hoping to have some more extensive sewing time, so I thinking about what will feel like fun. So stay tuned.

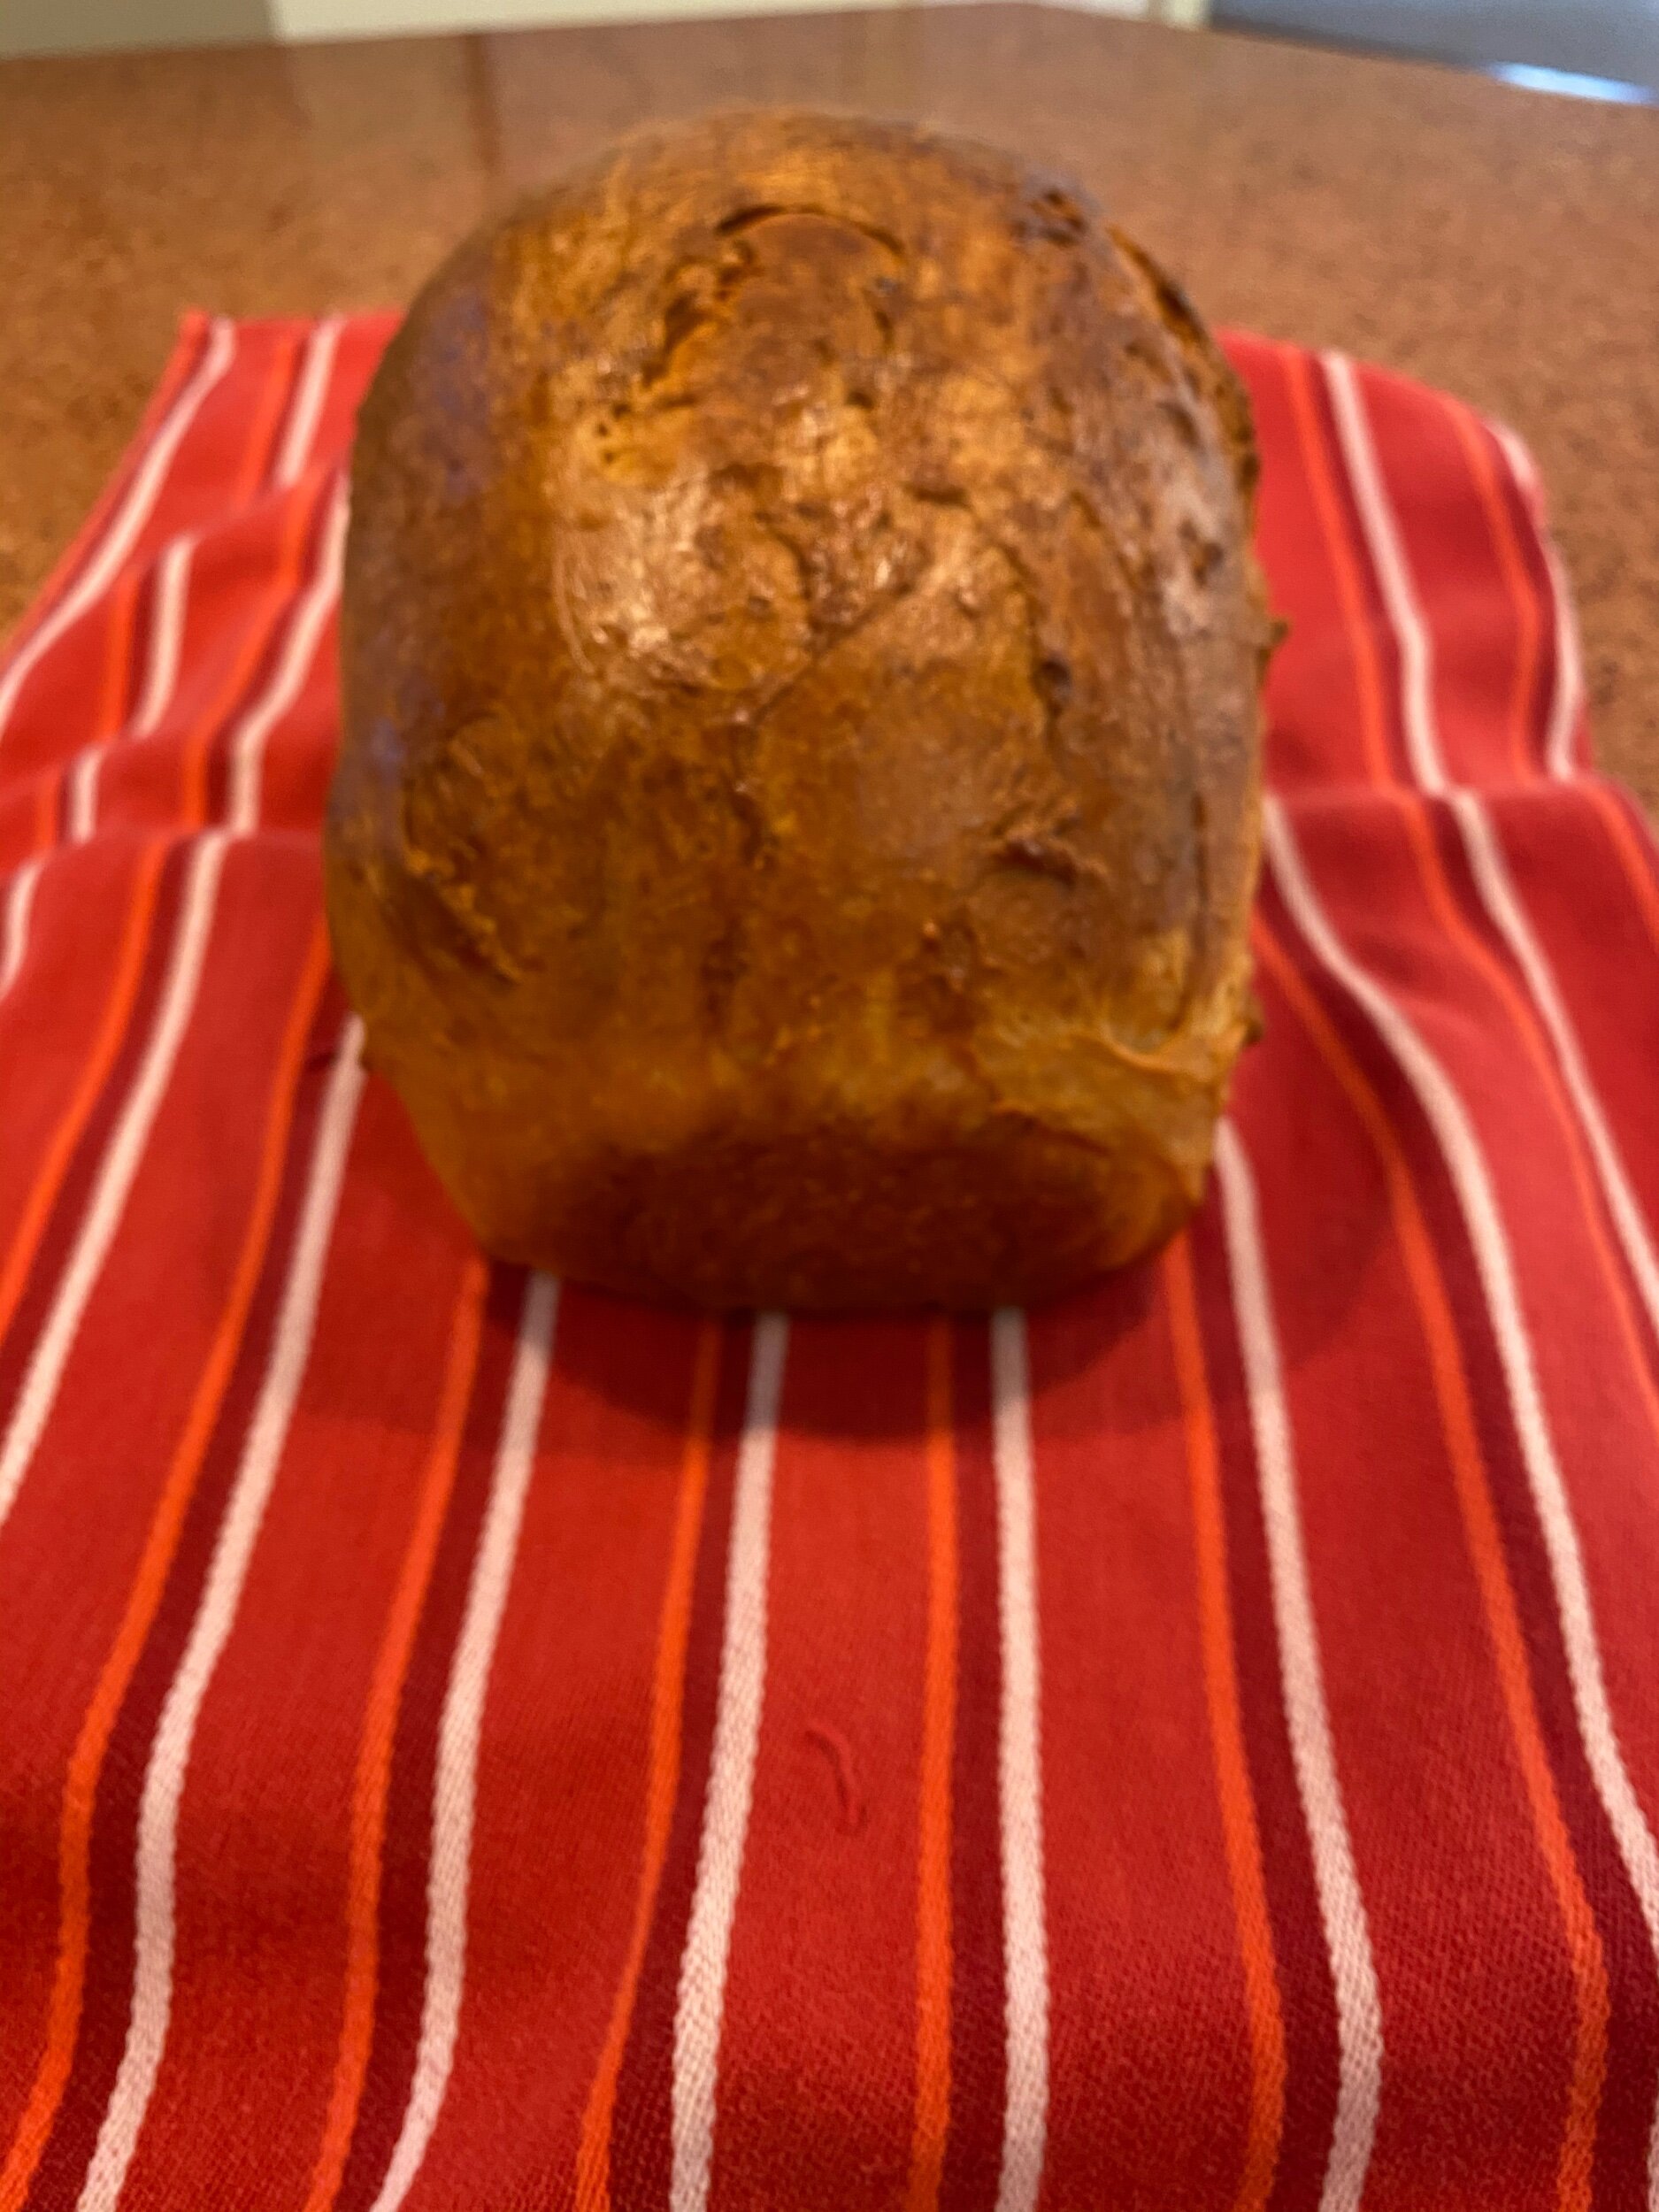
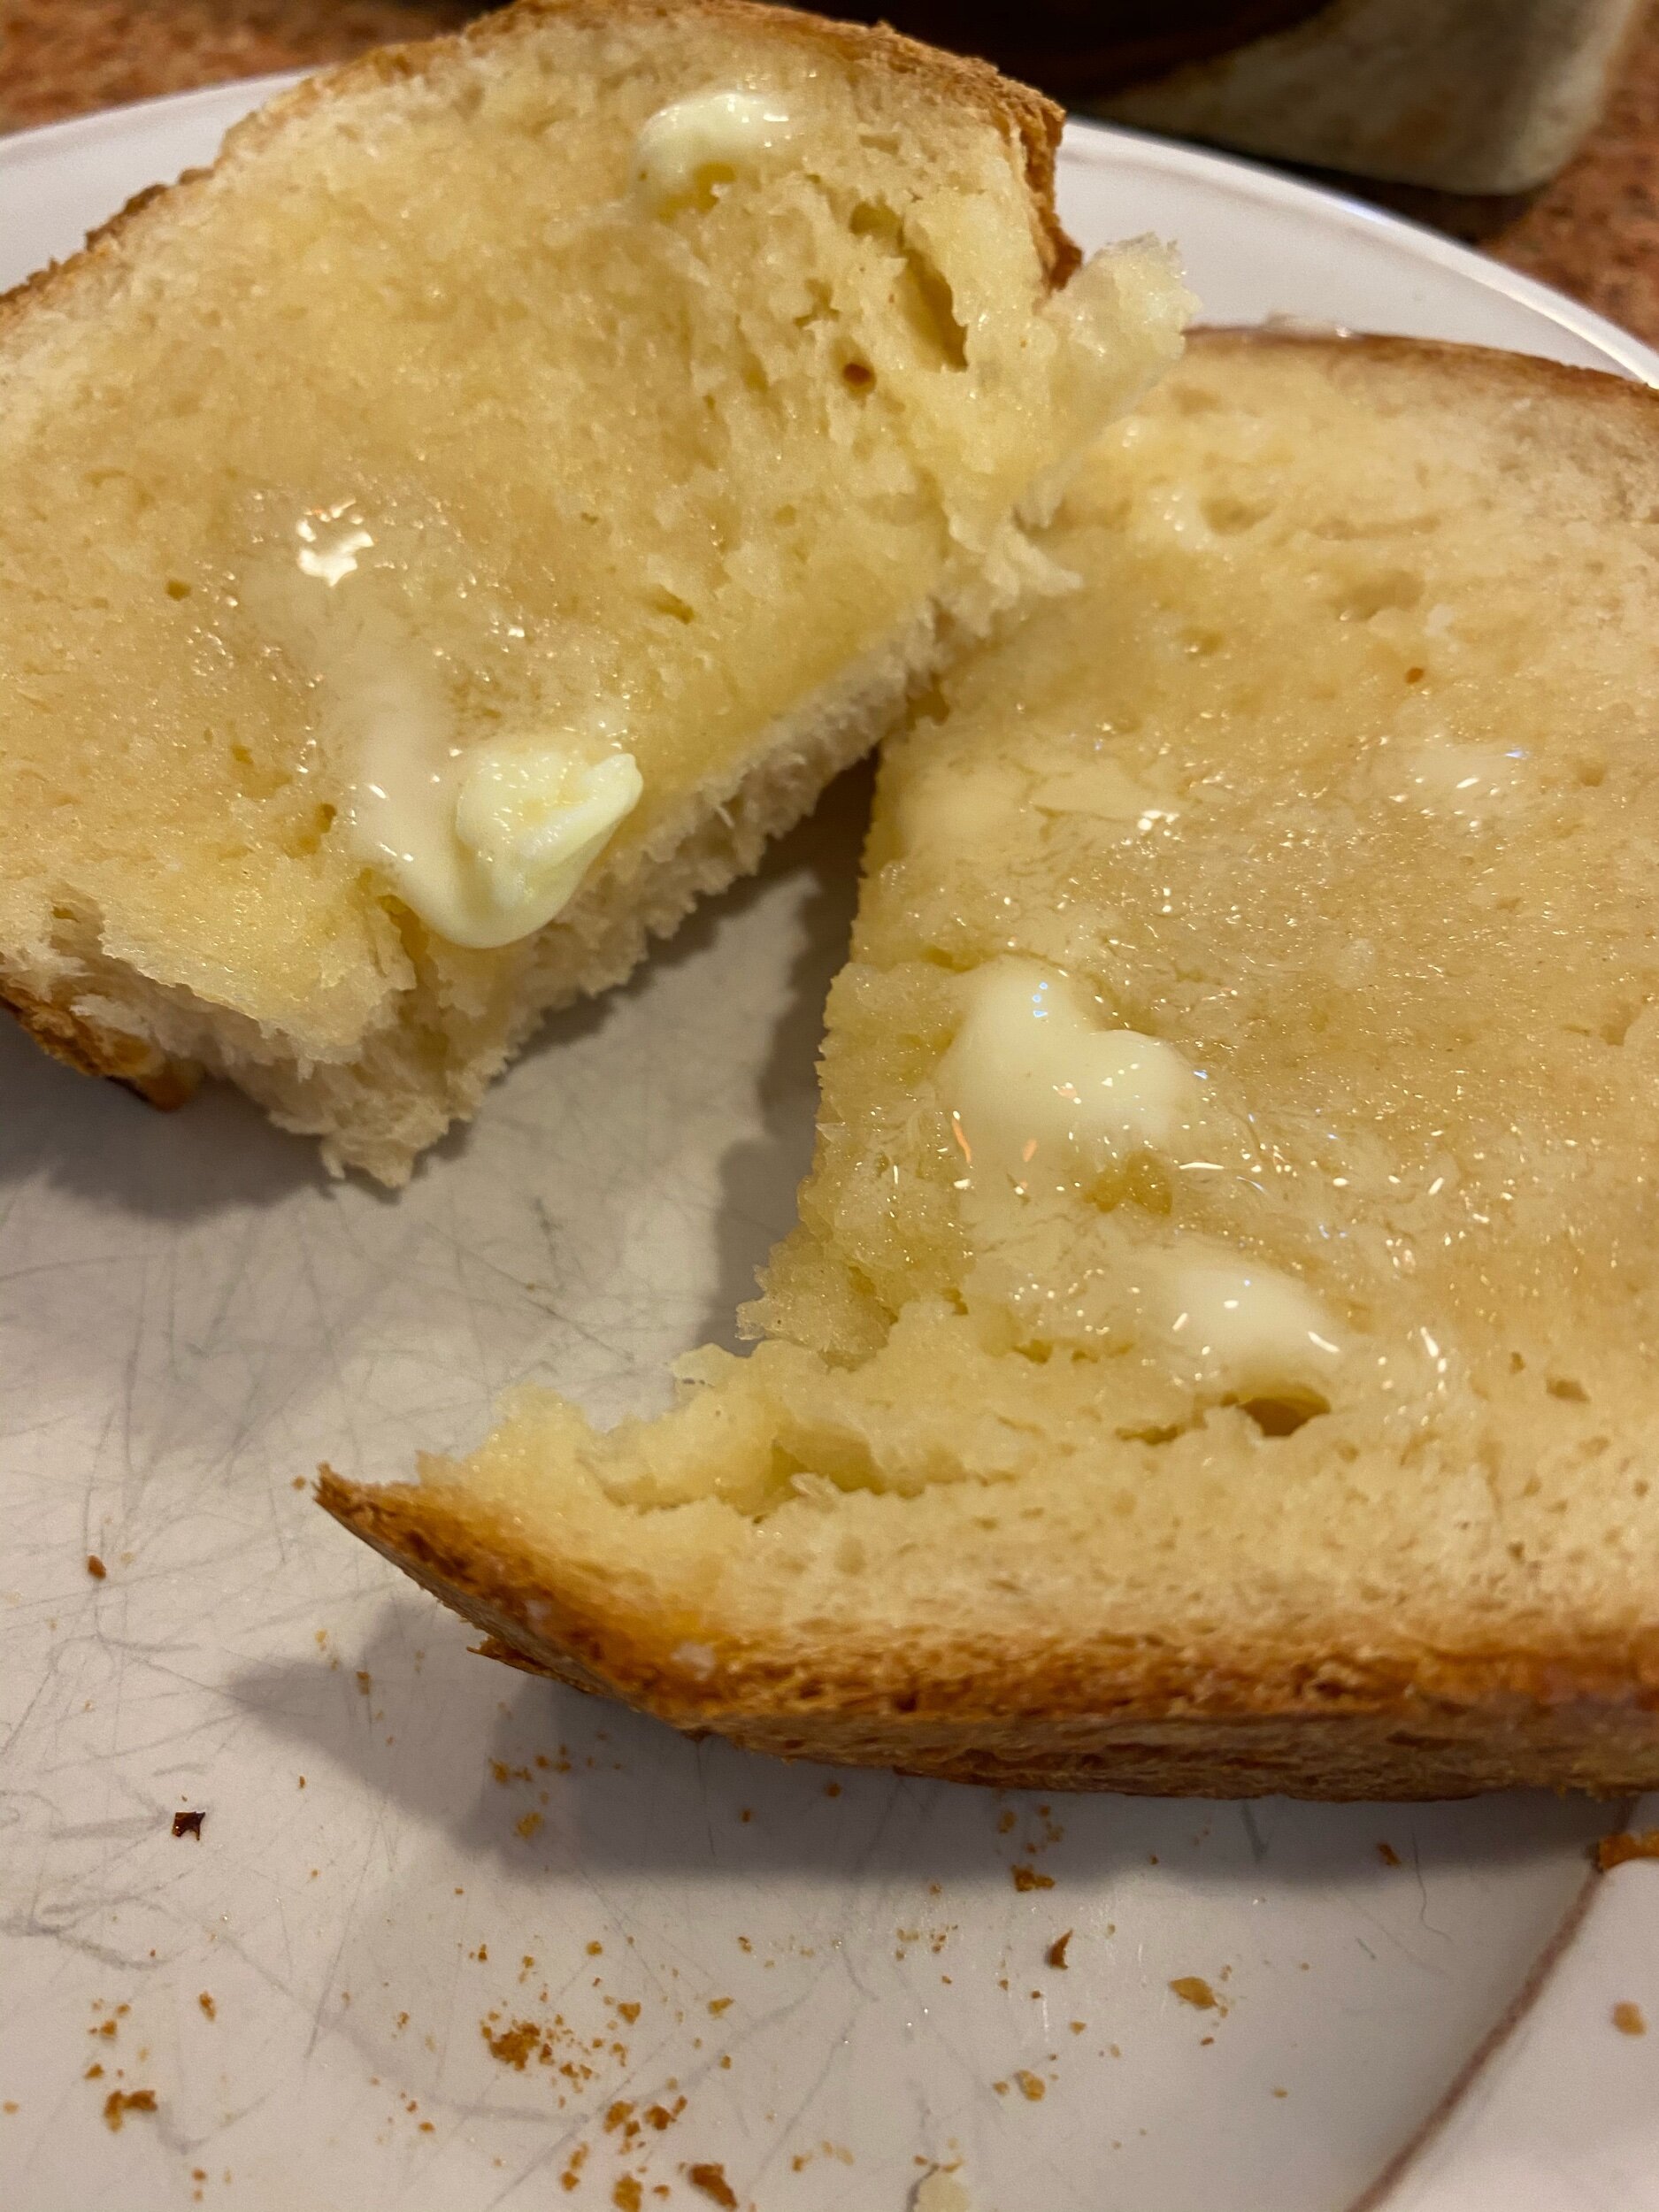
Meanwhile, I baked bread again. I did sandwich bread again—did that several weeks ago. Loved the flavor and the bake, but I made two loaves and they were small. This time I decided the recipe really only made one loaf, and ended up with something much more the size of what I recalled from my childhood. Yum.

Finally knocked out one of the many bags of flour I found when cleaning my pantry a few weeks ago. I now have a bag of self-rising flour to work through, so cinnamon rolls are on the menu for tomorrow morning. Memorial Day seems fitting for a special breakfast.

It was a banner weekend on the creative front!

…Although much of what I got done I hesitate to dub “creative” as I was just putting together a jigsaw puzzle in fabric.

IMG_0595.JPEG

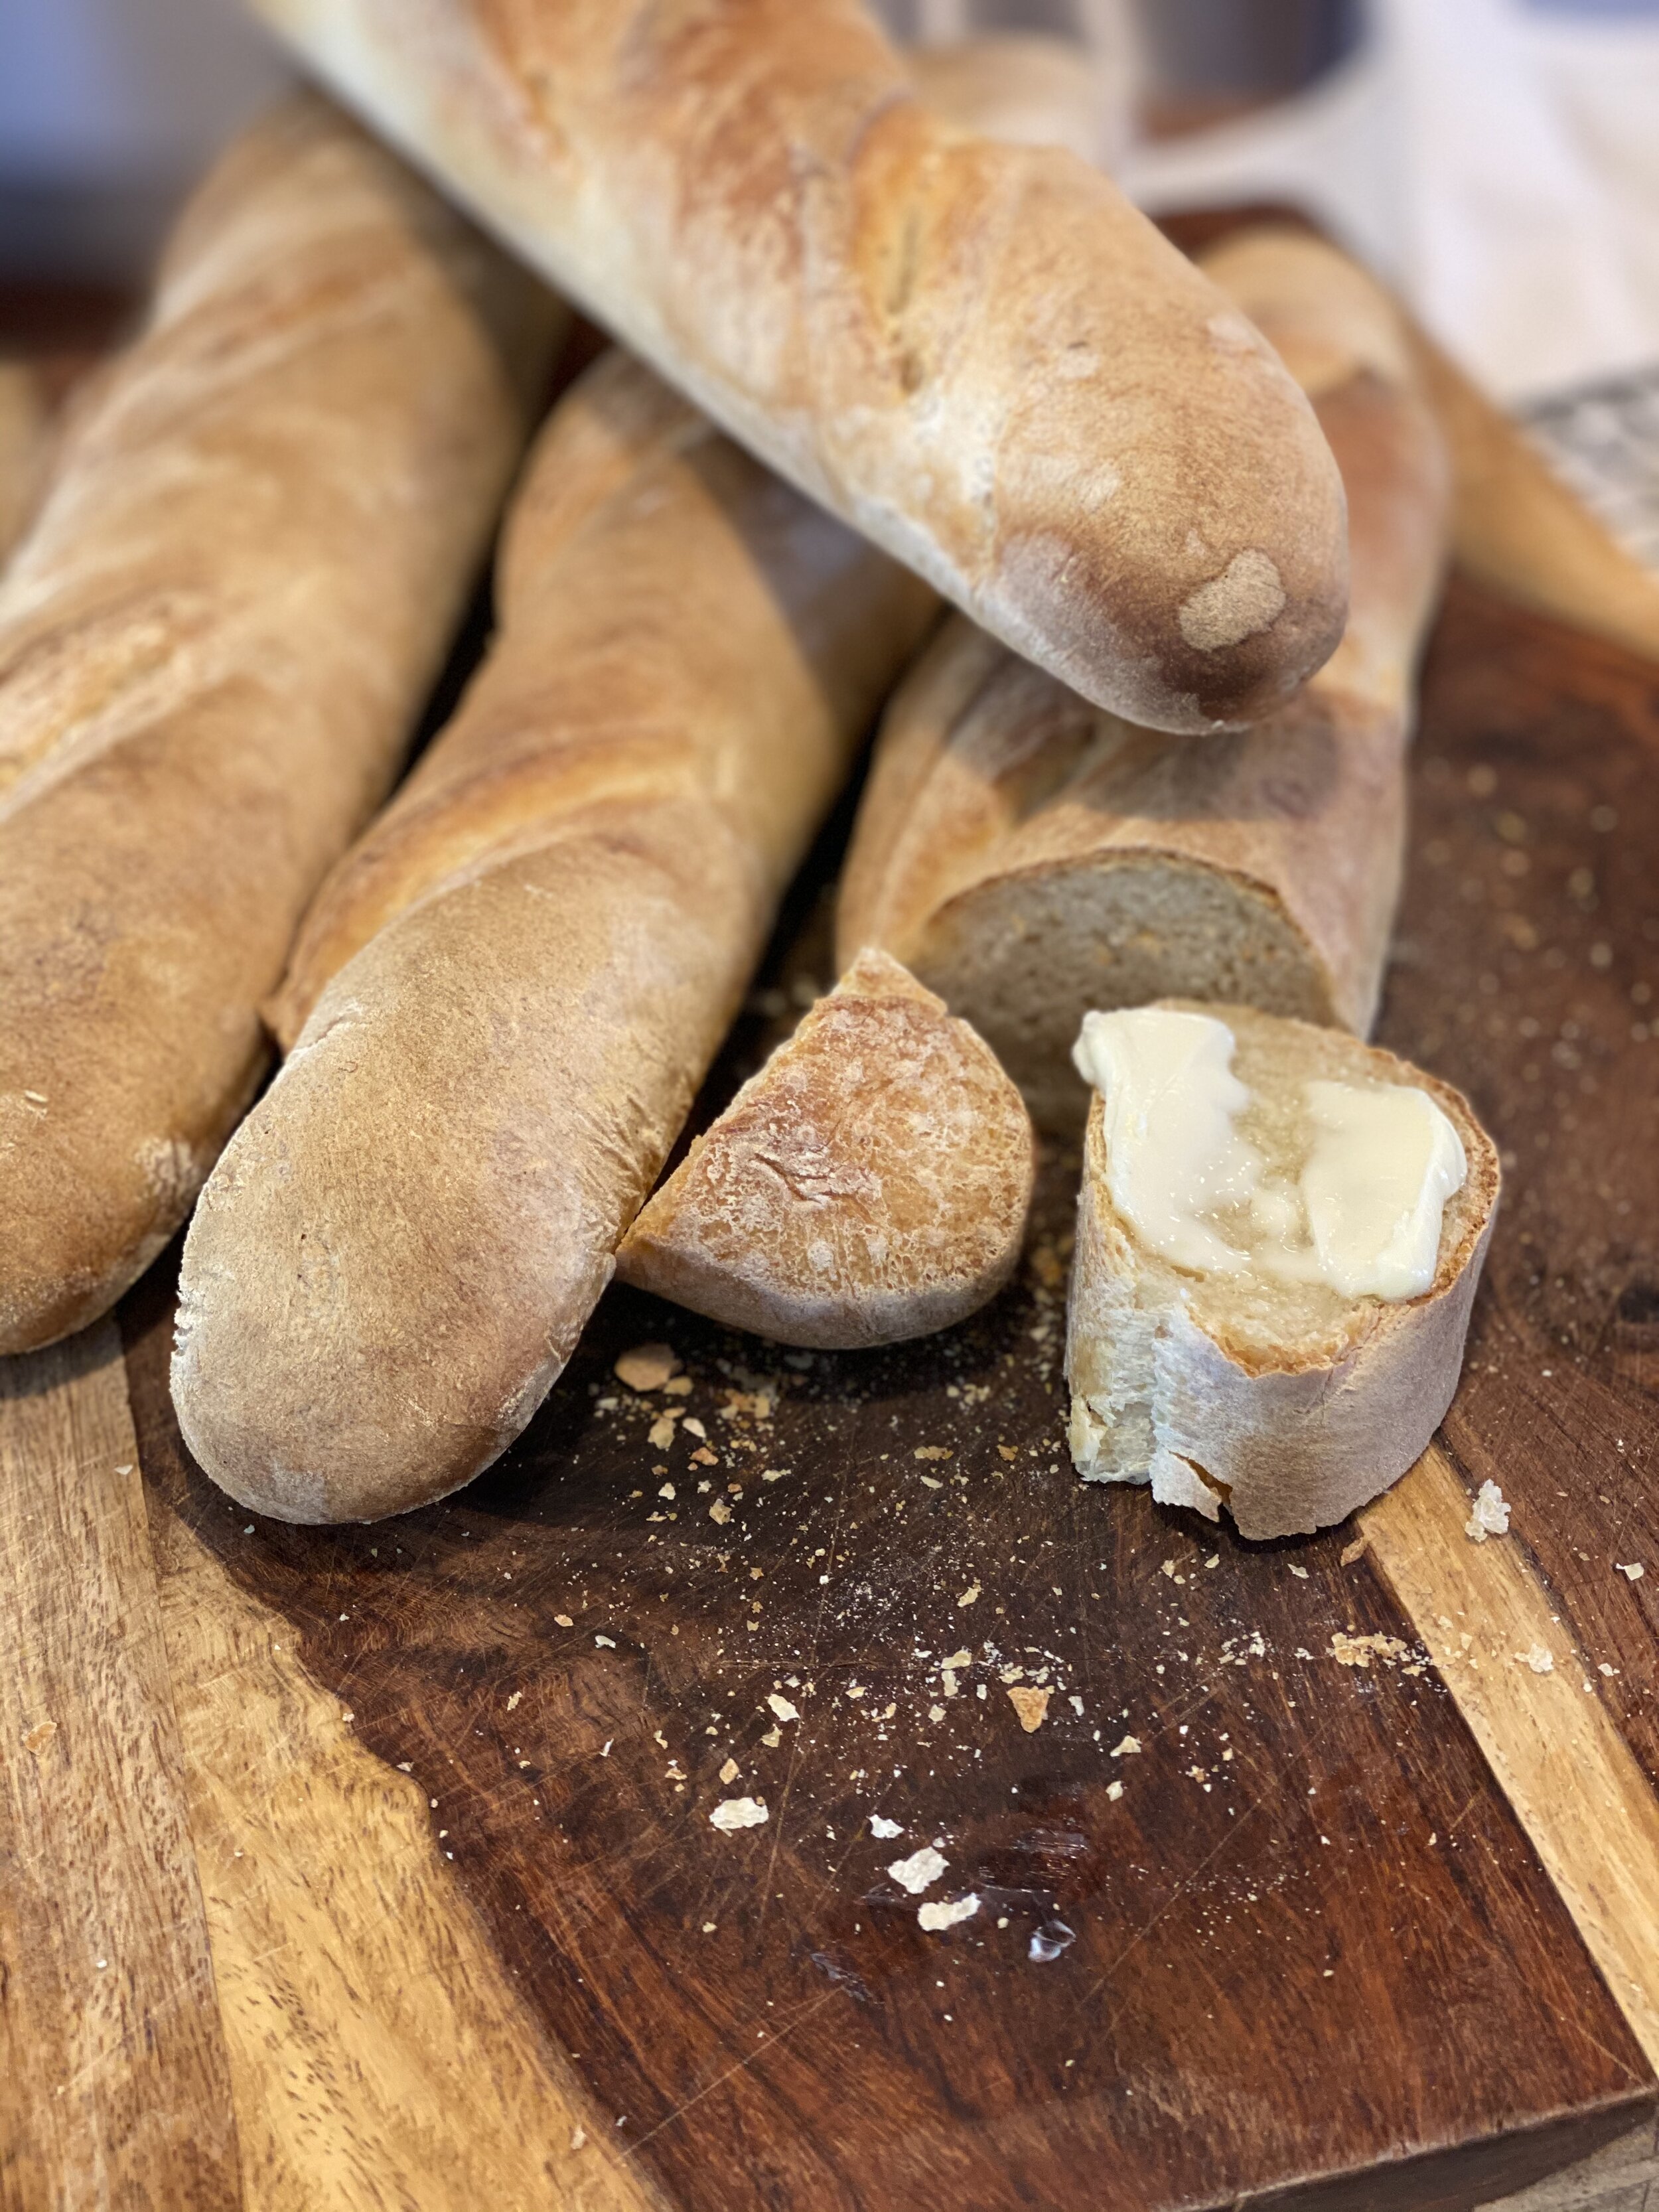
To start with, I spent most of Saturday baking baguettes.

I’m still using the recipe and techniques from my Artisan Bread-Making course I bought years ago from Craftsy. These baguettes came from a pâte fermentée, or fermented dough. It a similar concept to sourdough but much less time-consuming. When you make dough, you take some of it out before you do the kneading and stick in the fridge, where it continues to rise slowly over time. You then use it within the next few days with more flour, yeast, salt, and water to make a new loaf. It gives it a little bit of richness of flavor.

Loved the flavor, still not getting the airiness I want. Gee, too bad, must keep practicing. (I strongly suspect in this case I’d left the dough in the fridge too long before using it—my week got busier than I thought it would be.)

I did get to use the brand new baguette pan I bought myself, now that I’m back into this whole breadmaking thing. What a crust it makes! Love it!

The process I follow involves four rounds of “stretch and fold” with 20 minute rests between, rather than the traditional kneading. After the fourth “stretch and fold,” you then let it for for it’s first rise for 60-90 minutes. During one of the 20 minutes, I cleaned a bathroom, and during another one, I cleaned the kitchen, but the last 20 minutes and then part of the long rise, I gifted myself some time reading. The book I’m on at the moment is Beneath the Tamarind Tree: A Story of Courage, Family, and the Lost Schoolgirls of Boko Haram, by Isha Sesay, a CNN correspondent. I followed that story closely until it dropped out of the news (which it did more quickly in the US than in many other parts of the world), so I am glad to get a more in-depth look at what happened. I’m only about halfway through but I highly recommend it.

The sewing time I did get in on Saturday was spent making more masks. I had done five earlier in the week for a good friend of my son’s who is still working retail. He still sees her with some regularity so I figured making her masks was also protecting our family. I also got nine done for my daughter, and four for my mother-in-law. My husband already has a couple so, since he’s only in the office one day a week, he’s doing okay for now. I still need to make him a few more as well as my son and me, but after the assembly line of Saturday I didn’t want to face another mask for awhile.

Sunday, though—oh, Sunday! What joy Sunday brought!


I “attended” worship at one of our region churches that was celebrating a significant anniversary. They livestream to YouTube so I set myself up so the sanctuary was conveniently close to my sewing machine. Yes, I paid attention, sang along to the hymns, and stopped for the prayer times, but meanwhile I got all the blocks for Stratford done—woo! (It was a two-hour long service so I had some time.)

It felt good to be able to just knock out the rest of the blocks.

I have to admit, this fabric collection/colorway never really grew on me. I had chosen it specifically because it wasn’t my usual. I thought this would be a good way to see if I could push myself in new directions.

Not so much.

That being said, I do know a few family members who would probably love it so as I’m finishing it up I’m thinking through gifting possibilities.

Now…true confessions: I do actually have this much further along at this point, as I also made it a significant way into the process of assembling the top. However, as I was debating whether I had enough energy left to do the last few steps, I realized a design choice I was questioning turned out to be sewists error, and I’m not entirely sure at the moment how much I’ll have to rip out to be able to fix it, so I called it a day.

That being said, I’m telling the story out of chronological order.


IMG_0596.JPEG

I got the Stratford blocks finished right about at the same time as worship concluded, so my next project was to piece together top to Baby Quilt #2 so I could move it off my design wall to have room to assemble Stratford.

I only had about three or four fabrics that were at all close for border purposes, and this butterfly fabric worked the best of my options. I didn’t want to go to the expense or time of trying to order new border fabric and I’m really into using stash at the moment. I’ve had this butterfly fabric for quite some time—it came in some box or another—and it’s great to get it off my shelves. It does overwhelm the center, though—a bit too dark and heavy for the feel of the quilt.

In other words, I don’t love it. In fact, I kind of don’t love the whole quilt at this point as I had to make too many adjustments along the way and ended up with something significantly “less than” for me.

However, “baby quilt baby quilt baby quilt.” I intend this to get beat up, and I figure the less adorable it is, the more the parents are likely to use it in a variety of messy settings, like on picnics as a ground cloth for the baby, or as a playmat under her baby gym, and so forth.

I did get to play with another new AccuQuilt die. I realized the best width for the border was a 2 1/2” strip so I was able to cut everything I needed on one pass through—beauty! However, doing a 2 1/2” strip that’s width of fabric meant cutting the fabric on the wrong grain. It works fine for this usage but it definitely would’ve been better had I done shorter strips to get the grain in the right direction. I imagine I have to figure out a different way to fold it or something…anyone with tips? Guess I should watch the tutorial on using the die.

I wanted to get Baby Quilt #1 squared up and bound today but I’ve pretty much hit my sewing wall. I’ve got a little time before dinner so I think it’s back to the Tamarind Tree for me.

Hope you had a great weekend too! What are you working on?

A Wonderful Mother's Day

I had to chuckle when, on Thursday, my husband asked, “So what do you want to do for Mother’s Day?”

“Ummm…stay in?”

Still n’ all, it was a very pleasant day. I unintentionally, but very appreciatively, slept WAY in—far later than usual. Not sure what was going on but it was nice. Then my daughter made me an excellent french toast breakfast. Okay, so maybe brunch. But I counted it as breakfast and just skipped lunch.

Then I baked another loaf of bread. I can’t seem to stop myself. This one turned out quite nice but I didn’t get a picture of it. I’d still like more of a rise on it. I let it go extra time and it’s good enough but I’m not getting the “artisan holes” I’d like to get. I think my house is just a bit too cool. I may have to resort to a very low oven. Guess I’ll just have to keep baking bread until I get it right. Twist my arm.

All four of us drove over to my MILs where we all stood on her patio—in 40 degrees and sprinkling—while she stayed inside so we could talk with her. We probably weren’t there more than about 10 or 15 minutes but it was nice, and she certainly appreciated it.


IMG_0588.jpeg

The rest of the time I got to play in my sewing room.

I finished quilting Baby Quilt #1! I think I only crossed over myself once—although it may have just been a very, very near miss. I have a few too-long stitches although not quite toe-catchers, and no eyelashes on the back, so apparently I haven’t lost my touch quite as much as I thought I had.

I’ll leave squaring it off for tomorrow or the next day.


IMG_0589.jpeg

Earlier in the day I’d been playing in EQ8 designing my niece’s wedding quilt (we’re in round 2 since I lost the first design). I was going through my stash and ran across the color card for the next Cotton Cuts Puzzle Mystery Quilt. They have some great colorways lined up. Tempting. Orders open on May 28th.

Now, mind you, now that I have the AccuQuilt one might say I shouldn’t do any of these Cotton Cuts die-cut mystery quilts anymore. But I’m well aware that once our stay-at-home orders all ease up, I’ll be back on the road and my quilting time will decrease significantly. And they do have great mystery quilt designs. They turn out great.

So, for now, while I bide my time thinking about it, I told myself, “You really can’t sign up for a third until you at least finish one of the first two!” So after I finished quilting tonight, I pulled out Stratford and knocked out month 6. They really do go ridiculously fast when I’m paying attention and not making stupid mistakes. I had both blocks done in about 20 minutes.

2018 Cotton Cuts Puzzly Mystery was Pastures New. I have the blocks for that all done, but had to stop on piecing the top when I realized some of the blocks were wrong. It was a long and winding journey to get that corrected and, at the same time, I was starting my new job. So even though everything got fixed it’s been languishing in a bin just waiting for me to finish piecing the top.

2019 brought Stratford, which is the one I’ve been working on now. Before I finished Stratford, I’d ordered Cosmos. I haven’t even pieced a single block of that and I believe I might have just gotten the last clue this week. So I have some work to do.

So my current plan is to do as follows:

  1. Square up and bind Baby Quilt #1 (this week!)

  2. Do month 7 of Stratford. (this week!)

  3. Find and add borders to Baby Quilt #2 (next weekend!)

  4. Do month 8 of Stratford (next weekend!)

  5. Find baking and sandwich Baby Quilt #2 (next weekend?)

  6. Do month 9 of Stratford. (the week after)

  7. Quilt Baby Quilt #2 (the week after)

  8. Do month 10 of Stratford. (That completes the piecing)

  9. Do bindings on Jelly Roll Race quilt #1 (a UFO from awhile back)

  10. Piece top of Pastures New—possibly send off for quilting, or just doing a fast-and-easy quilting job to get it done.

  11. Do bindings on Jelly Roll Race quilt #2 (another UFO from awhile back)

12. Piece top of Stratford. Probably will send that off for quilting as I believe it’s throw-quilt size and I just don’t want to be bothered.

What I do next depends on what time of year it is by the time I get all of that done! All of it seems like it shouldn’t take much time at all, but we know how that goes. And given how unpredictable the outside world is at the moment…well, I’m not taking any bets.

Happy Mother’s Day, y’all! How did you spend your day?

Another Saturday of Sewing...I'm on a roll!

I’m loving that I’m finally spending consistent time at my machine. Definitely helping to soothe my nerves, even when I do stupid stuff.

IMG_0584.JPEG

I got my basting spray. A lot of it. It was on a very good sale so I took advantage. I’m definitely ready for some production over the next few months! Of course, once I received it and was putting it away, I found a quite large can that had gotten pushed behind a lot of other stuff on one of my shelves. So I’m set for awhile. A little bugged by the fact that a couple of the caps were broken in one of the shipments (the 5 cans came in two packages), but I don’t think it should be a problem.

Joann’s had Mary Ellen’s Best Press gallon jugs on a very good sale too, so I restocked on that. I am READY.

I also got more 1/4” elastic and some pipecleaners for my next stint of mask-making, but I had other things I wanted to take care of first today.

After all, I’d spent a significant amount of time cleaning this morning, so I decided to reward myself with fun sewing rather than obligatory sewing. Yes, I want to take care of my family but, admittedly, I really dislike making those masks.

Once I had all that put away and had cleaned off my cutting table so I had some space to work with, I figured out the backing and batting for the baby quilt, then basted everything (with, you guessed it, spray) on my design wall. I opened a window so I had plenty of air ventilation. In the future, I’ll also have plenty of masks to wear—right now I haven’t made any for myself yet!

Somehow I cut my batting a little on the short side so I had to piece some together to get it wide enough. Still not sure how I did that, but in the grand scheme of things not a big deal.

IMG_0586.JPEG

Then I practiced FMQ on a practice sandwich to get the feel for it again. I have several practice sandwiches pre-made from back when I was doing Craftsy classes, so it’s really easy for me to spend five minutes running through some drills. Since all I wanted to do on this is a meander, it didn’t take me long to get back into the swing of things.

While I was digging out the practice sandwiches I discovered a bunch of quilting stencils I’d forgotten that I took from my Mom’s sewing room when we were cleaning it out after she’d passed away. I’ve never tried to use them, but I may have some UFOs that would warrant doing some practice with some of them. It’s mostly just that I hate the pokiness of marking.

Really, I’m just a very lazy quilter.


Once I felt pretty confident that I remembered what I was doing, I set myself up with my queen-sized Supreme Slider, my free-motion foot, some light gray thread and…oh, right, I used to use quilting gloves, didn’t I…pulled them out, slid them on…put on an audiobook, and we’re off!

IMG_0587.JPEG

I got about a third of the quilt done when I decided I should stop while I was ahead. I did a good job at keeping my shoulders down and mostly staying relaxed, keeping my speed pretty even, and never crossing over any of my lines.

By the way, as sloths are the main motif in this quilt, I did play around a little bit with whether I could do an abstract sloth design in the FMQ, but it ended up just looking like a meander anyway and was taking me longer.

So much for being overtly creative.

I’m having fun, and I’m planning on spending a significant part of my Mother’s Day tomorrow at my machine.

And, oh my, does it feel good to be able to say that again.

I really should plan these things better...

…in that I really shouldn’t try to sew when I’m this overtired.

iStock-1059134652.jpg

After another evening set of conference calls last night, I’m once again giving myself the morning as I have…yep…more calls this evening. So after breakfast and a lingering time with my coffee, I felt like I was up to sewing together the blocks from yesterday.

Somehow I managed to press seams in the wrong direction three different times.

And then I realized in my attempt to “randomize” the directional print cornerstone block, I’d flipped one set and had two cornerstones facing the same direction, so only 3 compass points, so to speak, were represented. I debated leaving it (reminding myself “baby quilt, baby quilt, baby quilt”) but then decided that was the sort of thing that would forever-after drive me nuts and could quite possibly have the same effect on the poor baby’s parents. Seam ripper put into use, re-sew, press seams again.

The blocks are done, but I’m stopping myself before I do more damage. I can piece the top together tomorrow…when I’ll be even more tired. Won’t that be fun?

In other news…

Who wants to make a swap for a barely used 2 1/2” square AccuQuilt Go die? Yep, I realized after I’d already opened and used my new one once that there was one in the GoCube 8” pack. So, because it’s opened and used, I can’t return it. I’ll swap it for a die of equal value with anyone! Email me if you’re interested.

I also realized I already had a 5” die before opening the additional 5” die I’d bought, so that one I can return. Debating which die I want to put it towards. At least those two dies are different—the one that comes with the GoCube is a single die, whereas the one I bought does two squares at once. I debated keeping it as it would be a lot faster to cut scraps, but I have the feeling I’d rather have more different dies now. Still debating that one because, honestly, returning dies to AccuQuilt is kind of a pain (especially in these pandemic days when making a post office trip is like preparing for a lunar moon landing), and there’s a restocking fee. Now I’m talking myself back in to just keeping it.

I need more coffee.

Making progress

What do you do when your preferred method of basting is basting spray and you realize you’re fresh out, so you need to make an online order and then wait for it to come before you can finish the baby quilt you’ve started?

Why, start another baby quilt, of course.

I believe I mentioned in the last blog post that I’d rediscovered a set of fat quarters in the search for mask materials and decided to make a little playmat for my baby niece, in addition to the quilt I’ve already got in progress for her. “Playmat” just means I didn’t have enough fabric to make an officially-sized baby quilt, so it’s just a small quilt for a baby. A newborn-sized baby quilt, perfect for a little girl who’s just about 6 weeks old now. Playmat just sounds slightly more intentional.


Josie's Playmat.JPG

I refreshed my memory as to how to scan fabric into EQ8, chose two blocks from my GoCube AccuQuilt block set for which I had all the dies, and played around with arrangements until I hit on one I really liked. This was the original.


Josie's Playmat step 2.JPG

I then looked at the fabric requirements and realized, nope, didn’t have quite enough for that size, especially as I was working with fat quarters, not quarter yards (WOF), which makes figuring the cutting amounts a little different.

So it got a little less square and a little smaller overall. More playmatty. 16 blocks down to 12. I had just enough fabric to make that work.

Which means you know what probably happened next.


I have conference calls every night this week, multiples in a row, so I’ve been taking mornings for myself to balance. I’m finding it relaxing to spend time in my sewing room before work.

IMG_0581.JPEG

Sunday, I found the white fabric in my stash to supplement the fat quarters for the design, and I cut some of the pieces for the Uneven Nine-Patches. Monday morning, I finished the cutting of the Uneven Nine-patches that I’d started on Sunday, and I got the blocks sewn together.

I’m not entirely sure what happened with the tone-on-tone white rectangles.

If you look closely you’ll see some of the rectangles had to get eased in a little bit. I cut them all with the AccuQuilt die. I am pretty sure I double-checked to make sure I was putting the grain in the right direction, but it’s possible something got off. However, I will say it’s a fabric that’s been in my stash for a long while, I have no idea where or when I got it (definitely quilt-quality, though), but it looks like it’s a lower thread count than the other fabrics. Might that have been the issue?


Nevertheless, I persisted.

This morning I was fairly overtired from last night’s Zoom calls, but I was looking forward to getting back to my sewing room. Grabbing my AccuQuilt dies and the posie fabric, I started cutting the 2 1/2” squares.

Or I thought I was.

Turns out, I had grabbed the wrong die. I had looked at it briefly and thought, Yep, squares. Turns out, Nope. Not squares. Two rectangles instead, and narrower than 2 1/2”. By the time I realized my mistake, I had already cut enough of the fat quarter into the wrong size that I couldn’t regroup and fix my mistake. Dang. The posie fabric had been my fave in the design.


Josie's Playmat revised.JPG

Back to EQ8 and my stash. Revision 3 of the design…

The posies are gone replaced by a Valentine’s Day fabric I’ve had in my stash for years (scanned into EQ8 to make sure it would work okay). It had come in a scrap box from…was it Fat Quarter Shop that was doing those for awhile? Are they still doing it?

In any case, it was the only fabric I had that was at all similar in feel to the rest of the fabrics. I don’t love it the way I really loved the posies, but when I cut enough squares so I could selectively use the ones that didn’t have “February 14th” emblazoned in them, and only had all the other lovey-dovey wording, it works. My SIL will probably adore the fact that it has XXOO and “sweetie” and such in it. Who knows? Since she’ll never have seen my original design, she won’t know this is slightly less-than.

And the fabric is now no longer in my stash. Always feels good to use something that’s been languishing, and I’m sure the fabric will have far more fun playing with a baby than sitting on my shelf.


IMG_0582.JPEG

So with that quick switcheroo, I completed cutting the pieces and have started sewing the blocks.

The AccuQuilt really shines when it comes to triangles. Wow, were those flying geese pieces easy to sew together. Loved it.

I will have to pay attention to the directionality of the words in the corner blocks now. I’ll either have to make sure I have them all going in the same direction, or I’ll have to switch them every-which-way so it looks random. Only having a couple going the wrong way will just be annoying.

But that’s a problem for tomorrow morning, when I’m progressively even more tired from evening conference calls. That’s an exciting thought.

Time to start getting ready for my work-day. Happy Zooming to all of you!

Saturday Doings

IMG_0575.JPEG

This isn’t quite as exciting for y’all as you didn’t see the “Before.”

This morning, I took all the fat quarters out of this drawer and took them down onto the kitchen table for my family to choose which fabrics they wanted me to use for their masks. When I brought the stash back up to my office, I decided this was the perfect opportunity to restore order in what had become an extremely dysfunctional drawer.

Over the last couple of years, as I’ve been getting Sew Sampler boxes and other things but not having time to do much with them, this upper drawer got stacked. The few times I rummaged through the fat quarters themselves they’d gotten every-which-way and I’d not been good about putting them back systematically.

Now they’re separated and sorted by color again within their categories, as they used to be: batiks in the far left; regular cotton fabrics on the far right; and a few collections that I wanted to keep together plus neutral batiks in the center. Much easier to use. I also sorta-kinda took a pot-shot at cleaning up the drawer below it so at least I can open and close it now. But the only help for that drawer is to actually use a bunch of the scrap strips, jelly rolls, and charm packs that are crammed in that one. Now that I’m back to sewing, I have hope!


Josie's Playmat.JPG

In other news, I’ve spent most of the week in EQ8 finding or drawing the blocks from the Eleanor Burns GoCube Sampler book that came with my AccuQuilt. The blocks were super-easy to draw as they’re all based on traditional grids. I just had to move lines around from one block to the next. Now I’m just doing the tedious work of importing them into my Favorites library so I have them ready for easy and fast quilt design. I’m hoping to have all of that done by the end of the weekend.

Meanwhile, I scanned into my fabric library one of the sets of fat quarters I’d rediscovered, and played with designing a small baby quilt/playmat with them, using some of the Eleanor Burns sampler blocks I already had in there. I went for something that would be really fast to put together, and it turned out kind of adorable. I’m ready to rock n’ roll on this cutie!


Look, ma, no gray!

Look, ma, no gray!

Off-topic, I finally bit the bullet and did my own in-home hair dye job this weekend. I have vivid memories of my Mom doing her own hair when I was young. I hated the smell, and I could see what a mess it was for her to do, so I’ve always avoided it like the plague. When I started having my own hair colored, I was stylist-done all the way. Things have been getting desperate, though, so I “put on my big girl panties” as a friend of mine often says, ordered my color kit online, and tackled it this morning. It was relatively easy and turned out great and I can’t recommend Madison Reed hair color enough! My hair looks fantastic. The gray is completely gone, and my hair is so shiny! What’s best? NO SMELL. And no, I don’t get a kick-back. Just always happy to pass along a recommendation when I have one.


The family’s choices of mask material.

The family’s choices of mask material.

And yes, I spent more time on masks today. This time, though, I tried a pattern that includes a pocket for adding filters. And then I looked at another pattern—the proportions are different on each. I’ve finally ended up doing a pattern mash-up using a modified pocket instruction from one with the rest of the design from the other. But now…I’m almost out of elastic. I have enough to do one more tomorrow (I ran out of steam today), and then it’s pause for a bit.

And yes, I know I have options, but the 1/4” elastic ear loop is my preferred style and my family prefers them as well. And we’re not in a rush.

So I’ve got a handful done but a boatload more I need to get done just to cover the immediate family and my mother-in-law. I guess I’ll just have to stay inside until we get enough elastic to get everyone else’s done, and then mine!

Look, ma, a mask!

Look at what I finally got around to doing tonight. When you’re not actually leaving the house there isn’t much motivation, but we’re starting to get out and around more so it needed to be done.

The first with the white thread was my test run. If you all recall my many years of whining on my podcast, I’m not really fond of doing stuff like this. I tend to get testy around anything that smacks of garment sewing.

That being said, I knew even I could handle this simple version.

I’d looked around for patterns and downloaded one from AccuQuilt (since I’ve been on their site a lot lately, ahem). Well, dang, the AccuQuilt pattern left out the very important step of leaving a hole for turning it right-side out after you’ve sewn in the elastic. As I hadn’t read ahead when I first sat down to start sewing this puppy up, it wasn’t until I got to the third side that I thought, “Aren’t I going to need a hole?” Sure enough, I was supposed to start sewing a few inches into the first side…something the pattern had neglected to remind me. So I ended up leaving my hole in the end where the elastic is, which made it all sorts of fun to try to turn. And then, of course, I did manage to sew through the elastic when I was doing the edge stitching, so I had to do some ripping and adjusting.

Before tackling the second one, I watched Jenny Doan’s tutorial on YouTube. Same design, but watching someone go through it was helpful. Plus I changed my thread to match the fabric (now that I was committed to making a decent one). The second one went swimmingly (no reference to a pattern needed at all) and looks much better.

I’ve cut the third one—I got three out of one fat quarter. I have a lot of fat quarters that haven’t found their way into projects in years so this will be a great stash buster. Who’d-a-thunk back in my podcasting days I’d ever say “Need a stash buster? Make face masks to protect you from rampant contagion!”

If I weren’t so darn hungry I’d knock out another few tonight. However, my daughter’s making dinner so I think I’ll go downstairs and hover to see if I can casually speed things along. More masks later!

If you’re interested in Jenny’s tutorial…

Meanwhile, back at the ranch...

I was able to grab about an hour and a half in my sewing room today, which was enough time to finish piecing the top of the baby quilt I had set aside in order to play with the AccuQuilt. No sense in making myself new projects while I still had the baby quilt guilting me from its place on the design wall.

IMG_0555 (1).jpg

If I’m in the mood tomorrow, I’ll do the backing and basting on it. I hate hate hate doing on backing, although for a baby quilt it’s not as bad. (I hate dealing with large pieces of fabric.) I hate only slightly less the basting process. So I’ll have to stay on top of myself to keep myself from procrastinating at this stage.

And then it’s been an awfully long time since I’ve machine quilted so I have to do a couple of practice sandwiches first just to make sure I’m back in the grove. I think I’ll just be doing a mid-sized meander on this puppy. We’ll see what I get in the mood for once I’m working on the practice pieces.

I used this as an opportunity to test out some pins I’d gotten in a couple of Sew Sampler boxes recently. One was a small collection of double pins for doing seams. I’ve never used those before, so I figured, what the hey. The only seams I was trying to match were with the cornerstones.

I’ve decided I hate double pins.

I went back to the way my mommy taught me to pin seams.

 
IMG_0554.jpg

Then I tried another set of pins, this time with cute unicorn tops.

There were only 10 in the package, and they’re somewhat thicker than the pins I typically use.

They’re cute, but not particularly functional in my sewing life. I could see, someday, if I ever make any of those adorable pincushions I keep seeing patterns for, sticking these in it and gifting them. So I’m not getting rid of them, just not using them much.

Anyone have cute ideas for what to do with them in the meanwhile?

Wheee!!!! (And a very happy early birthday to me!)

IMG_0539.jpg

It arrived!


IMG_0540.jpg

It has a spiffy green bag that will help protect it somewhat from the free-floating Auggie hair in my sewing room.


IMG_0541.jpg

All pristine and shiny new. Almost as pretty as a brand new box of crayons.


IMG_0543.jpg

It came with the 8” block GoCube, which is a set of mix-and-and match dies to make a boatload of traditional blocks. Each die comes with a block pattern, and then there’s a booklet of patterns in the GoCube box.


IMG_0542.jpg

It also came with this book of patterns by Eleanor Burns for a sampler quilt using the dies in the GoCube. I don’t know yet that I’ll do the sampler—I don’t usually like samplers, but this would be an easy and fun way to get used to using the dies in a variety of combinations.


IMG_0545.jpg

I was unreasonably tickled by the fact that they have little green ribbon handles on each of the die cases in the GoCube.


IMG_0544.jpg

And look at all the other stuff that came too!

The package includes the 2 1/2” strip die and the long cutting mat to go with it.

The pennant dies were a freebie because I’d spent over a certain dollar amount (ahem). I’ve been wanting to do banners appropriate for the various holidays to hang on my mantle in the family room so, bang! (Now I have no more excuses.)

I added the purchase of the 5” die myself. I have a lot of pattern books using jelly rolls and charm packs so I figured having a 5” die as well as the strip die would make it a lot easier to use up some stash. Yes, I’ve been cutting my own right along, but this will be a lot more time-efficient.

(And yes, you can see my shelter-at-home-office-wear slippers. I think I’ve worn real shoes three times in the last four weeks.)


IMG_0546.jpg

The AccuQuilt was delivered shortly after lunch. Other than pulling it out of the packing box, I made myself wait to play until I was done with my work day. At the end of my day I was waiting for someone to call me back after he got out of a meeting, so at that point I treated myself to watching the instructional DVD that came with the GoCube.

(And yes, you can see the webcam that I spend most of my day using on end-to-end Zoom calls, sigh.)


IMG_0547.jpg

By the time my colleague called me back I’d finished the DVD and read through the Eleanor Burns sampler book as well as the other smaller pattern book that came with the package (it was apparently a very long meeting!).

So once the call was done, bingo—I was off and playing!

I decided to use a charm pack I’d gotten in a Sew Sampler pack that wasn’t a favorite, and then I pulled the half square triangle die because it was exactly the right size to put a 5” square over and get a clean cut. (It was actually a little close on the edges of the die but it worked.) I chopped up the whole charm pack, pulled a few of the triangles together and sewed them together into a pinwheel.

It took me maybe 15 minutes to cut the whole charm pack and I think it only took that long because I’m a newbie. It took about 5 to sew the block together.

OMG, LOOK AT THOSE FREAKING POINTS!!!! And this was without any pinning until the very last bit where I sewed the two sides of the block—I pinned the middle seam. But I don’t know that I would’ve had to. It went together like a dream.

I’m so happy.

(Editor’s note: It’s is just entirely possible that the author of this blog may have already ordered two more dies—one with three different bird types, and an owl die. Because we all know how she feels about pudgy birds.)