January through early February was pretty intense with work/volunteer stuff so although I was using quilting as self-care during that time, I didn’t have the mental bandwidth to do any blogging or podcasting. Sorry about that.
This post is just a brief “current events” post about what I’ve gotten done so far this weekend. Later I’ll go back and fill in blanks of recent history.
I’m pleased to report that I’m current with the first two clues of this year’s Charlotte Hawke’s Mystery Scrap Quilt!
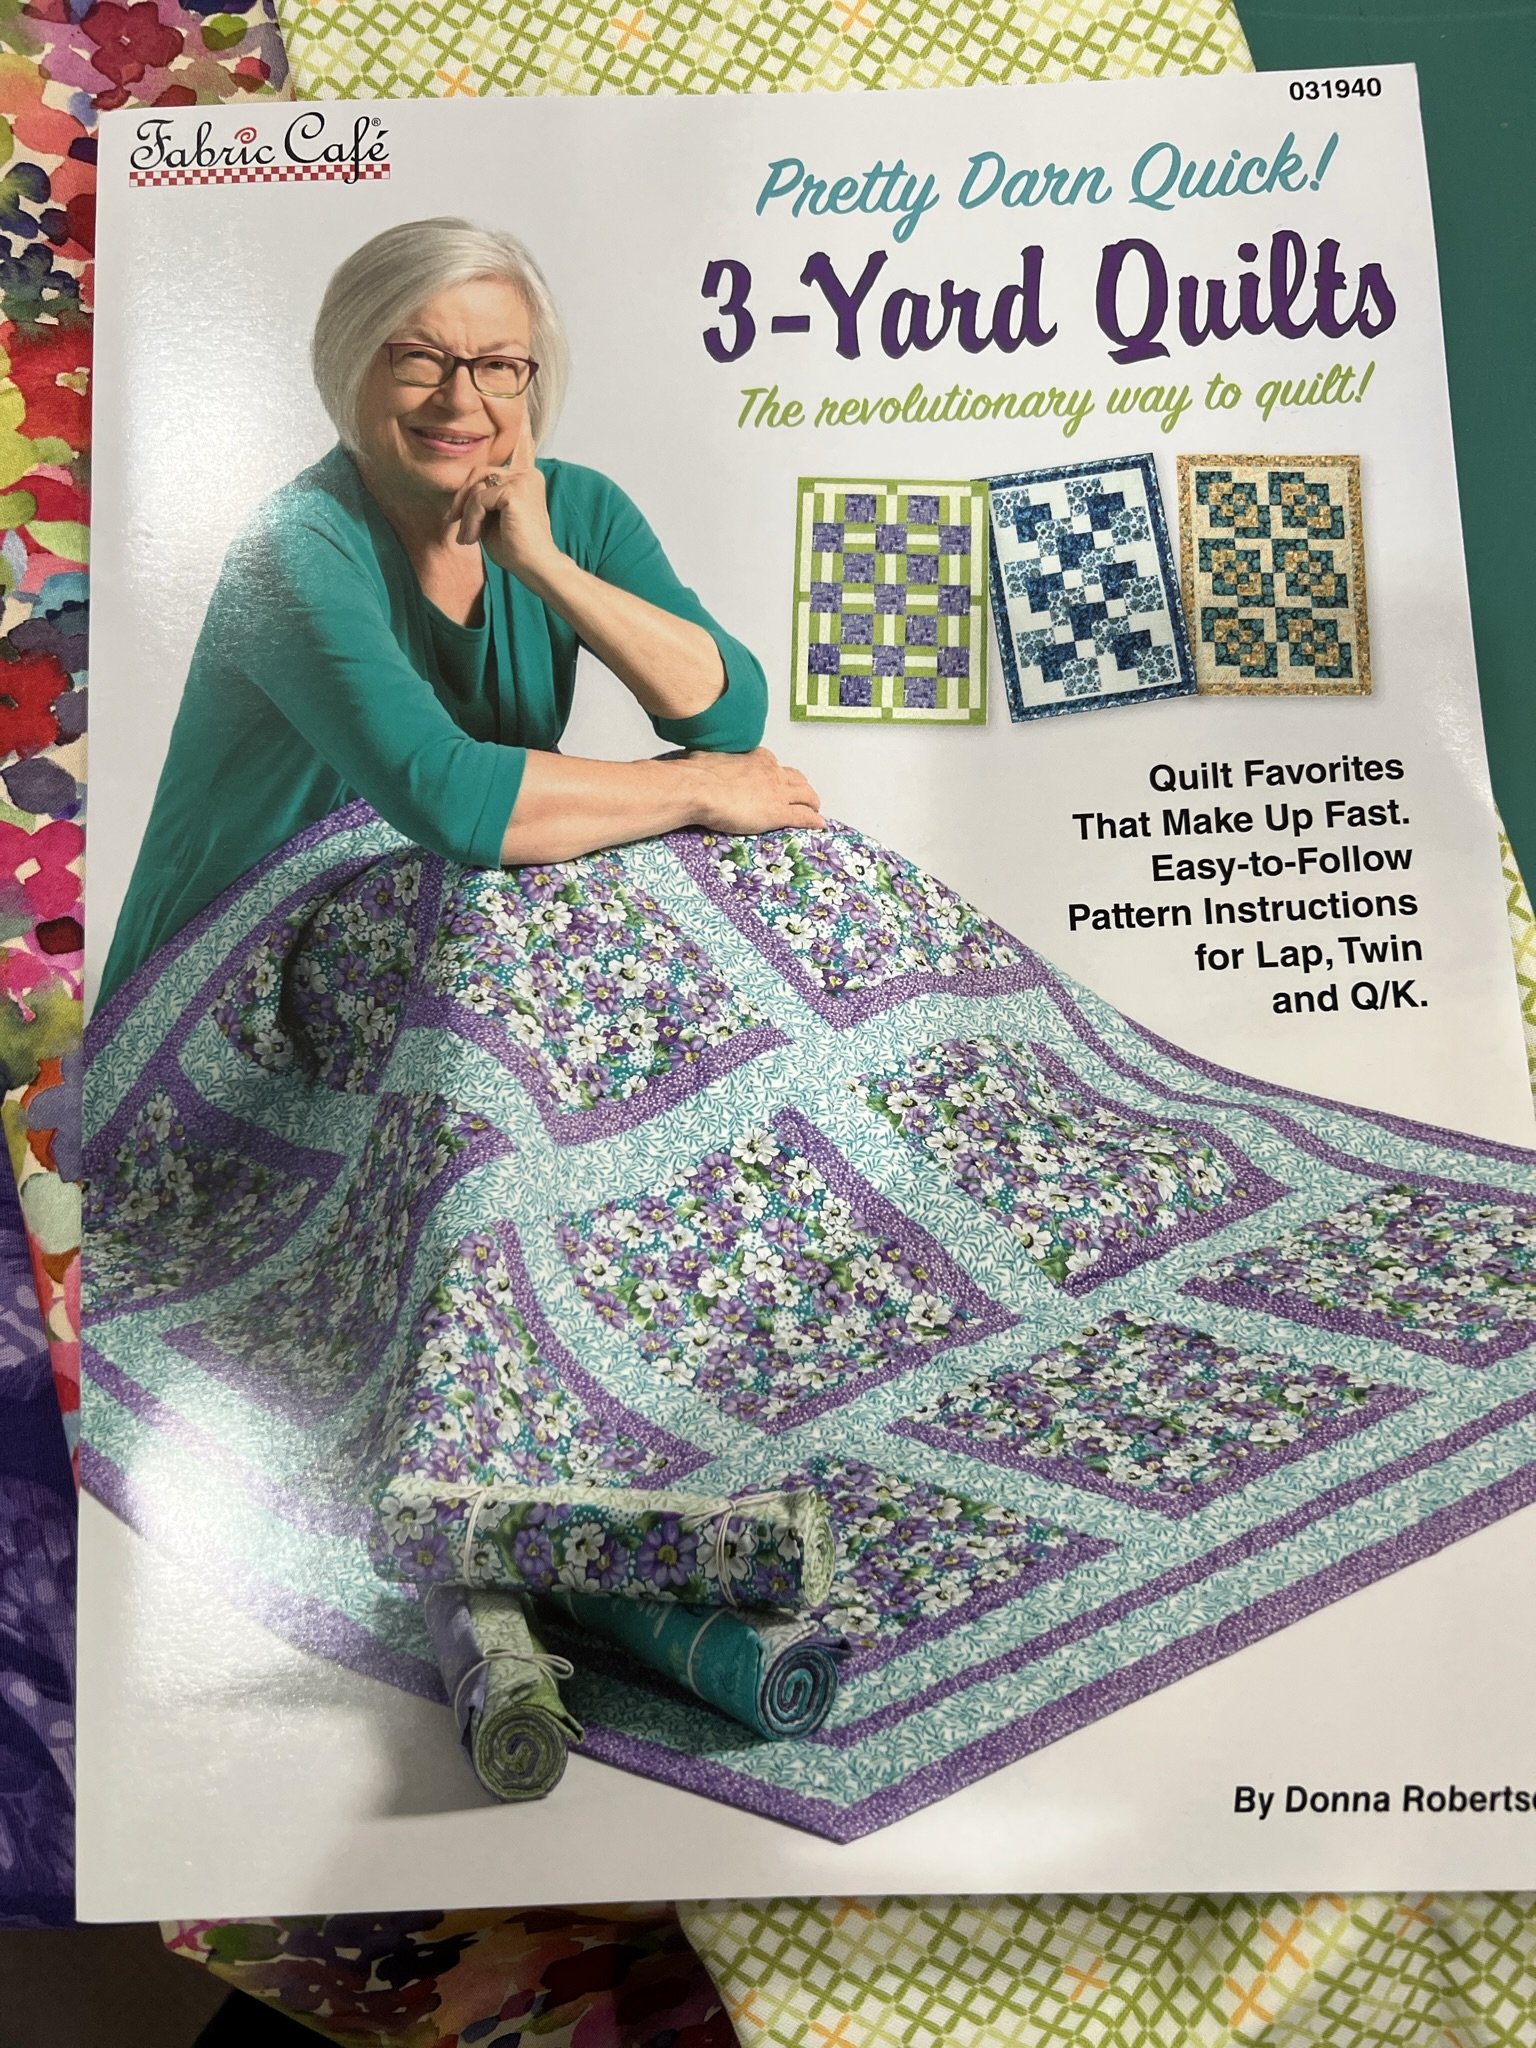
I’m not saying anything about how these were made; please visit Charlotte’s blog for her instructions. And I’ll put in a quick pitch—it’s not too late to join! Her mystery quilts are always great. No matter how much you think you can guess the design, there’s always a twist. She’s got a devious design mind.
This year she actually had us start with a border fabric, which briefly gave me pause when I was choosing fabrics. I usually like the step of choosing border fabric after the top is done, trying to find the perfect one to pull everything together. I still love my Scrapitude quilt (her very first mystery quilt I think actually named “Scrap-in-a-box” although I named my “Scrapibonzatude”) because I found a very unexpected but perfect border for it (described in this post). That quilt still lives on my bed. I still love it. It’s been a few years, but I’m excited to be doing this year’s mystery quilt!

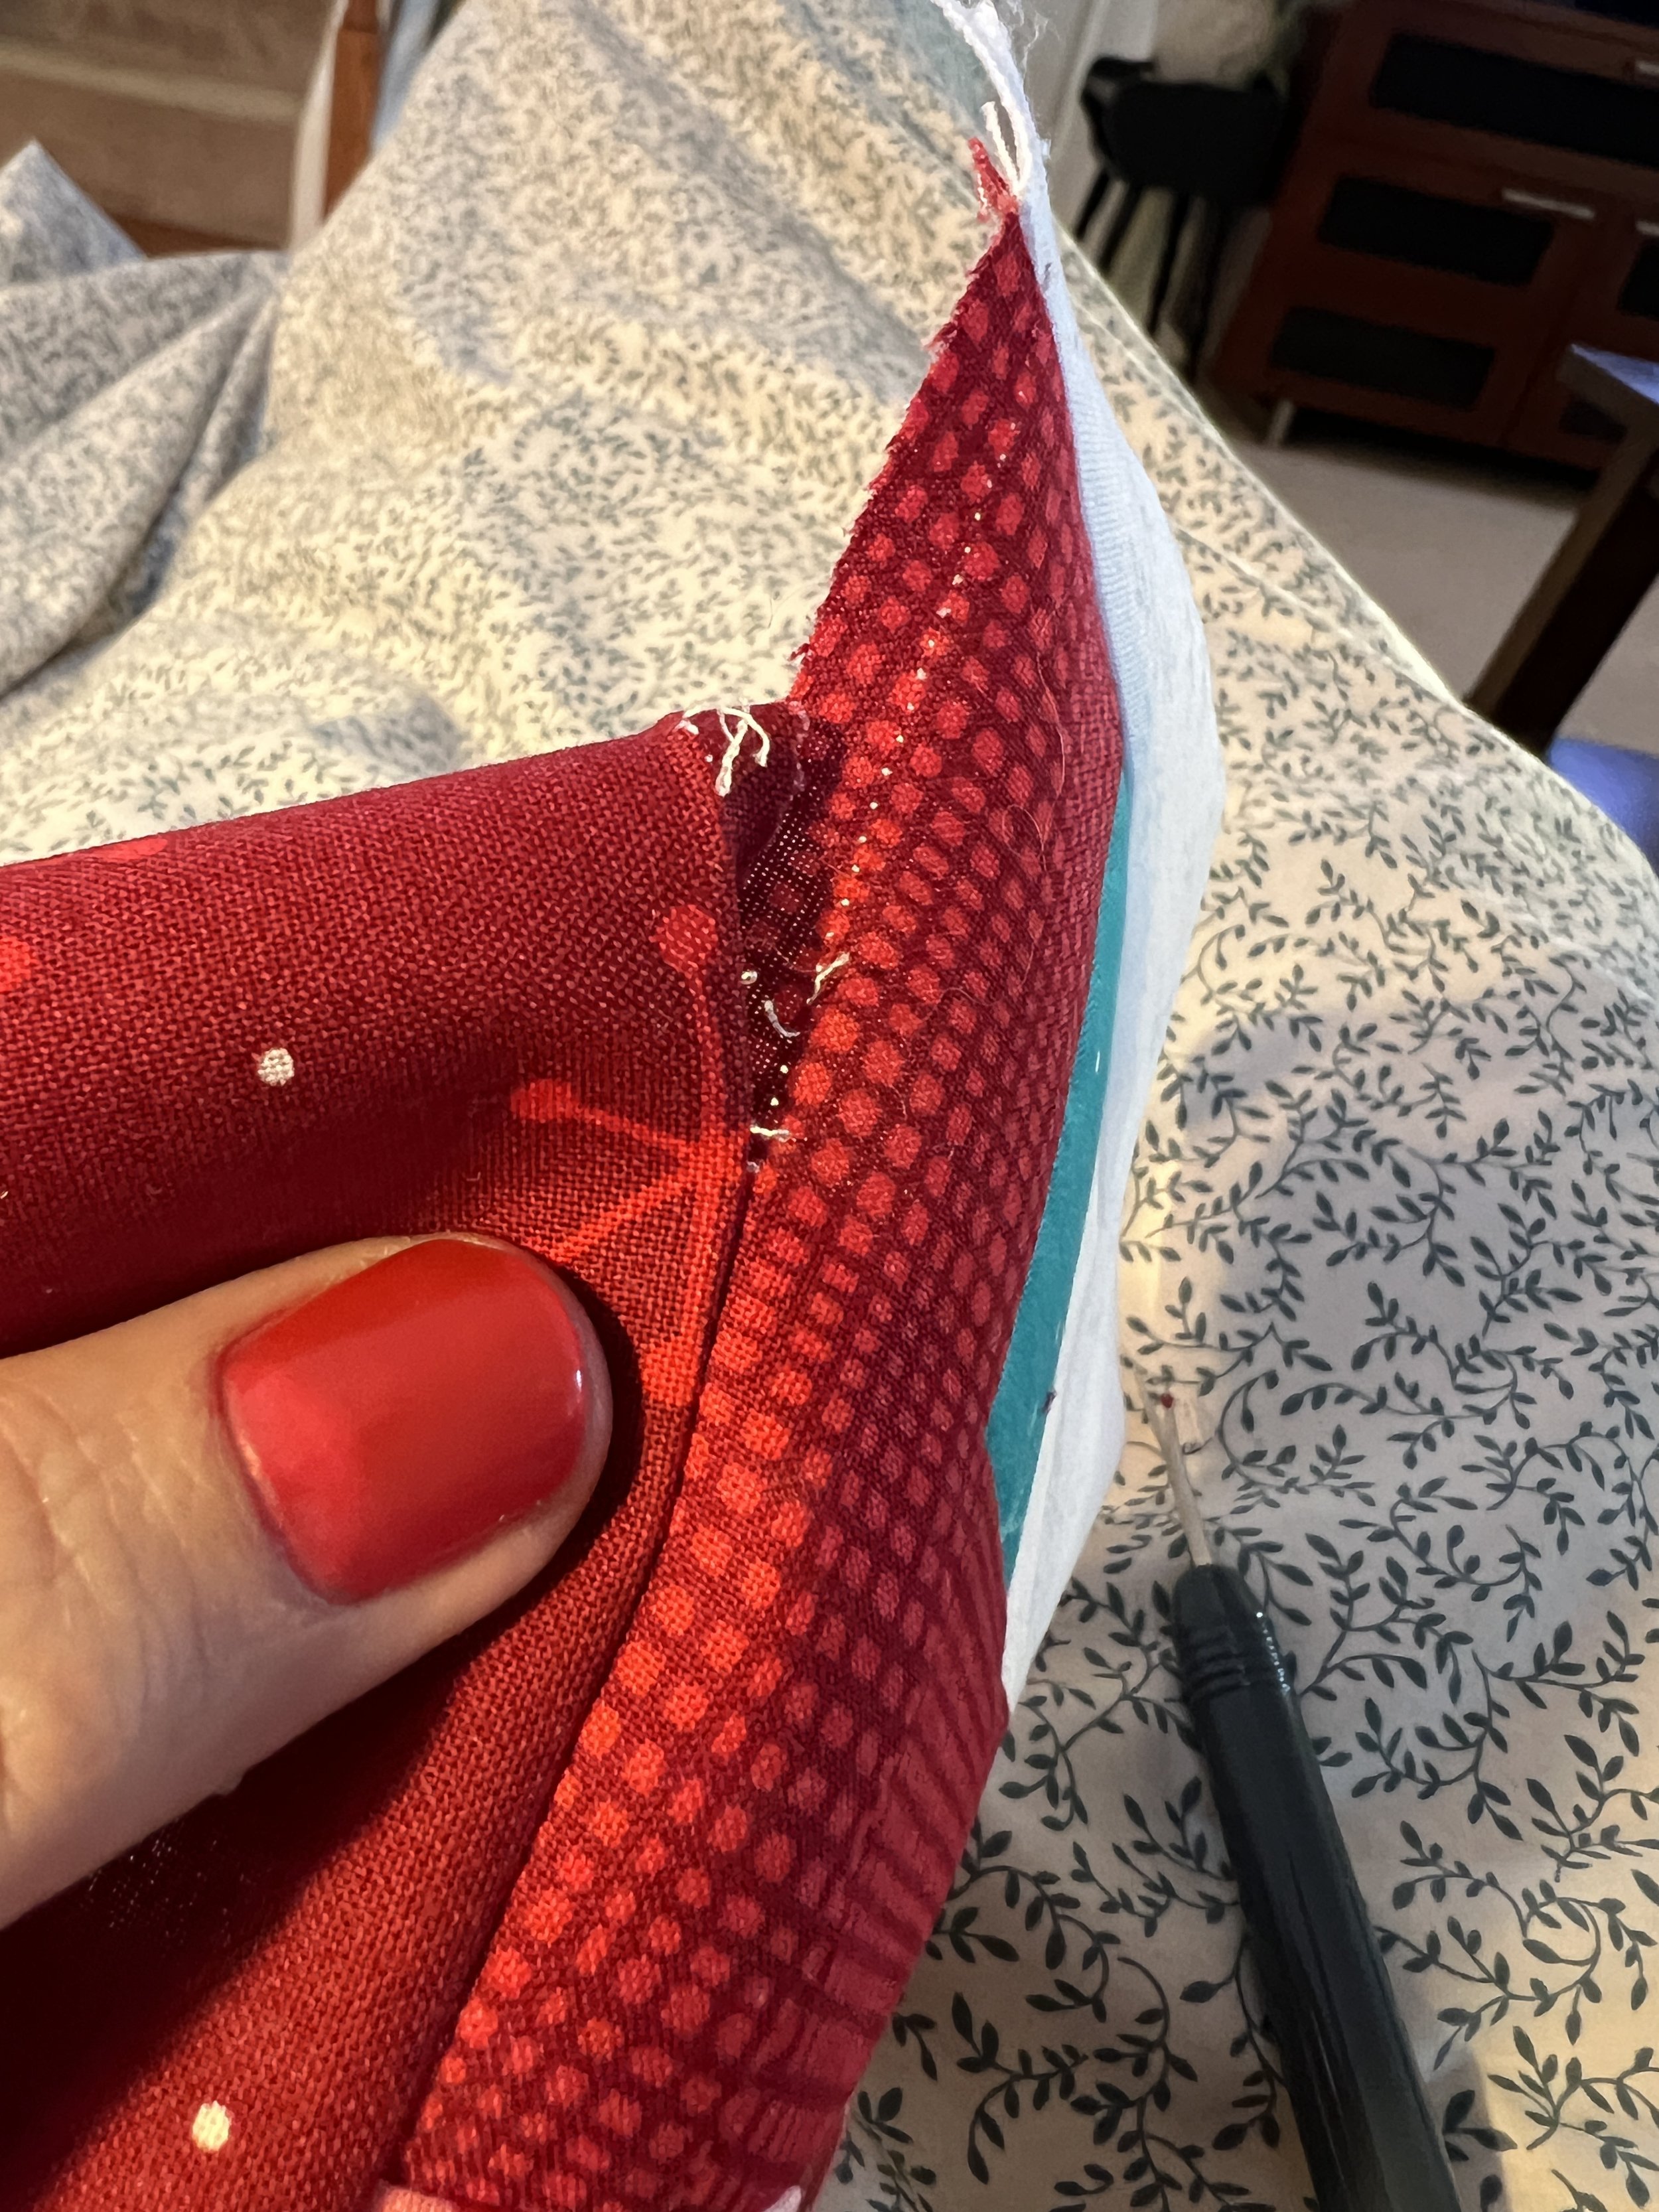
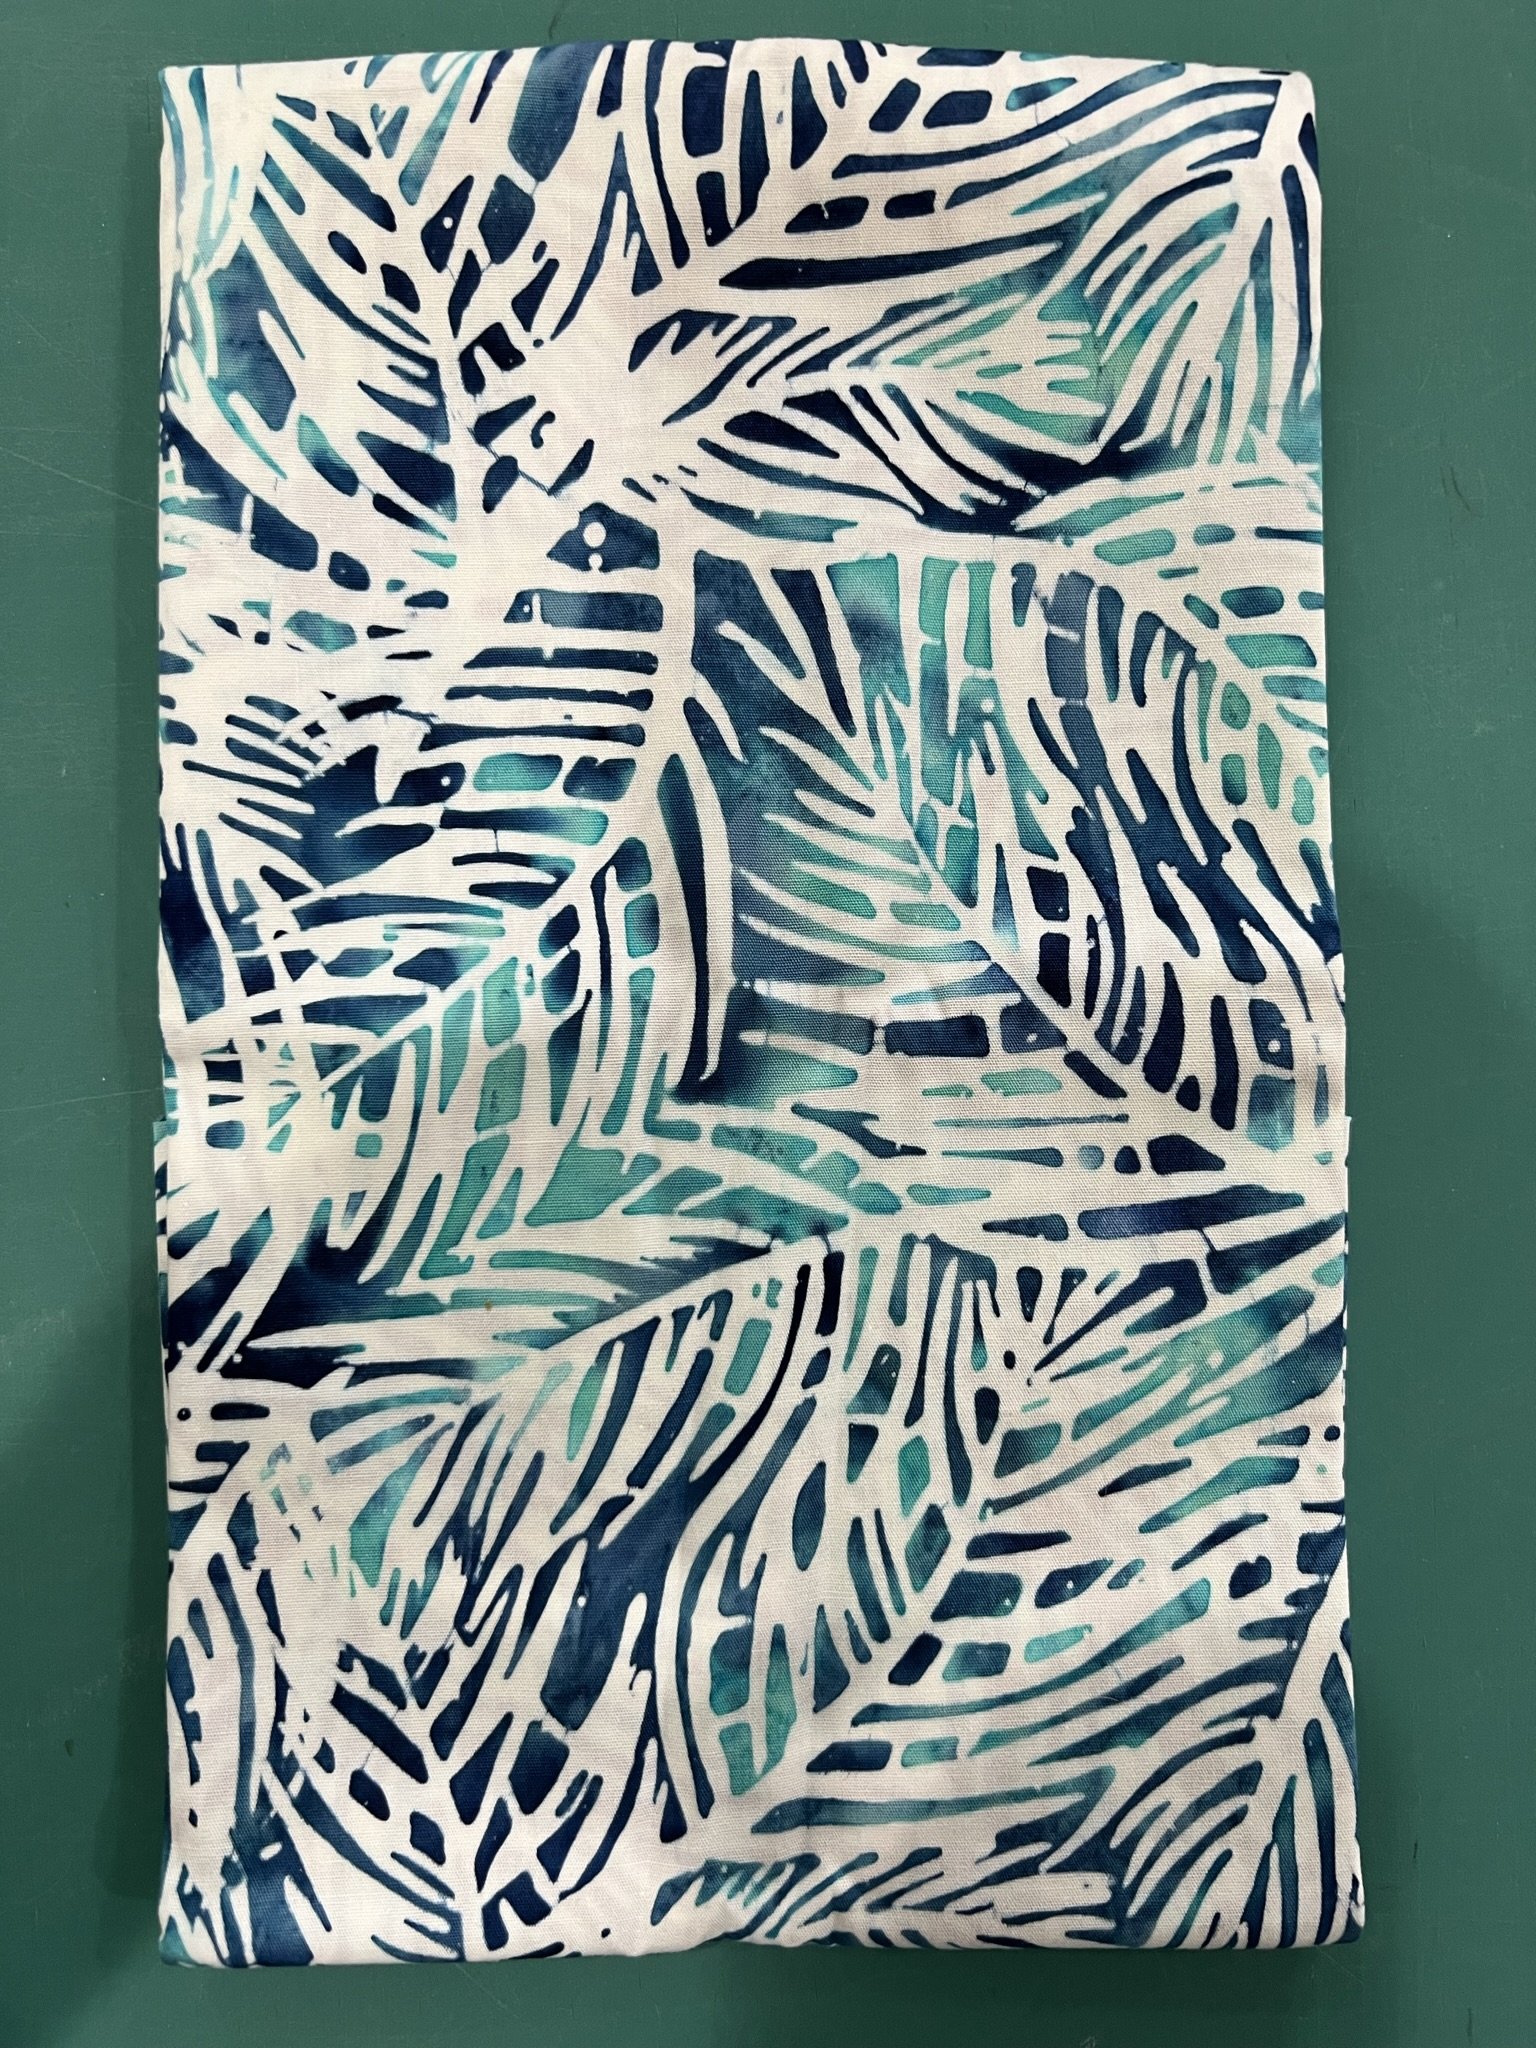
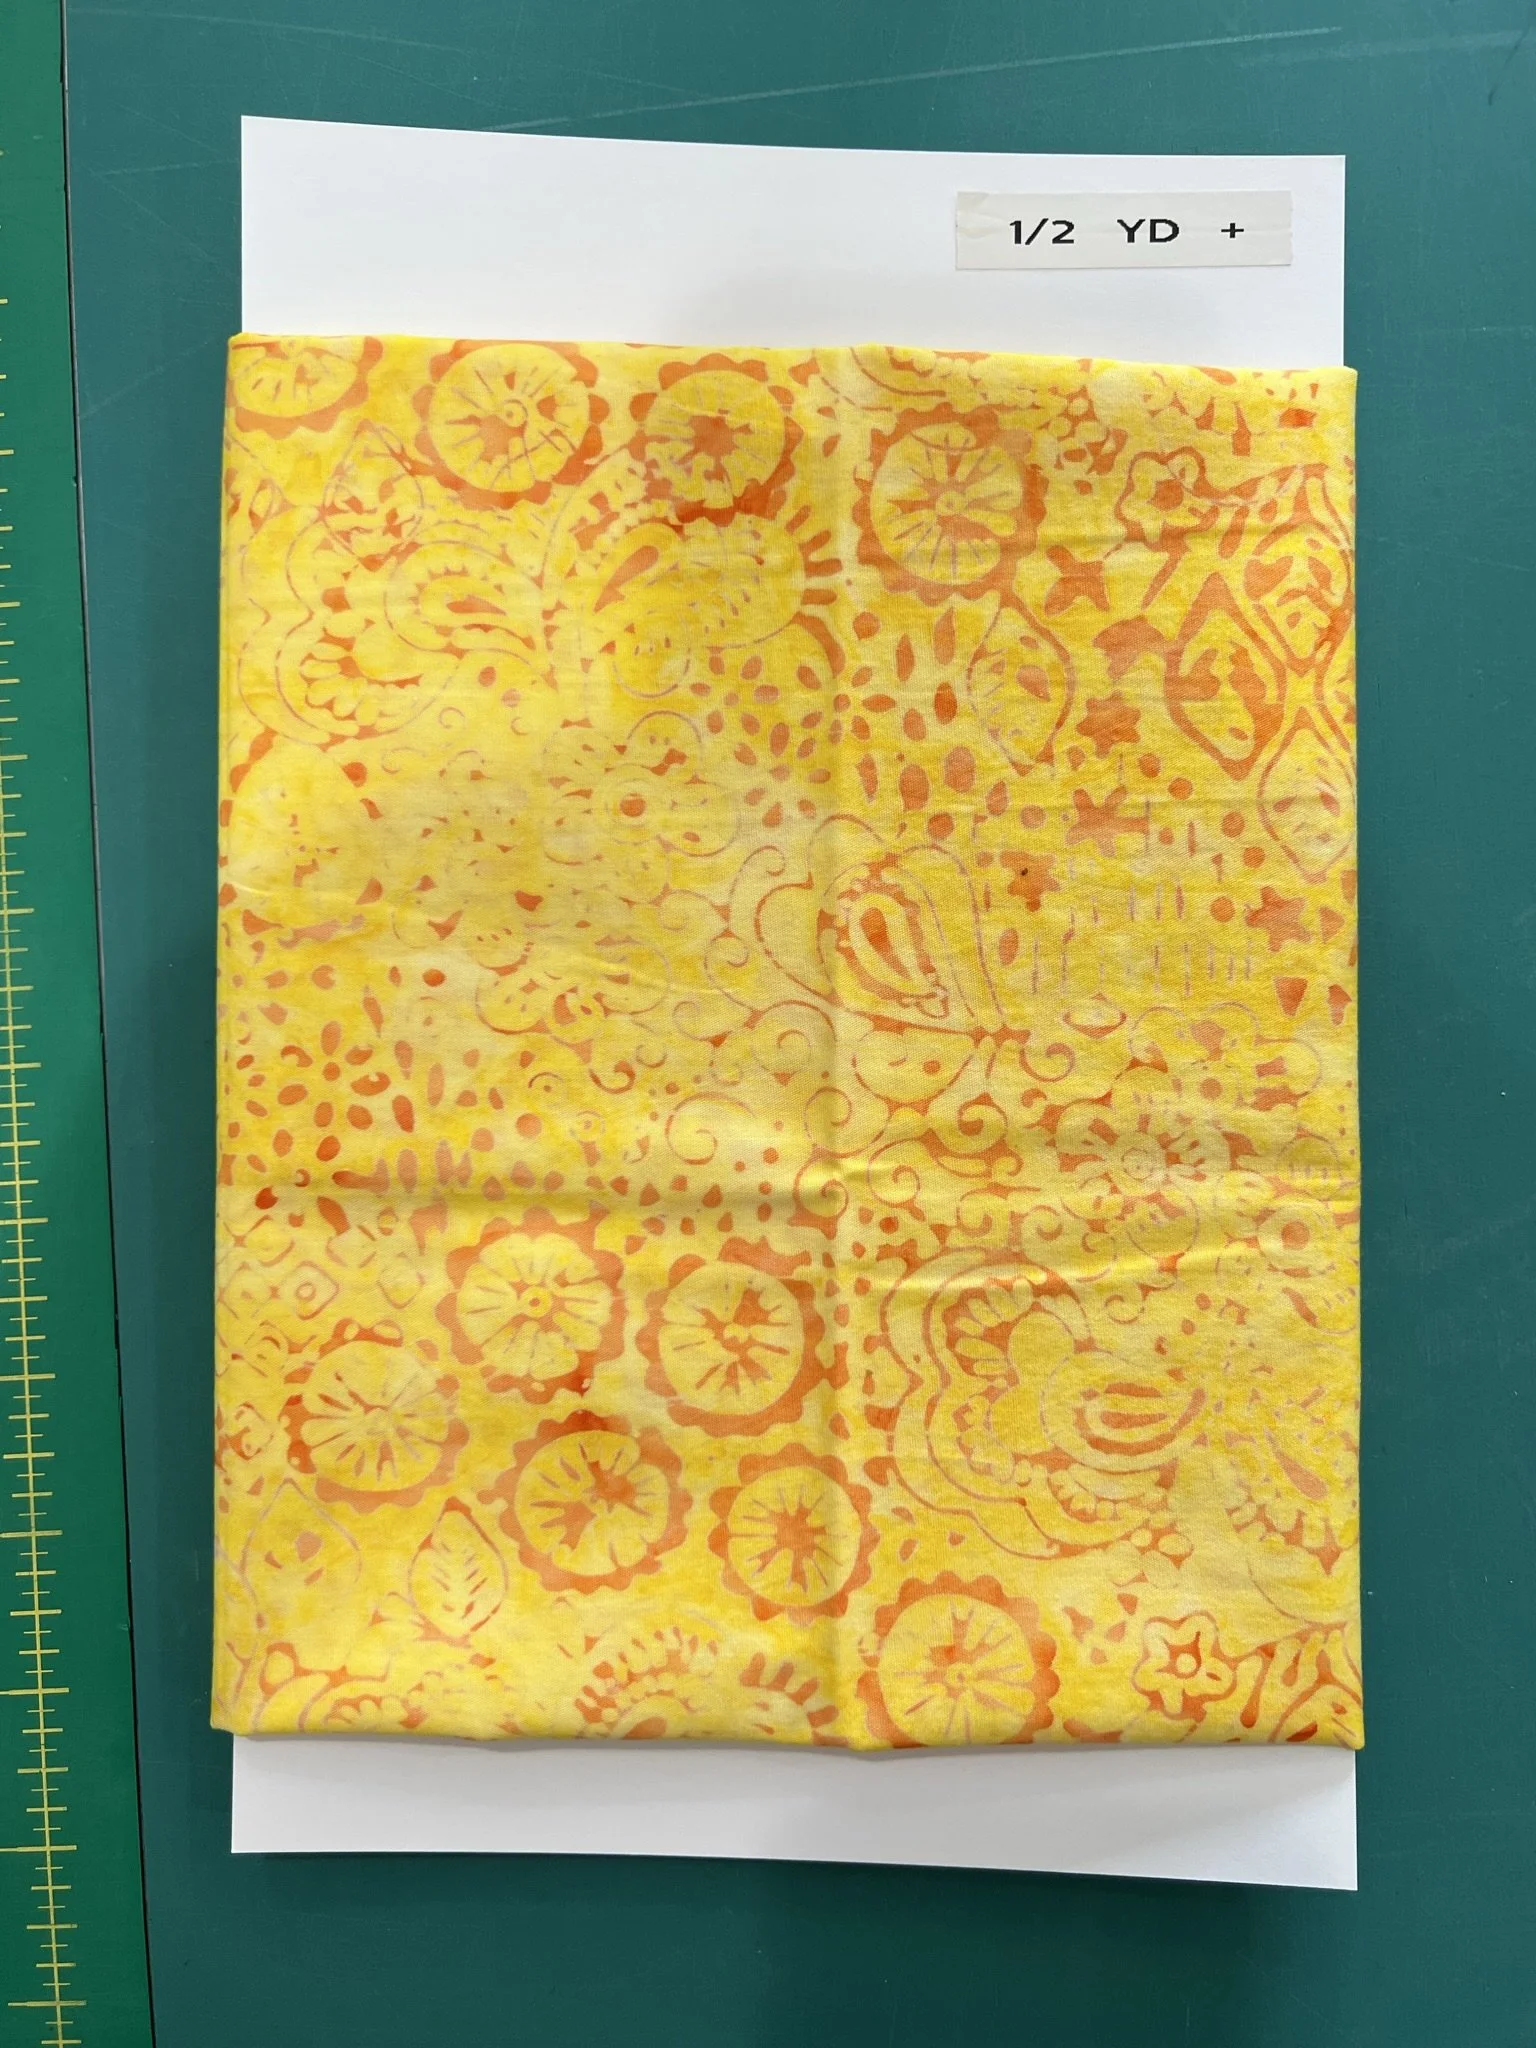
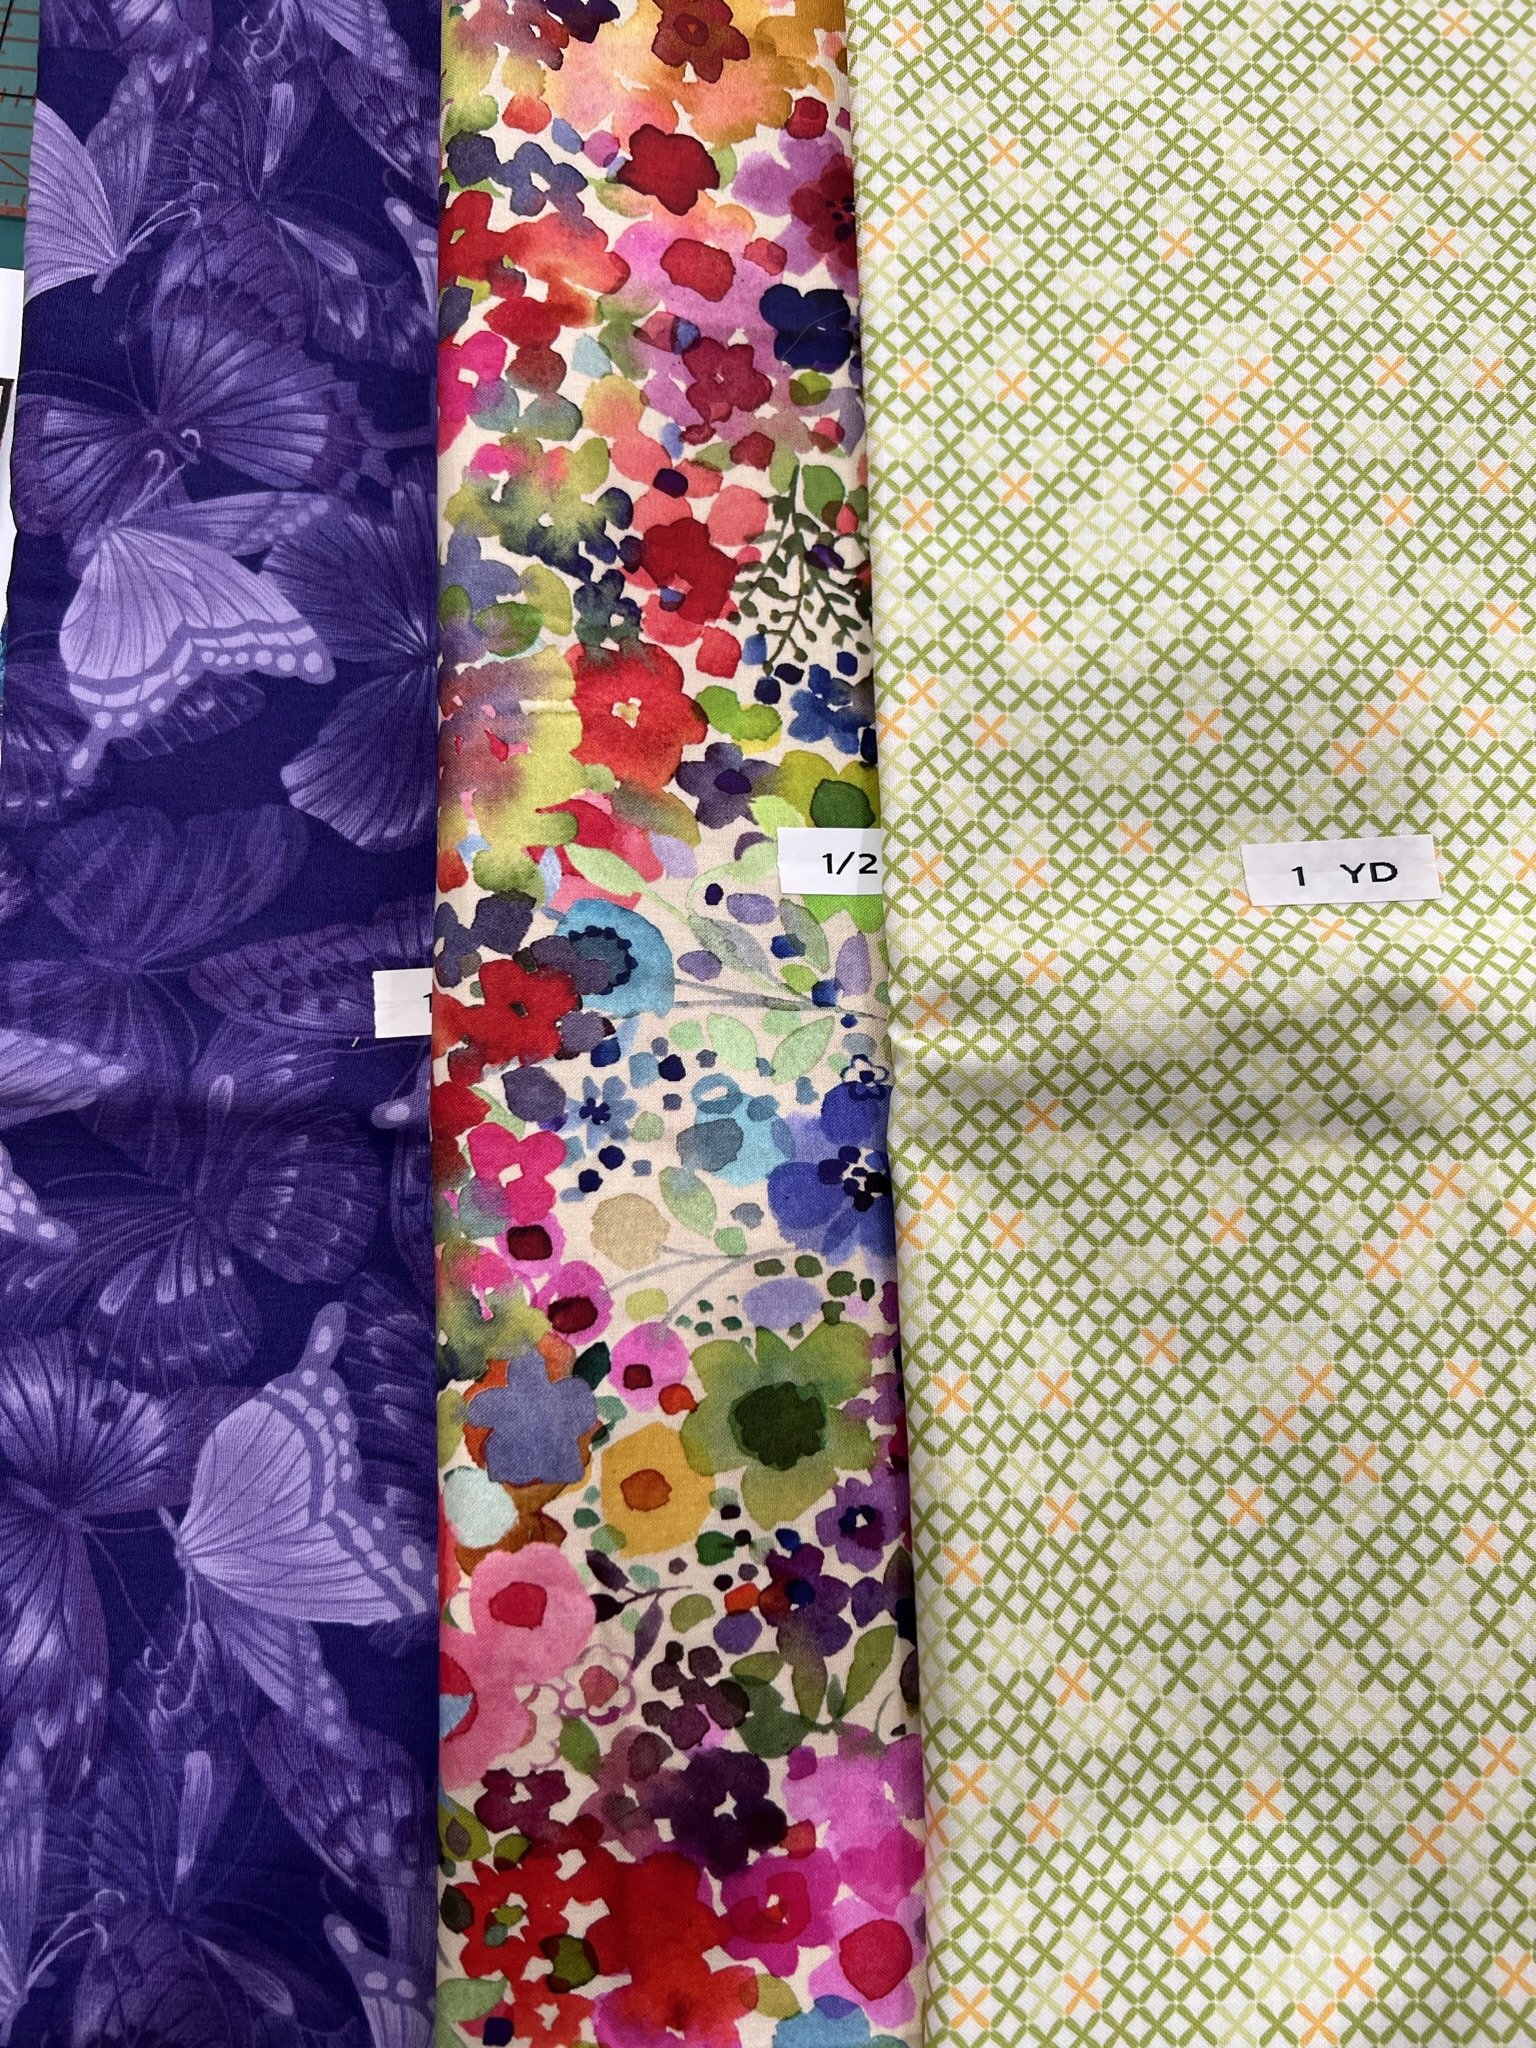
As I was determined to use up stash, that limited my border options to the small handful of fabrics I had enough of for her cutting instructions. I ultimately decided to take a risk and use this very large scale print that I've had waiting for a project for probably 8 or 9 years. Maybe longer.
Did I say “very large?” I mean, very large. That’s over 20” between the two red smaller flowers on either side and, frankly, I’m not even positive that’s the repeat yet.
It’s a risk because large prints rarely translate well cut into smaller pieces. But reading through her cutting instructions I knew I wouldn’t be cutting this too small and I decided to take the chance. It’s good to finally be using it.
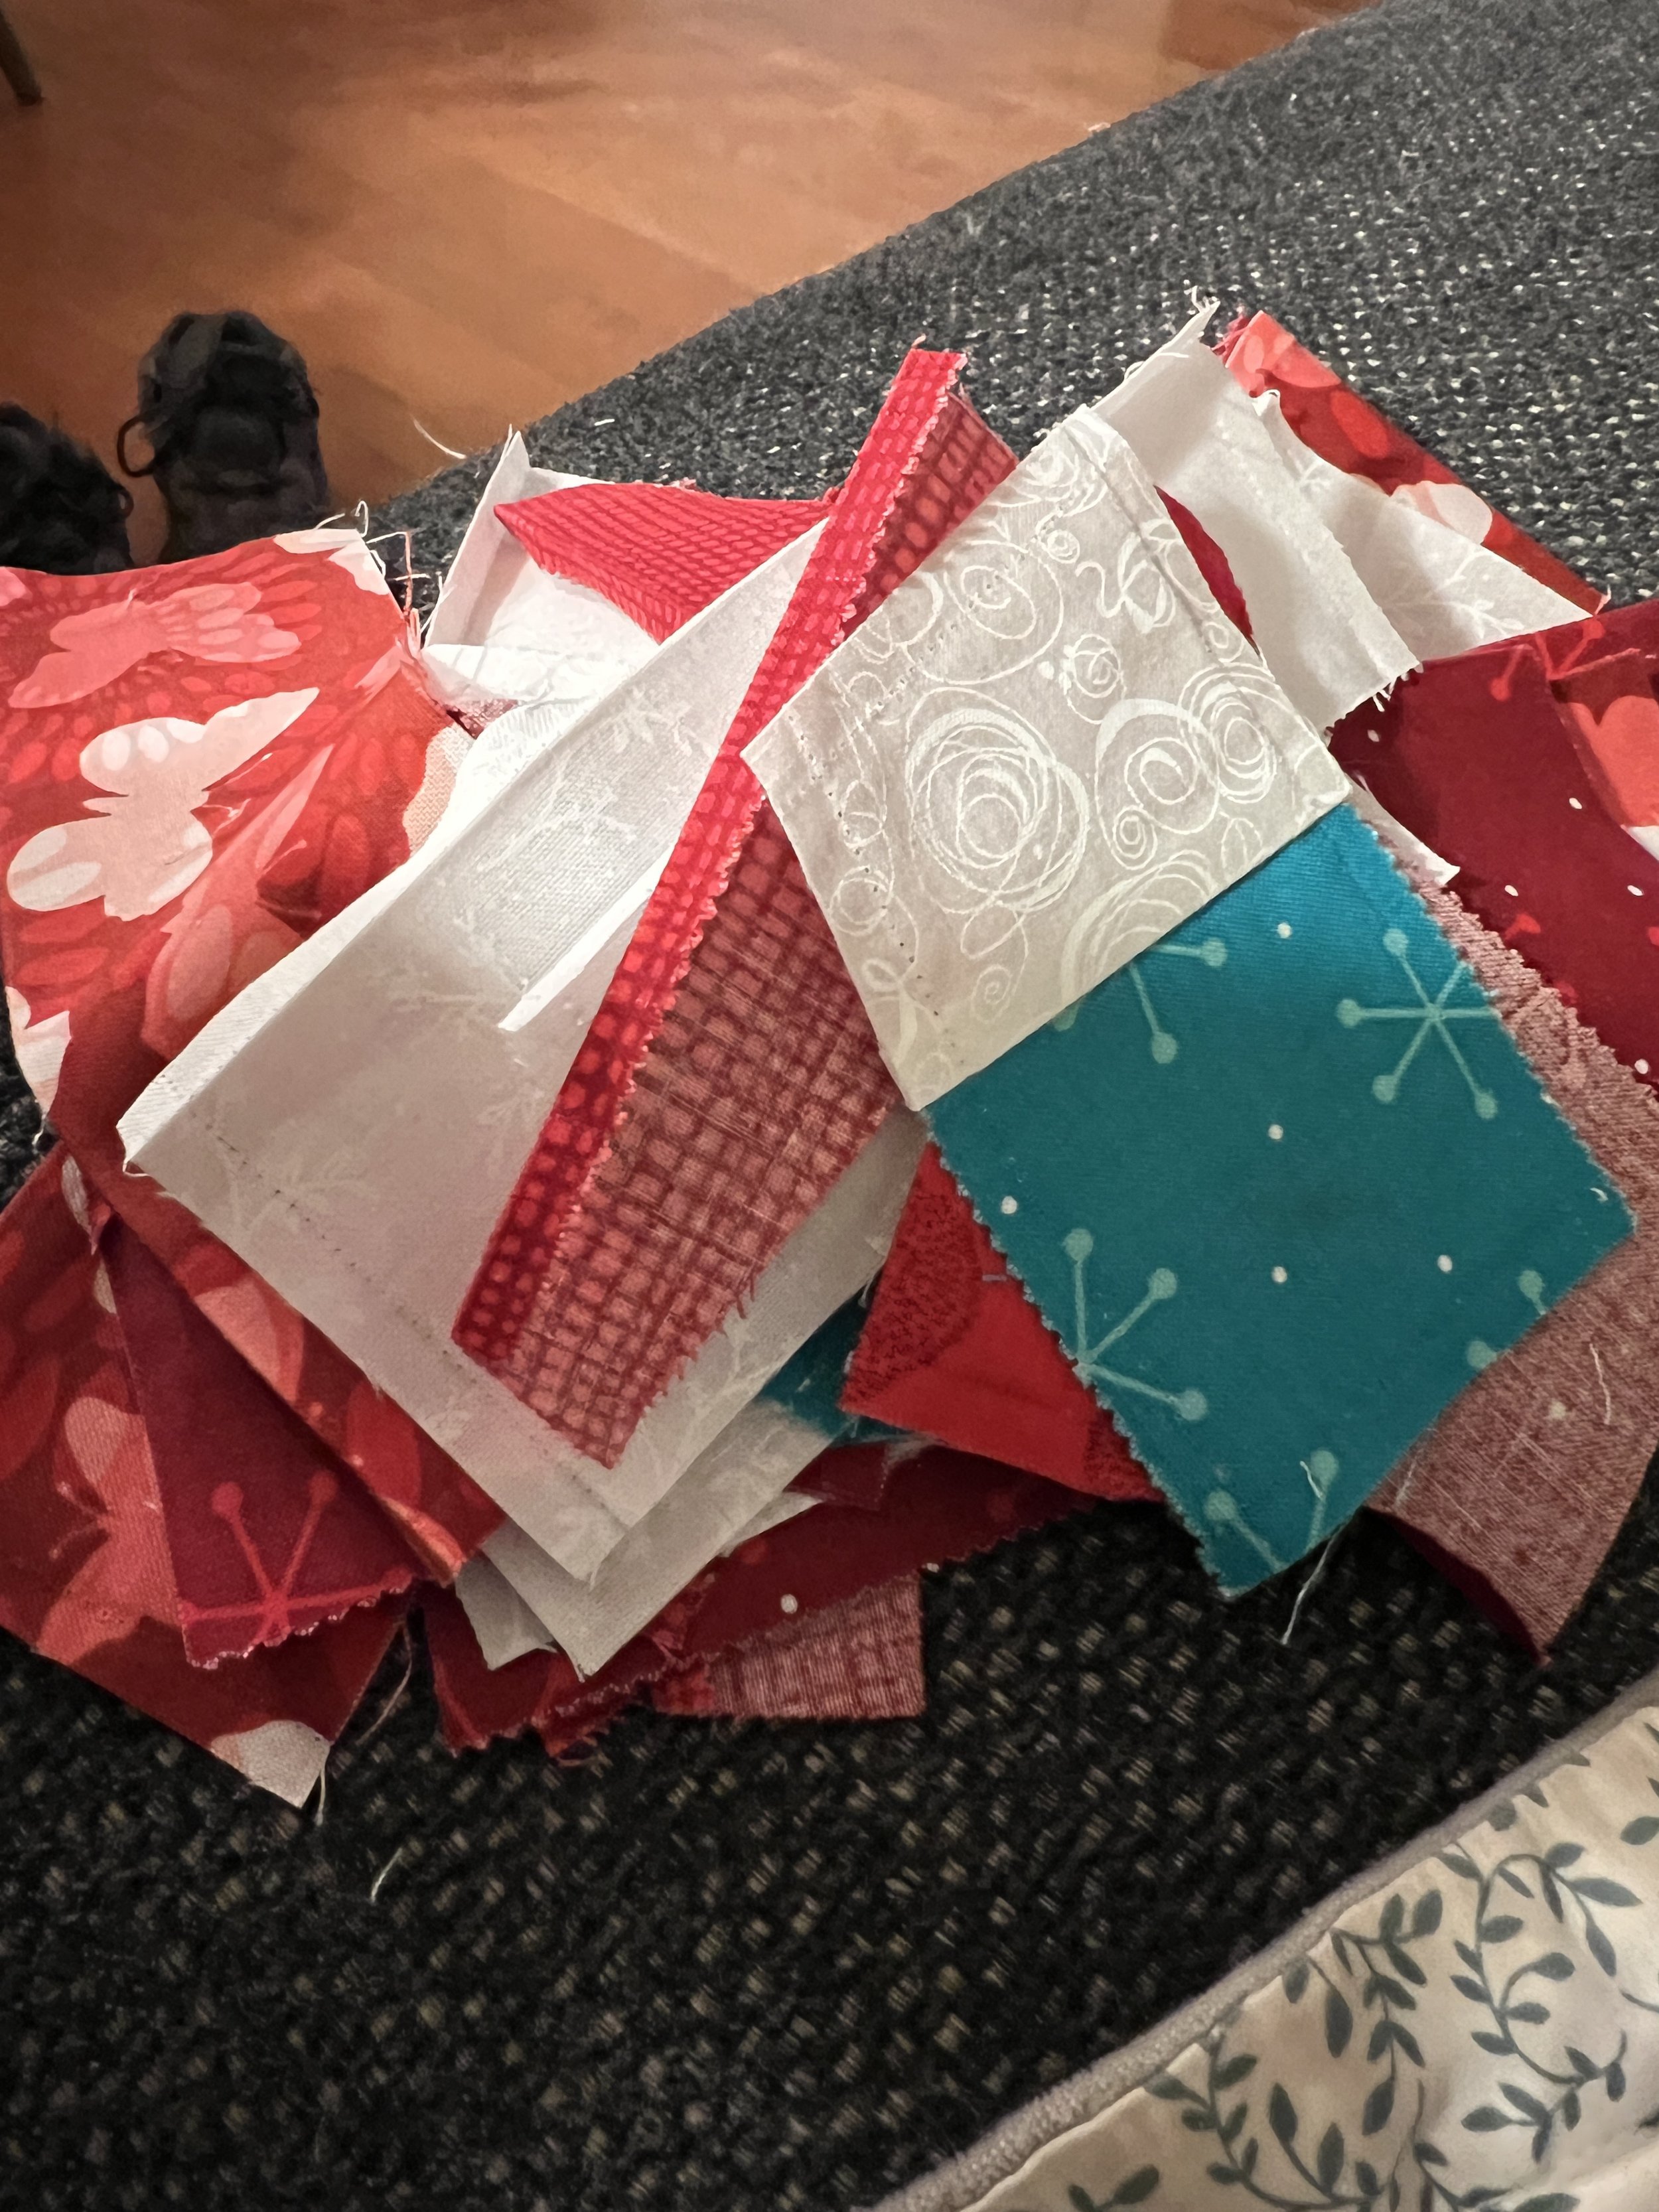
I then decided to do controlled scrappy using a color palette from the border. It’s a slightly weirder palette to work with than I’d thought it would be as my stash doesn’t normally run to these tones at this point, but I also know that variation makes a more interesting quilt. That’s my story and I’m sticking to it.

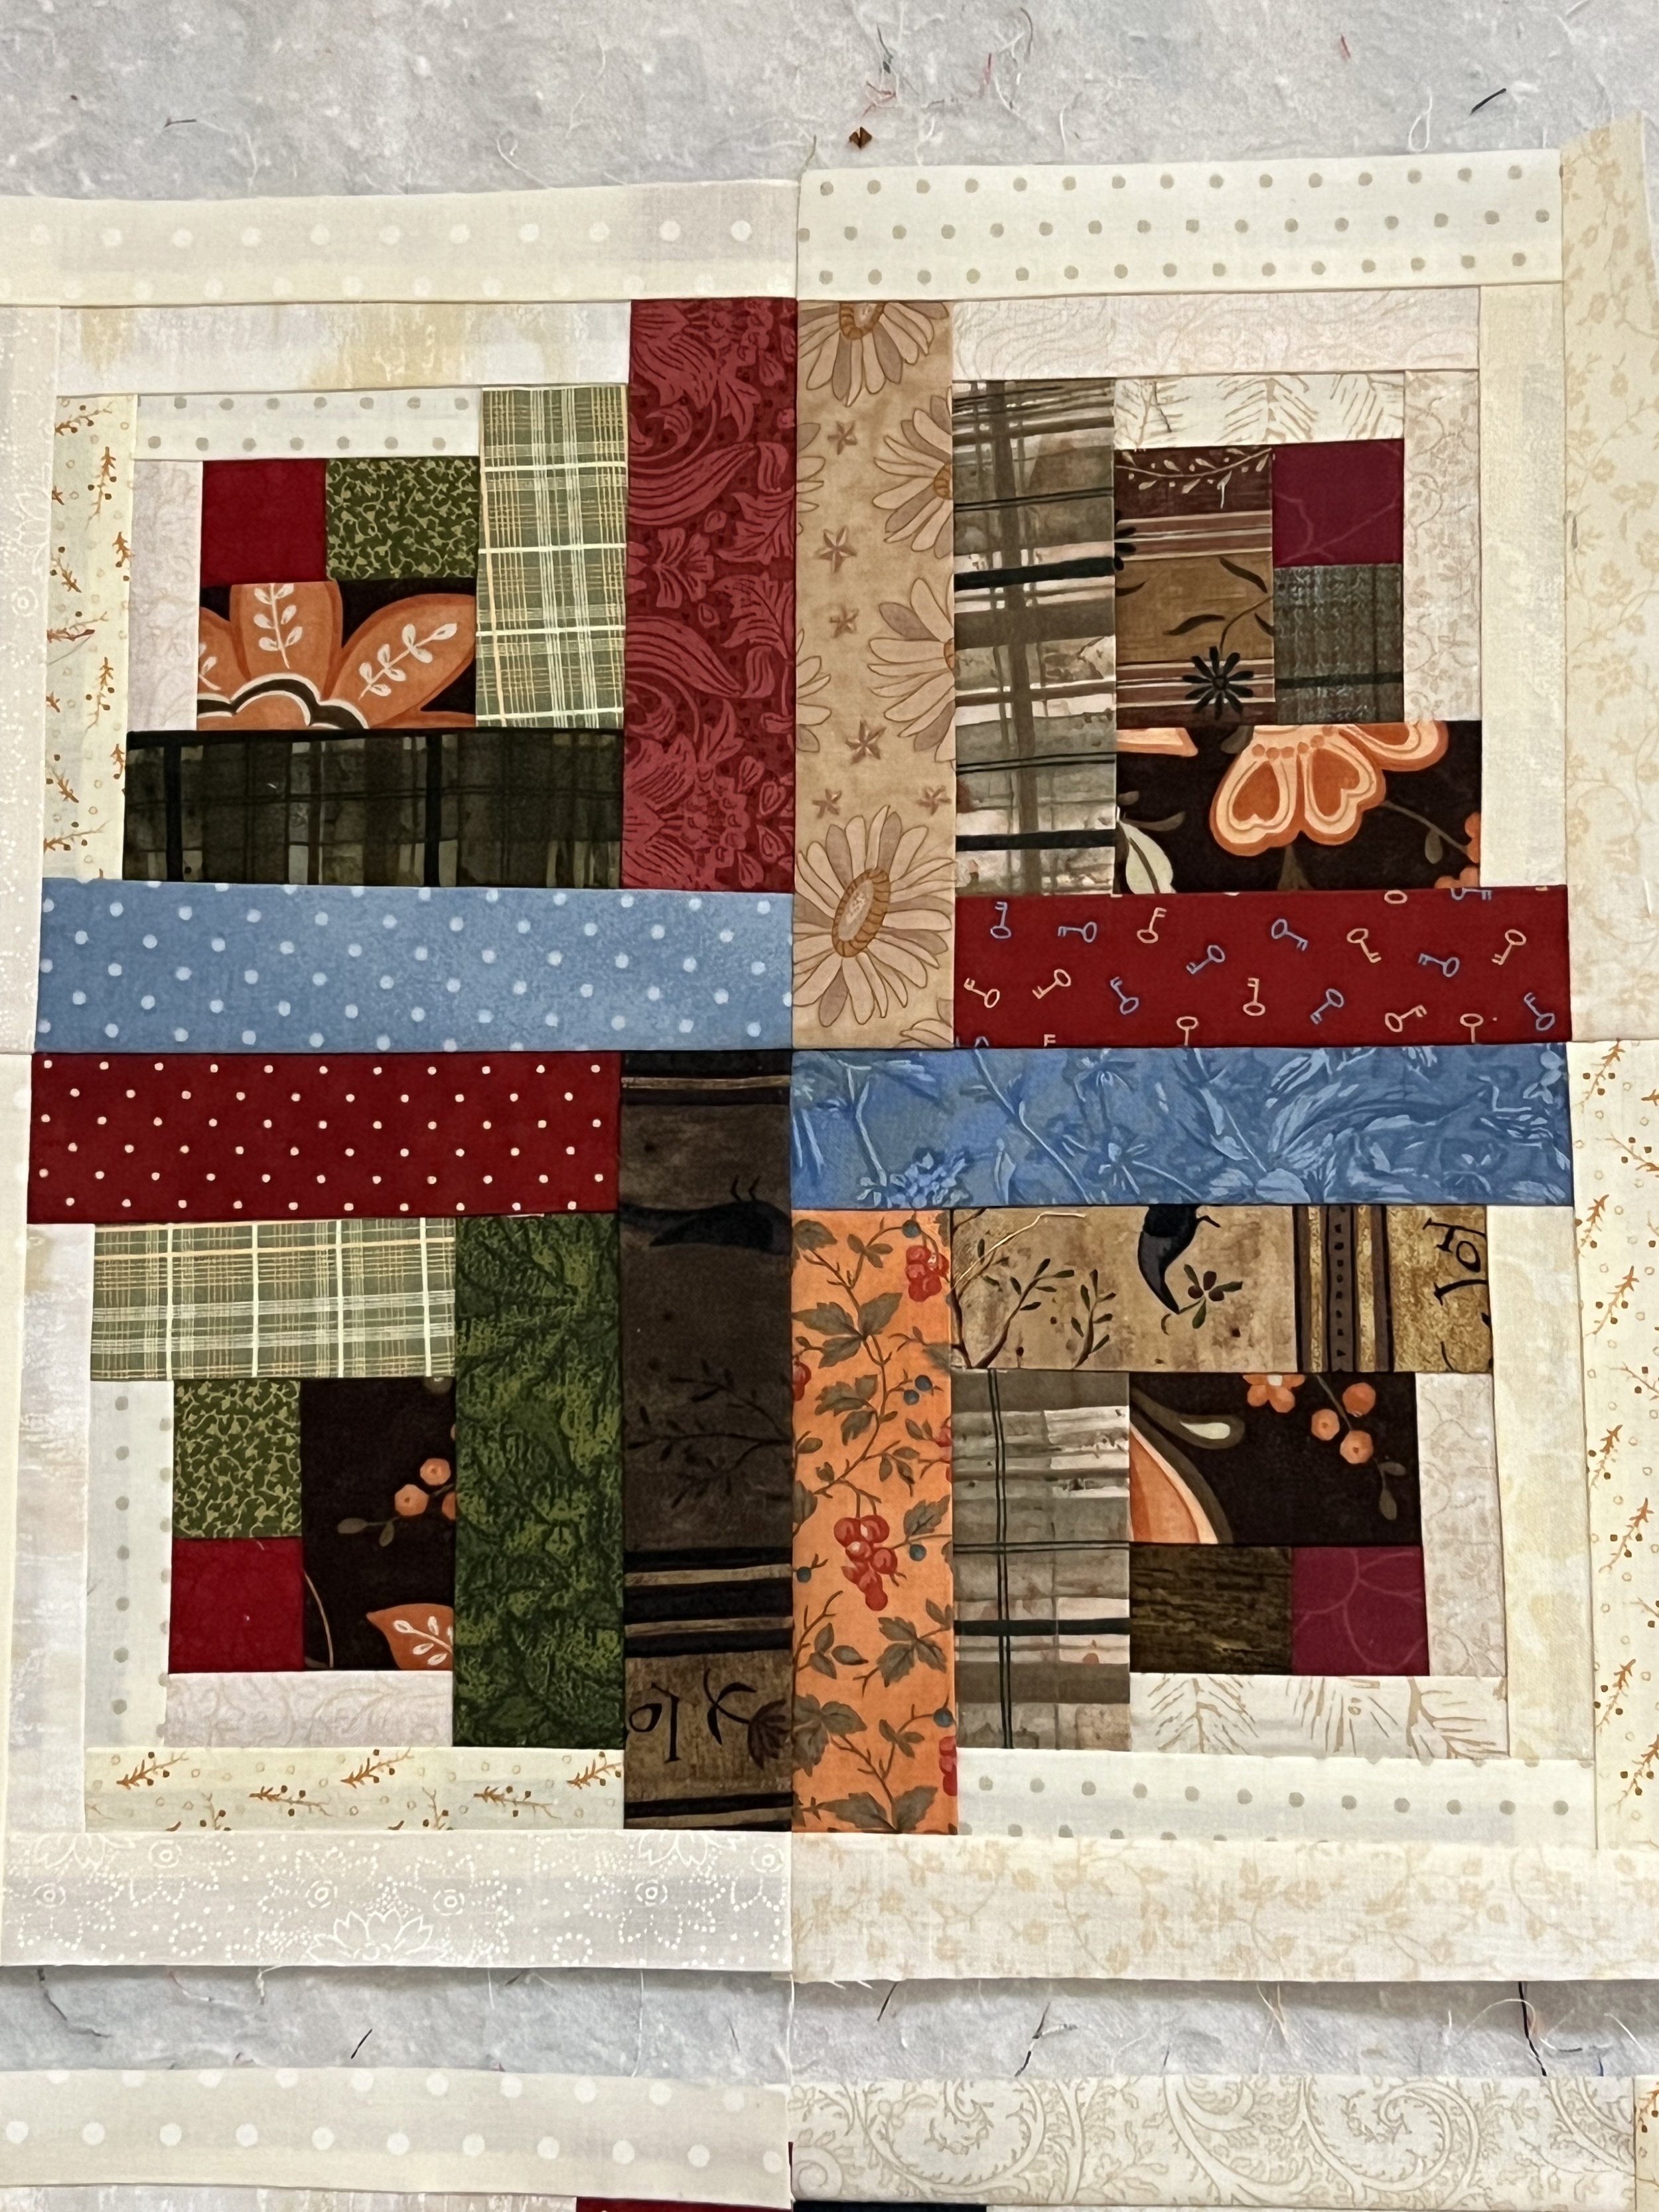
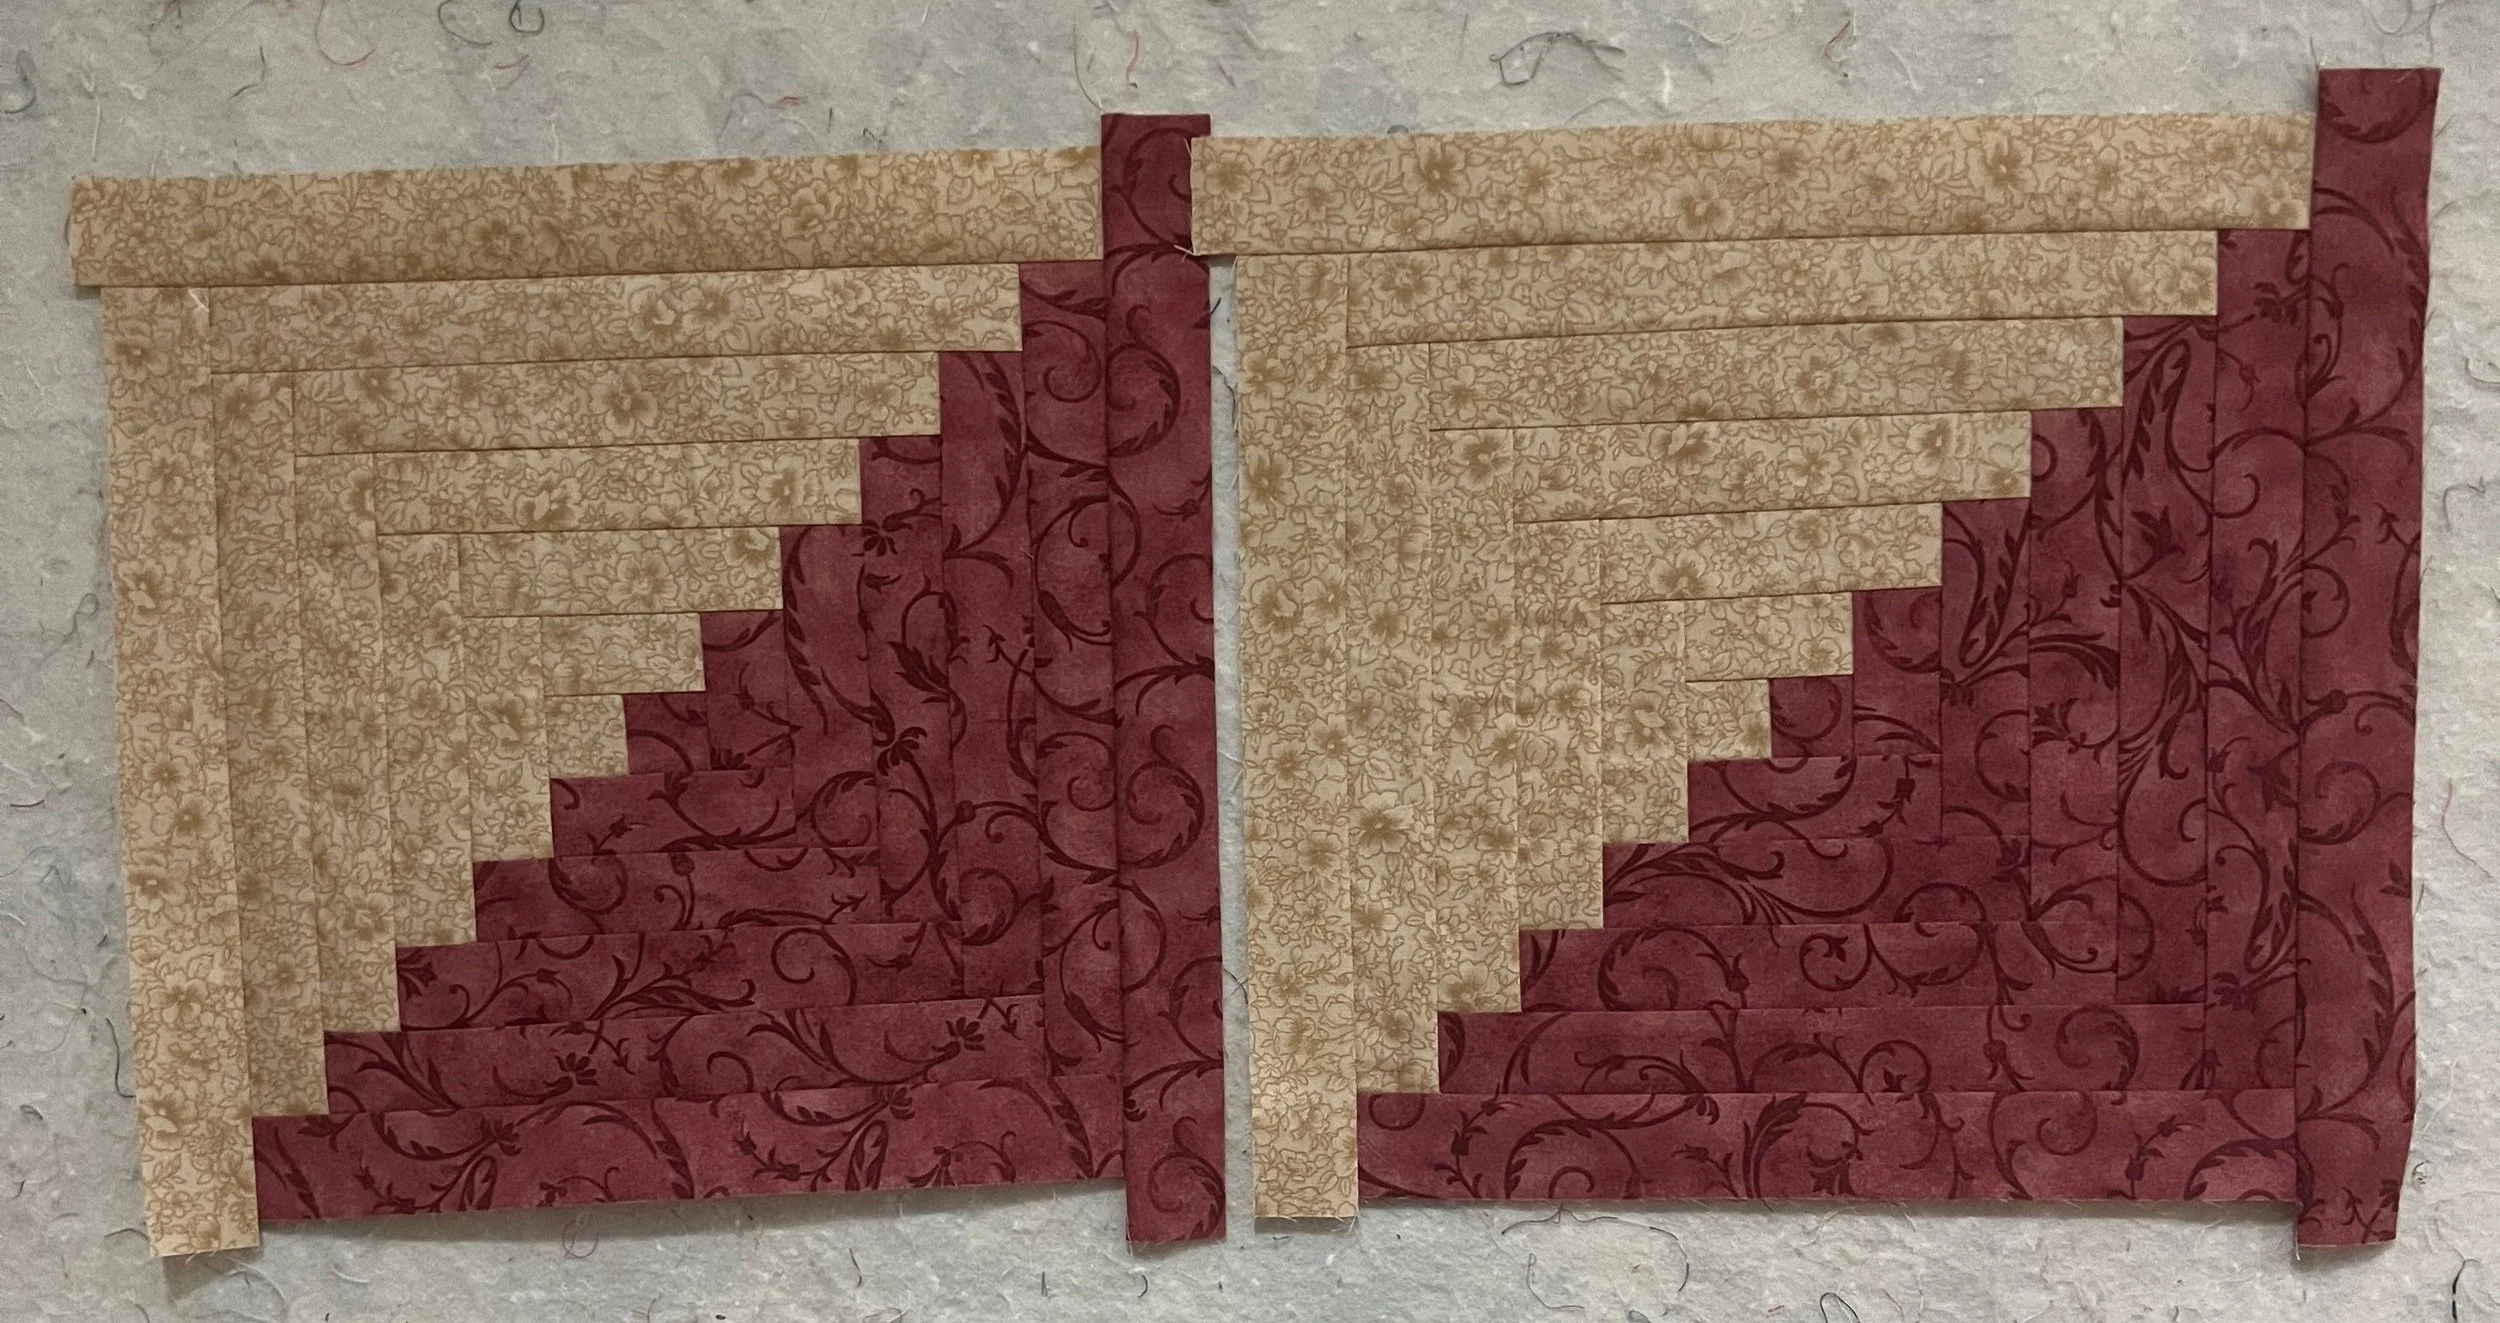
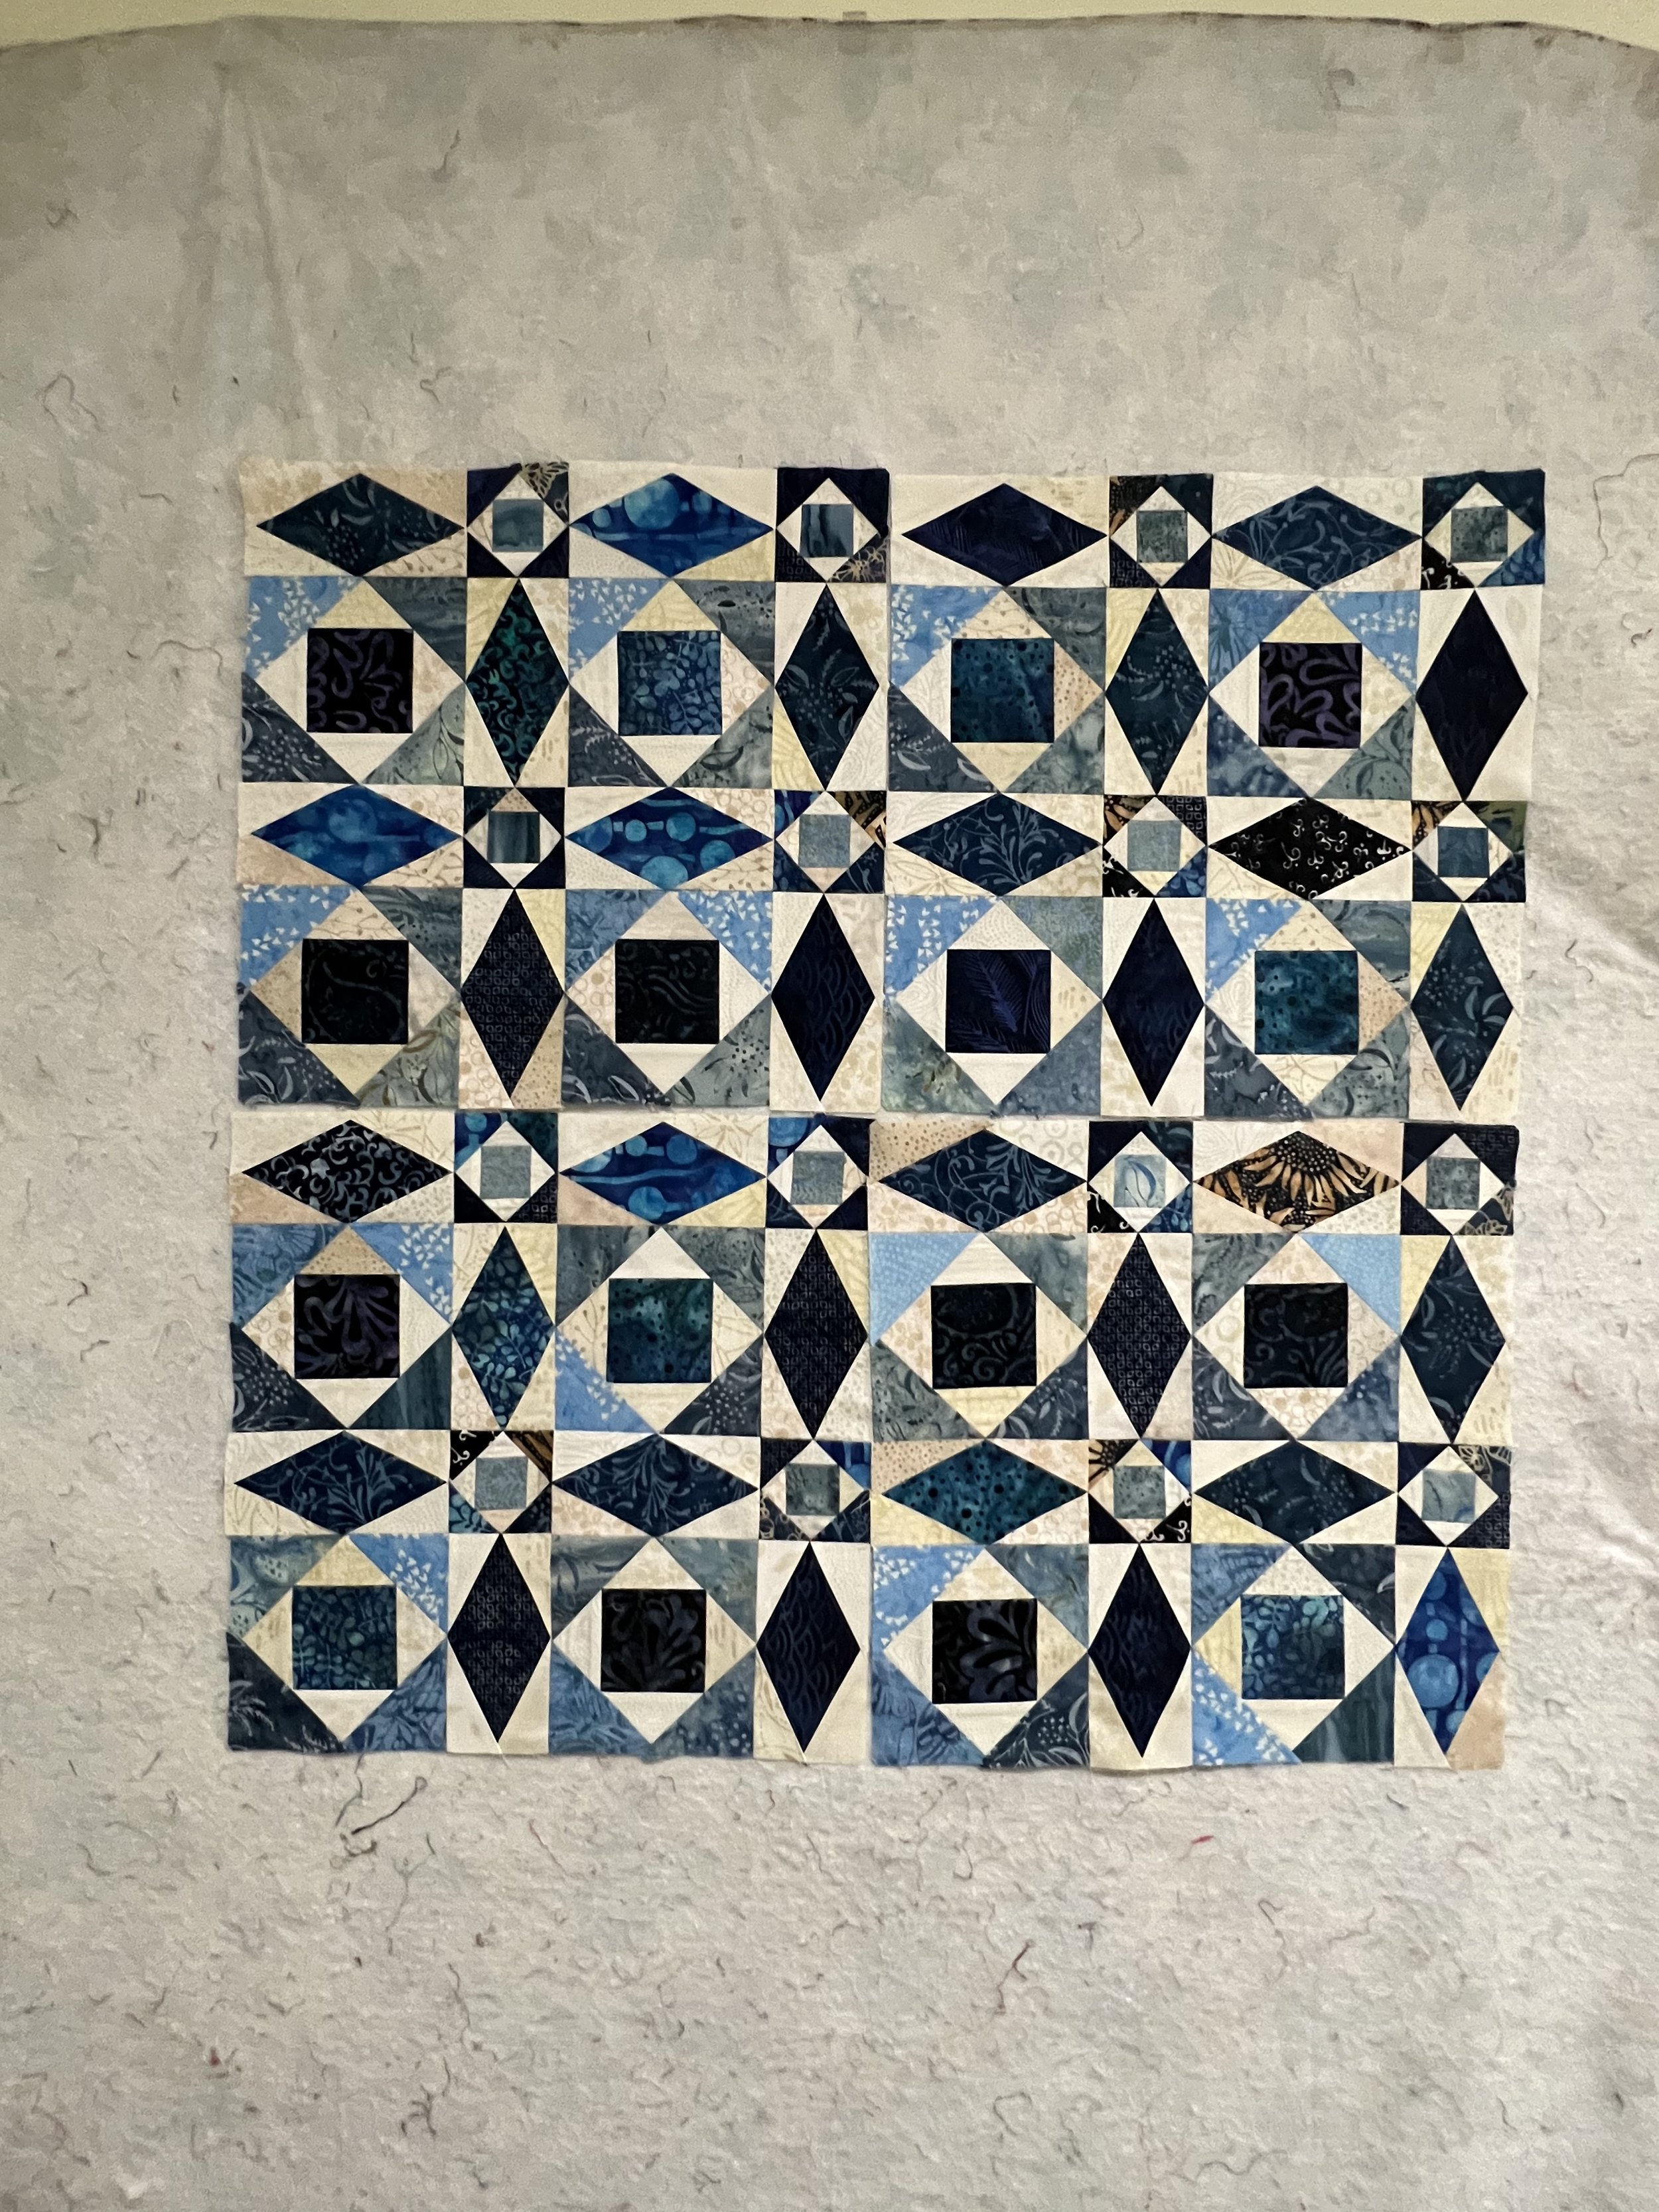
Clue #1 complete. Love the Jacob’s Ladder feel to this—one of my all-time favorite and very versatile quilt blocks.
Couldn’t resist doing a layout on my design wall even though I know Charlotte will be doing something far more creative with these, but it did at least let me get a better read on how well my color story was working.
Not too bad.
Also, the corner pieces are the smallest pieces she had us cut from the border fabric so I didn’t entirely lose the design. I think it’ll be okay.

Clue #2 complete (and it was just posted a couple of days ago—go me!)
There’s a bunch of these blocks and each one is different. I just didn’t lay them all out for the photo as I wanted to clear off my design wall to get ready for the next project I’m working on today.
I confess to having to re-do two of the blocks you cut these strips from because I made stupid errors on both of them, which is about when I decided I needed to leave my sewing room for a little bit of a break and come back to it later. Fortunately, as I was digging through my layer cakes (they start as 10” squares) I found that I had two of each of the print blocks I’d messed up so I was able to just do a quick replacement with only having to cut one more 10” white square from my fat quarter stash. Problem solved.
BTW, I specifically chose a white background even though the border fabric is on a cream background. I felt like a cream background would end up being more low-volume than I wanted to go. I feel like the white gives it a little more sparkle. That being said, I confess to also being a sucker for a scrap quilt on a crisp white background. I’m a little predictable that way. You’ll be seeing more of those out of me.
Off to get back to work on some other projects, but I’m looking forward to Clue #3!