I finally completed another Craftsy class! Mind you, this one was a bit of a gimme but I can use some of those about now.
Last year, after I'd done a few other Craftsy photography classes that used my "real" camera, I sent Craftsy an email. "Love these classes," I said, "but the reality is most of the time I only want to bring my cell phone, not lug my big camera and several lenses. Is there a chance that Craftsy would do a class on photography using your cell phone camera?" (Or words to that effect.) They promptly replied that they were working on one.
And so was born Mobile Photography with Jack Davis. I'm so happy.
I plowed through the lessons pretty quick, watching them over breakfast and with my cell phone in hand. He addresses composition a little bit, but the class really focuses on how to use all the settings and features in your phone camera. Davis shows both iOS and Android features, so either user will benefit from this class.
Forasmuch as I've done tons of photography with my phone over the last few years, I learned about some great gadgets in the first lesson (and have added several to my Christmas wish list), and picked up several tips in the second lesson that addresses basic settings and such. So I was feeling the benefit of the class almost immediately! The rest of the lessons walk through all the settings available natively in your iPhone or Android phone, as well as highlighting a lot of his favorite apps for taking photos and video and editing them afterwards. The final lesson includes information about backing up your photos to online services, sharing, and other things you can do with your photos once you're done messing with them.

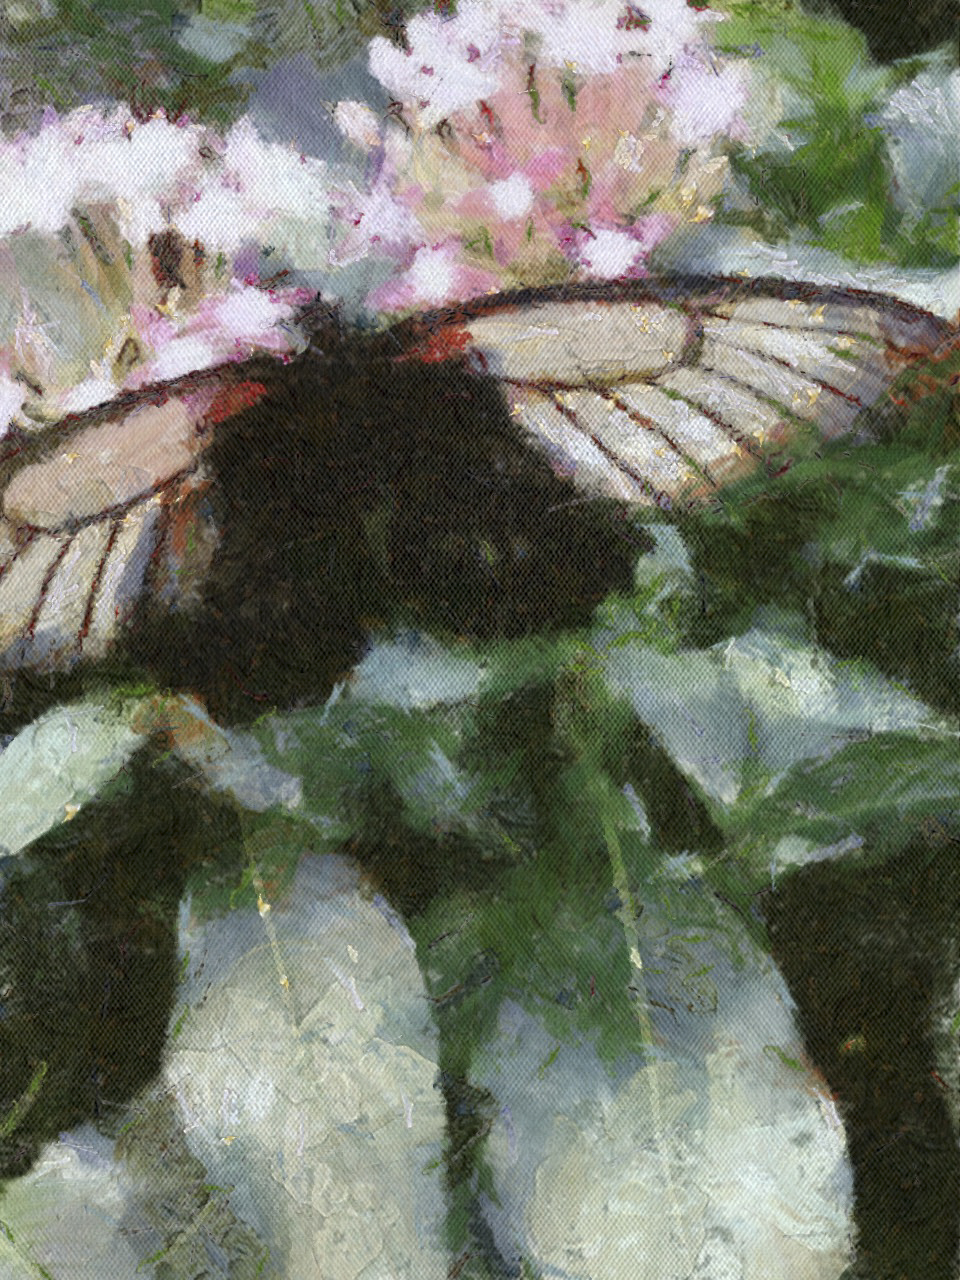
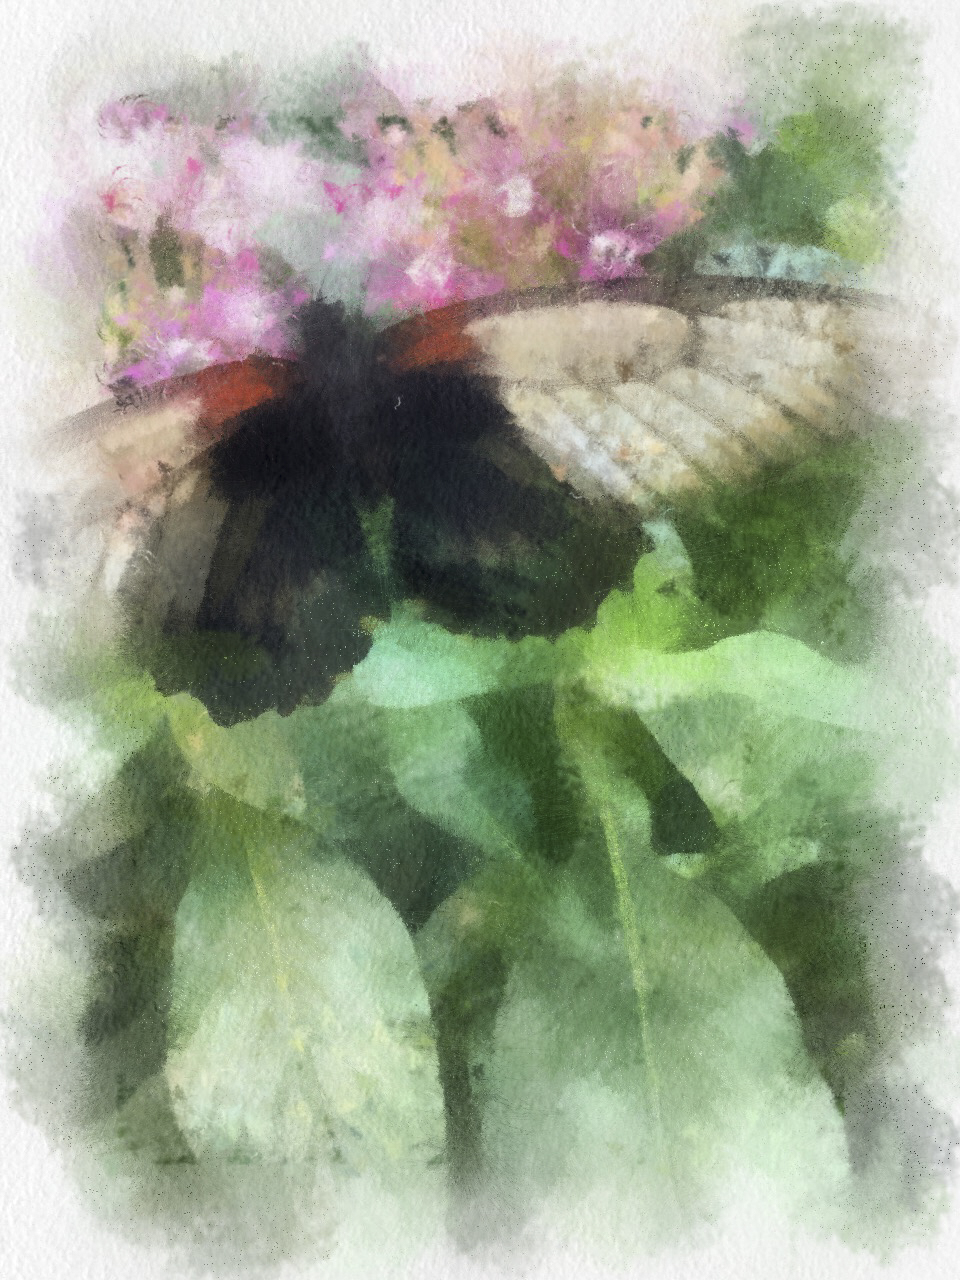
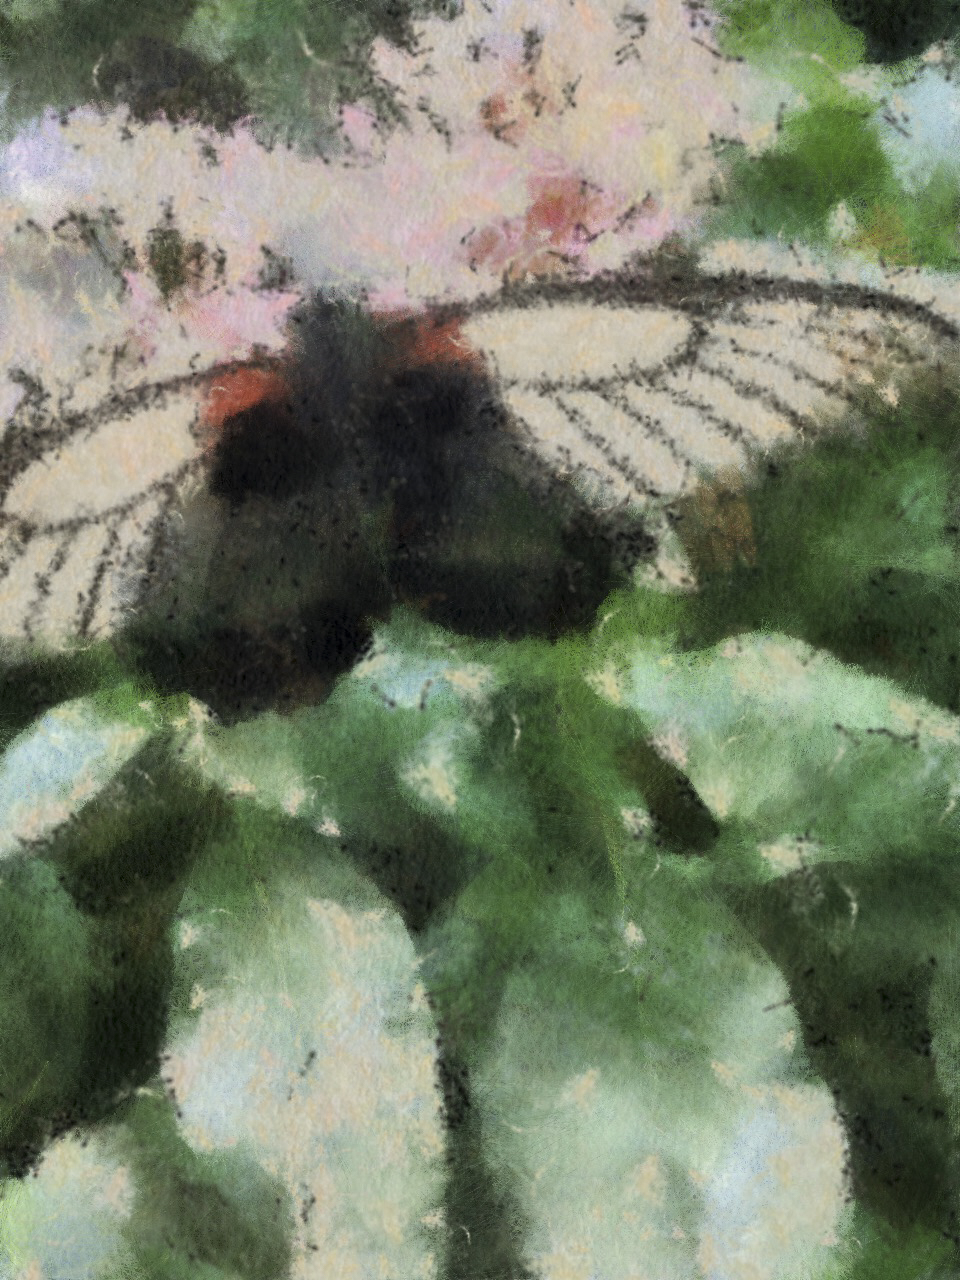
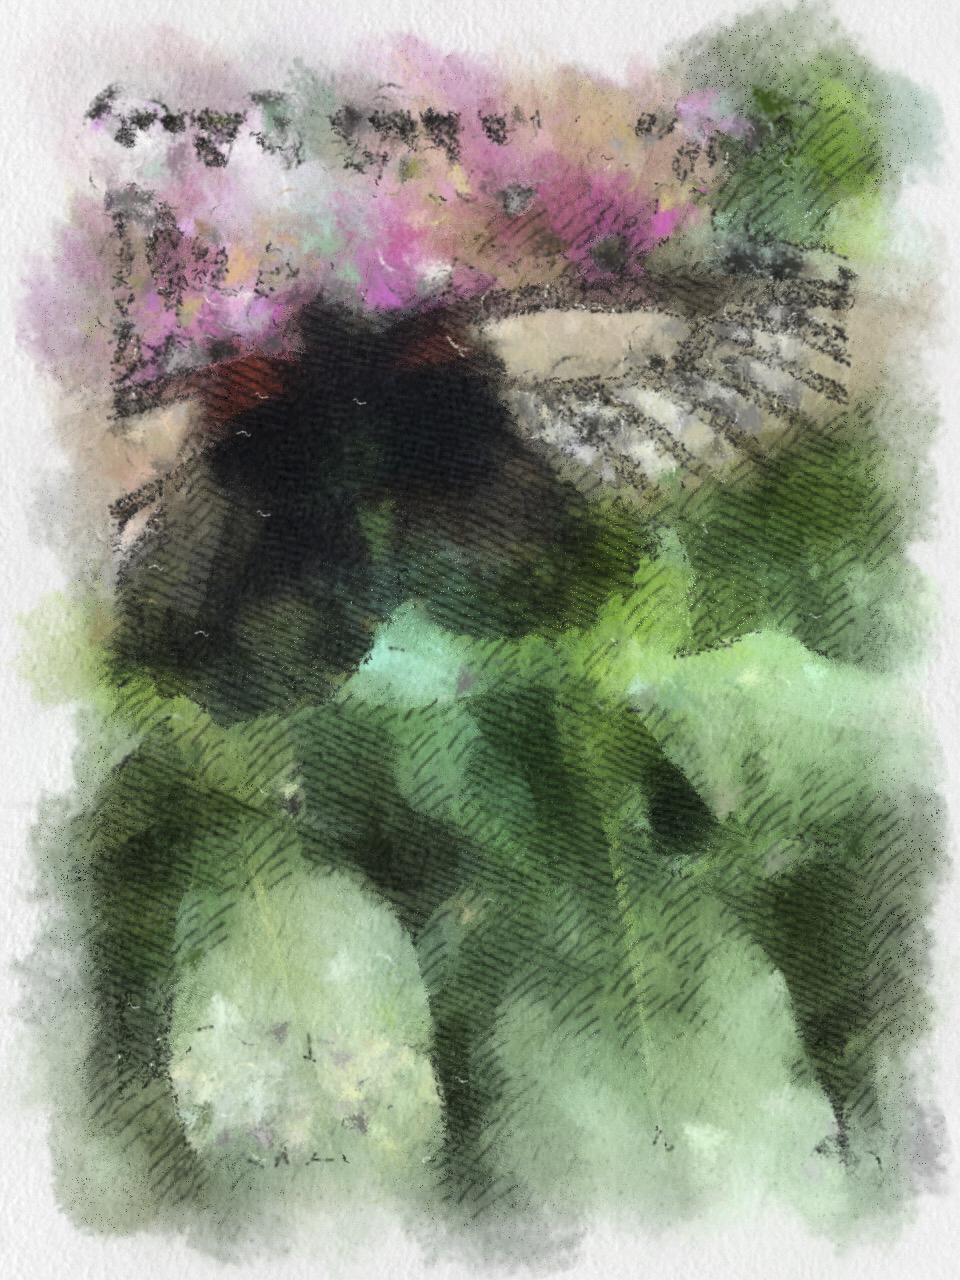
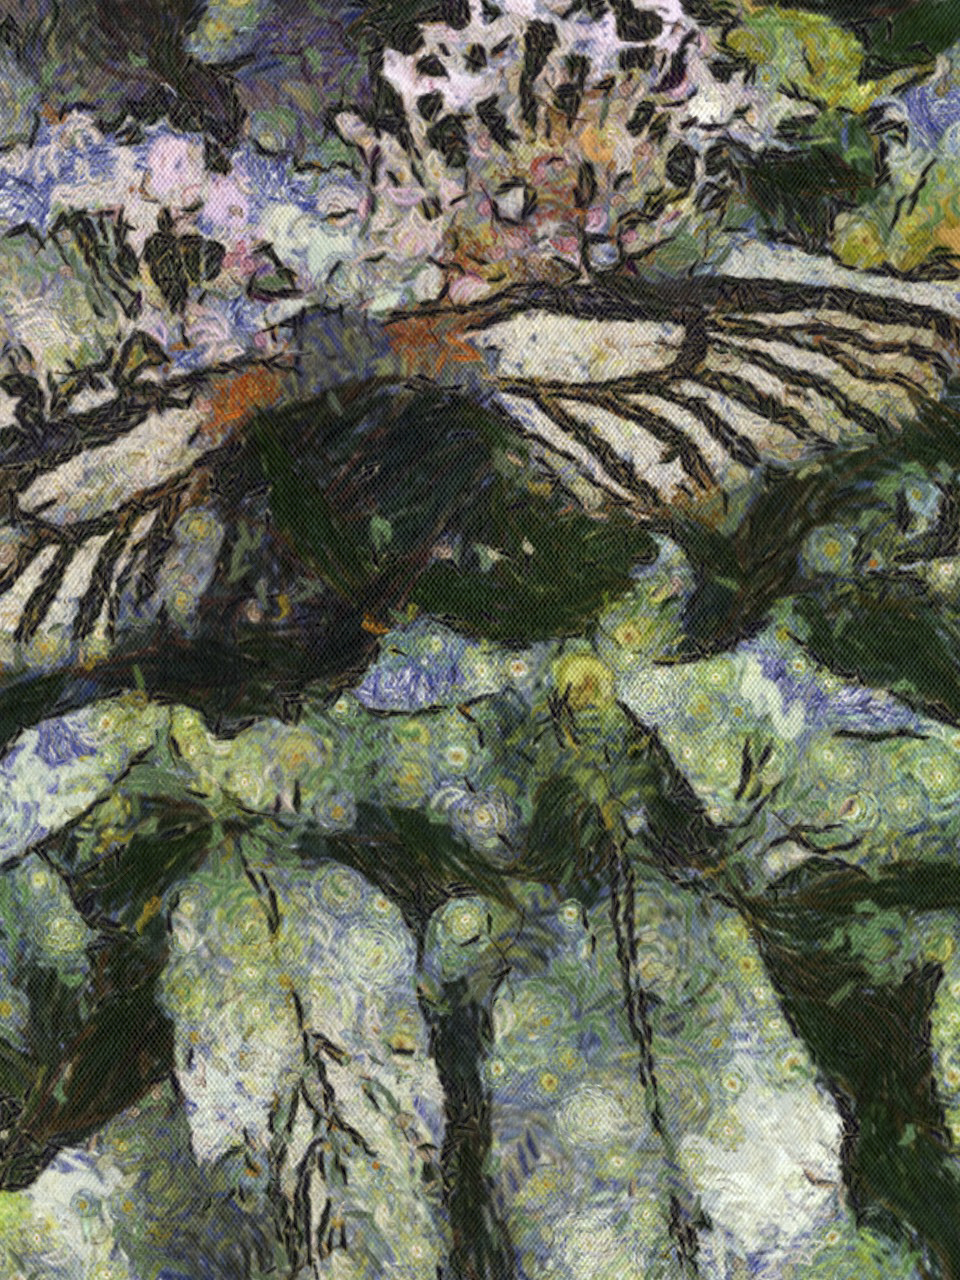
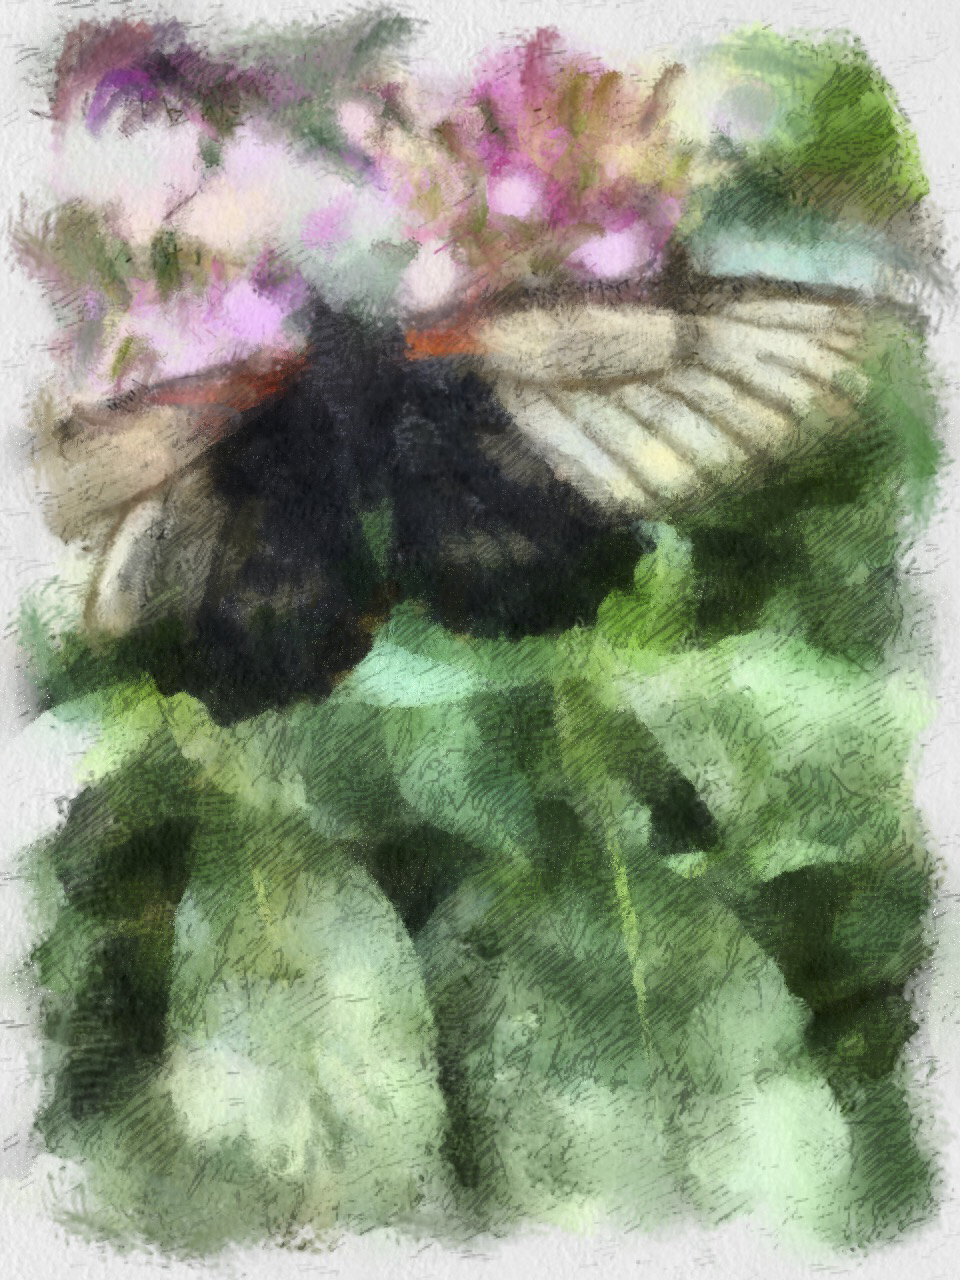
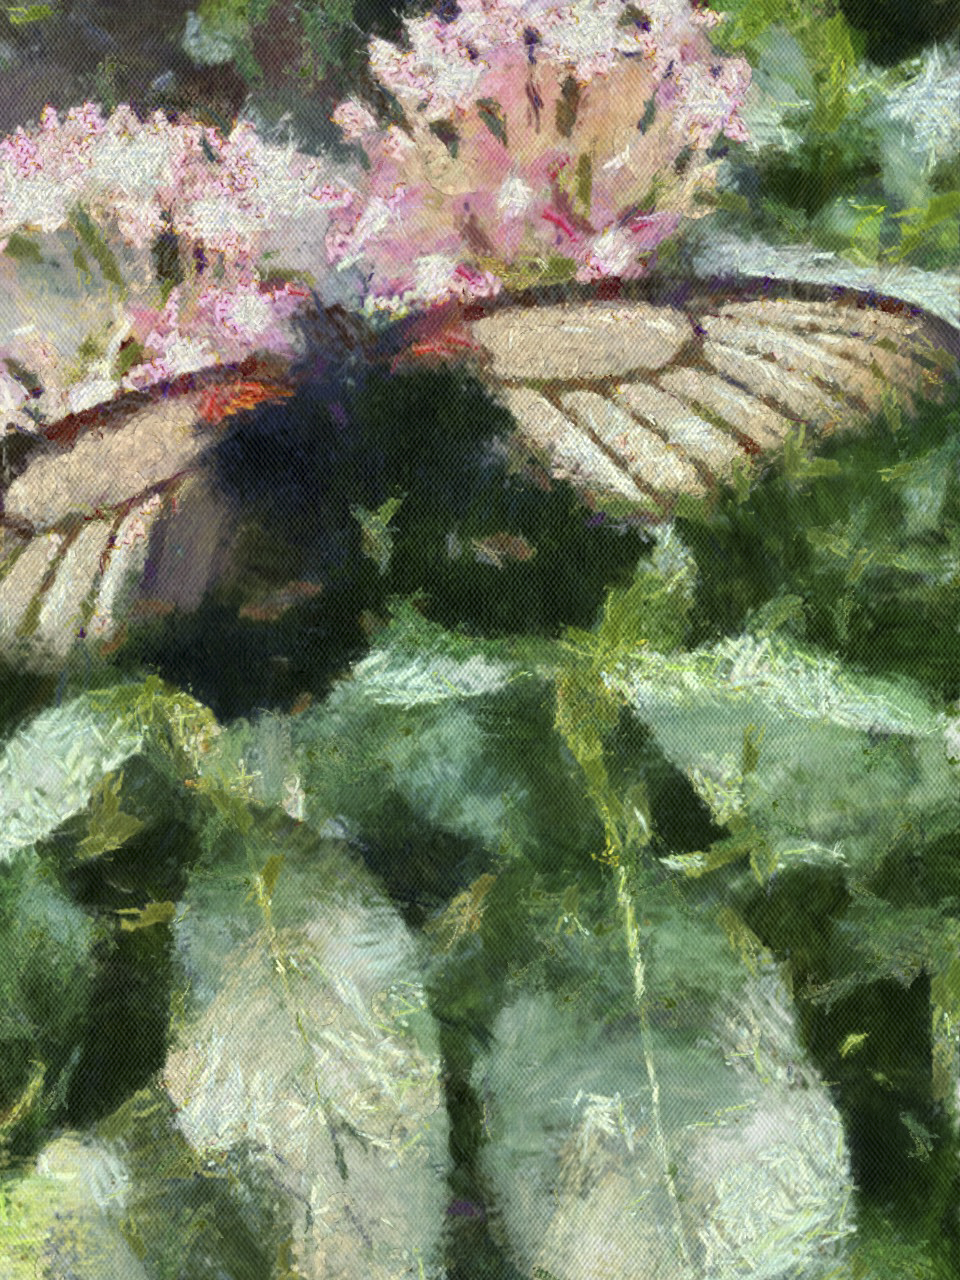
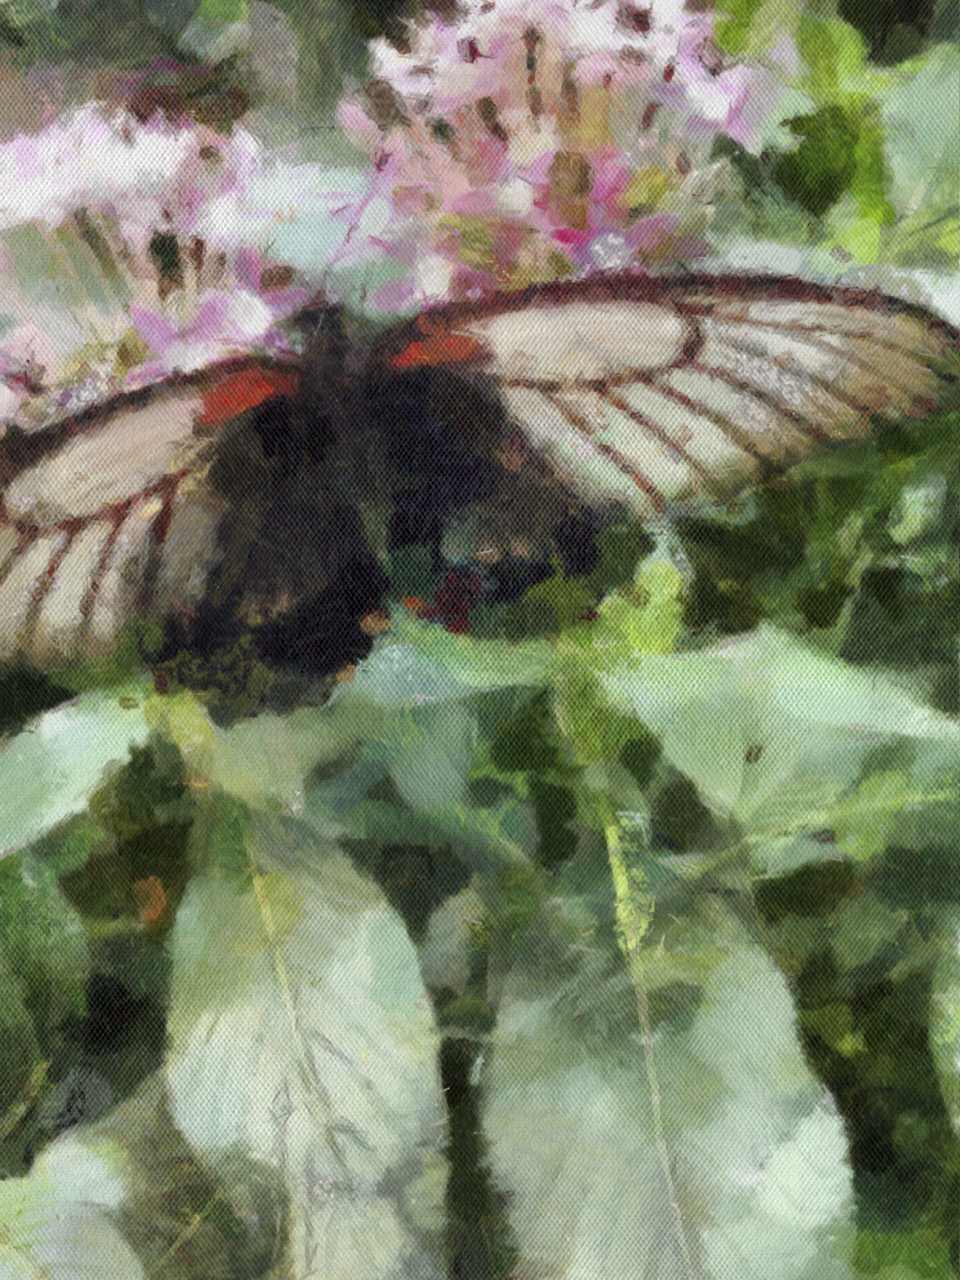
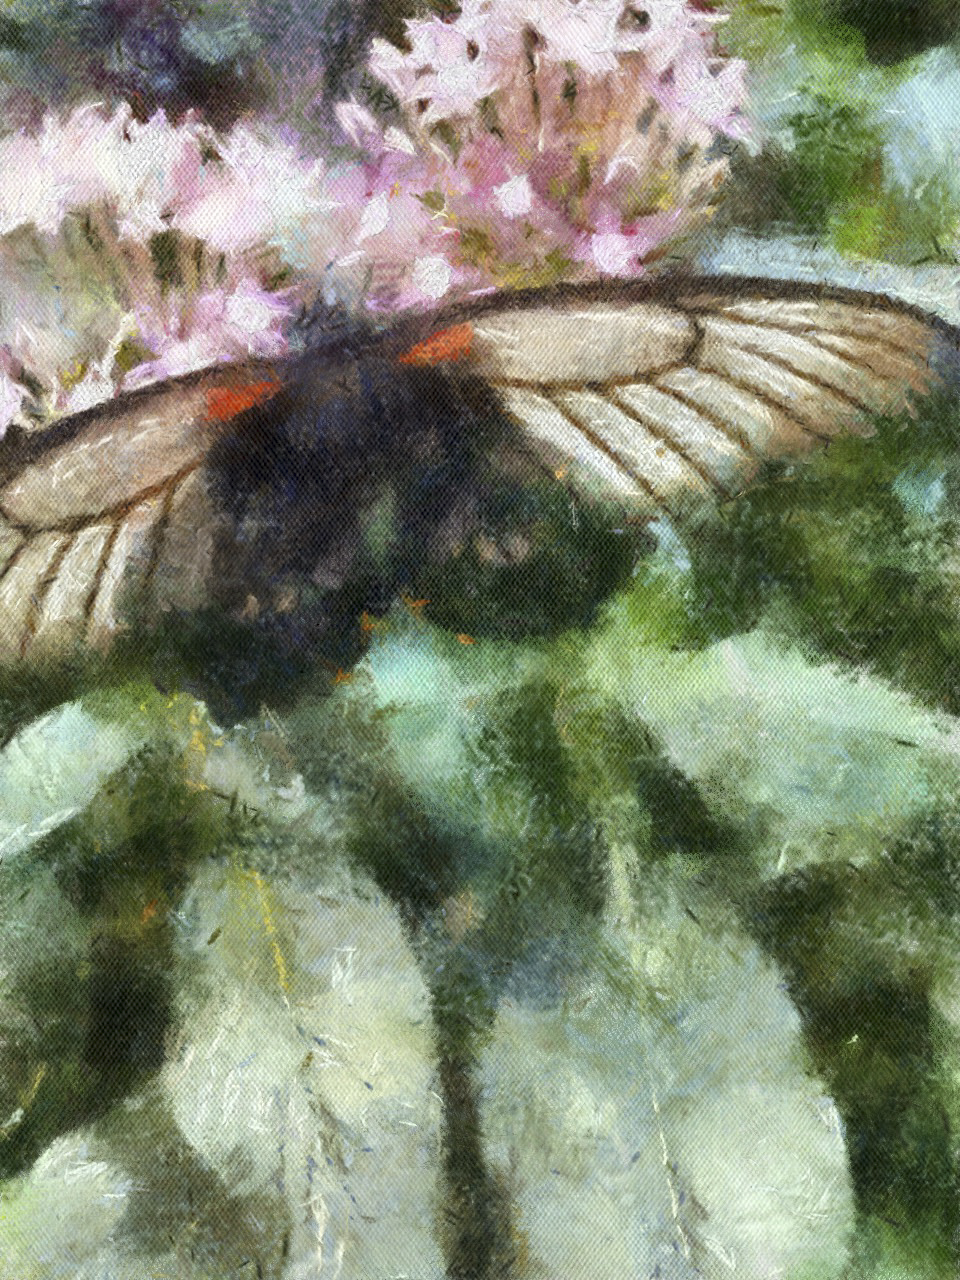
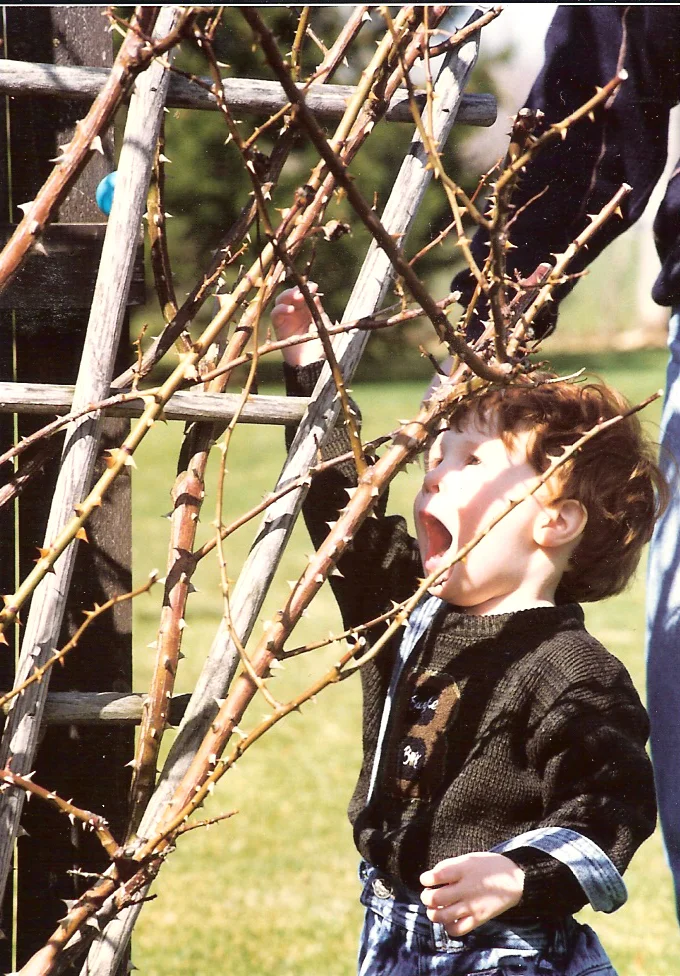
He demonstrates a lot of "creative photoediting" apps, such as my usual favorite, Waterlogue. However, he introduced me to loads of new ones so I've been going to town. Check out this photogallery of what I produced just using the most basic settings in AutoPainter, AutoPainter 2, and AutoPainter 3. I included the original photo I took at the Butterfly Garden in a local children's museum recently for comparison.
So.
Much.
Fun.
(The image gallery is on a timer to auto-forward but you can also use the forward and back arrows on the side to control the speed.) (Second parenthetical statement: Waterlogue and AutoPainter apps seem to only be available for iOS. If you're Droid-based, I found this thread that has some suggestions. Feel free to leave other suggestions for your fellow non-iOS friends in the comments to this post.)
Overall, Jack Davis is a good teacher. He has a very relaxed approach and takes you step-by-step through things so you can better understand how to do it yourself. I really enjoyed this class and plan to do a lot of practicing over the holidays so I'll probably be tweeting a lot of random photos for the next couple of months.
One important note: This is a pretty time-constrained class, I think. Given the quick advance of technology, if you wait too long to take this class apps will have either disappeared or will have been updated and changed. So although with Craftsy classes you can buy it and own it forever and watch it years from now if you choose, this is a class I'd highly recommend purchasing and watching sooner rather than later. In fact, buy it and start watching it today. You never know when the next big system update for your phone or favorite apps will occur.
The Basics
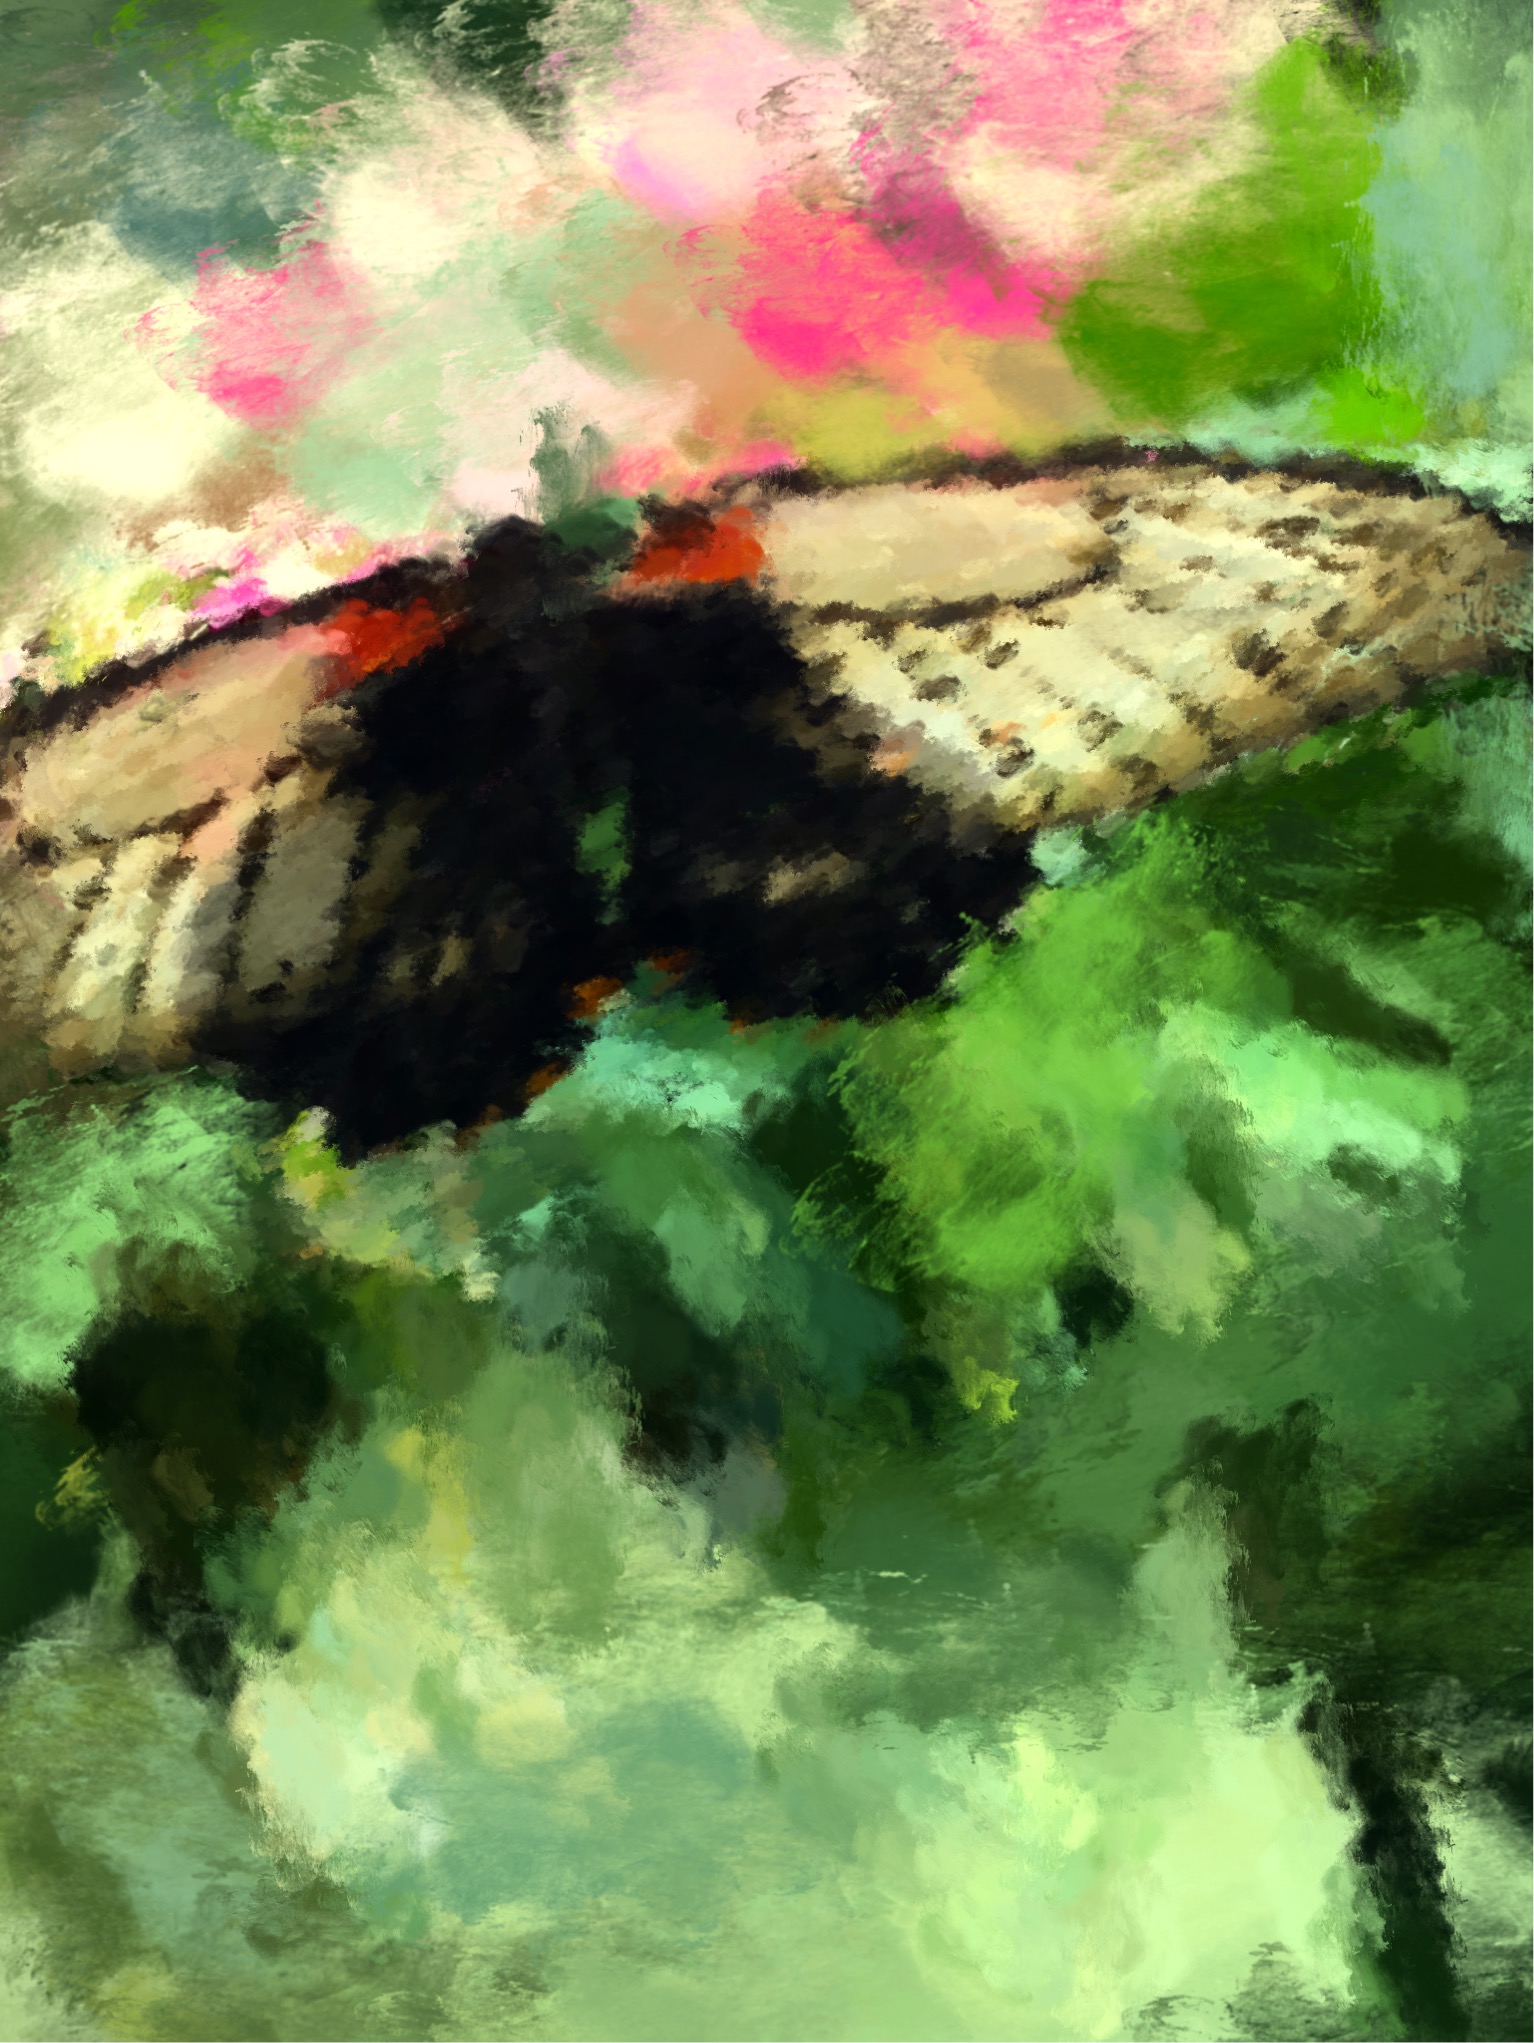
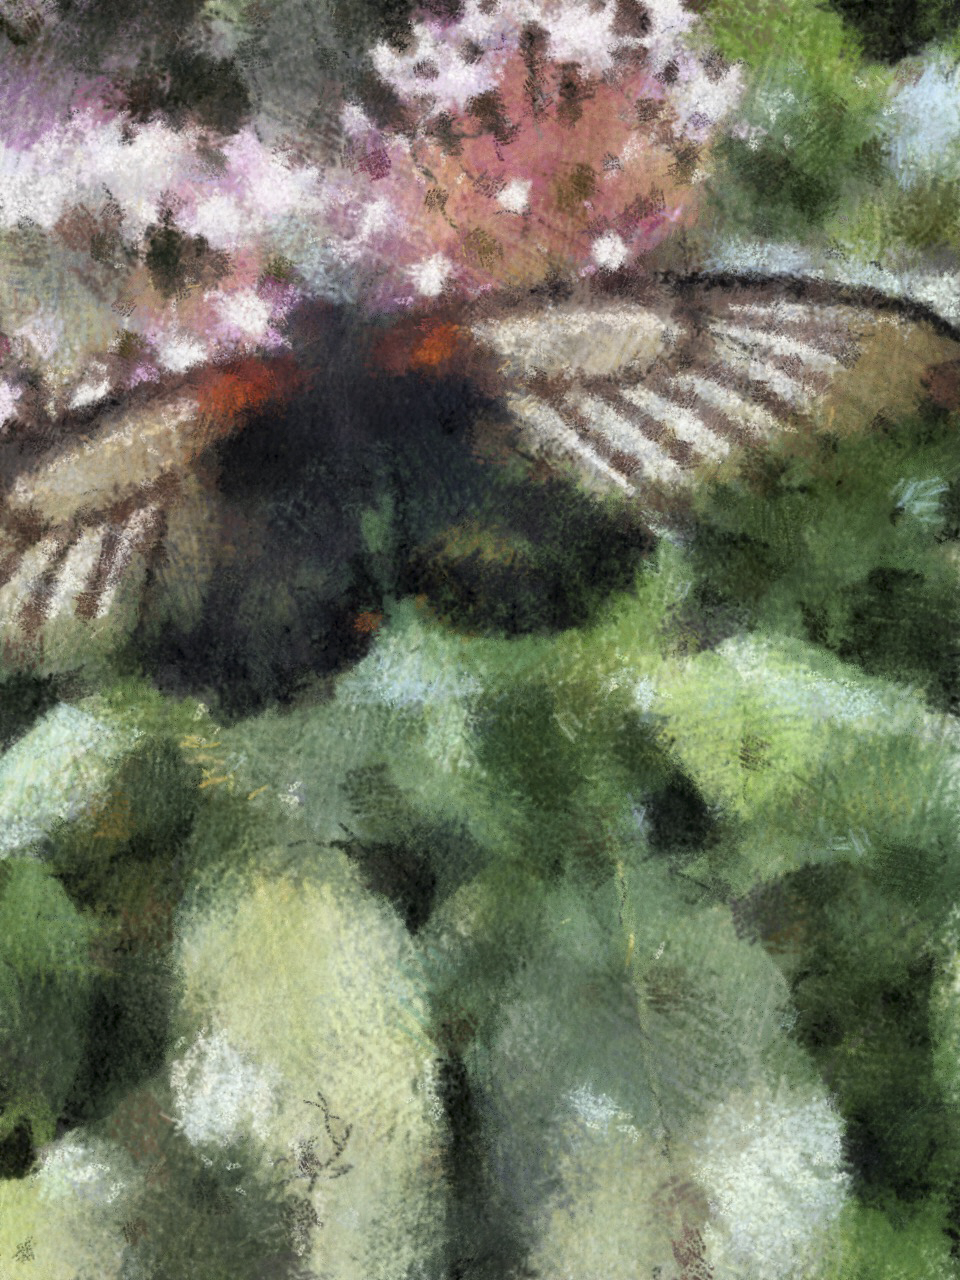
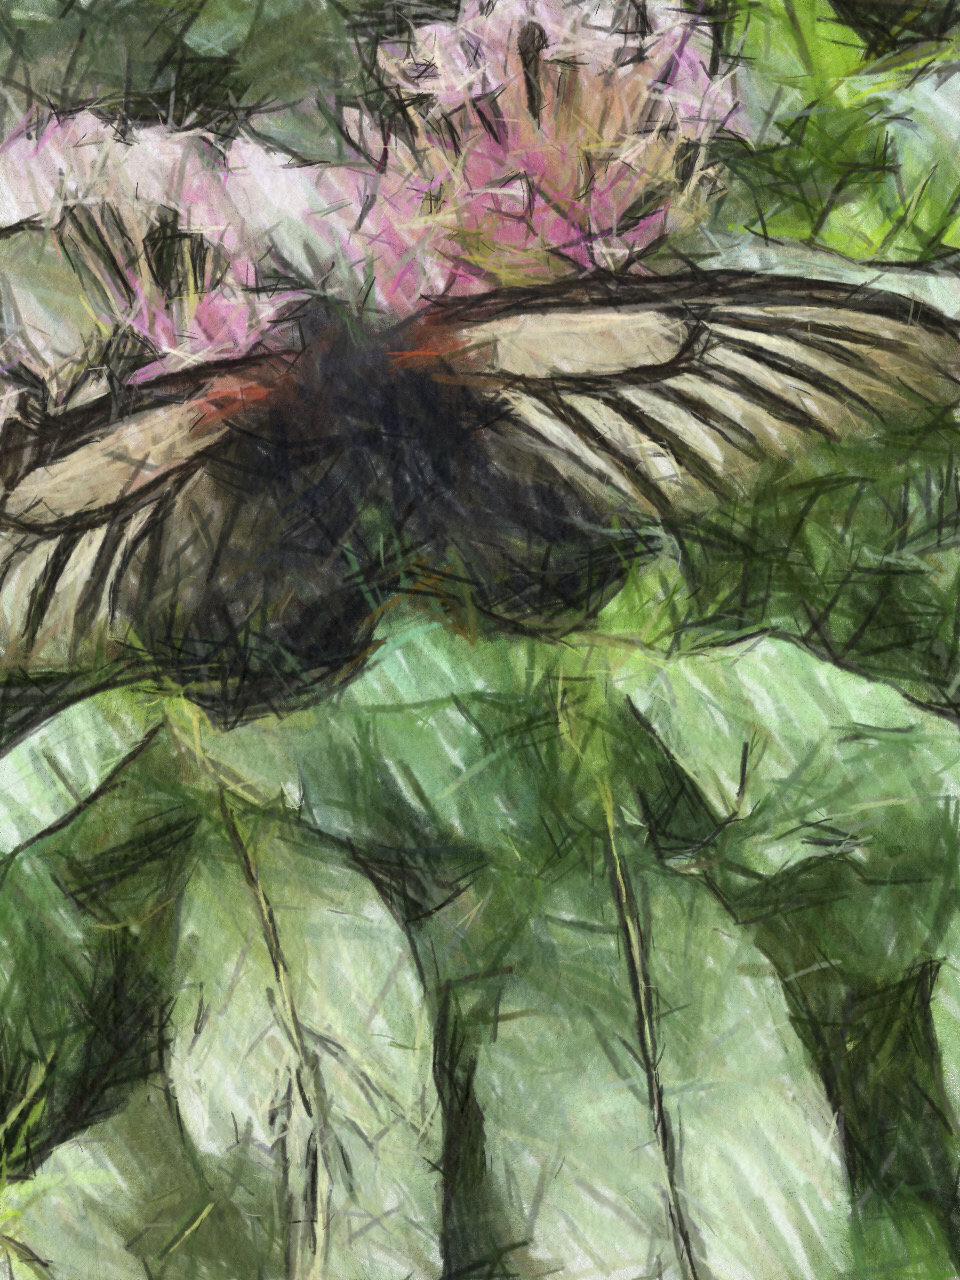
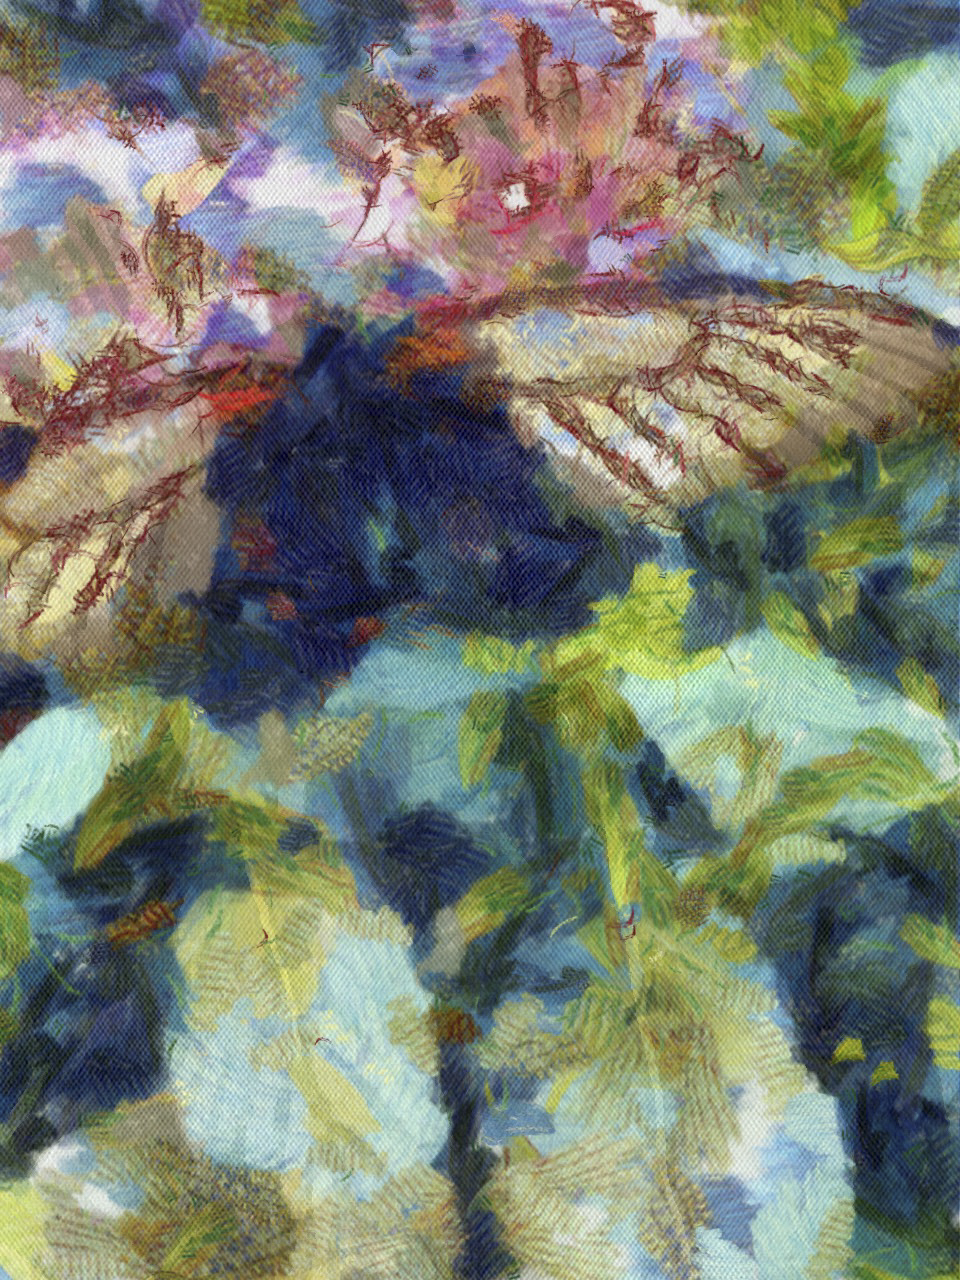
CleverPainter app--this one you can control where you're painting, level of detail, etc. Oh, the possibilities!
- 7 lessons, ranging from about 21 to 28 minutes in length each.
- Lesson 1 covers technology and gear--additional gadgets you might want to consider if you really want to leverage your phone's camera ability.
- Lesson 2 addresses essentials--what are the basic native settings in your cell camera (both iOS and Android), a discussion of the HDR setting, and doing panoramas using your native app as well as a few other apps you might want to try.
- Lesson 3 is "advanced shooting," and I picked up some excellent tips here about burst mode, motion blur, and video settings.
- Lesson 4 addresses basic photoediting of color, contrast, sharpening, and so forth, using both native capabilities and other apps.
- Lesson 5 is retouching and blending photos, again using native capabilities as well as other apps.
- Lesson 6 gets super-fun with all sorts of creative stuff you can do either using your camera's native capabilities or a bunch of other apps you will likely want to play with. (I downloaded several apps while watching this lesson!)
- Lesson 7 is syncing, sharing, and output--in other words, what to do with all that fun stuff once it's sitting in your camera memory.
Mobile Photography with Jack Davis: Two thumbs up. Well, my thumbs would be up if I could get them off my phone playing with all these great new apps!
(Usual disclaimer: As a Craftsy affiliate, using Craftsy links in this post helps support my podcast and blog, so thank you very much. And by the way, at this writing Craftsy is having a big sale so you'll definitely want to check it out! )