

I'm back to the machine quilting classes again. I know, you've seen me take a lot of them. But I do always get some new ideas and a few tips and tricks to help make it a little easier!
Creative Quilting with Your Walking Foot with Jacquie Gering would make an excellent class for a beginner in machine quilting, with the caveat that she doesn't spend a whole lot of time on some of the basics. She does address machine features that are helpful, and she does talk about basting. I've been machine quilting for too long now to be able to judge how easy it would be to learn how to machine quilt from scratch with this class, but I think it would be possible.
The designs themselves are quite straightforward, as you would expect with a walking foot. I was personally able to watch most of the classes on faster speeds as I was watching for things I didn't already know. I did pick up a few tips for being more successful at some of the walking foot quilting I have already done. It was useful, though, for getting some new ideas.
Since I'm working on the cosmetics bag for the Annie Unrein class, and I needed to quilt some of the components that go into the bag, I took the opportunity to nail two Craftsy classes with a single project.
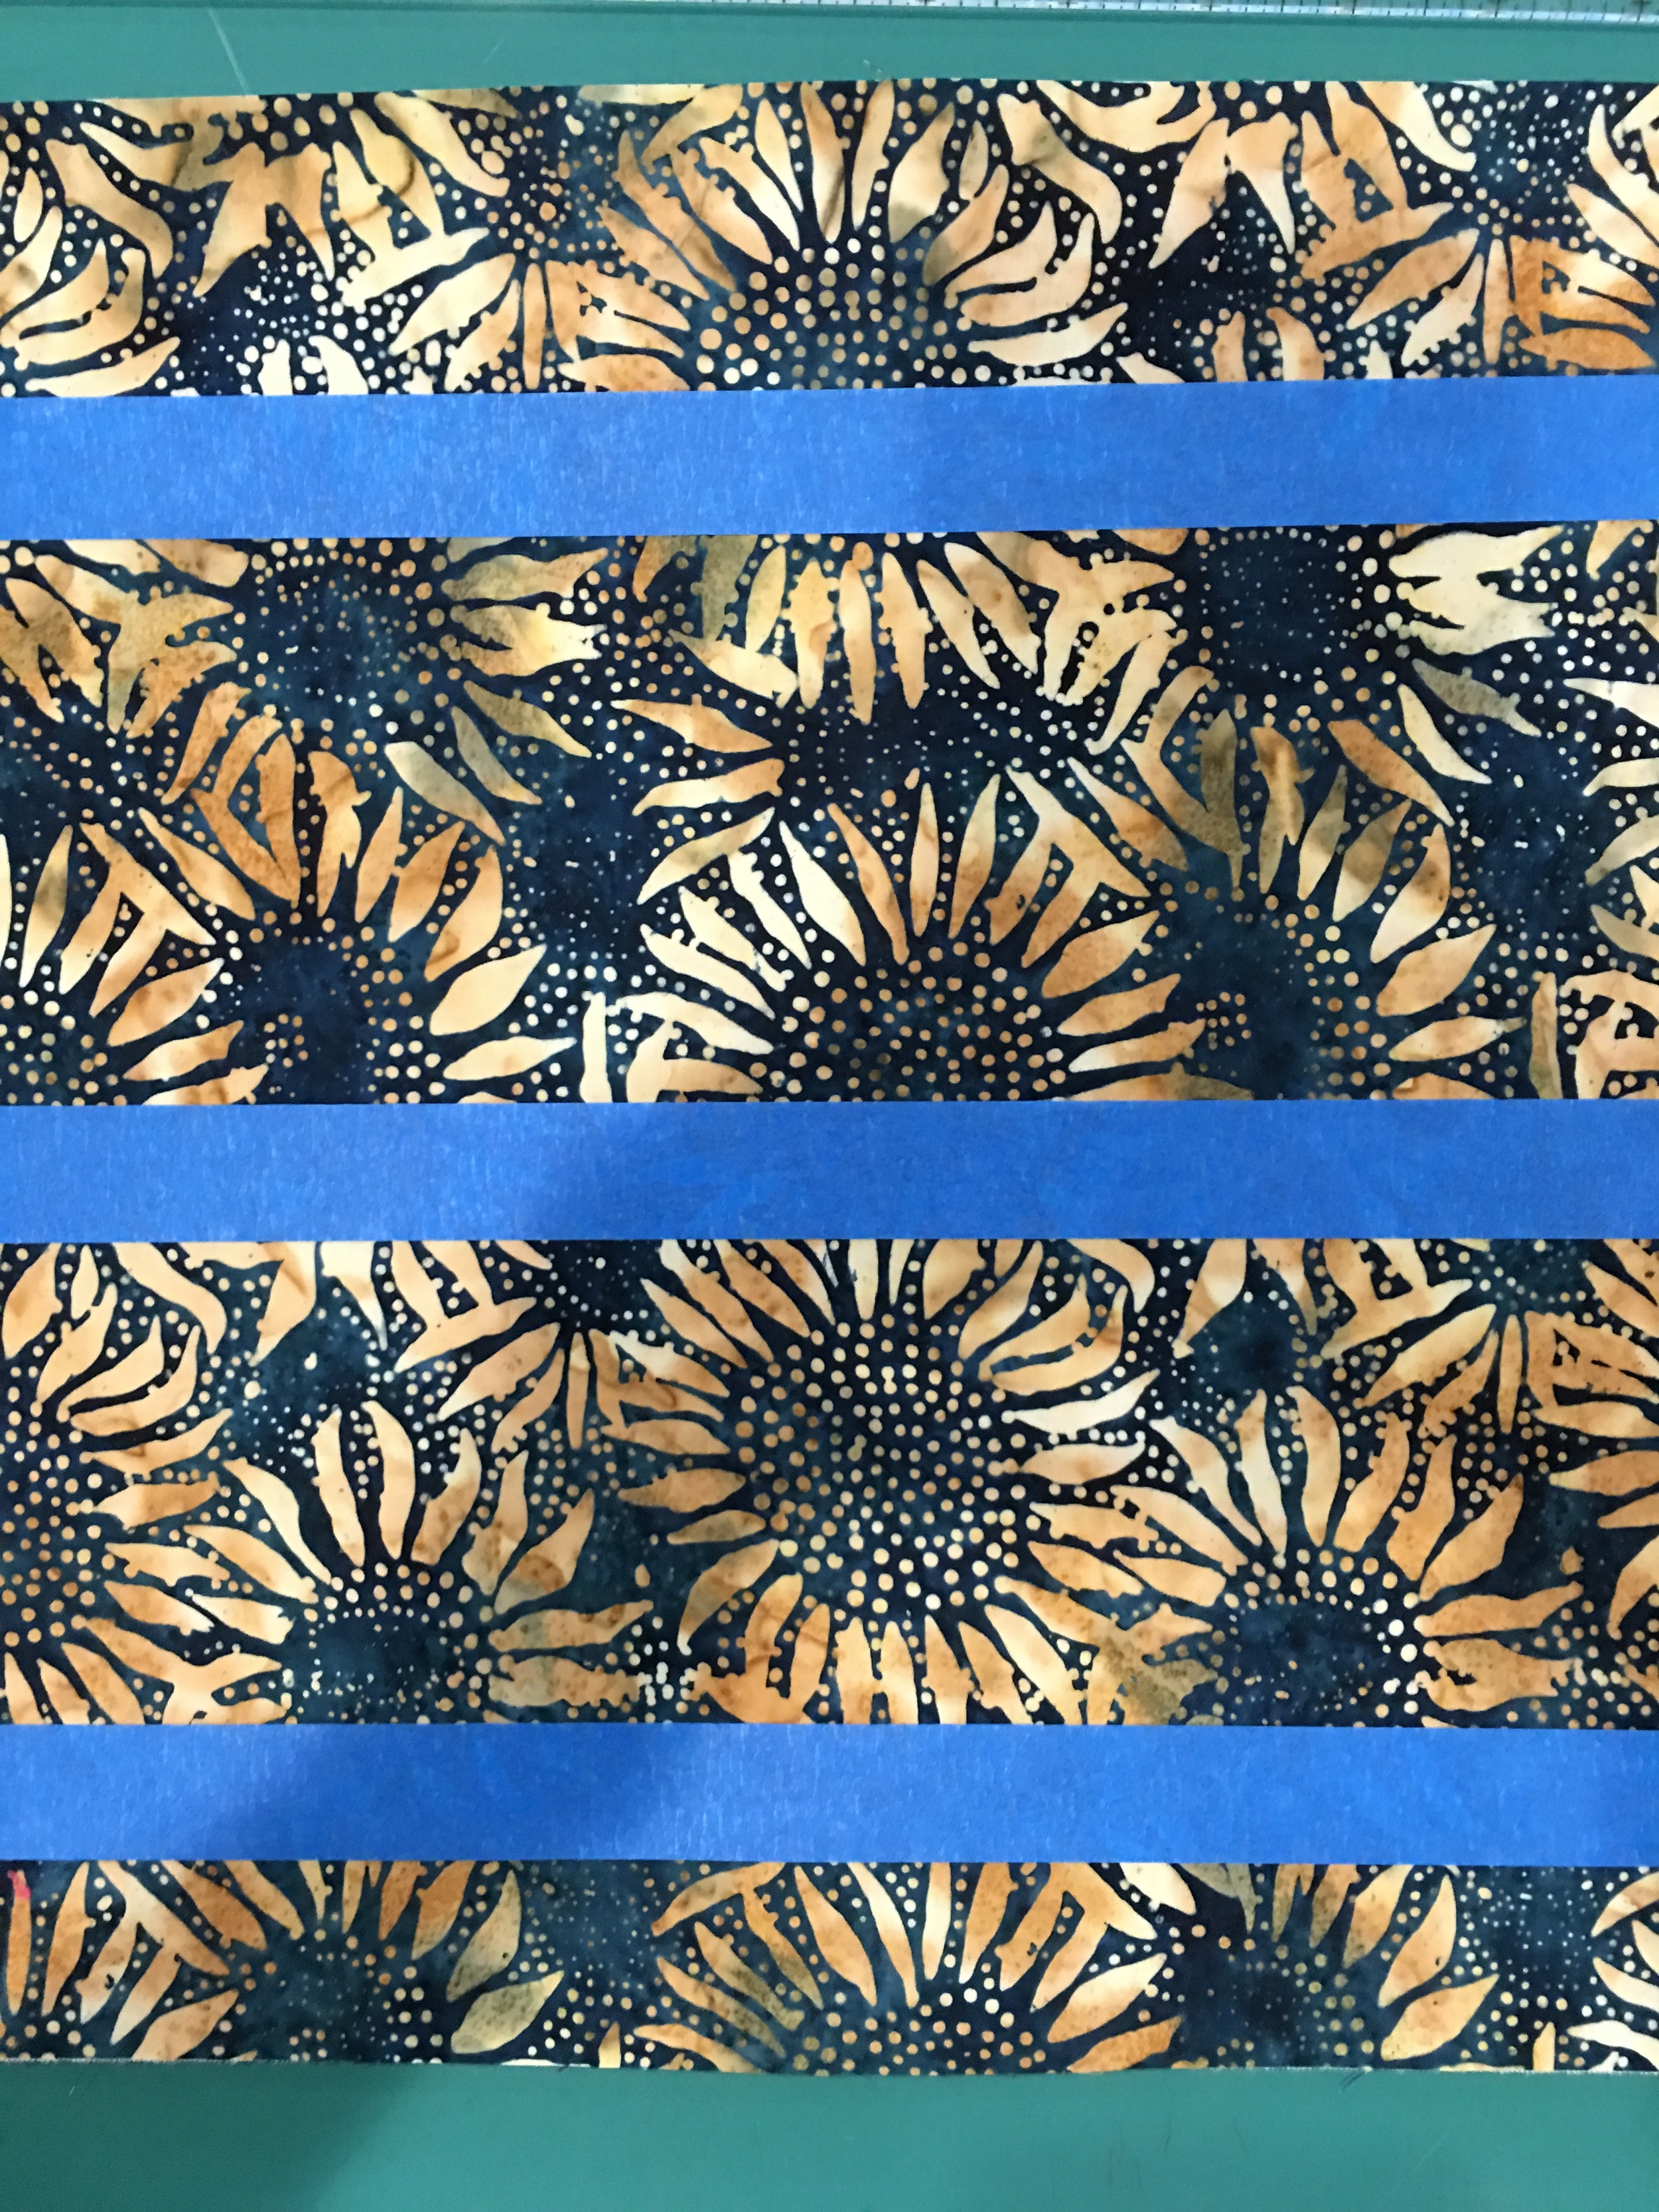
I've used painter's tape in the past to mark lines so doing it here a la Jacquie Gering wasn't new for me. What was new was doing a second strip as a "registration" line. You use the first line (in this case, the one in the middle) to run the side of your walking foot along to keep your line straight--the registration line is handy as you begin to echo your first line to one side or the other; now you have a second line to eyeball too. That was a useful little tip.
For the first Annie Unrein bag I made (the Everything in Its Place bag), I quilted the units with a meander stitch. That worked really well for the bag but in hindsight I probably should've done a much tighter meander as I ran into problems occasionally along the edges as I was piecing--in some cases there were gaps between meanders on the edge and the fabric was pulling away from the batting a little as I pieced two units together. It wasn't a huge issue--just required some attention. But having had that experience, this time I decided that one of Jacquie Gering's suggestion of using the curvy decorative stitch on my machine might be just the ticket.
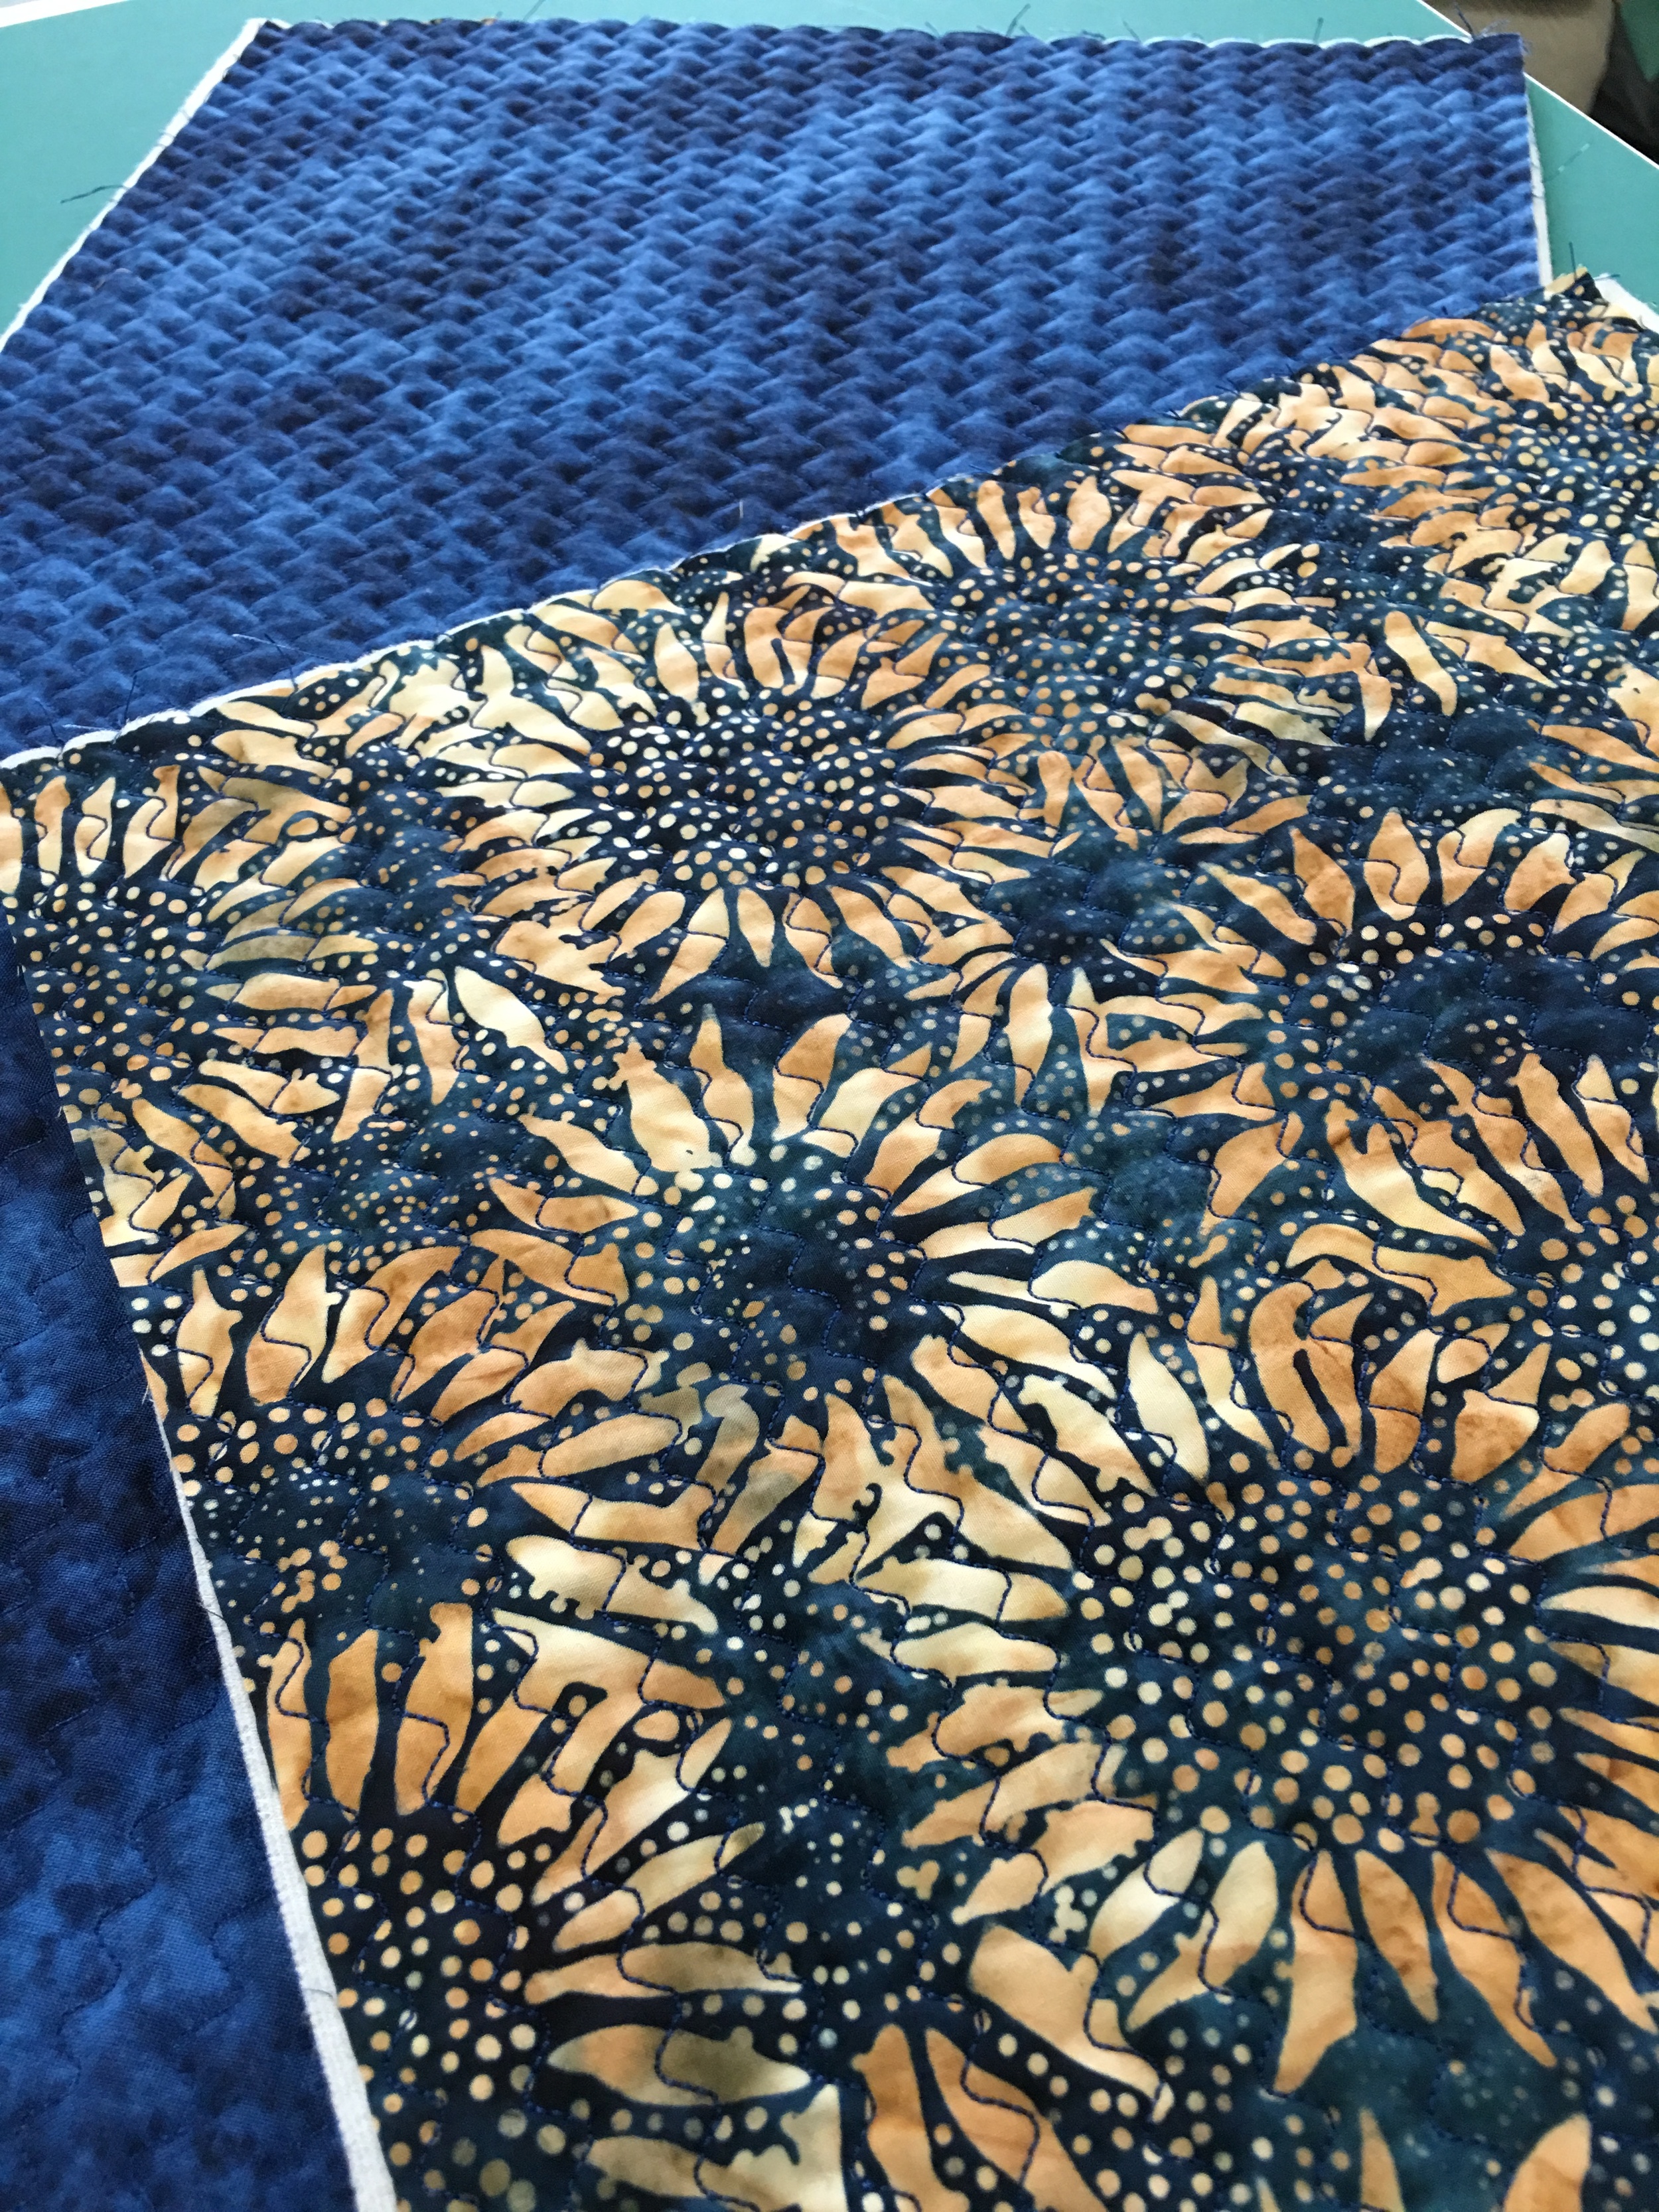
I like the way it looks. I hated how stinkin' long it took to do. Two quilted pieces, neither all that big, took me about 2 1/2 hours all in. Not only do you have to go slower when doing decorative stitches on a walking foot (as Gering says repeatedly in the class), I was using a 28 weight thread and if I got going too fast, it shredded. I finally turned the speed on my machine down to keep me from getting bored and hitting the pedal to the floor. I can't even begin to imagine using a stitch like that on a whole quilt. She must have far greater patience than I do.
Gering offers good ideas on choosing designs for various types of quilts and even though, again, because I've been doing this awhile I was already familiar with most of the designs, I did pick up some ideas for future quilts. Also, she's a very good, thorough teacher.
This definitely a good class for anyone new to machine quilting to give a try. It's also good for experienced machine quilters if you've never thought of your walking foot for anything other than stitching in the ditch. Gering has a second Craftsy class on the same topic, Next Steps with Your Walking Foot, if you really get into it. I don't own that one so I can't speak to it, but I imagine it would be equally good.
The Basics
- 8 lessons, ranging from 18 to 40 minutes (most are around 25 minutes).
- Lesson 1 discusses helpful features to have on your sewing machine for machine quilting, as well as a brief overview of how to prepare your quilt sandwich
- Lesson 2 goes into the walking foot itself in detail. She also addresses straight line (matchstick), crosshatch and grid quilting.
- Lesson 3 through 6 are different families of design: using decorative stitches, radiating designs, curves, spirals, echoes.
- Lesson 7 is about quilting text--a slightly different technique than I've seen before and one I'd like to try
- Lesson 8 is quilting strategies--supporting large quilts, etc., as well as the all-important "ripping out stitches." She does also include some discussion here about choosing quilting designs.
Creative Quilting with Your Walking Foot with Jacquie Gering--worth your while!
(Transparency: Using Craftsy links in this post helps support my podcast and blog. Thank you!)