
When my daughter cleaned out her room in preparation for going away to college, she had two tshirts she no longer wore but wanted to keep; one for sentimental reasons, one because she just thought it was cool.
I offered blithely, "Would you like me to turn those into pillows?" Her eyes brightened. "Yes, please!"
And then, dang if those shirts didn't sit on the shelves in my sewing room for two years.
Finally, last weekend for #LDSI, I took the 90 minutes or so that the whole project required and got them done. One went together very quickly, the other was a bit trickier. So I'm going to share my steps with you briefly, but this is not a complete tutorial.
Never having done anything with t-shirts before, I decided to do a quick google and found this tutorial that had a helpful tip I used about how to make the slip case if you're using a pillow form.

The first pillow was quite straightforward. I had measured the size of the images on front and back and had bought a 14" square pillow form to fit.
Note that the back is cut into 2 pieces to make the flap; the bottom piece was cut along the hem so the edge flap was already hemmed. I wasn't able to do the same with the part that had the writing on the back, so I did have to hem the flap edge of that side. The larger piece is about 2/3rds the total size of the front, the smaller piece was cut to overlap the larger piece by a couple of inches.

Note the two hems--one from the shirt (lower) the other I sewed (upper). I'm not a garment-sewer so I don't know what stitches one should use, but I picked one that looked the most like an overlock (Is that what you call it, the stitch that sergers use?). I thought it had everything it needed to keep the edge secure and not overly stretchy.
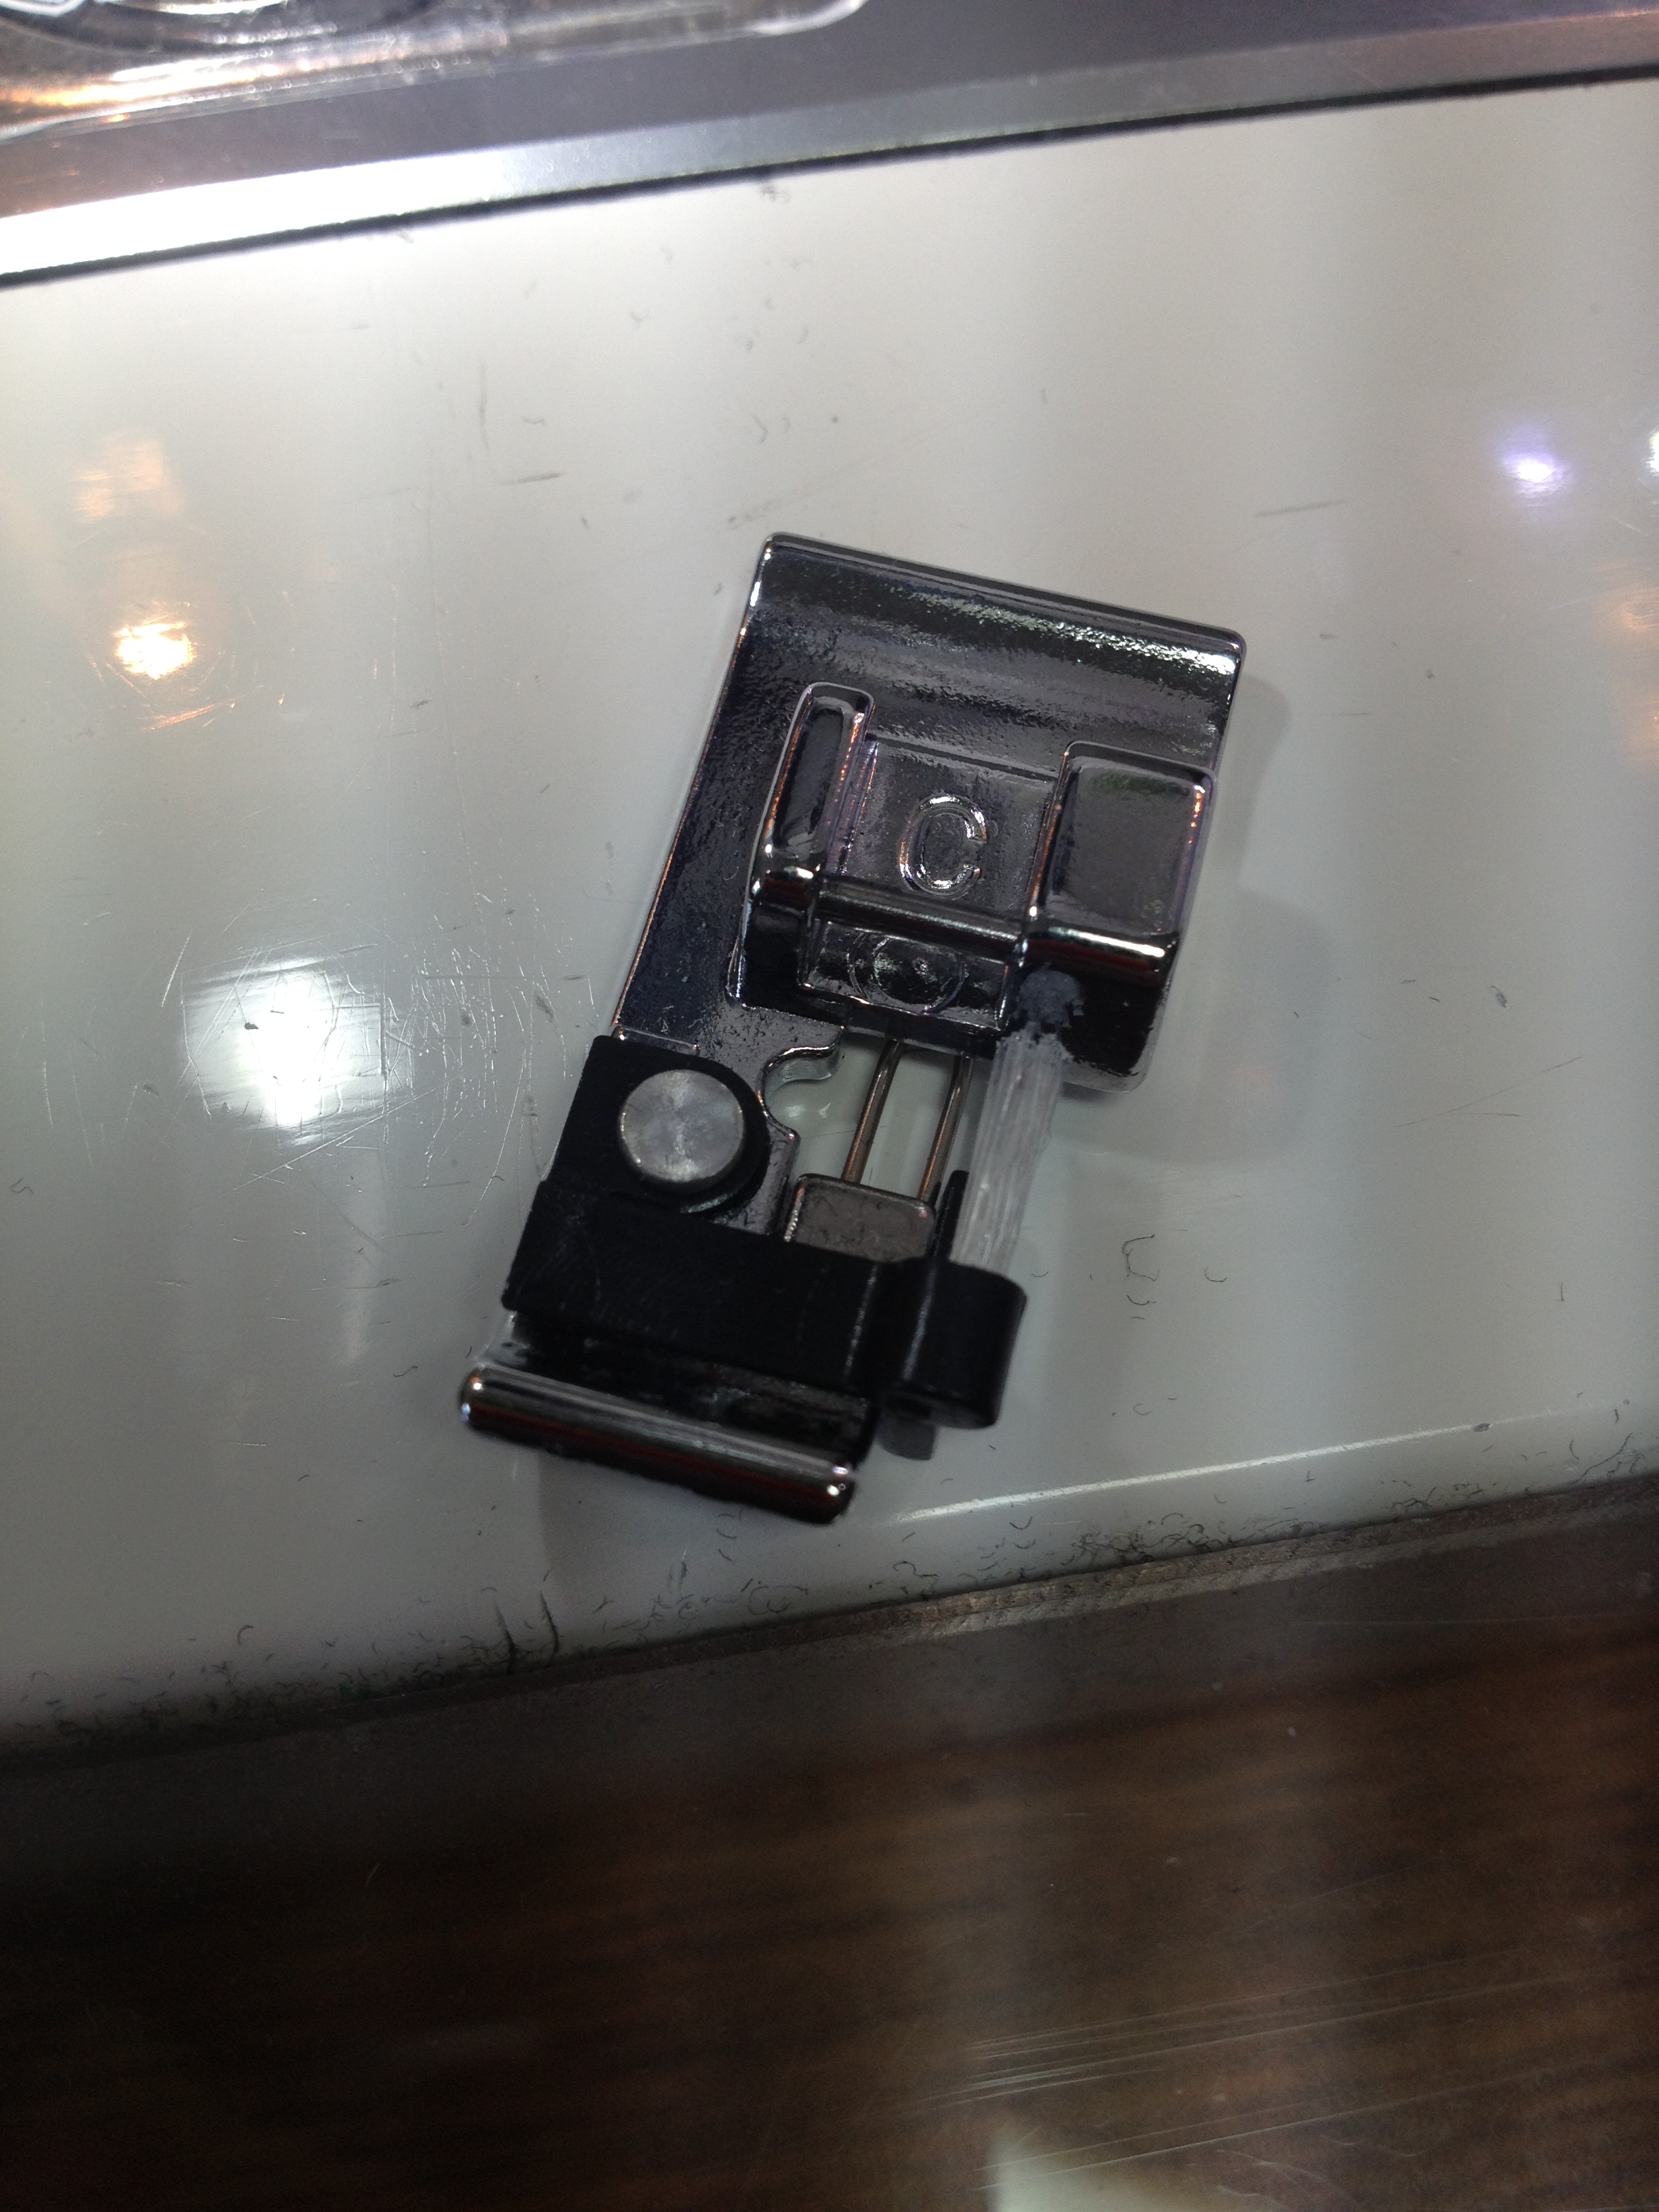
This is the foot my Janome told me to use with the stitch. No idea what it's called. I call it "C." And so, "C" it shall be.
First time I've ever used it. Nice to have it when you need it!

A boatload of pins and a few fast seams later, and there you've got it. Voila. A pillow.
No way was this puppy going to be centered unless I took the time to add some sort of borders around it or something and frankly, this is a pillow she's likely to have for the next couple of years and then get rid of it when she actually cares about decor. She'll love it as-is; I didn't feel the need to get all fancy-dancy with it.
I started with the easy one to get into the swing of things. The second pillow, not quite so easy.
You see, it's an electric pillow. The logo on the front (used to) have noise-activated lights. The logo lights up and then the lights dance up and down the logo depending on how much noise there is the room. I say "used to" because it's been in her room awhile and I suspect the battery is dead. But that's going to be her problem!

For the most part, it's the same pillow technique. However, I had the added issue of working around a battery cord while I was sewing, and I had to figure out how to get a pocket to hold the battery pack in there once it was complete.
I had to keep flipping this dang thing (and it's heavy!) out of my way while I was sewing lest I break the battery cord and my sewing machine by going right over it. Quelle pill.

Here's your notion recommendation of the tute: Get yourself Pellon's Lite EZ-Steam II. It comes in 1/2" and 1/4" widths: I have the 1/4". I used this double-sided fusible tape to hold down the edges of the pocket (and the hem on the white shirt) while I sewed it. Very simple to apply, held everything easily in place while sewing, and it helped me know where the 1/4" was! I think I'm a convert.

I mean, look at this. How pretty.
True confessions. Since I was in a bit of a hurry to finish this project up and get on to things I knew I'd enjoy more, I forgot to flip the front of the tshirt over and pin it right-sides together with the back; when I finished sewing and turned everything right-side out, I was looking at the inside of the front of the t-shirt. Oops. But here's the nice thing about working with stretchy t-shirt material. When I subsequently realized there was no way in Hades I was going to be able to rip those darn seams out, I just sliced them all off and sewed new seams. It actually fits the pillow form even better now, having to stretch just a little bit to get over it.

And so, here are the finished products.
(I have a sneaking suspicion I'm supposed to blur out the logos for fear of copyright infringement or something. Oh well--if this picture disappears eventually, you'll know why!)

And that tricky back pocket for the battery pack?
Done and done.
(Yes, could've made it a more finished edge on the right but refer back to the comments above about shelf-life and future decor.)
I finished up a lot of UFOs this past weekend, but these I'm particularly glad to get off my shelf. They've been whining at me. It'll be nice to have some peace and quiet again.
