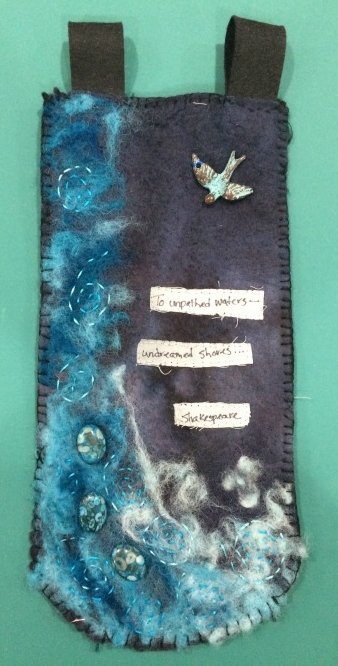
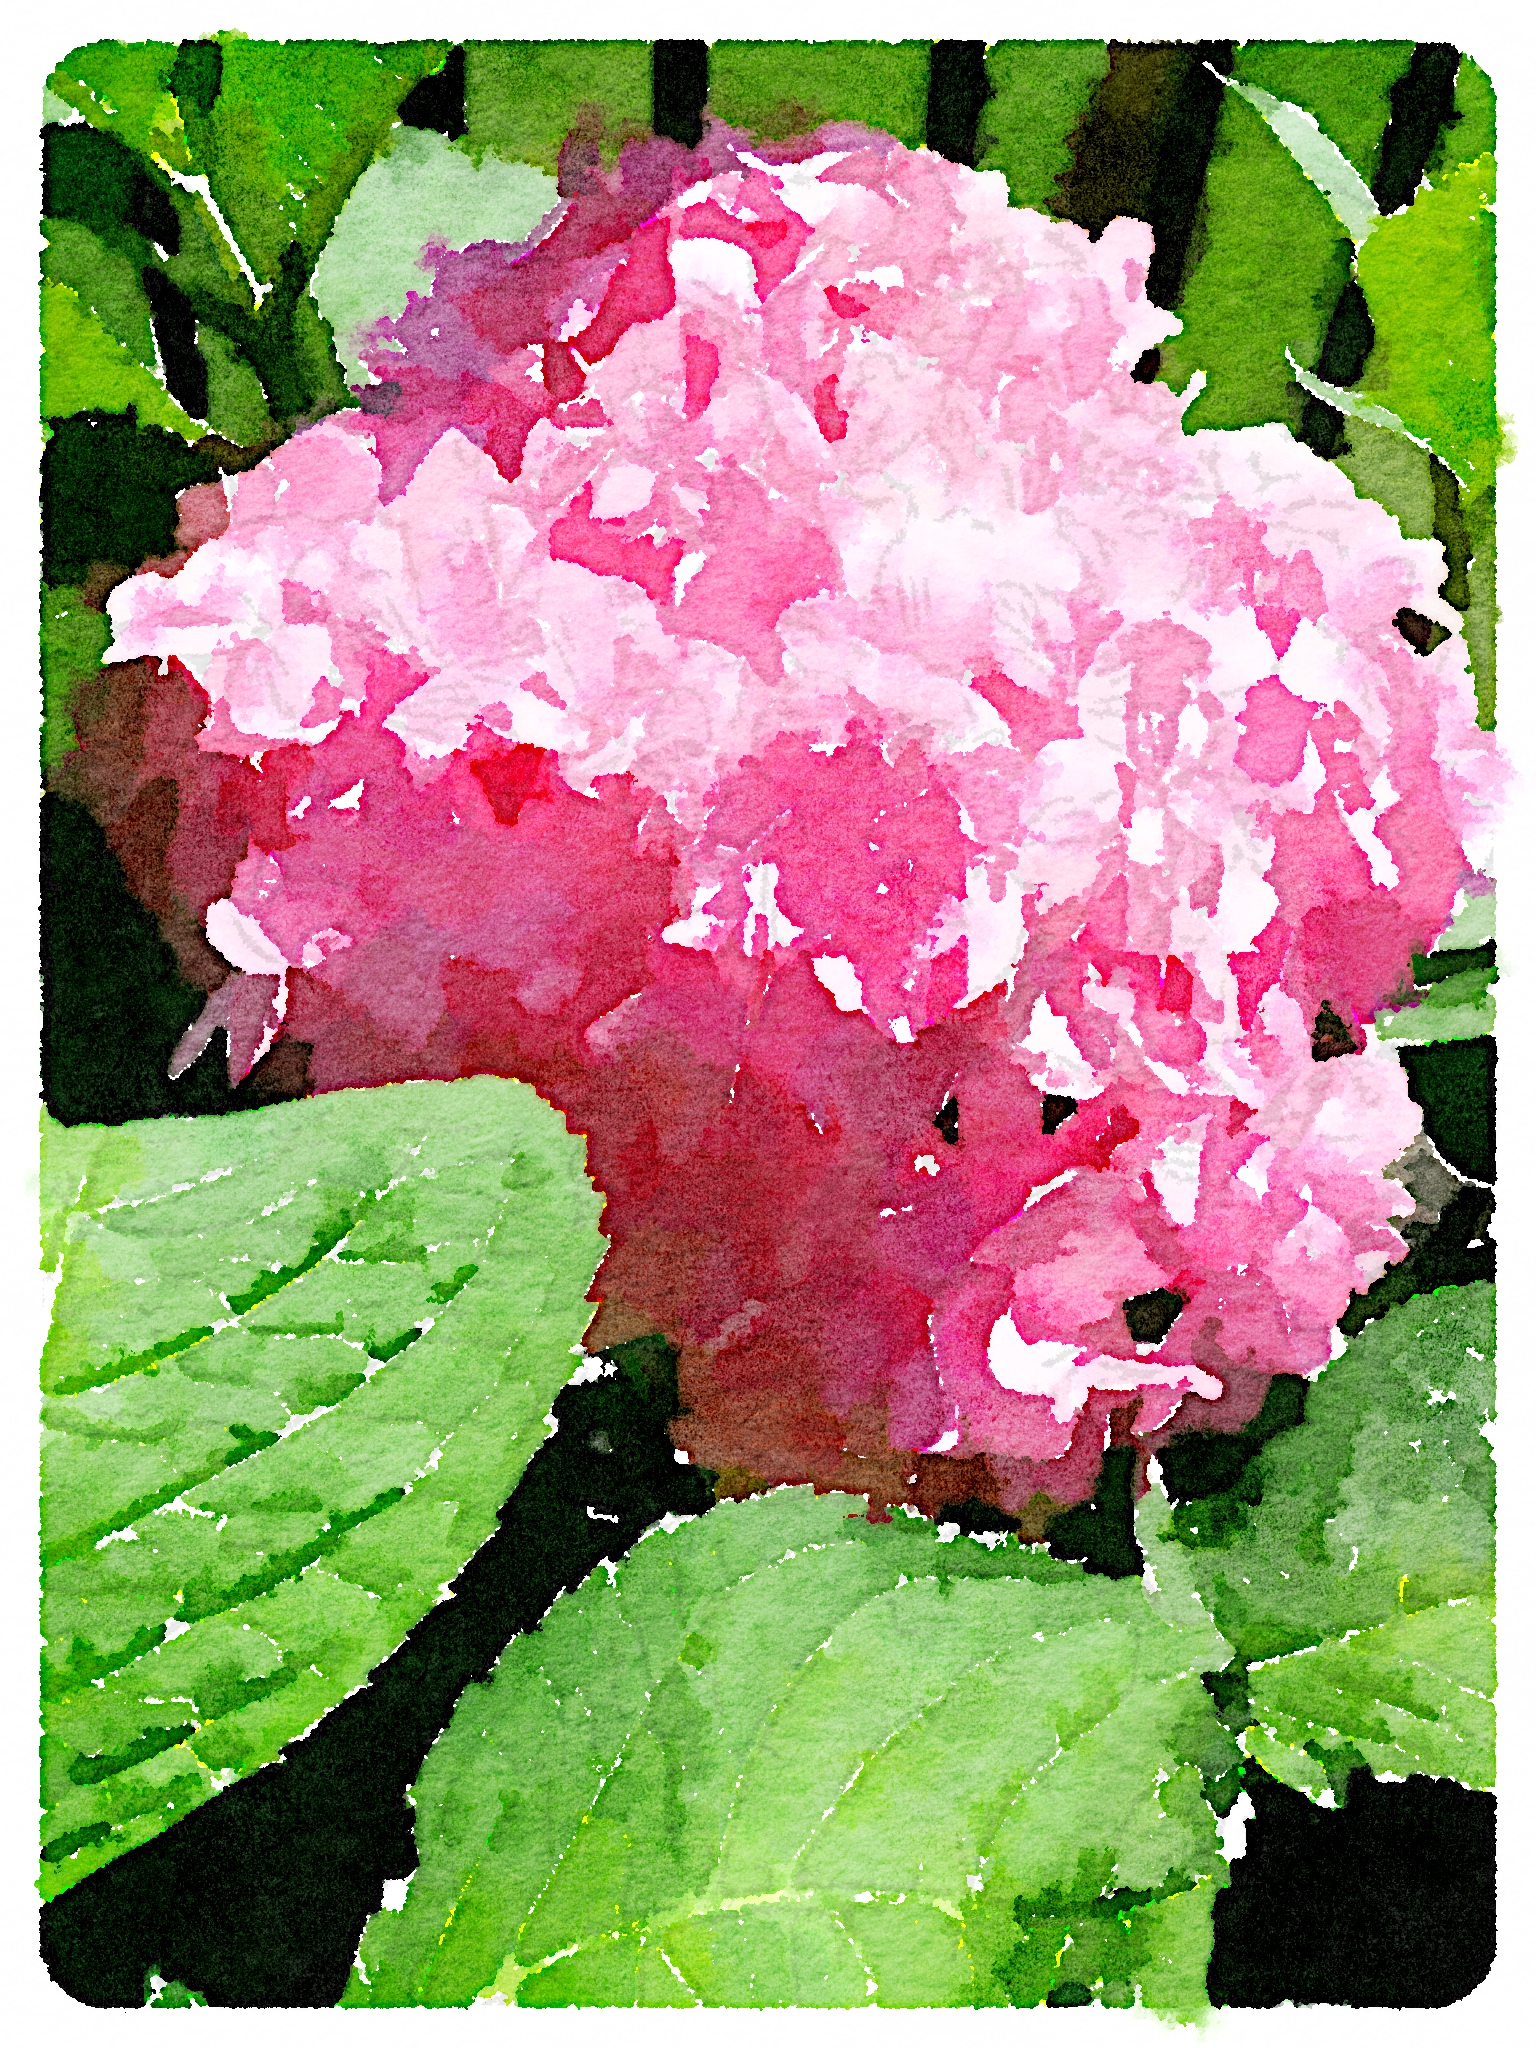
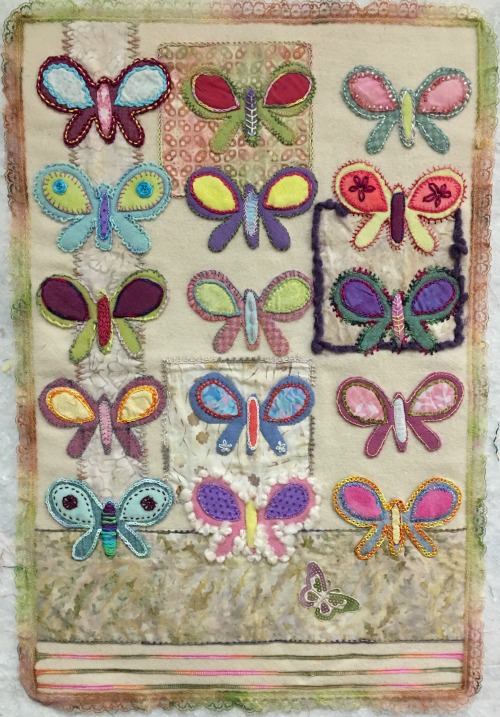
Finally--a Finish! Butterflies are Free to Fly

Finally, it's done!

This is my completed project from Sue Spargo's Craftsy class Embroidering Texture and Dimension by Hand. Click here for my review of the class and a couple of pictures of the project in progress.

I'm not loving the final product but that has nothing to do with Sue's design or class--I love her work and the class was great fun. 

No, the issues are all "user error." So--if you take her class or use one of her patterns or books, follow her directions! She knows what of she speaks. I didn't, and it bought me all sorts of trouble.  (I went into more detail on that on my last podcast episode, so check it out if you want to avoid the same difficulties.)

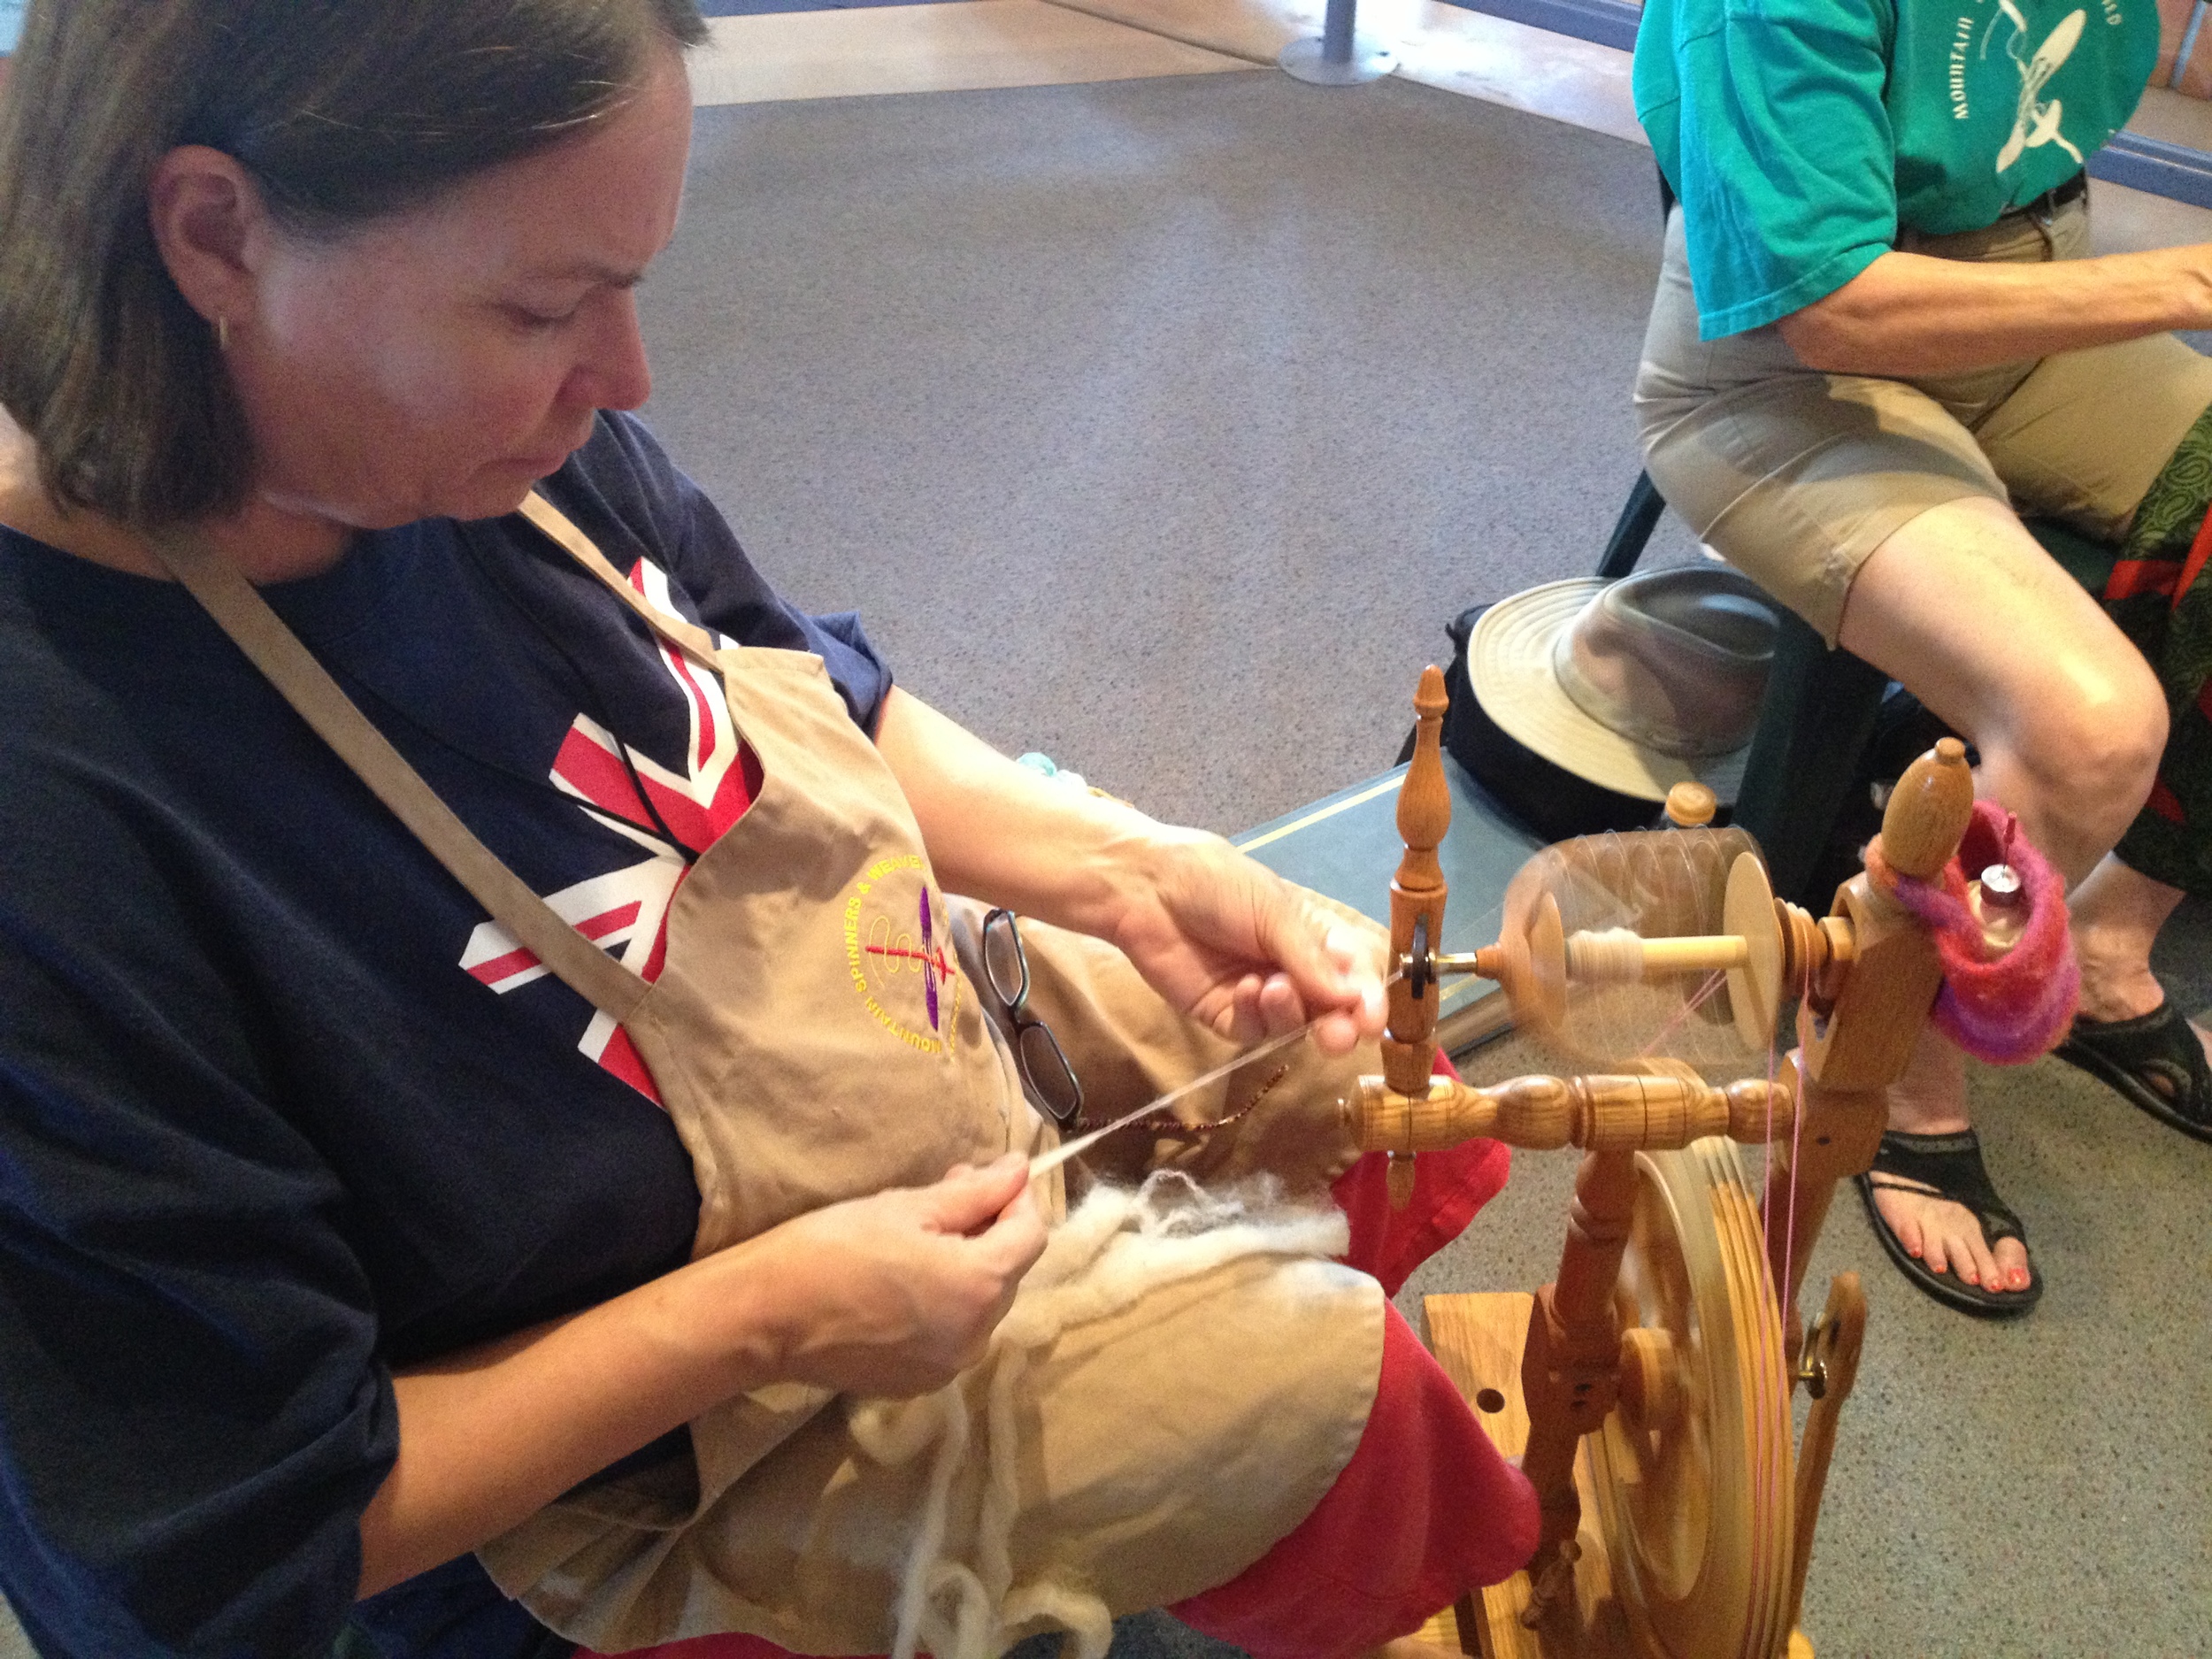
Still n' all, I had a lot of fun for most of the process. I question a couple of my design choices but I did achieve my overall goals, which were (1) learning embroidery, and (2) using as many different types of threads as possible. I even threw some beads on there.

Mostly--yay, it's done!

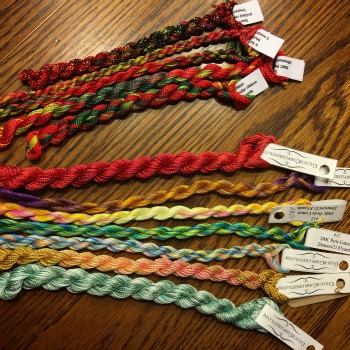
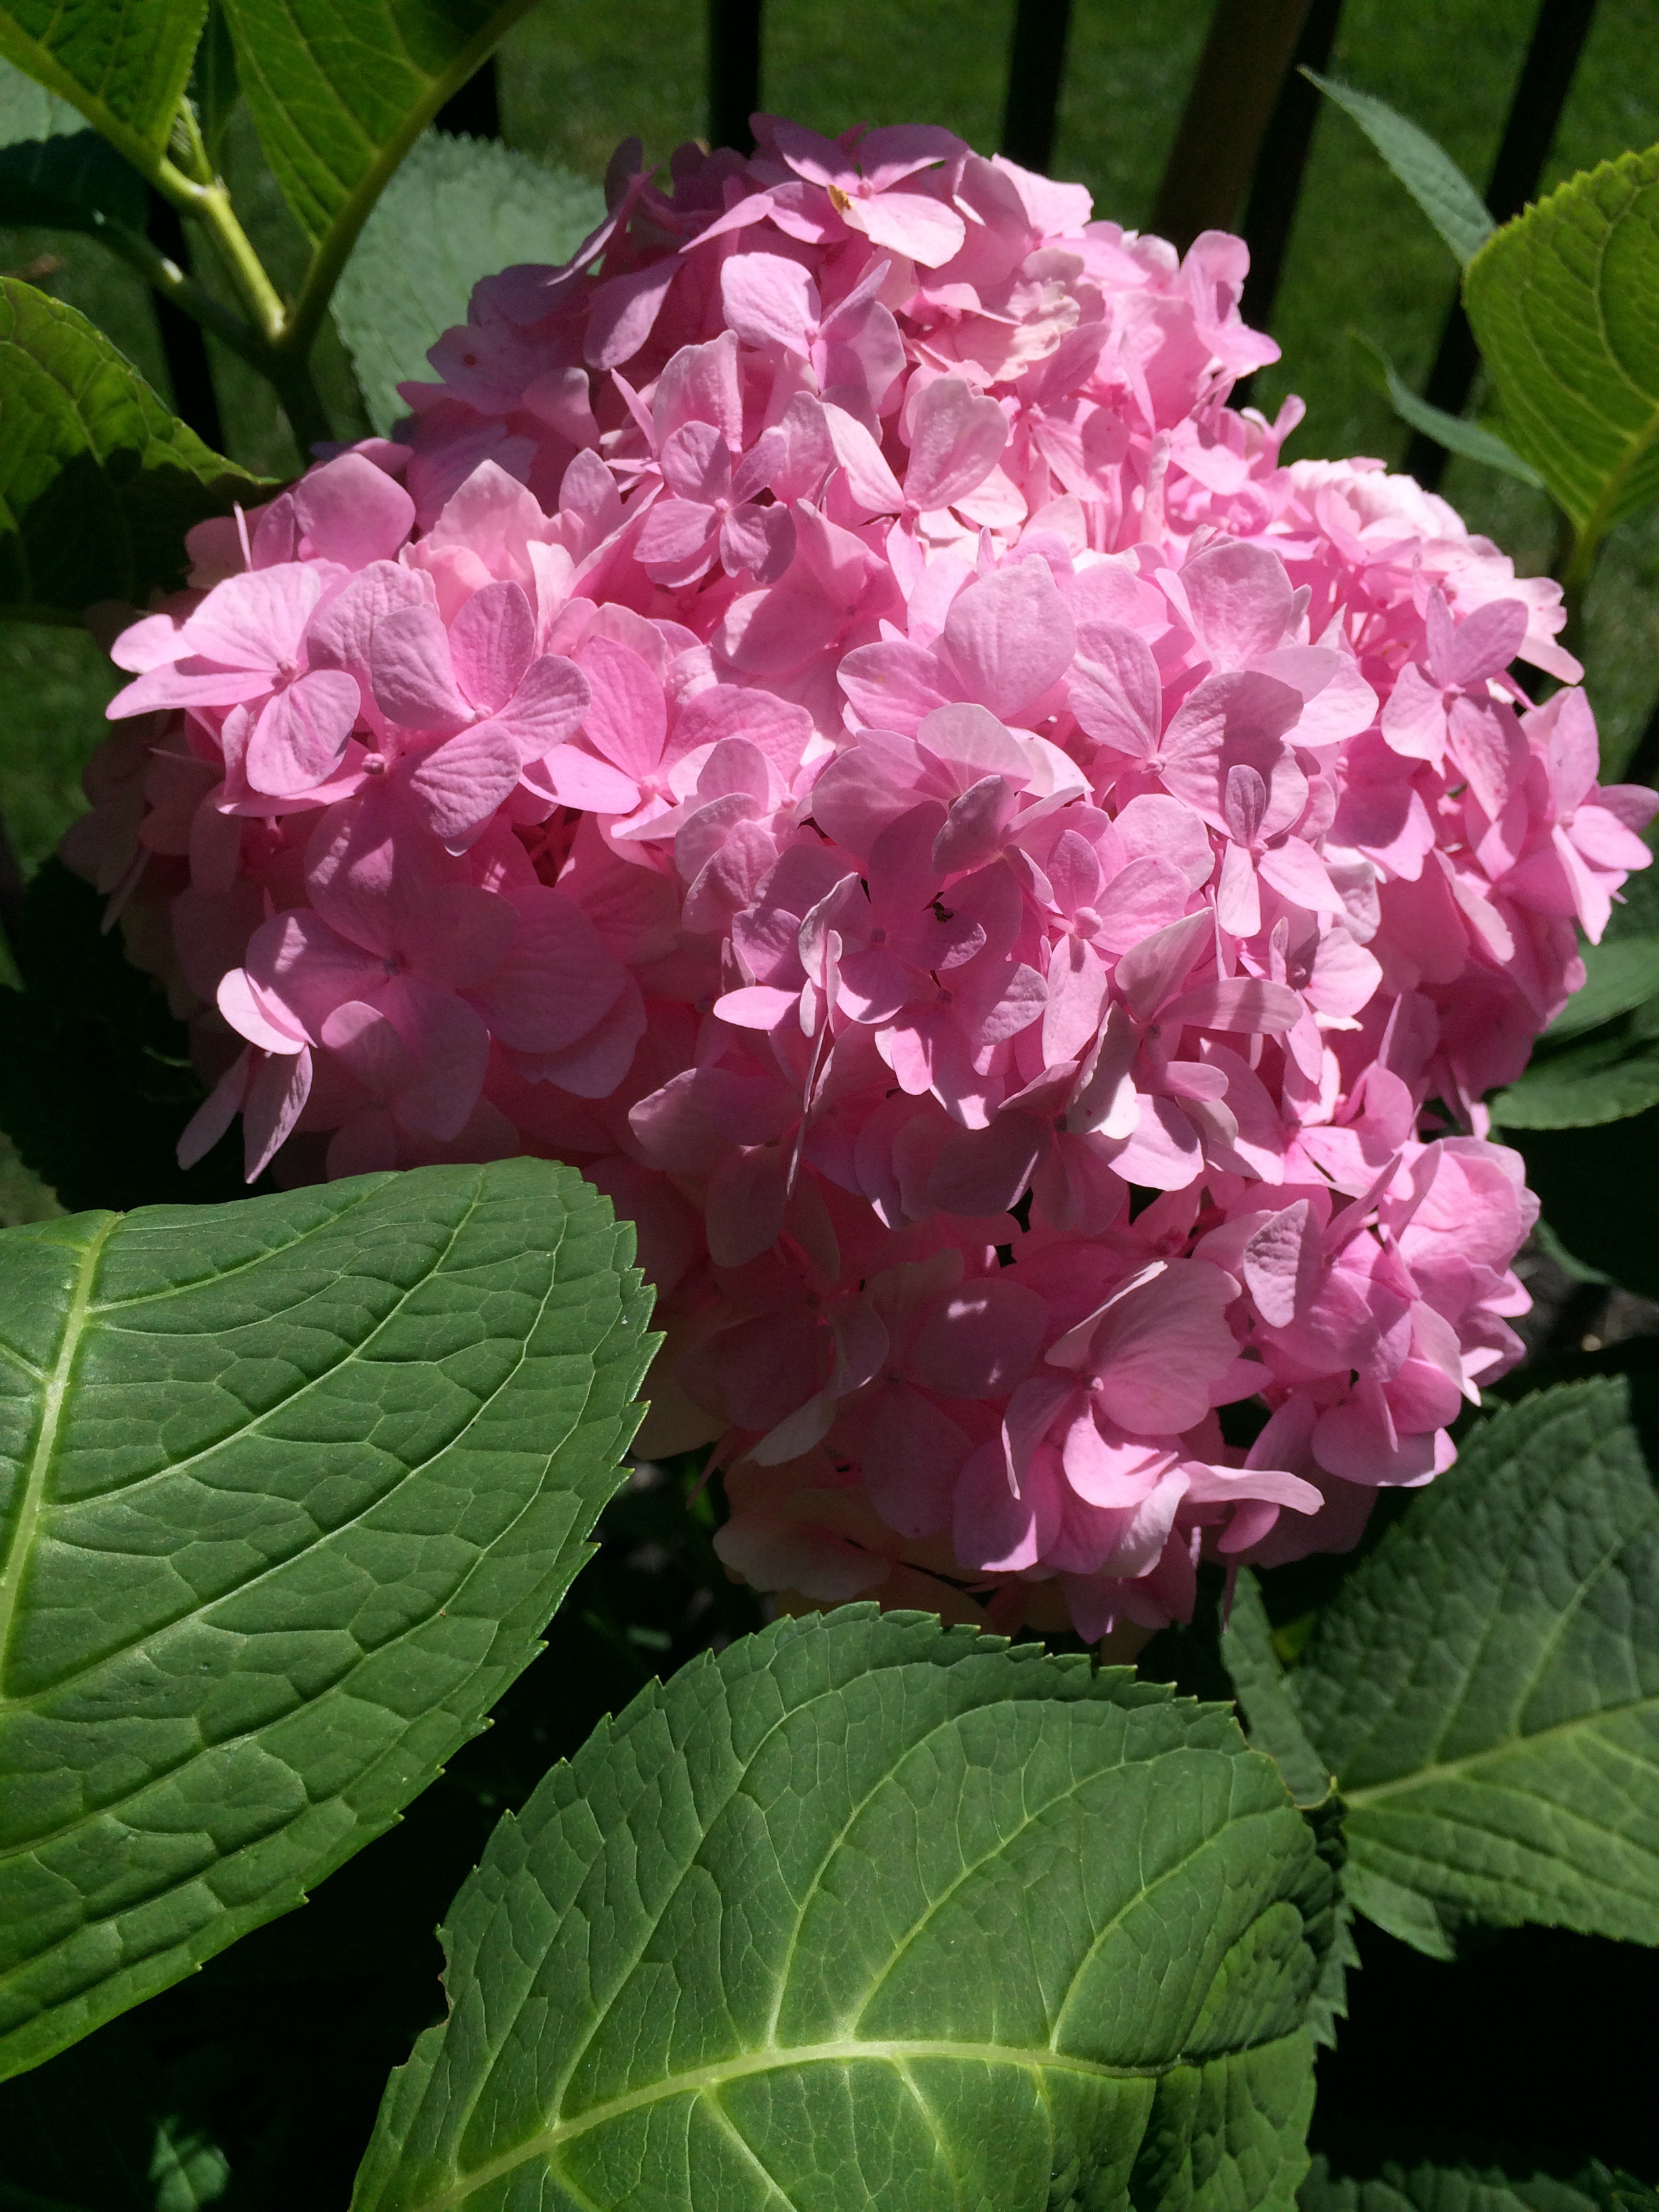
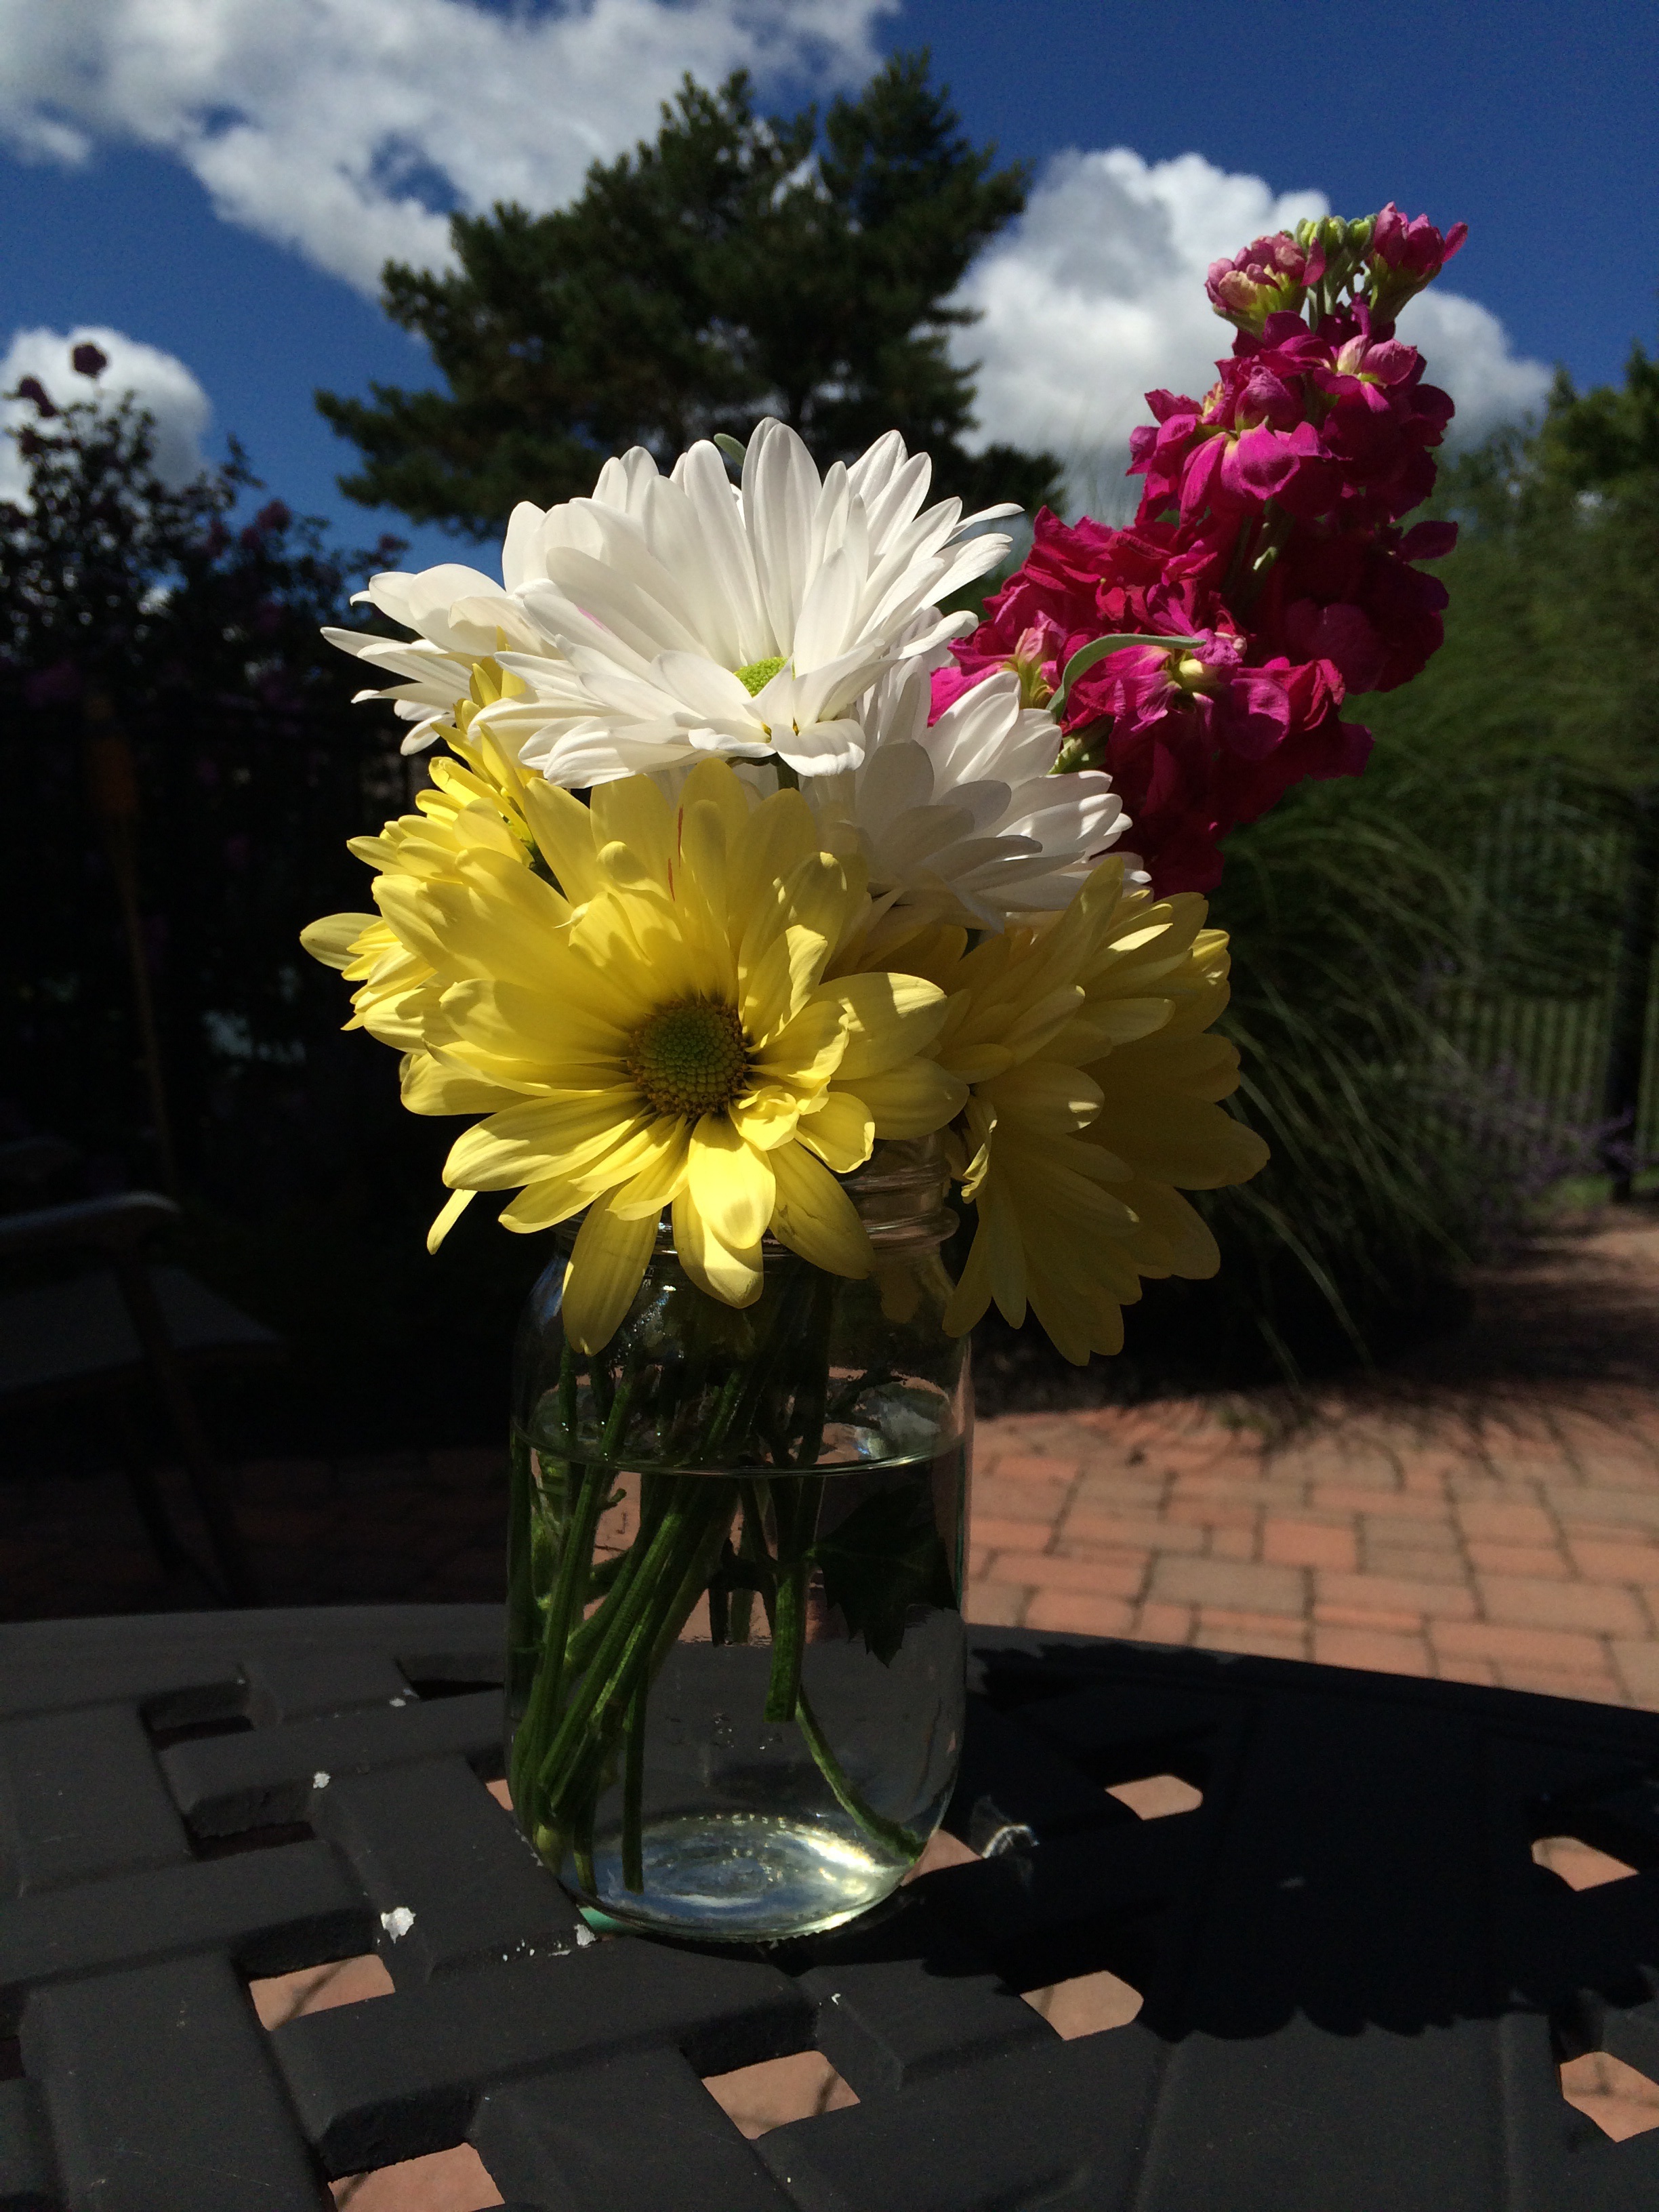
Meanwhile, you can tell I've been bitten by the embroidery bug hard--here's a picture of more pretty mail I got this week.

Check out www.colourcomplements.com. Hand-dyed embroidery threads tastiness. She's also got a great blog to follow. She ships from Canada, by the way, but it came fast!


 I love these threads. So much so that I couldn't wait to put them to work so I added a bullion rose to my free-form sampler piece I've got working. 

Not too shabby for my first attempt at one of those roses. But that thread-gorgeousness makes anything look good. Yums.

2015 Quilty Resolutions: April Journal Quilt

Okay, Sandy here, once again cutting myself some slack.

I realized that the prayer flag I've been working on is all one big experiment, so I'm now counting it as April's journal quilt, even though it's not 8"x10" or even, arguably, a quilt. It has two layers, not three, and it's embroidered but not quilted.

Work with me, here.

I present to you my April Journal Quilt project: a prayer flag.

The front is a piece of cotton batting I had experimented on in my dye studio--it was originally a normal cotton batting-cream color; I dyed it black. You can see how mottled it came out. Kinda cool.

I then did some needle felting on it with some dyed wool rovings I'd had in my stash for about a year (not dyed by me). I had fun blending the colors. I've done a little needle-felting here and there but nothing really terribly extensive, so I'm still getting the knack of it. Not hard at all, of course, but now I probably should start actually reading up on it and really figure out what I'm doing.

I also wanted to play around with beading, and I'd picked up some really wonderful beads at a bead shop recently. Dropped a bundle in that bead shop, so you'll be seeing a lot of beads on future projects. That bird (which is likely a swallow given the tail feathers but I'm choosing to call it a peace dove) is one of my faves.

I started working on this prayer flag shortly after I'd received word that I'd been accepted into the D.Min. program (listen to episode 180 if you'd like to hear more about that). At the time I started working on this project, I hadn't really decided what my prayer flag would be about--but then I ran across this great quote from William Shakespeare and it just seemed to completely fit where I am in my life right now: "To unpathed waters, undreamed shores...." Now, to be clear, the quotation is from A Winter's Tale which is one of the few Shakespeare plays I haven't seen or read so I don't know the storyline; it's actually taken from a speech in which the speaker is advising others NOT to go off in unpathed waters but to stay on a more known course. But I choose to rip it heartlessly out of context and cast it in a much more positive light. I'm rather enjoying, for the moment, being in unpathed waters and heading towards undreamed shores.

So there, nyah. It's my prayer flag. I'll do what I want.

I finished it off with a little embroidery accent in the swirls (yummy variegated Razzle thread from Sue Spargo's website), and then put a black felt backing on it and did a blanket stitch around the outside. The stitching isn't nearly as visible in person as it is in this picture; it's largely buried in the felted sections--you really almost can't see it. This picture does demonstrate the great lighting I have in my sewing room, I guess. 

My April Journal Quilt/Prayer Flag is now hanging near my office desk to help me remember this positive attitude when the blood, sweat, and tears start.


A Not-So-Random App Review (with Quilty Implications)

This is random, but not entirely off-topic as I can definitely see quilty (and dye-y) implications from this.

The very first experiment.

The very first experiment.

I follow Lyric Kinard's blog, and this morning she posted about an app she'd started playing with, named Waterlogue. I immediately downloaded it and started messing with it myself. 

O. 

My. 

I love this app. 

Mind you, I've got several photo-editing apps and most have some sort of watercolor filter effect but I've never seen any of them work as well as this one. 

I was posting these images to Twitter and a couple of folks checked out the app and have since downloaded it themselves. Unfortunately, we also discovered it's only available for iPhone/iPad, but not Android*. Sorry about that!  

My favorite Happy Sam photo.

My favorite Happy Sam photo.

It has 12 different filters with very different effects--my photos here only include three or four of them. It's fascinating to watch how each filter interprets your original photo. You definitely get a lesson in line and color as each filter breaks your photo down into component parts. 

Other than just good, clean fun, what are the quilty and hand-dye-y applications? Well, gee, let me count the ways. At the simplest, you could print the resulting image onto fabric and thread-sketch or quilt it up for a nice art quilt. You could use the watercolor image as a guide for an applique version: It breaks complicated colors from a photo down into much simpler color splotches (which is a very technical artistic term) that would make it easier to interpret those colors into fabric. You could use the outlines it creates in some filters as a guide to hand-draw the image onto your fabric. For hand-dyeing/painting, the benefits are pretty obvious: It gives you a clear view of what colors appear in the photo that you could easily use as a guide for creating a project. 

(I stole this photo from one that @sewexcitedquilts tweeted this morning of sunrise on a lake. Thanks, Jackie!)

(I stole this photo from one that @sewexcitedquilts tweeted this morning of sunrise on a lake. Thanks, Jackie!)

The app is $2.99. I'd say I've already had about $3.75 worth of fun and I've only had the app for about four hours. When I start using it as a way to create a quilt design? Priceless.

I'll close this blog out with a gallery of the original photos with their filtered counterparts. I've got it set in autoplay to change images every two seconds, but you have controls on the right and left to move forward and back if you want to see something again. If you can't see the gallery in whatever way you're receiving this blog, just go straight to my website.  

*The Waterlogue blog explains that they have no plans to release it on Android. They're a small, independent iOS developer and Android is much harder to program with reliable stability as it's used on such a wide variety of devices. If you want to read the whole blog post, go to their blog.  (You may have to scroll down to find the pertinent post.)

Mad Quilt Scientist Finally Back in Action

I woke up feeling like I was in recovery mode, for some reason, and decided I wanted a pajama day today (Saturday). Since I don't worry too much whether I get dye on my pajamas, I headed to the basement as soon as I felt caffeinated enough. As it turns out, I had about a half hour of sorting and organizing to do since things had gotten a bit stacked up, and I had all sorts of new dye-playthings to pet and then put away. While I was sorting, I was pondering what I most wanted to do. Turns out, I really wanted to re-do Frieda Anderson's gradations again at home so that the color mixes would really sink into my brain and I could take better notes. I also chose not to work nearly so fast as we'd sped through them in class (and a whole lot cleaner!), so I only got one set of gradations done in just slightly less than the time it had taken us to do two in class.

gradation1WIP.jpg

You're seeing 12 fat quarters soaking in everything from Sun Yellow to Fuschia to Intense Blue (different names, but same colors that Frieda had us using for the first set of gradations.) After some internal debate, I decided to go Straight Frieda on this one and use her method of mixing colors and soaking in soda ash first, as opposed to Ann Johnston's method (different dye mix, soda ash comes later) which I've been using most often in the last year. This way I can do a more direct comparison with what I came home with from the class last week.

Okay, ummm... so it might just be possible that I used some of the remaining dye concentrate to, just maybe, do some more bamboo baby clothes for my great-niece. Babies do grow, you know. And that bamboo stuff is mighty cool. I wish I could have me some adult-sized hand-dyed bamboo onesies, donchaknow.

On the other hand, yep, I am also dyeing some stuff for myself--mostly experimenting for future dye projects for other people down the road.

So I cleaned out the icemaker in our freezer.

One of these bins contains more baby clothes, but one is something for me.

The one on the left is a dye combination I've used in the past that turned out kind of cool; I'm hoping for similar cool this time. The one on the right is three new-to-me dyes and one that I've had for awhile. Two of the new ones shouldn't be too much of a surprise, but I have no idea what the other one will do. And that's the fun of it! (The white patches you see are a few run-away ice cubes I dumped on the top after I'd already put the dye on.)

But wait, the fun isn't over yet! I've got tomorrow's dye playdate already soaking...

(With apologies for the bad pictures--taking them on my cell phone wearing rubber gloves...not good photography praxis!)

Oh, and one more thing...I've secured two big giveaway items and am working on a third for my fourth podcastaversary coming up--woot! Next week, First Quarter 2014 Quilty Resolutions Check-In Giveaway; The week after, Fourth Podcastaversary Giveaway! Does the fun never end?


My World Spins (or: Something I May End up Doing Eventually)

In my most recent episode of the podcast, I talked about seeing the spinning demonstration at the Sharlot Hall Museum in Prescott, Arizona. Yes, it's tempting! 

Here are the pictures:...

The spinning guild members demonstrating their skills

The spinning guild members demonstrating their skills

A close-up of the spindle (at least, I think that's what this part is called) 

A close-up of the spindle (at least, I think that's what this part is called) 

Feeding the roving onto the spindle. (If I recall, this was some that had been koolaid-dyed, but don't quote me on that.)

Feeding the roving onto the spindle. (If I recall, this was some that had been koolaid-dyed, but don't quote me on that.)

A different model of spinning wheel. They're so pretty! 

A different model of spinning wheel. They're so pretty! 

A hand-spindle. I'd think this would take some wrist strength, but nicely portable. Good for business travel.... Hmmm.... 

A hand-spindle. I'd think this would take some wrist strength, but nicely portable. Good for business travel.... Hmmm.... 

A very bad close-up of the hand-spindle (dang camera phone), but it gives you an idea of how fast that little thing is going. 

A very bad close-up of the hand-spindle (dang camera phone), but it gives you an idea of how fast that little thing is going. 

Ahem. Shed much? Yarn made from Golden Retriever fur. I would happily mail her some extra that I just happen to have laying around my house!

Ahem. Shed much? Yarn made from Golden Retriever fur. I would happily mail her some extra that I just happen to have laying around my house!

So the floor-model-style spinning wheels all had treadle foot pedals. My first thought was, "Way to be creative AND burn some calories!" And it was so cool watching these lumps of formless roving become really wonderful yarn. 

Yes, indeedy.

Tempting.