Retreat Report with Pics!

To listen to my report on last weekend's guild retreat, check out the latest episode of my podcast. Meanwhile, here are a few pics! This isn't the complete photo-report as some projects will be photographed later.

So, for now, here are the blocks I finished on my jelly roll sampler, a project that's been in the works for a few years.

Jelly Roll Sampler block 10

Jelly Roll Sampler block 10

Jelly Roll Sampler block 11

Jelly Roll Sampler block 11

Jelly Roll Sampler block 12

Jelly Roll Sampler block 12

And, ta da, all 12 blocks together. Approximately three years of piecing. (Well, okay, three years of a couple of hours at a time on retreats.) As you can see, it's mostly a low-volume quilt although that dark burgundy fabric really jumps out in these pictures. It's not quite that stark in real life. I'm going to let these blocks brew on my shelf for a bit until I have time to get them to a quilt shop to find the perfect sashing/border fabric. 

Sorry, I really don't remember the name of the jelly roll. By 2011 when I started this it had already been on my shelf for awhile, and I may have inherited from my Mom. So who knows hold old the line is now?

Here's the (in)famous scrap bag/pin cushion retreat project. And yes, true to what I said in my podcast that my friend would be able to finish the second one off right-quick, she's already emailed me that it's done.


Here's the electric seam ripper I talked about on my blog--this was my friend's (I took the picture at retreat). I immediately came home and ordered one for myself. I've got it in hand now, although haven't had to rip a seam out with it yet!

And you know what else I figured out? I've been thinking about getting one of those seam rippers that has the big eraser-like knob on the end that helps you get the broken thread pieces out of the seam after you're done ripping it. Well, I discovered on retreat that the end of my Fons & Porter stiletto works the same way!

I just held it like an eraser, rubbed it across the threads in the seam lines, and they brushed right off. O, joy! I just saved myself $7 or whatever that other seam ripper costs. Let's not do the math with what I just spent on the electric seam ripper, though.

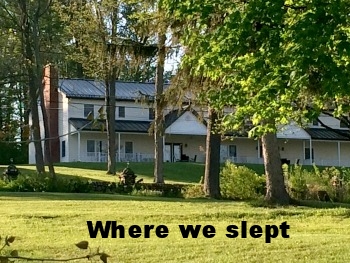
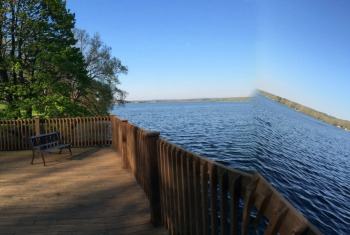
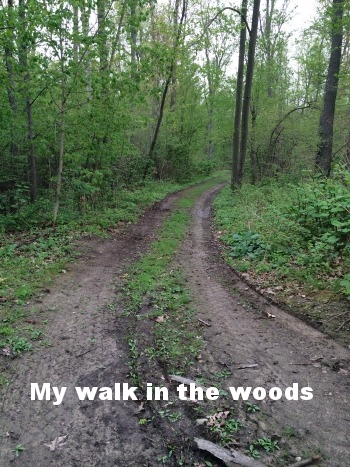
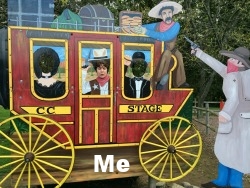
And here's a general photo gallery of shots from around the grounds. A couple are panoramic if they work well in this gallery setting. Also, I discovered I could mess with the panoramic feature on the phone, so there are a couple of photos that I've entitled "When Worlds Collide" and "The Edge of the Earth." See if you can figure out which they are.

A Finish-- "A Walk in the Woods"

As I talked about in my most recent couple of episodes (154 and 155), I had some homework to do for my design study group around "luminosity." Luminosity, if you're not familiar with it, is making it look like there's an internal source of light in your quilt, as if it's glowing. This is a tricky thing to achieve--it all has to do with value and placement of colors next to one another and such. Just having contrast doesn't necessarily equal luminosity. (This is one of my favorite examples of a quilt with luminosity.)

In any case, I saw this as an opportunity to use one of my favorite hand-dyed pieces from last summer. This is one of several that I refer to as my "tapestry hand-dyeds," because they're a half-yard of fabric, measuring roughly 18" by 42" or thereabouts, and turned out such that I don't see myself ever wanting to cut them into smaller pieces; therefore, I imagine them becoming backdrops for some sort of a long, rectangular, "tapestry-like" wallhanging.

And so, I introduce you to "A Walk in the Woods."

Walk in the Woods complete

Walk in the Woods complete

I wanted the hand-dyed fabric to be the stand-out here, so I kept my quilting and choice of thread more subtle. As it turned out, perhaps I went a little too subtle: When it's on the wall and you stand more than about five feet away, you almost can't see that it's been quilted at all. Oh well, I'm still quite pleased with the way it turned out.

Quilting in progress

Quilting in progress

The above was a picture I took of my quilting in progress. I'm still learning my FMQ and decided to just haul off and have at this one, trying to stay loose and happy while I was doing it. It actually turned out pretty well. A few places got a bit whonky, but again, can't see it from five feet away anyway!

Detail of bottom

Detail of bottom

Detail of quilting around the middle-ish

Detail of quilting around the middle-ish

Detail of quilting at top

Detail of quilting at top

I also did a little perspective, though not religiously so, on the leaves--the ones at the bottom are, for the most part, larger, and the ones at the top are, for the most part, smaller. I tried to make it all one continuous vine but I did end up having two different places, if I recall, that I had to end and start over somewhere else because I worked my way into a corner and would have had to backtrack over my own lines further than I really wanted to. But you can't see it, so let's let that be our own little secret, shall we?

Faced binding detail

Faced binding detail

This was the first time I did a faced binding. I like it. I want to do it again. And again. And maybe even again. Thanks to Susan Brubaker Knapp for her tutorial!

Oh, and I got all those purple scarves done.

(The ones on the bottom of the right-hand pile were my first three test scarves.)

Playing with creating our own fabrics

My quilt design study group met last week and I was responsible for leading this week's session (we rotate responsibility, which is the best way to do a group!). We were on the last lesson in Lorraine Torrence's Fearless Design for Every Quilter. 

The lesson had to do with creating your own fabrics using a variety of techniques. I talked about this in my most recent podcast episode (Episode 120 In Which We Get Fused) so I won't go into detail here, but will give some pics of the evening. 

​Turning lines into pictures

​Turning lines into pictures

Using complimentary colors in a rubbing

Using complimentary colors in a rubbing

Working with stencils--analogous colors

Working with stencils--analogous colors

Following the line of the dye design (we thought it looked like a map)​

Following the line of the dye design (we thought it looked like a map)​

Using running stitches to create line on fabric

Using running stitches to create line on fabric