It's late and I have a long drive tomorrow for a work trip. Nope, haven't packed yet. Yep, dirty dishes still in the sink that need to be washed before we leave in the morning. So I'm only posting a couple of pics now. I'll try to post more from the road but am not sure I'll be able to pull that one off, so this might have to tide you over until the weekend.
I'm laying out the photos differently this time too, as I'm testing a variety of things again on this website. Won't we all be glad when the dust finally settles?
Here was the original "target" that I'd made using a glue stick as resist.
Blue-green Target (glue stick resist) "Before"
I decided to overdye it with yellow to see if I could, again, get a nice yellow-green color. I was very much in the mood for some yellow-green. I think it's because I've really got a hankering for spring and we haven't seen much of it here yet.
Blue-green Target "After"
Again, not a very exciting result but more interesting than the original. I'm not keen on the target idea so I'll have to do some further surface embellishment with this one.
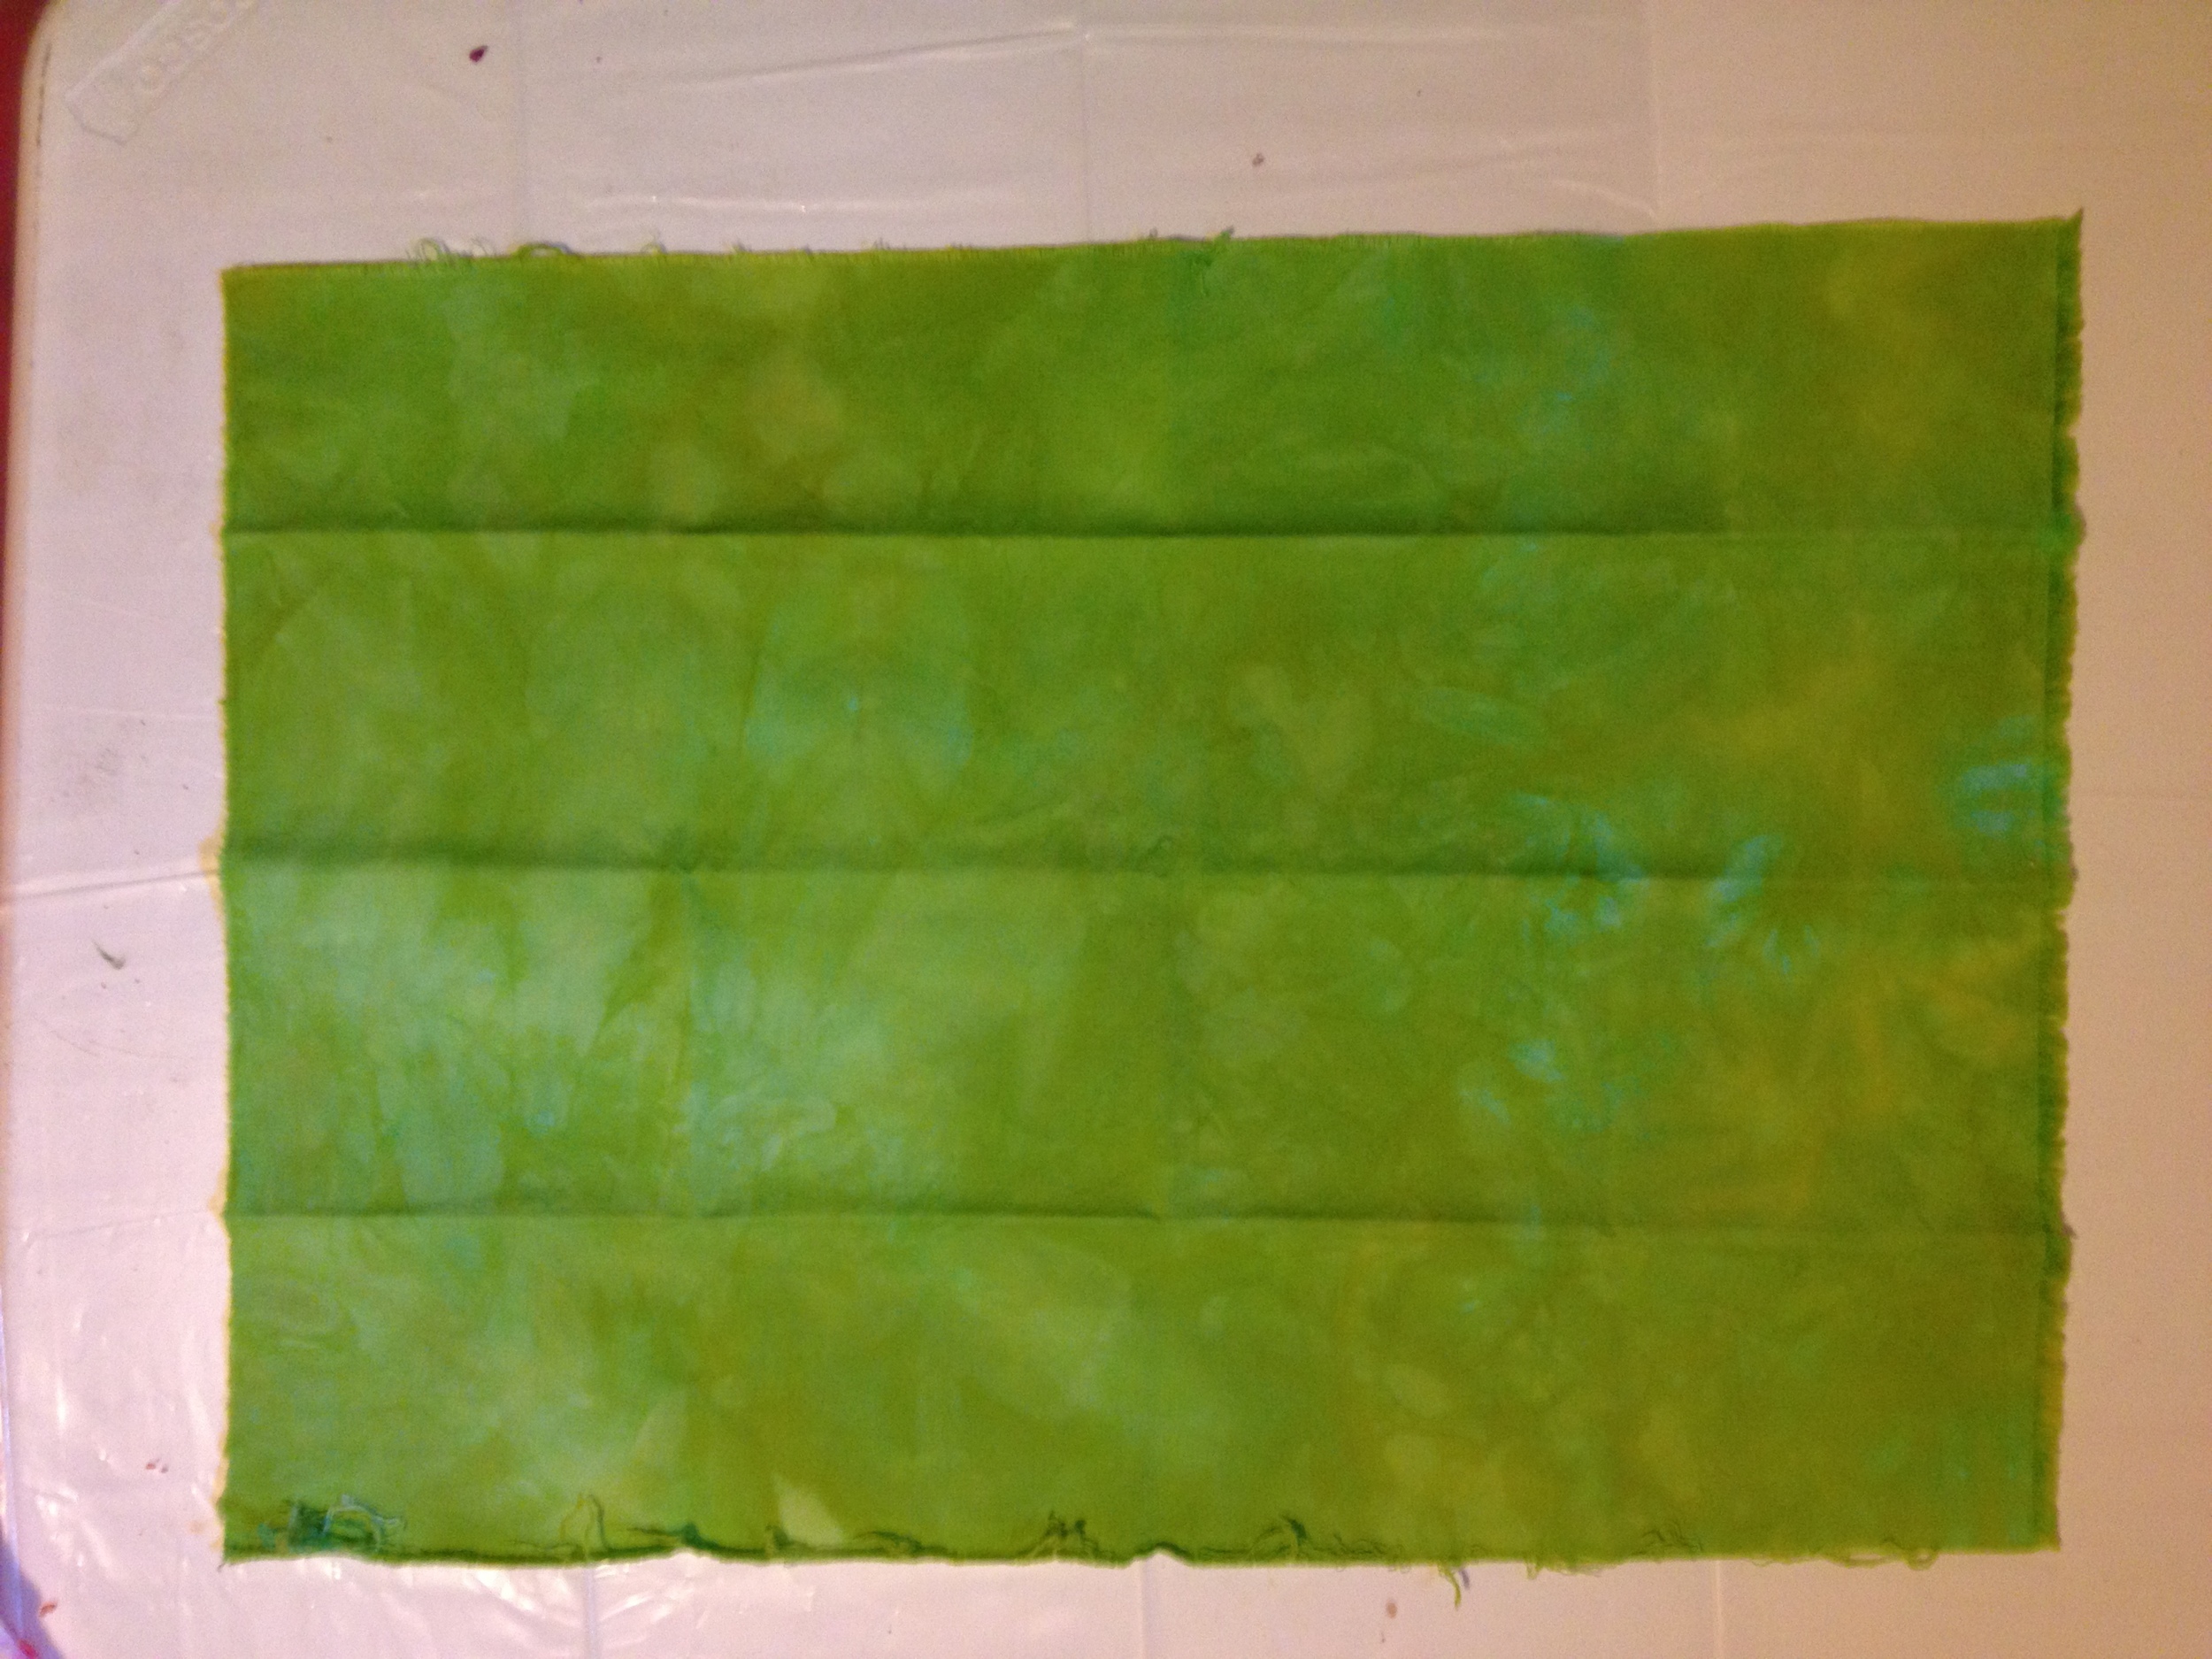
Next we come to the one I'll politely call "yellow-green," but I personally think of as "baby poop green." Sorry if I offend.
Yellow-Green Snow Dye "Before"
Come on. I know all of you have, at some point in your quilting career, looked at a quilt project you were working on and thought, "You know what this quilt really needs? What would really make it sing? It needs some Baby Poop Green. Yeah. That's the ticket."
Well, okay, so this is more attractive than what I found in my kid's diapers. But still n' all. It needed help. Overdying to the rescue.
I decided to go straight green on this one to see if I couldn't over come the bodily function aesthetic influence. Interestingly, the green overdye somehow brought out more of the blue from the original. I'm scratching my color theory head over that one.
Yellow-Green Snow Dye "After"
So this next one is pretty nice. I had this very nice, unassuming little Golden Yellow piece (that's the name of the Procion MX dye I used straight-up on it) that I'd pleated the first time around.
Yellow Pleated "Before"
I wanted to shoot for a great orange-yellow piece instead, so I overdyed it with red and this time I used rubber bands to make rings.
Yellow Pleated "After"
I'm kind of digging this one. Turned out a bit more pink than orange-yellow, but still a very interesting effect.
Last one for tonight, and then we get into my serious-issue-befores in the next post.
Here was another experiment with using a glue stick for resist. Remember this one?
Flowers "Before"
I really wanted something with even deeper color, so I overdyed it in blue. It was scrunched the first time and I wanted to still have the flowers visible, so I scrunched again. It's even brighter blue in this picture compared to the "before" because the "before" was taken in my basement and the "after" in the shade on my patio. Still, it's very blue now, and the flowers don't stand out as well because the resist isn't there anymore so the lighter drawing also dyed. But that's okay. If I ever use it I can always use the light drawn lines as markings for couching or quilting or paintsticks or some other surface embellishment.
Flowers "After"
So, did I mention I just got a shipment of Dyn-a-Flo paints and Inktense pencils today? Let the games begin.


