
As I talked about in my most recent podcast episode, I had this past Sunday as a Pajama Day to recover from hosting the weekend's festivities. (More about that in a future post.) As I wasn't entirely sure at the start of the day that I was up to handling sharp objects and having to measure accurately, I decided to spend a couple of hours in the basement doing more hand-dyeing. That just requires a little bit of math, and if I'm off by a splash here and there, there are no tragic consequences.
So this time, I tried one new ice-dyeing technique I'd read about ("Dye Your Own Iced Parfait," by Carol Ludington in Quilting Arts Presents Dye Your Own Fabric, available from the QuiltingDaily.com website). We now have a vase that will likely never hold flowers again.

Ice-Dyeing Parfait--three fabrics each layered with ice and dye. It's in a bucket to catch any possible spill-over as ice melts.
I *think* this was the bottom fabric--I didn't label these. I twisted the fabric and used red and fuchsia dye powders. The orange shows up because this floats in dye water from all layers once the ice melts.

Second layer. This one was pleated and then rolled in a cinnamon-roll fashion; I used fuchsia and golden yellow dye powders on this level. It gets some of the red dye from the first layer, but not as much as the first layer gets.

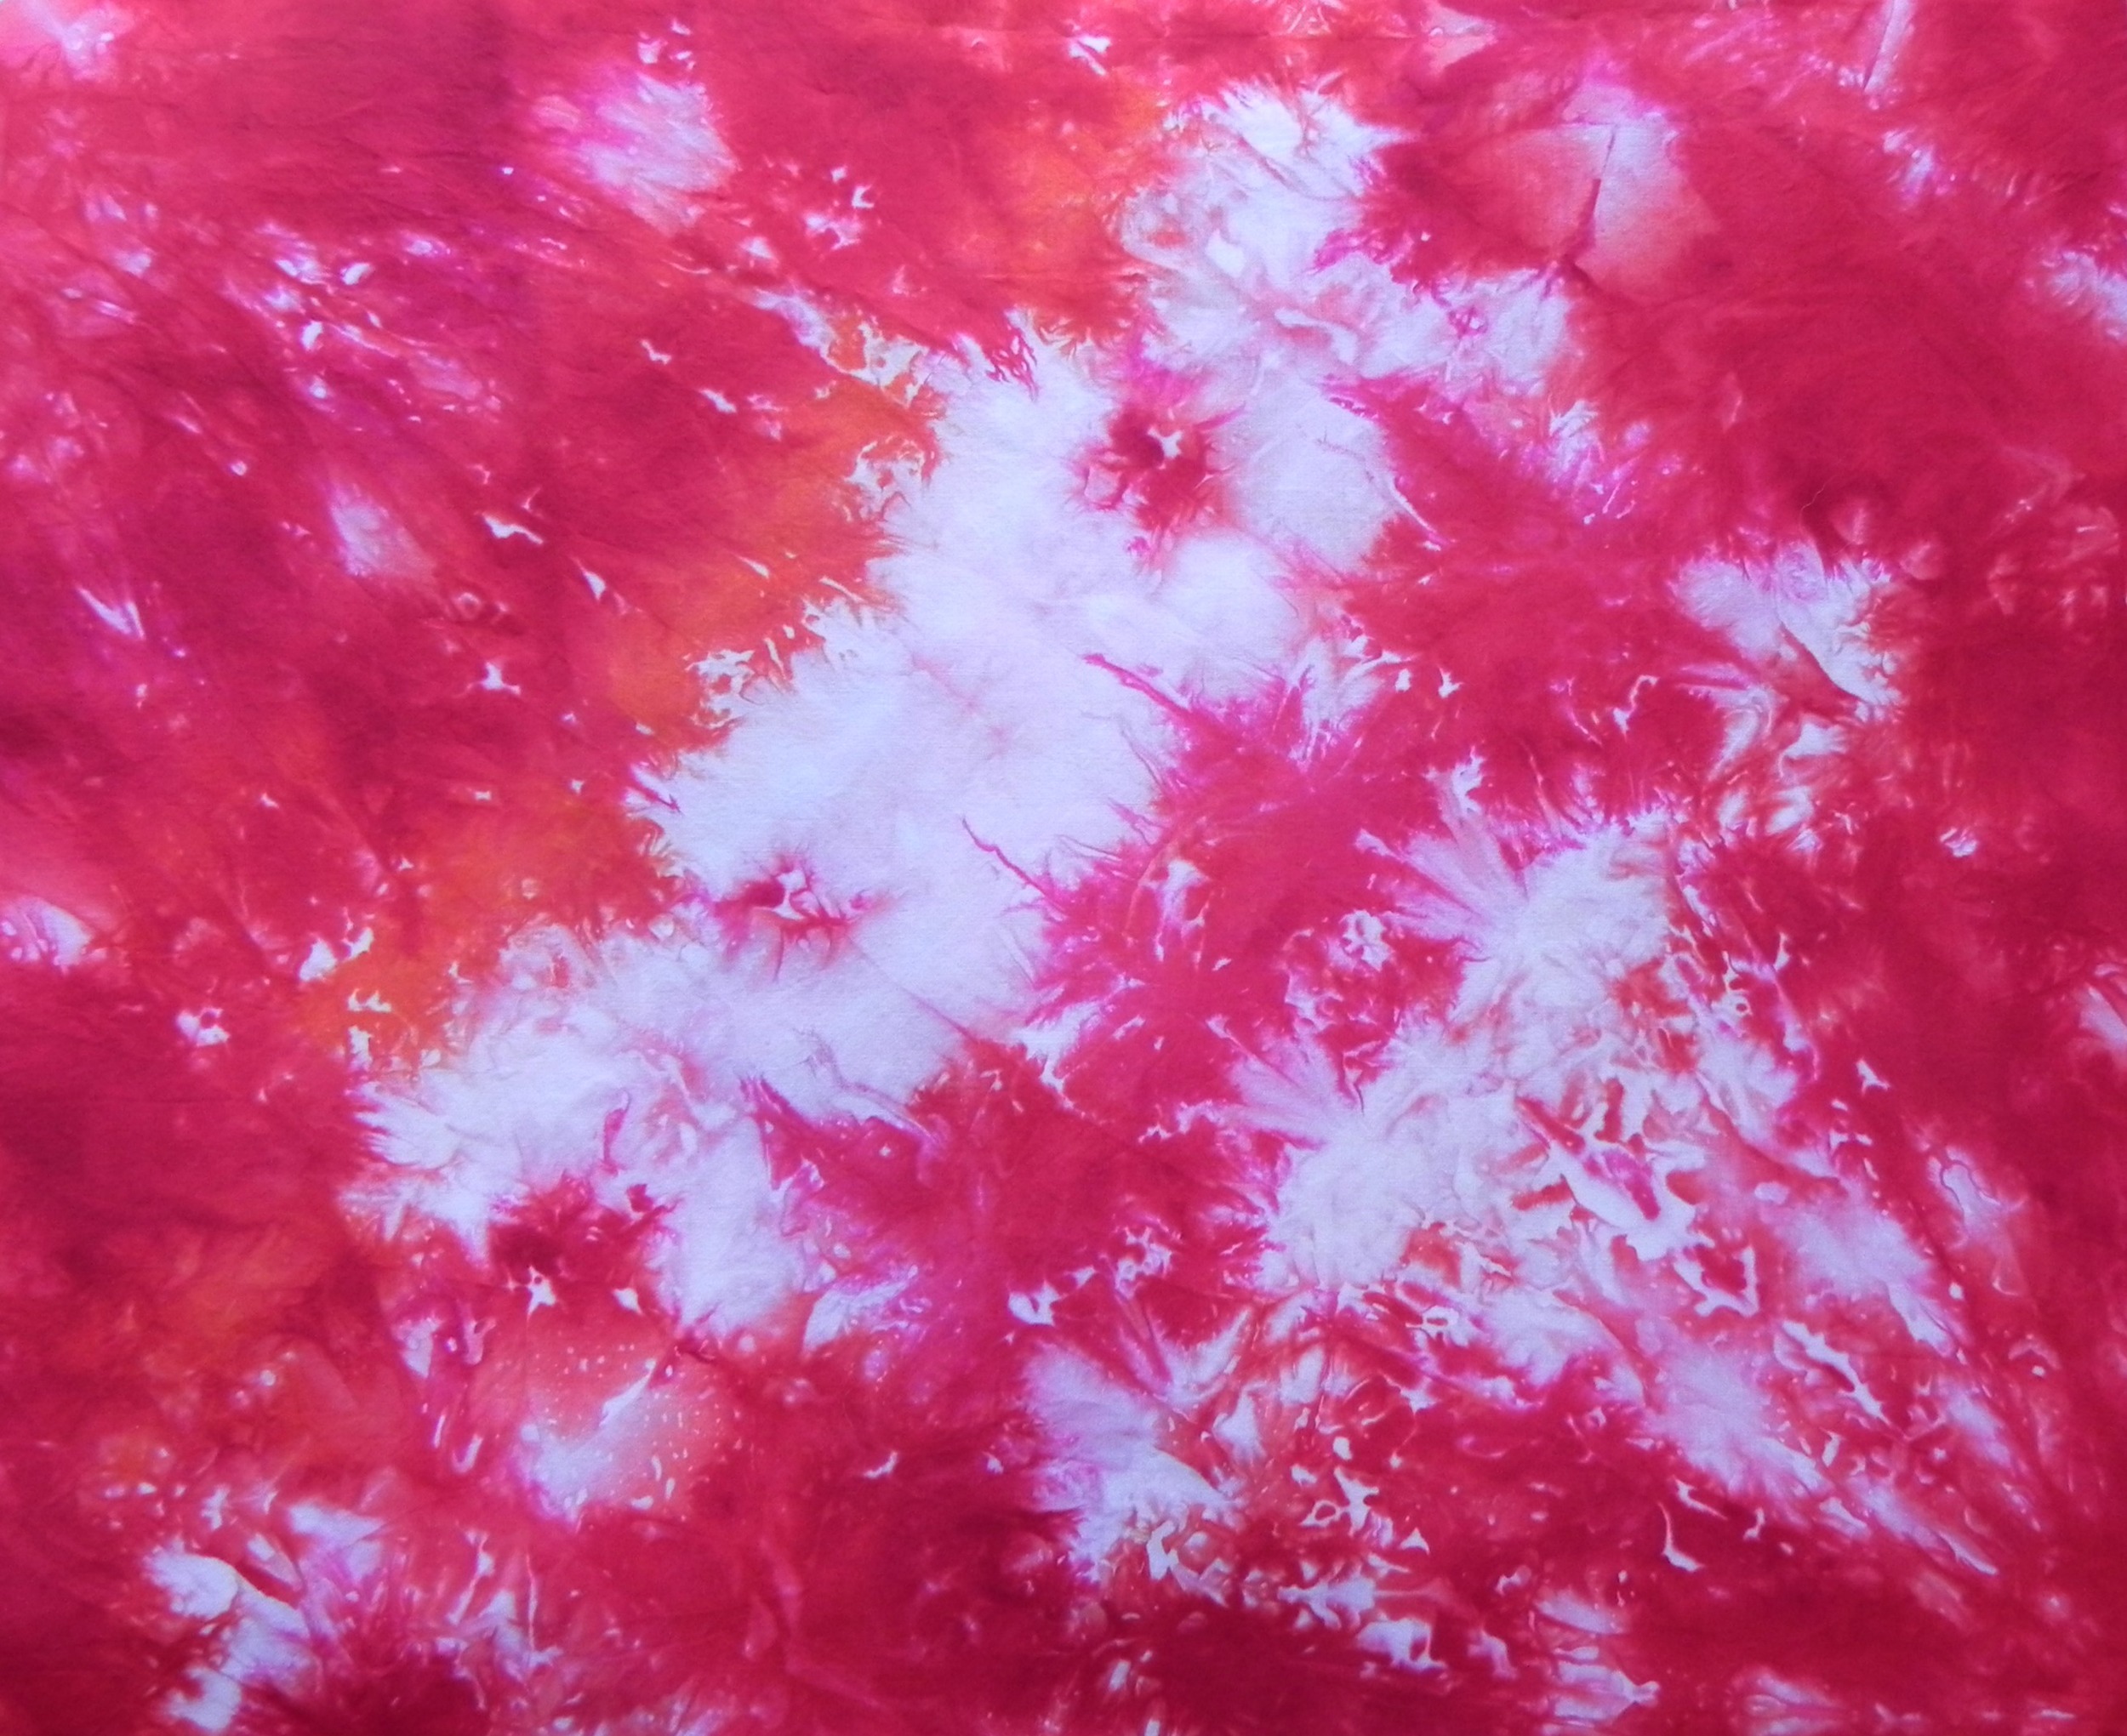
Top layer. This one looks the most like a recognizable "ice-dye," with the water-patterns in the dye. That's because, since it sits on the top, it's not soaking in a multi-color dyebath after the ice melts--it's floating on top of the other two fabrics. This one had some rubberbands scrunched in but not many; it was then just scrunched under its ice layer. I used golden yellow and red dye powders on this layer.
And then, because I had a prepped fat quarter and some extra ice that wouldn't fit in the vase, I did one more "normal" ice-dye.

Fabric was pleated and folded back on itself lengthwise. Teal and purple dye powders.

Seriously cool. 'Nuff said.
Then I did more work on the Sedona series. I'm very, very pleased with these results. This is definitely the version of orange-brown I was going for. I'll do more with values in the future, but I'll be using this basic recipe. I don't think I'm going to give out the recipe, though, since I just might start selling my fabrics--maybe. In any case, "Trade Secret" and all that. (Those of you who have seen Sedona/Red Rock, what do you think? Is this more or less it? The lightest one reminds me of what the cliffs looked like when the evening sun hit them.)
Because this was just a test, I took one fat quarter and divided it into four pieces, so each piece is quite small. I'd be able to do an itty-bitty art quilt with these, which just might happen!

And I worked on greens. I don't own a green dye powder, intentionally. I wanted to figure out how to get my own greens without having to purchase a pre-fab. I have nothing against green dyes--I'd probably eventually buy one just to have some consistency. But for now, I'm having too much fun doing the art-science myself.

Greens created with various proportions of two different blues, two different yellows, and a little bit of black once in awhile.
And then, rather uninterestingly, I played with ecru. You may recall a few weeks ago I'd dyed a sample fabric with my then-newly-obtained ecru dye and couldn't figure out the result. I decided to test it out again--this time the pure ecru sample turned out much more like I would expect ecru to look. I then did a series of dye baths that were 2/3rds ecru and 1/3rd another color. What I learned? Ecru has no backbone. You can really barely tell on most of them that ecru was even involved--it's an ever-so-slightly muddier version of the color. The only one where I see a significant difference is in the yellow. The red looks pink only because there was so little red dye in proportion to the water, so it's a value thing. So, I know to use ecru if I want to muddy a color up a little bit, but that I should probably use even more in proportion to the color for the difference to be at all noticeable.

Mix colors: yellow (although here it looks more green than it really is; it's actually sort of a mustard yellow); blue; "old rose"; gray; camel; red; black; pure ecru. And another thing I've learned about ecru--virtually impossible to get an accurate picture of it. It's far too dark gray in this picture; it's actually a light off-white, heading towards an extremely light beige.

I finally figured out half of the organizational system, by the way. I've settled on a way to track my swatches and recipes. I'm going to use index cards in a box. Back to basics. This will allow me (1) enough space to track info I need, (2) a decent-sized swatch, (3) ability to sort and re-sort color swatches as I keep creating more, (4) ability to flip through them quickly to find the one I want. And it's cheap. Yay for cheap.
I have another thought about how to track fabric samples as I'm dyeing them: I'll keep you posted after I test it out.
And yes, I'm still working on that baby quilt. But no pictures since grandma-to-be reads this blog... (Nyah nyah nyah nyah nyah :-P pbbbbttpbptpbptptpbbt)