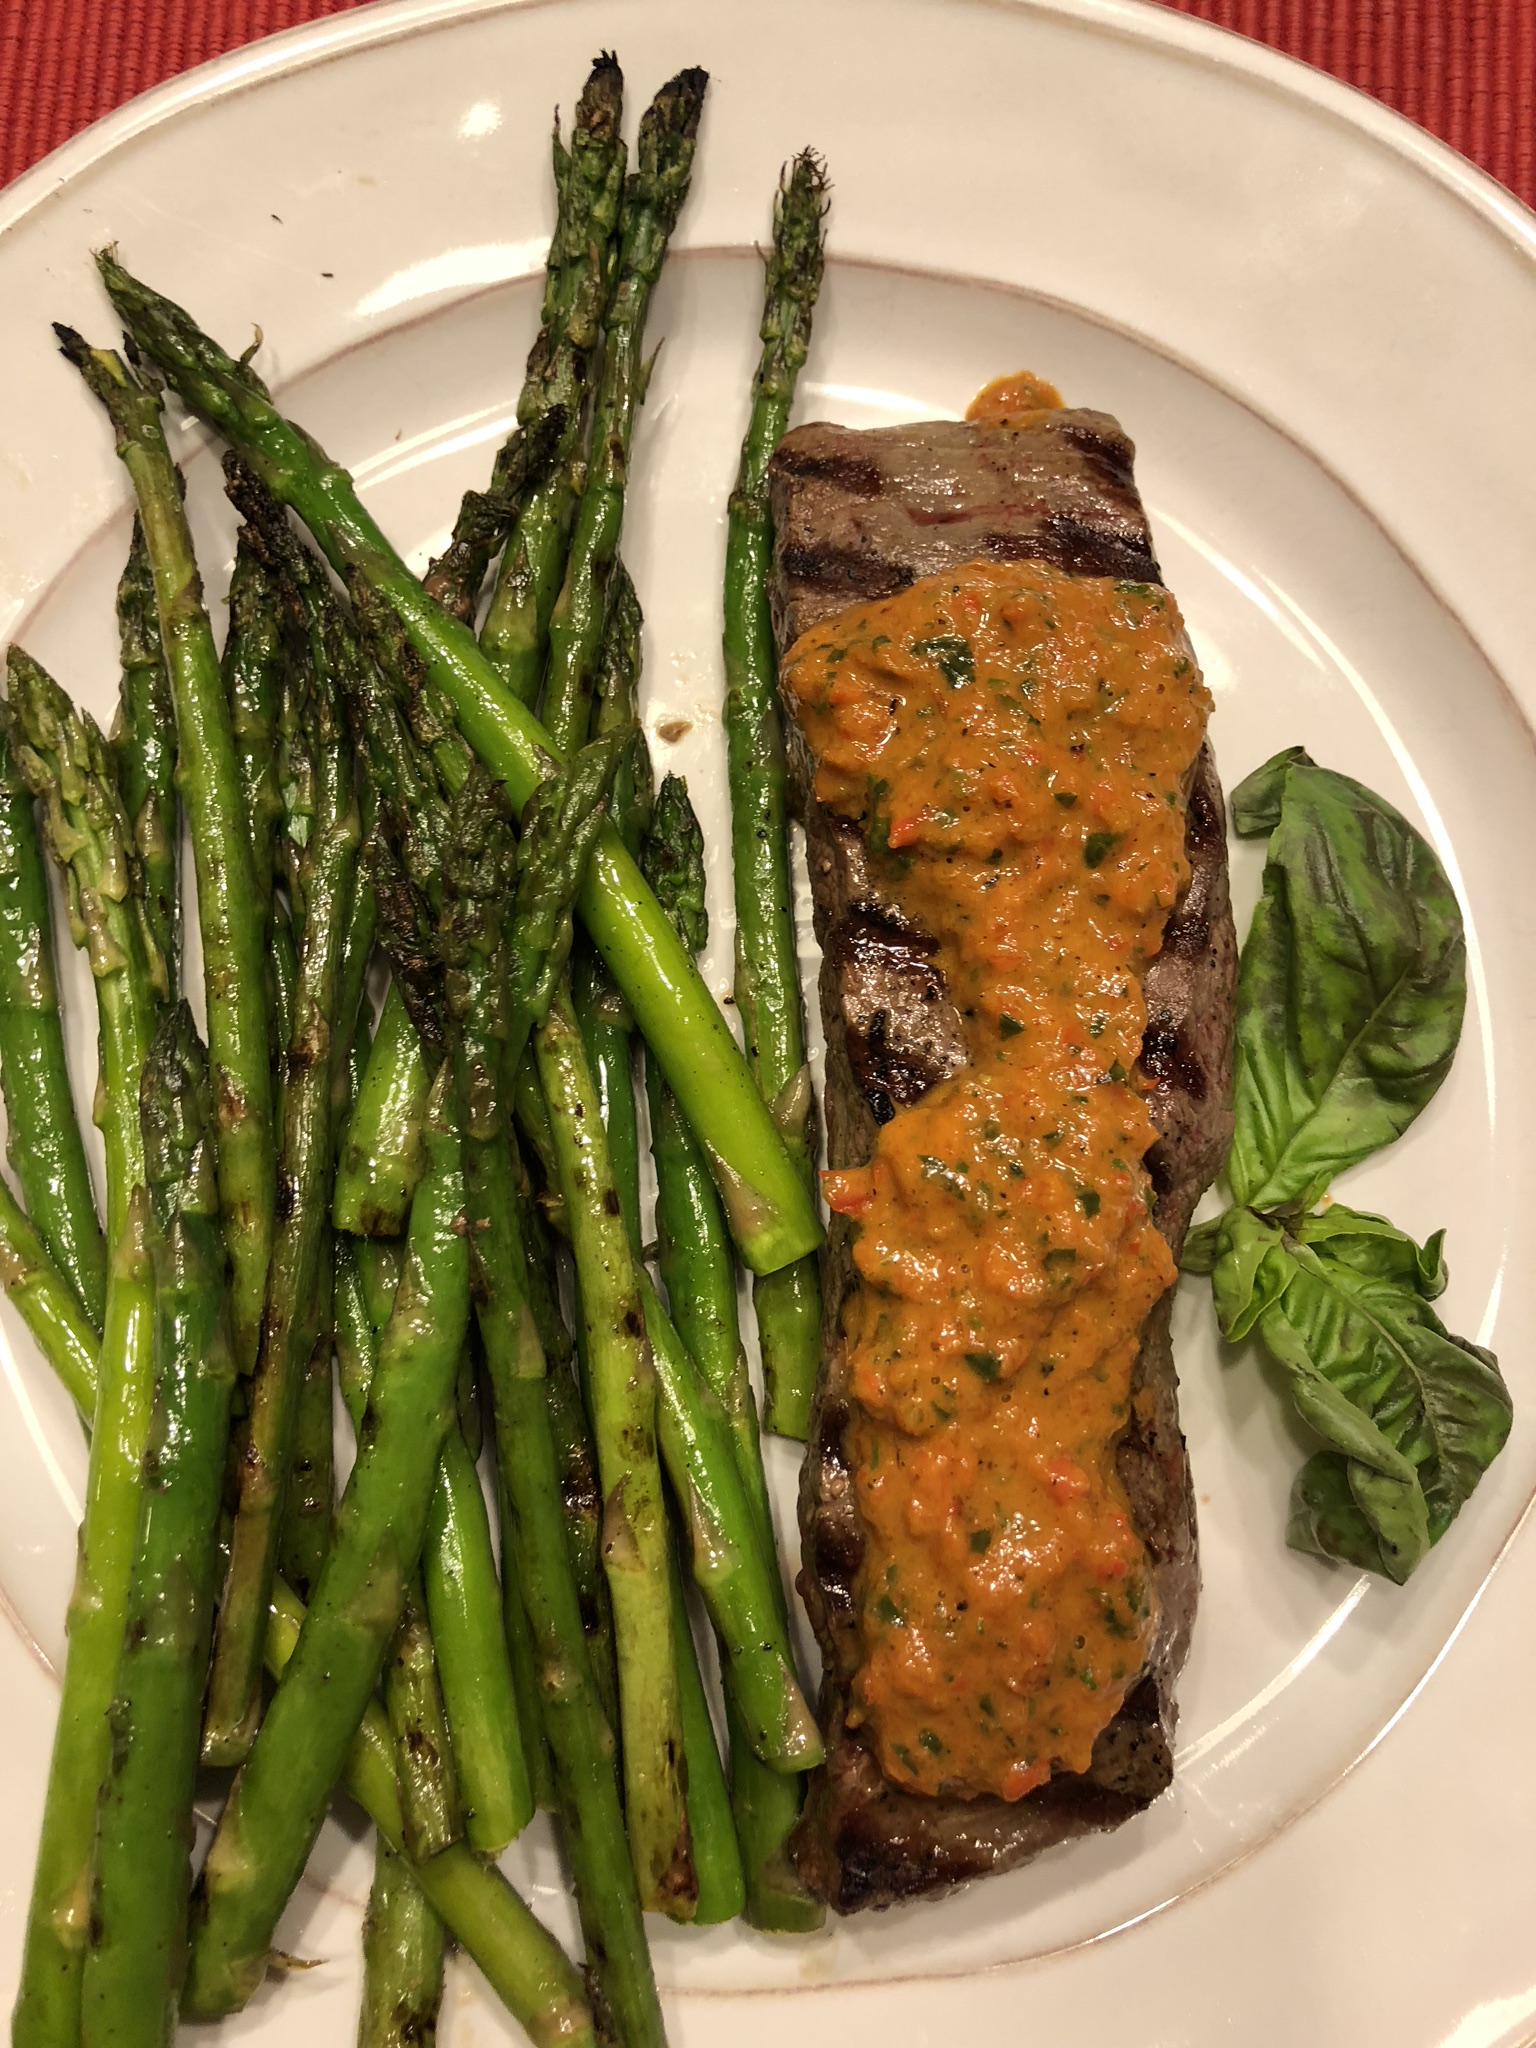
Terra's Kitchen Wagyu Beef and Red-Pepper sauce. Very good, very easy. Way too much asparagus--this was one serving and I had far more than twice this amount of vegetable.
Here's just a quick update on something I posted a few weeks ago. I'd mentioned that we were trying Terra's Kitchen meal subscription service to see if it would help us eat healthier, more easily, on a more regular basis. This week was our third box (we skipped one week when we were out of town). As I unpackaged the ingredients for the meals, I was surprised and extremely disappointed at the number of packets I was sent. I've tried to reconcile myself to so many plastic containers for the pre-measured, pre-chopped ingredients, even though I always felt slightly guilty (it was all recyclable). But foil and plastic packets of condiments I'd find at a ball park? I expect better from a "healthy and environmentally friendly" meal service.
Terra's Kitchen expects that you have olive oil in your home. But apparently it doesn't expect that you have:
- butter (for the second week I've gotten several foil-wrapped pats of butter)
- mayonnaise (two plastic packs)
- mustard (two plastic packs)
- honey (one plastic pack)
- balsamic vinegar (one plastic pack)
I get that maybe not everyone has honey, mustard, or balsamic vinegar on hand, although I have plenty of all of them. But butter? If I have olive oil, don't you think I'd also have butter? Seems an odd choice on their part. And that means I have several extra little pieces of greasy foil to deal with somehow.
Plus, instead of sending a bulk container of dried cranberries, I got four or five individual snack-sized boxes of Craisins. I buy my dried cranberries in bulk from the store so I don't have to have all the cardboard of the packets. Sure, it's recyclable, but really? Plus, for the price I'm paying for the subscription service, I wouldn't expect I'd get wholesale snack packages resold to me.
On the plus side:
- The meals were generally faster to prepare as almost everything was pre-measured and pre-chopped for me. For the most part, meal prep was just a matter of "open package and dump." Very handy on a busy weeknight.
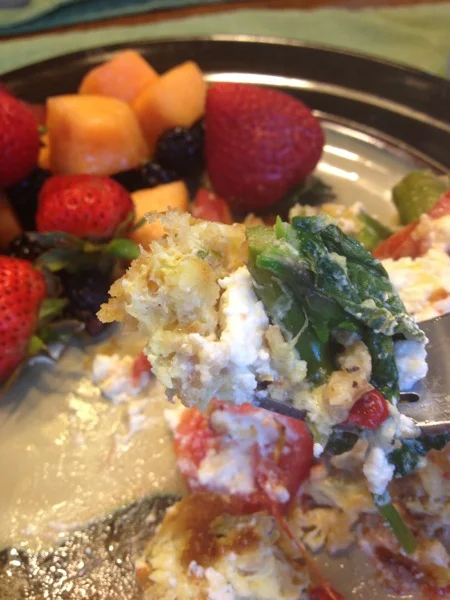
- The meals were generally very good. There were a couple of things I'd have doctored here and there if I'd gotten them again, but even that would've been pretty minimal.
- The meals I chose were definitely healthy. I was able to put the ingredients into my Weight Watchers app and figure out the points for each, and they were well within what I'd typically budget myself for dinner.
- We ate more fish than we usually do because I would choose one fish recipe each week to supplement all the chicken we were eating.
On the negative side:
- All that recycling, and those packets!
- Although they periodically posted a new recipe here and there, after four weeks I'd already pretty much cycled through everything that was in my husband's and my wheelhouse. I suspect they're still fairly new so the selection isn't huge, unless you want chicken. Lots of chicken.
I cancelled Terra's Kitchen today and told them I was doing it because of all those stinkin' packets. I'm debating trying another service that is partnered with Weight Watchers so you get the Points info as you're choosing the meals, but they're not pre-chopped and such, so I'm not sure it would be any real help during the week. For now, we're back to our own cooking. Time to get the slow-cooker and Instant Pot out again!