Time for my monthly update! My son gave my husband AppleTV for Christmas. I use it more than my husband does. What do I use it for most, you ask? Why, streaming Craftsy class videos so I can watch while eating breakfast, of course!
New Completions
(+5)
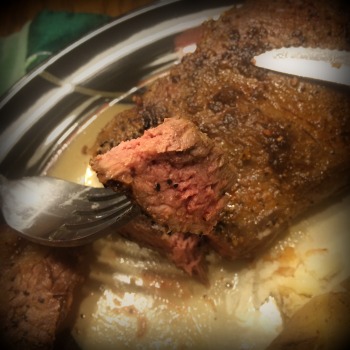
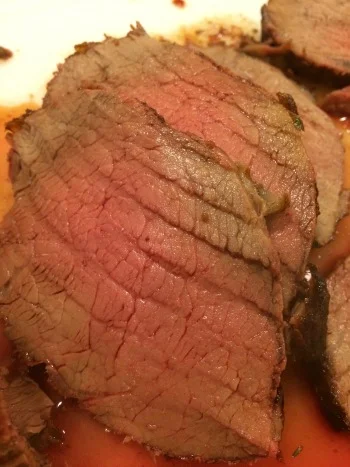
- Cooking the Perfect Steak with Bruce Aidells (see my review here)
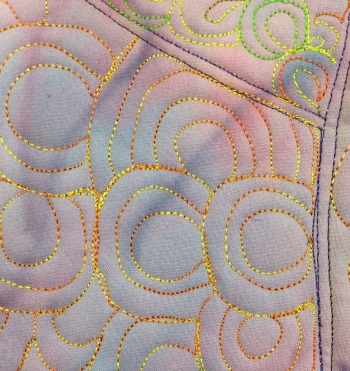
- Machine Quilting: Small Changes, Big Variety with Angela Walters (see my review here)
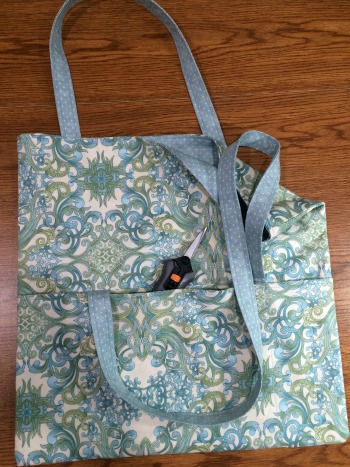
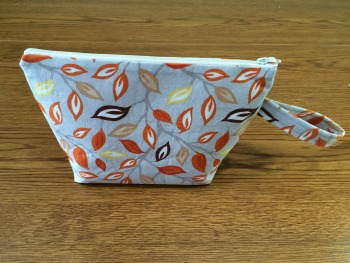
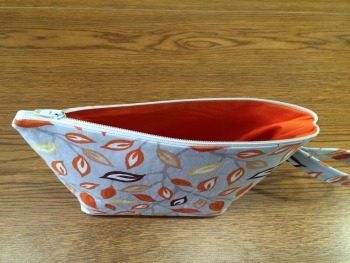
- Learn to Sew: Simple Bags with Nicole Vasbinder (see my review here)
- Machine Quilting Negative Space with Angela Walters (review coming out shortly*)
- Cut to It: Strategies for Smarter Quilting with Debbie Caffrey (review coming out shortly*)
*Normally I don't count it as completed until I've gotten that review posted on the blog, but it's been a pretty busy couple of weeks so I'm cutting myself a little slack. I will be getting those reviews out next week, though!
Classes in Progress
(3)
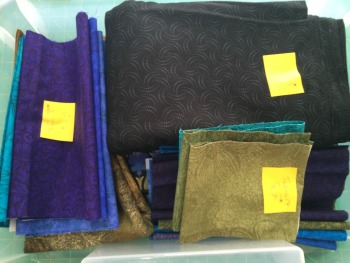
- Fabric Patterning with Wax Resist with Malka Dubrawsky
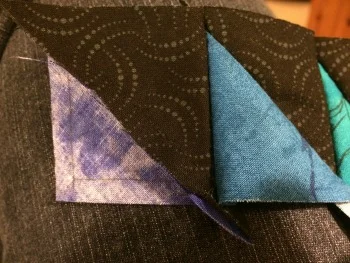
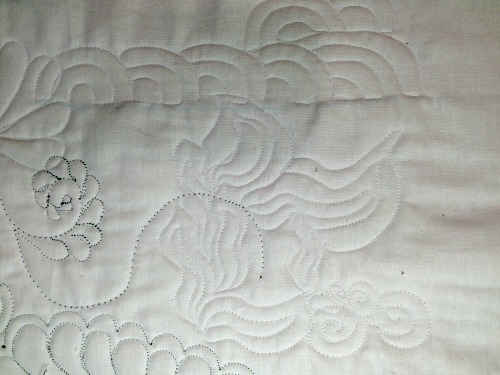
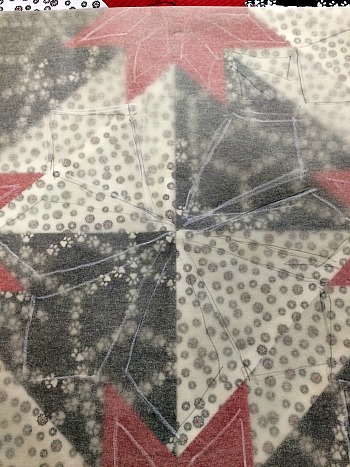
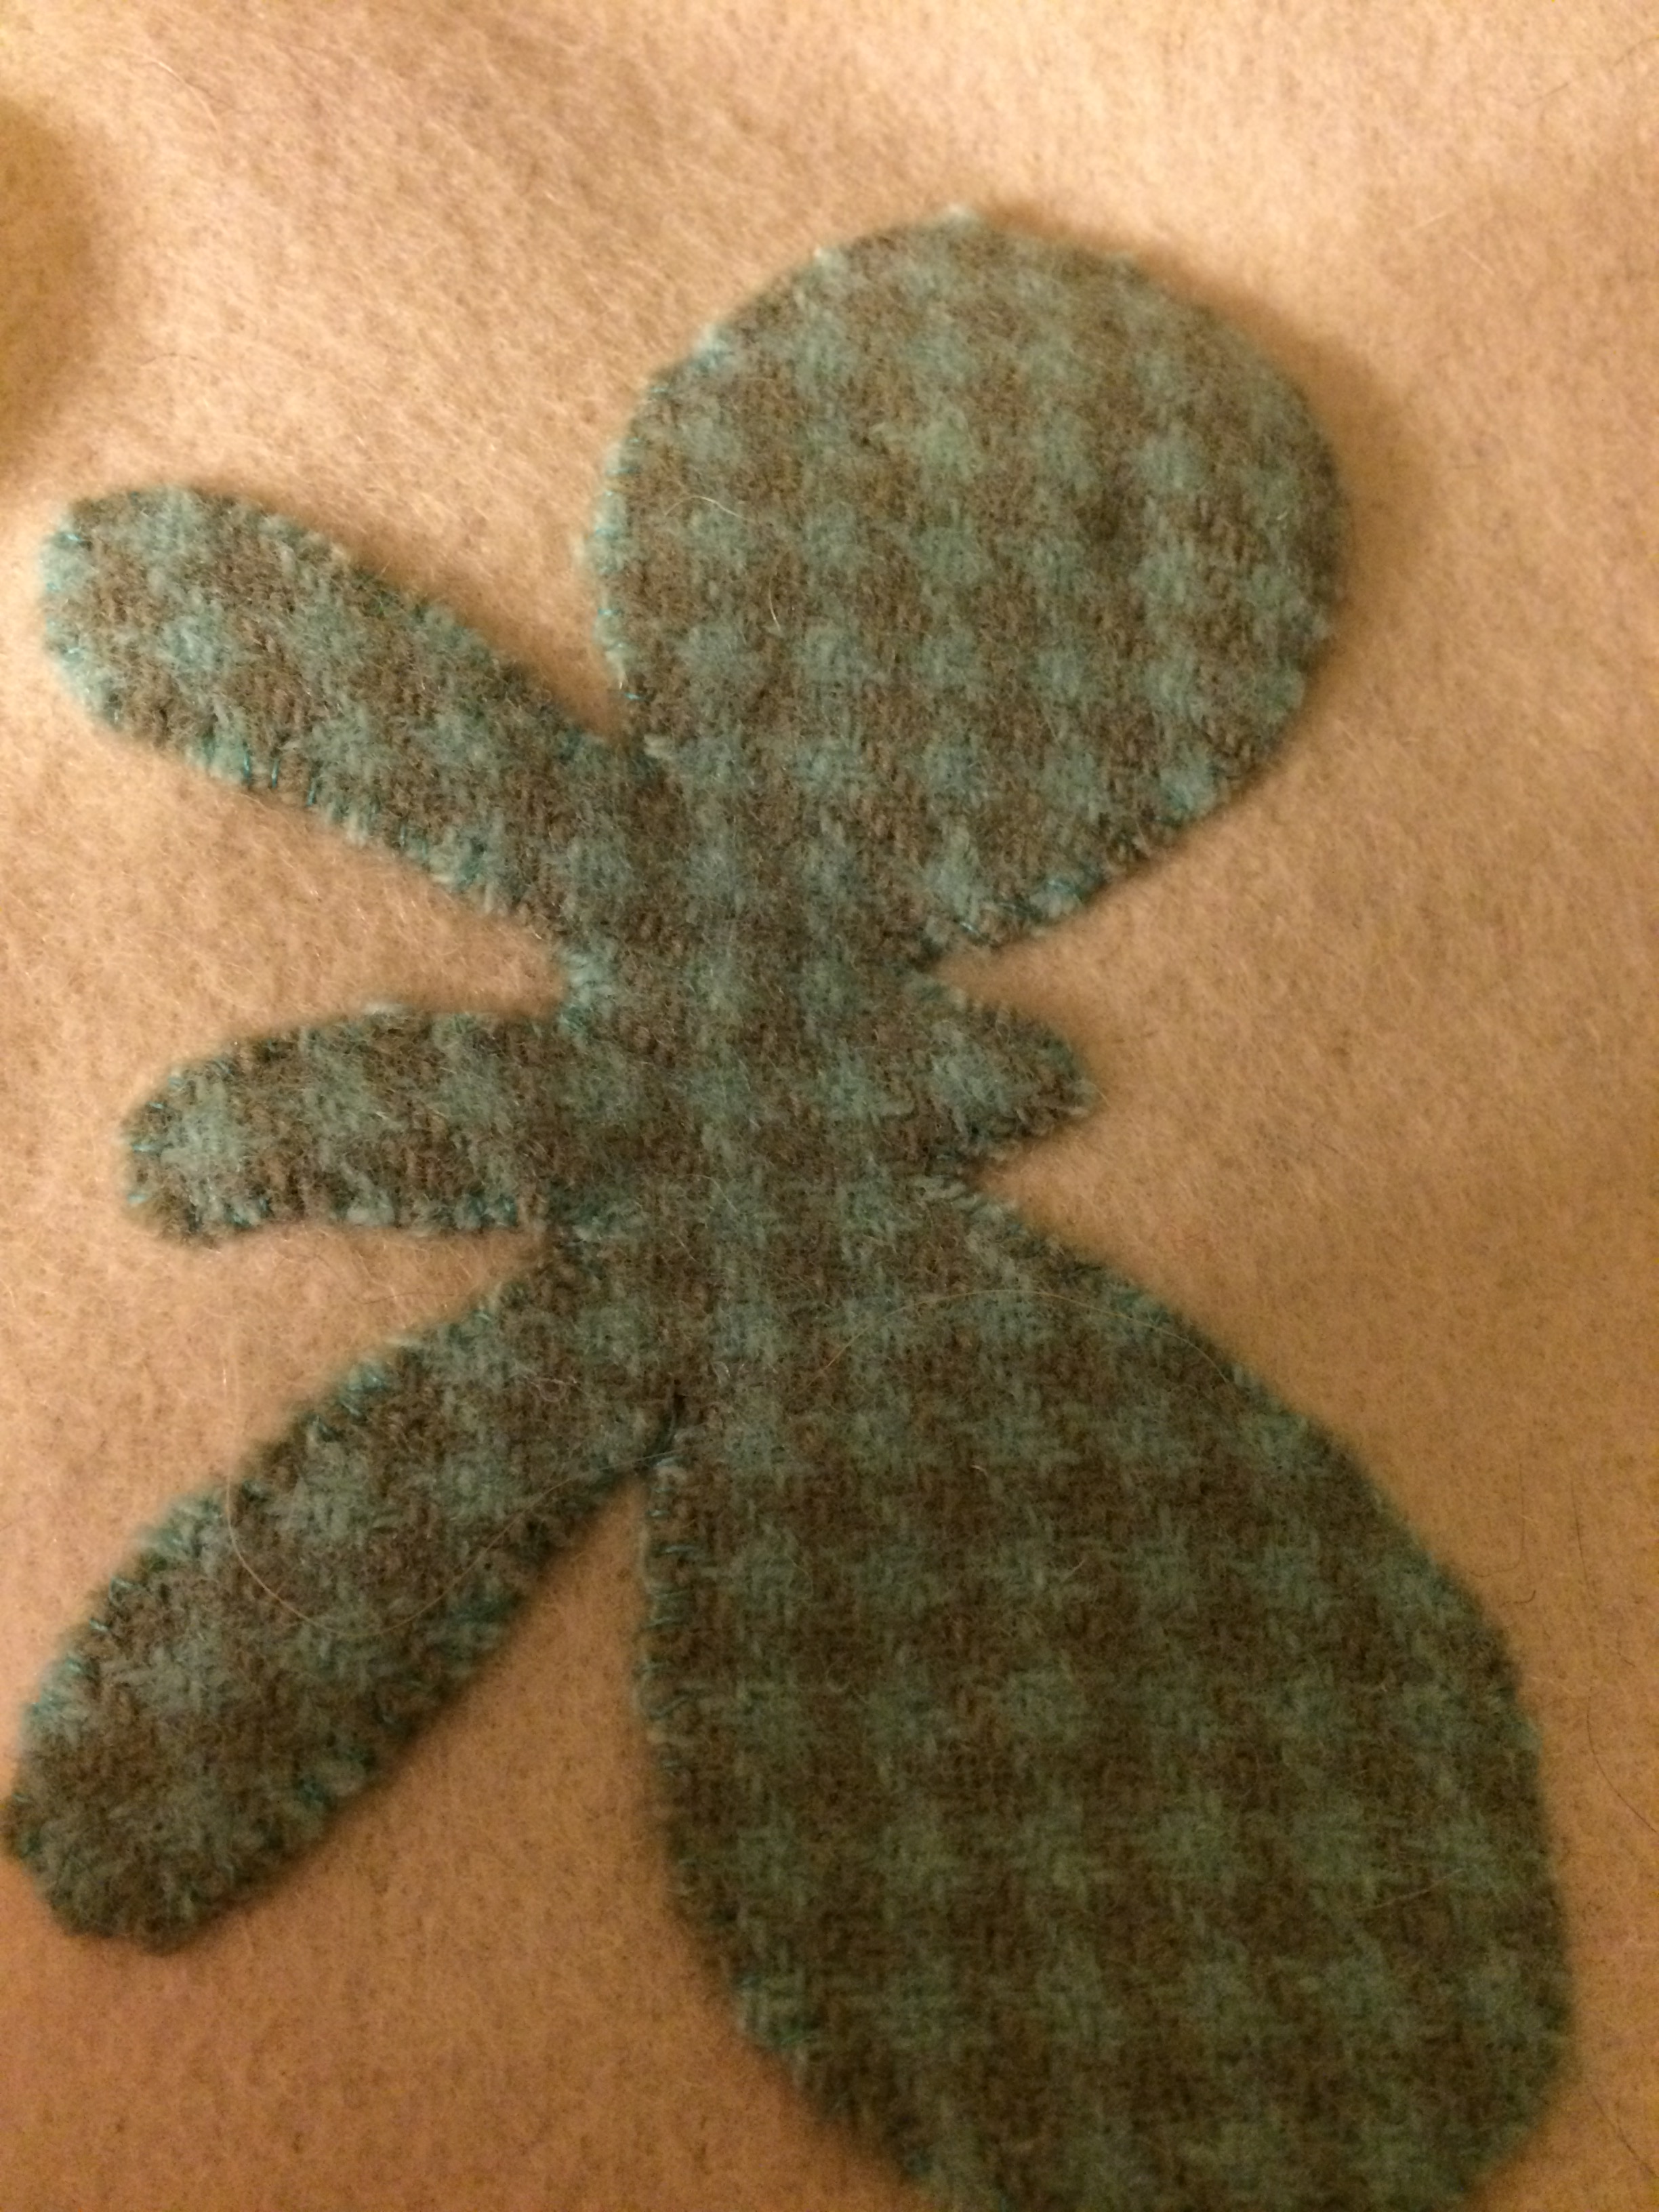
- Embroidering Texture & Dimension by Hand with Sue Spargo--finally got the background done! This pic is from a few steps behind here I am now...
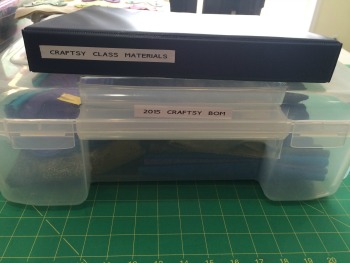
- 2015 Craftsy Block of the Month with Jinny Beyer
Classes added this month
(+5) With all the frigid cold and lack of sun, I was weak. However, I already knocked out two of them so it's not quite as bad as it seems.
- Learn to Sew: Simple Bags with Nicole Vasbinder. Already done, already reviewed (link above).
- Fun Techniques with Fabric Paints with Cindy Walter. Because, well, you know.
- Cut to It: Strategies for Smarter Quilting with Debbie Caffrey. Kati of @katisquilting is the enabler on this one. However, I bought it and had watched it all the way through within a few days. She was right!
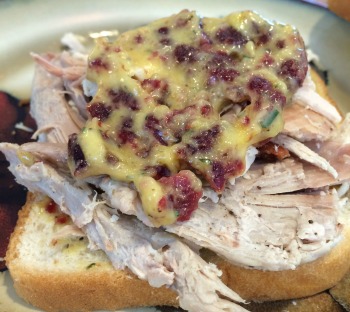
- Secrets to Cooking Fish: Eight Essential Techniques with Joel Gamoran. I've been wanting to do another class on fish and have looked at both in-person and Craftsy for awhile. I did a different fish class on Craftsy, but I needed one for the rest of the year when my grill is buried under three feet of snow. Ahem. In any case, I was thrilled to see this one pop up in the new classes listing and, since it was on sale, I grabbed it immediately.
- Sew Sturdy Travel Organizers with Annie Unrein. I blame listener Jamie for this one. She commented on my review of Nicole Vasbinder's class that I may want to check out Annie Unrein. As I liked the look of those travel organizers, and since this class was also on sale for a good price, I decided to go ahead and buy it. Let it be on Jamie's head...
Classes To Be Completed
Current count: 14 (broke even with last month)
I've been a busy bee!
- Art Quilt Backgrounds: Beyond Log Cabin with Judith Trager
- 2015 Craftsy Block of the Month with Jinny Beyer
- Crazy Quilts with Allie Aller
- Embroidering Texture & Dimension by Hand with Sue Spargo
- Fabric Patterning with Wax Resist with Malka Dubrawsky
- Fun Techniques with Fabric Paints with Cindy Walter
- Free Motion Fillers Vol 1 with Leah Day
- Free Motion Fillers Vol 2 with Leah Day
- Free Motion Machine Embroidery with Terry White
- Machine Quilting the Home Sweet Home Quilt with Frieda Anderson
- Painted Pictorial Quilts with Annette Kennedy
- Pictorial Quilting Techniques with Wendy Butler Berns
- Secrets to Cooking Fish: Eight Essential Techniques with Joel Gamoran
- Sew Sturdy Travel Organizers with Annie Unrein
Completed Classes
Current count: 51 (+5--woot woot!)
- 20 Essential Cooking Techniques with Brendan McDermott
- A Modern Take on the Mother Sauces with James Peterson
- Art Quilting 101 with Wendy Butler Berns
- (The) Art of Cloth Dyeing with Jane Dunnewold
- Artisan Bread Making with Peter Reinhart
- Basics of Digital Photography with Rick Allred
- Beyond Basic Machine Quilting with Ann Petersen
- Building Flavorful Soups with Peter Berley
- Chain of Stars Mystery Quilt with Kimberly Einmo
- Color Play for Quilters with Joen Wolfrom
- Complete Knife Skills with Brendan McDermott
- Continuous Line Quilting with Ann Petersen
- Cooking Essentials: All About Chicken with Marge Perry
- Cooking the Perfect Steak with Bruce Aidells
- Craftsy Block of the Month 2013 with Laura Nownes
- Creative Photography: Capture Life Differently with George Lange
- Creative Quilt Backs with Elizabeth Hartman
- Creative Ways with Whole Grains with Anna Bullett
- Cut to It: Strategies for Smarter Quilting with Debbie Caffrey.
- Designing Modern Quilts with Weeks Ringle
- Design It, Quilt It: Freeform Quilting Techniques with Cindy Needham
- Dot-to-Dot Quilting with Angela Walters
- Finishing School: Edges and Bindings with Mimi Dietrich
- Fire up the Fish with David Bonom
- Free Motion Quilting a Sampler with Leah Day
- Free-Motion Quilting with Feathers with Angela Walters
- Hand-Stitched Collage Quilts with Laura Wasilowski
- Homemade Italian Pasta with Guiliano Hazan
- Homestyle Pan Sauces with Martha Holmberg
- Know Your Wool with Deborah Robson
- Learn to Sew: Simple Bags with Nicole Vasbinder
- Machine Quilting with Wendy Butler Berns
- Machine Quilting Negative Space with Angela Walters
- Machine Quilting: Small Changes, Big Variety with Angela Walters
- Magical Jelly Roll Quilts with Kimberly Einmo
- Pattern Free Quilt-making with Joe Cunningham
- Pictures to Pixel Quilts with Carol Sheridan
- Piece, Patch, Quilt: Basic Quiltmaking Skills with Gail Kessler
- Perfect Pizza at Home with Peter Reinhart
- Roasting Techniques Every Cook Should Know with Molly Stevens
- QuiltCon Lecture Series 2013
- Scrap Quilting with Pepper Cory
- Secrets of Slow Cooking: Mastering the Braise with Molly Stephens
- Shoot It! A Product Photography Primer with Carol Sheridan
- Simple Soups from Scratch with Kathy Gunst
- Spindling from Fluff to Stuff with Drucilla Pettibone
- Stitch & Slash with Carol Ann Waugh
- Strip Your Stash with Nancy Smith
- Stupendous Stitching with Carol Ann Waugh
- Thread Art with Lola Jenkins
- Travel Photography with Jad Davenport