I'd hoped to get this post written and a podcast out this past weekend but I ended up with a busier weekend than I thought I would have. I still plan on getting a podcast episode out early this week, though--it's a nice, normal week!
That normalcy means I may actually touch fabric and thread again. That's exciting.
I decided to go back to my last progress and goals post, which was roundabouts the middle of July. Yep, that fits. That's about when I stopped making much progress on anything. Here's where I left off:
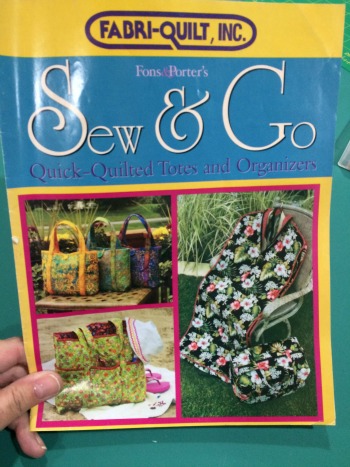
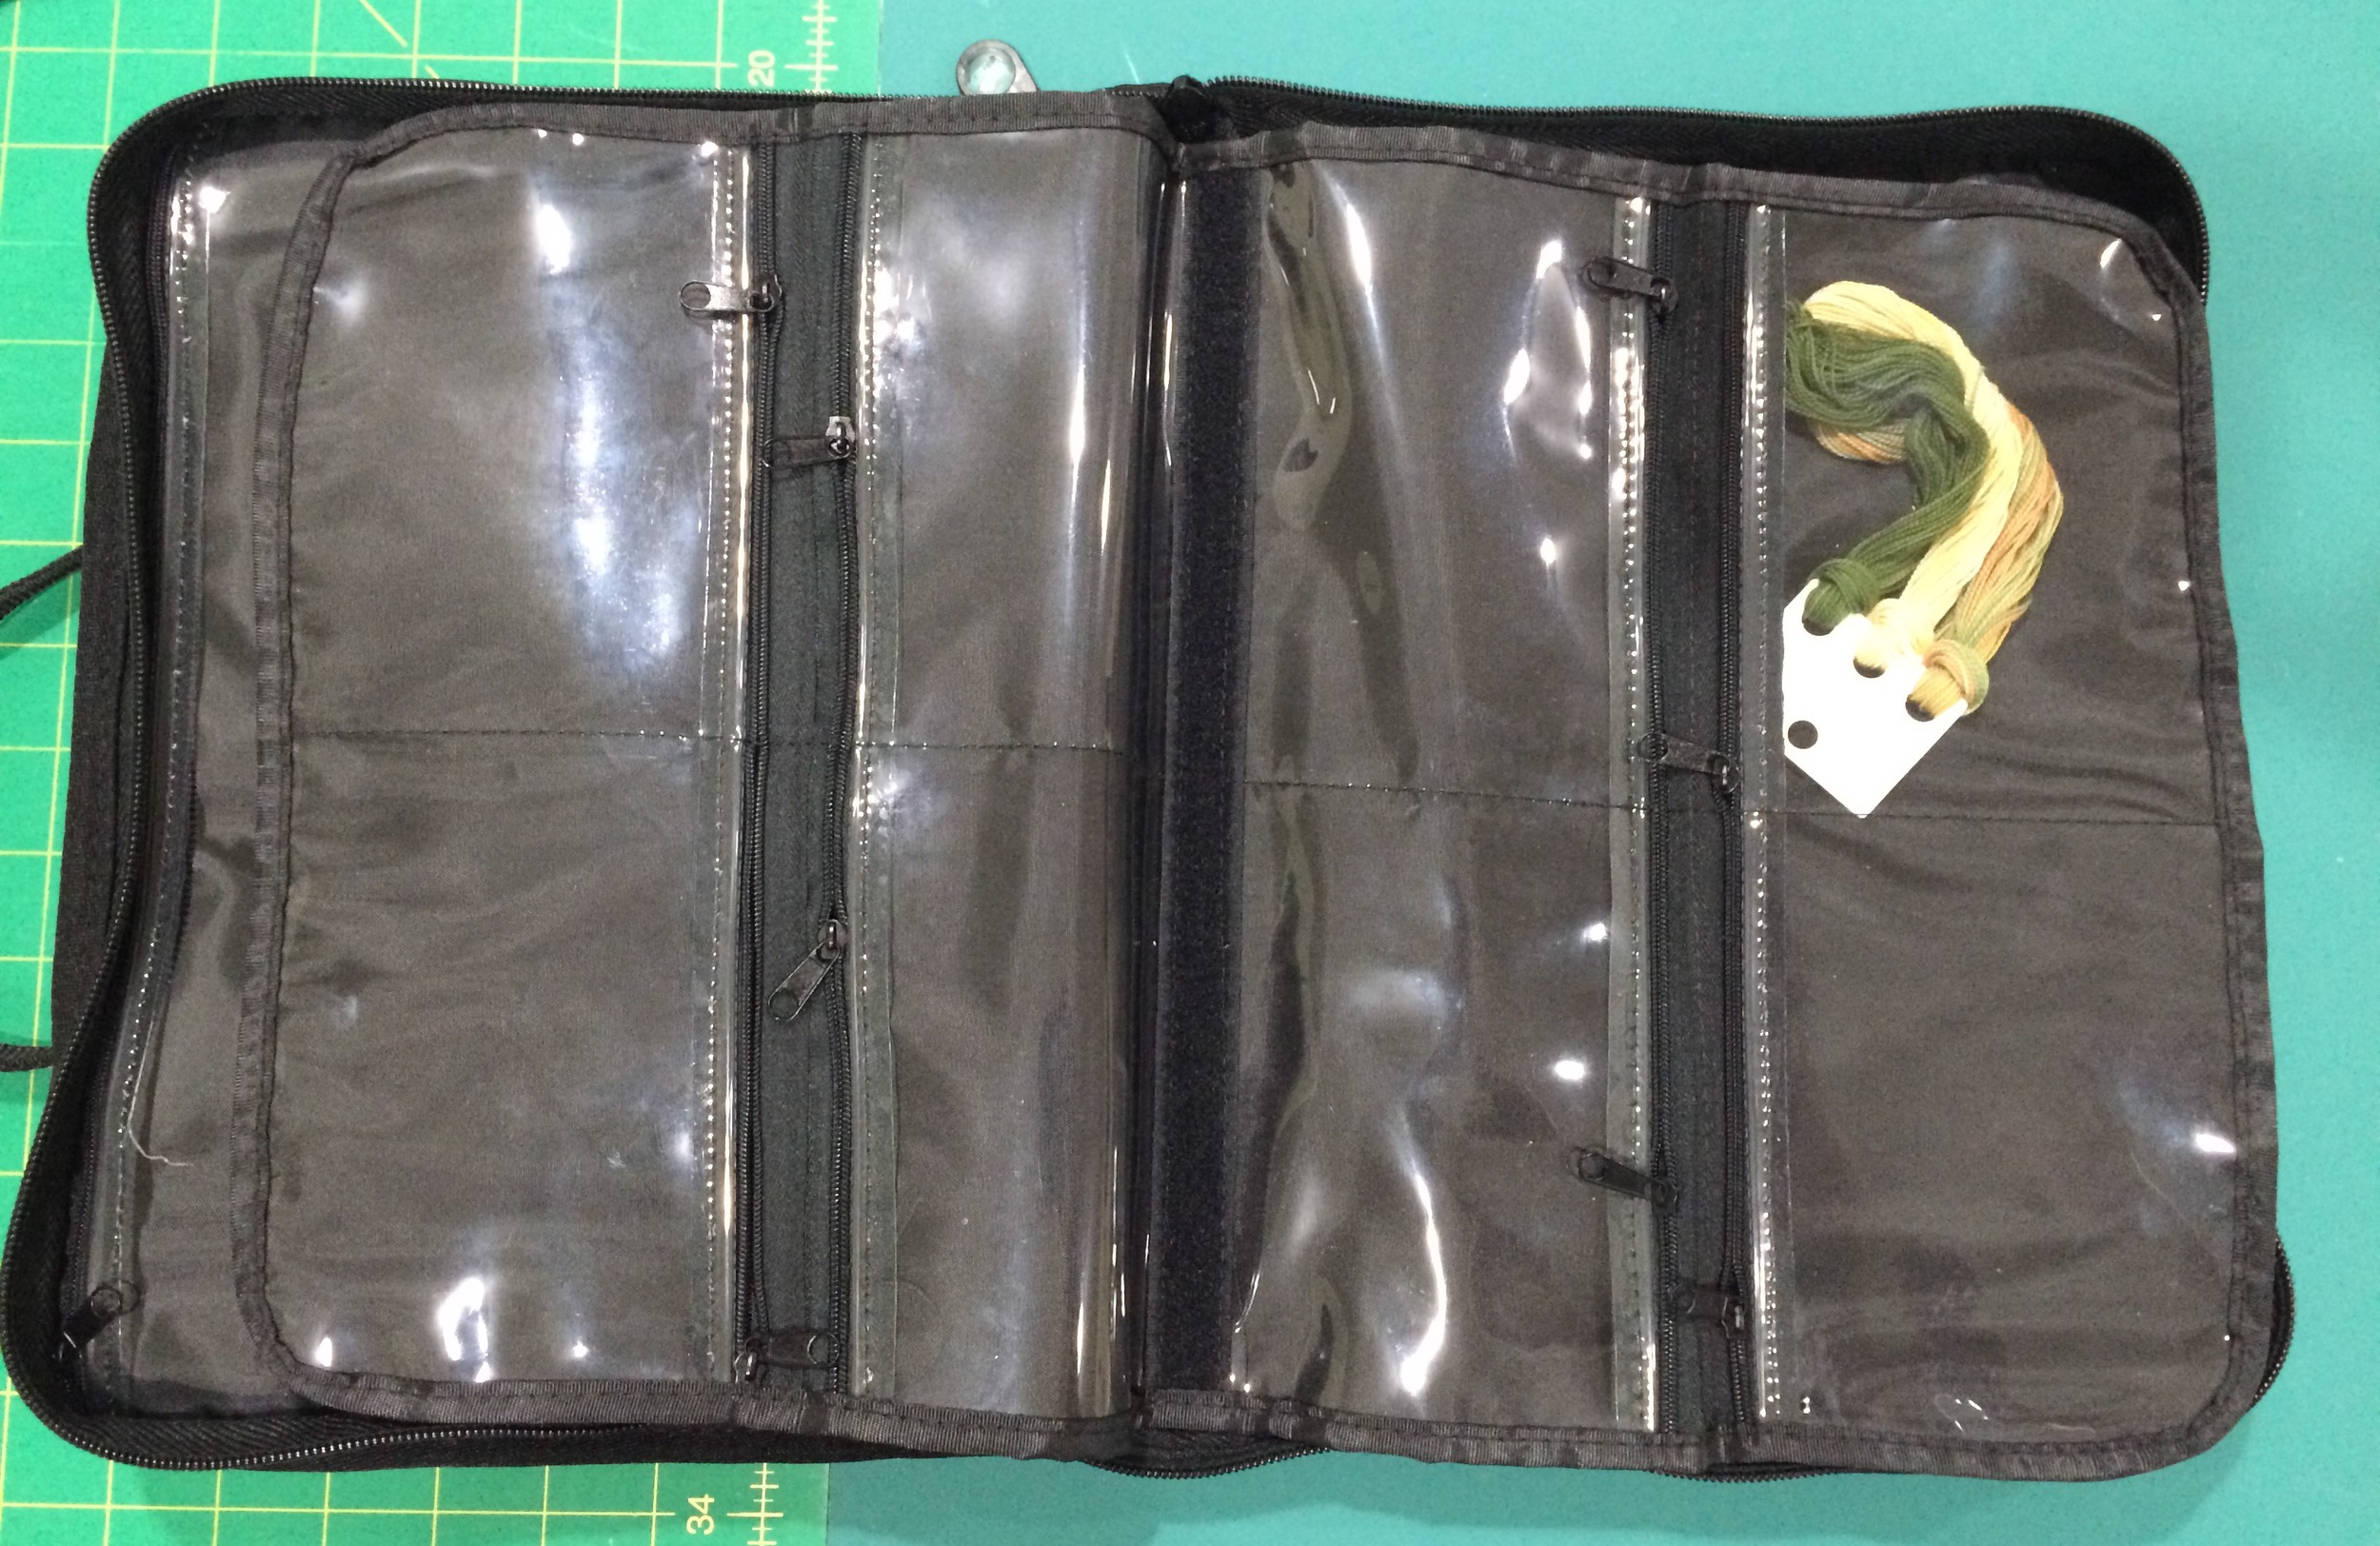
- Accessories: Small, fast project TBD. I didn't get this finished, but I did get myself organized for it, have all my supplies, and started cutting. I decided to do a new Craftsy class...

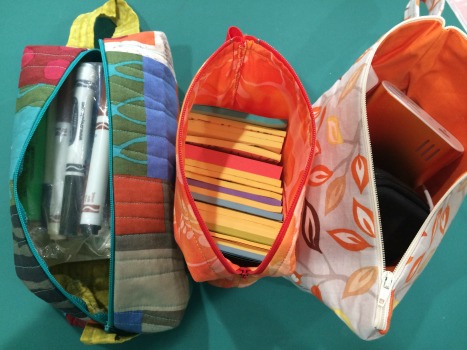
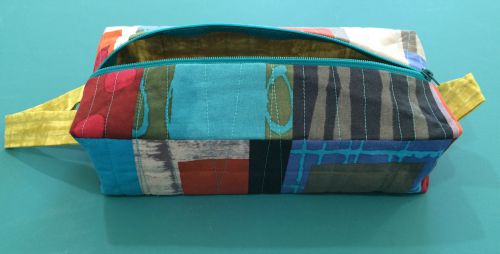
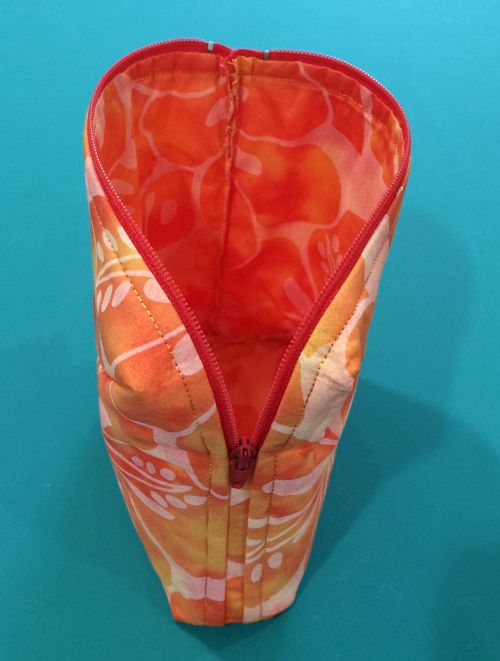
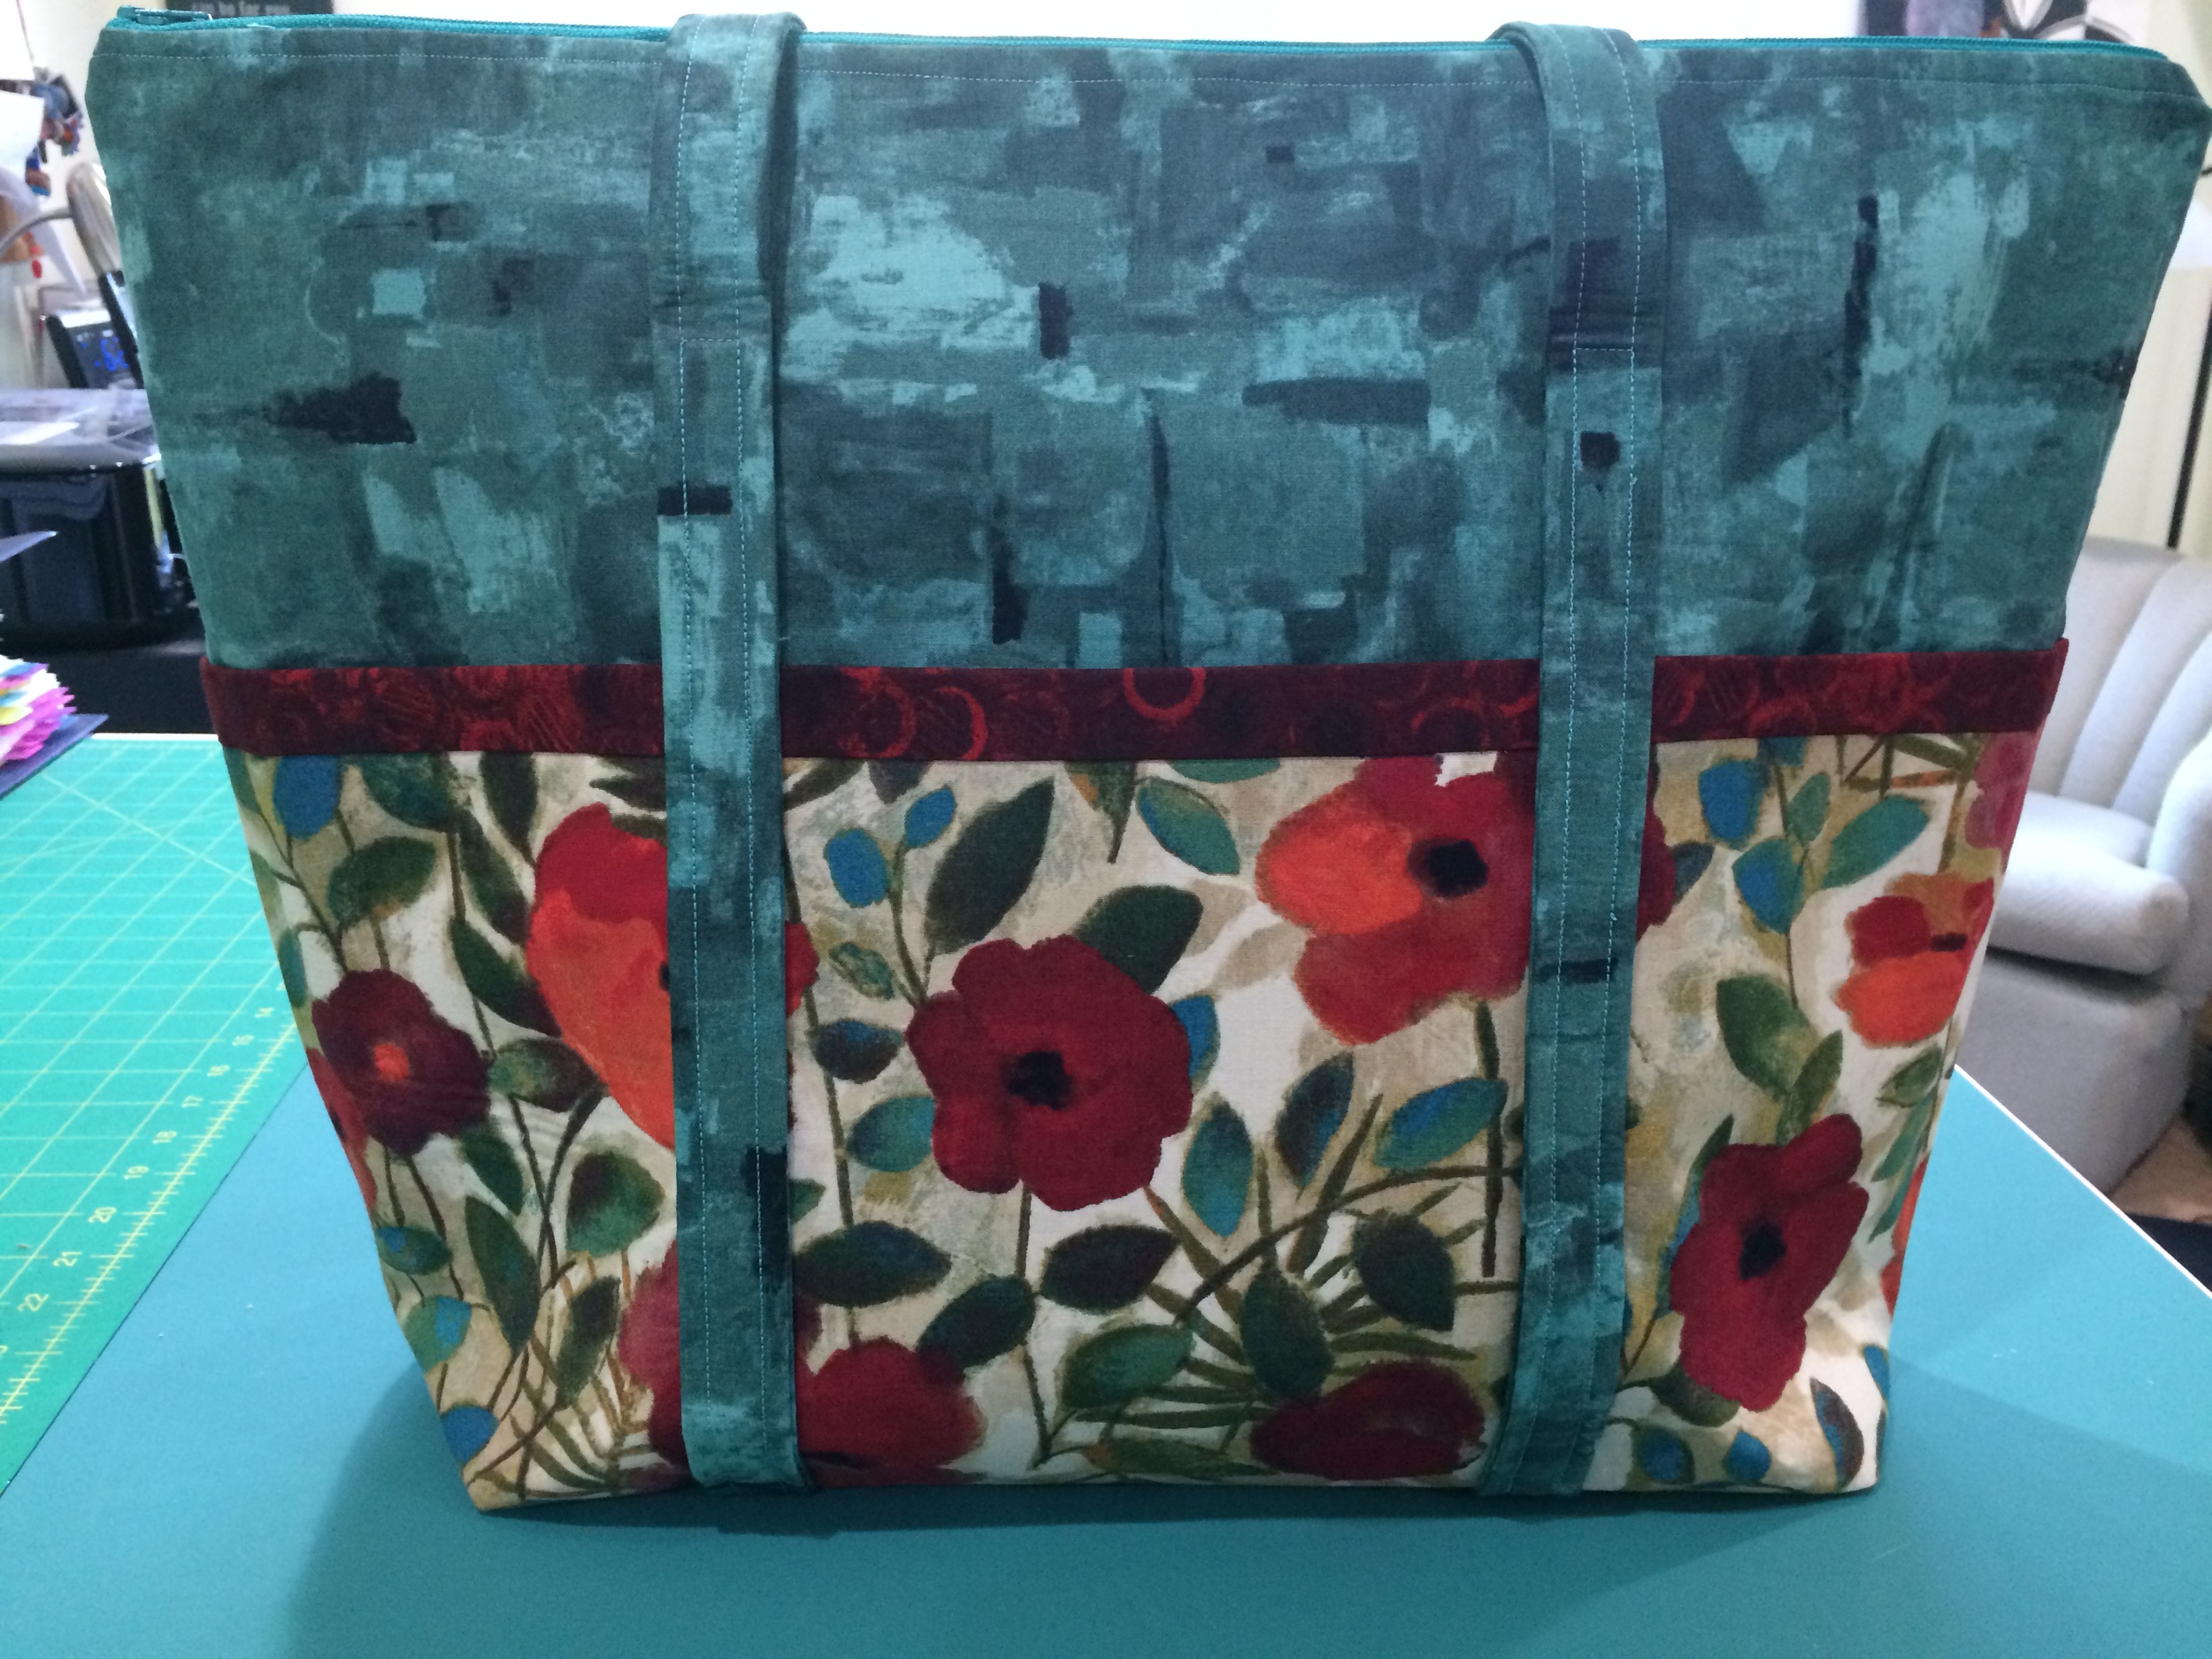
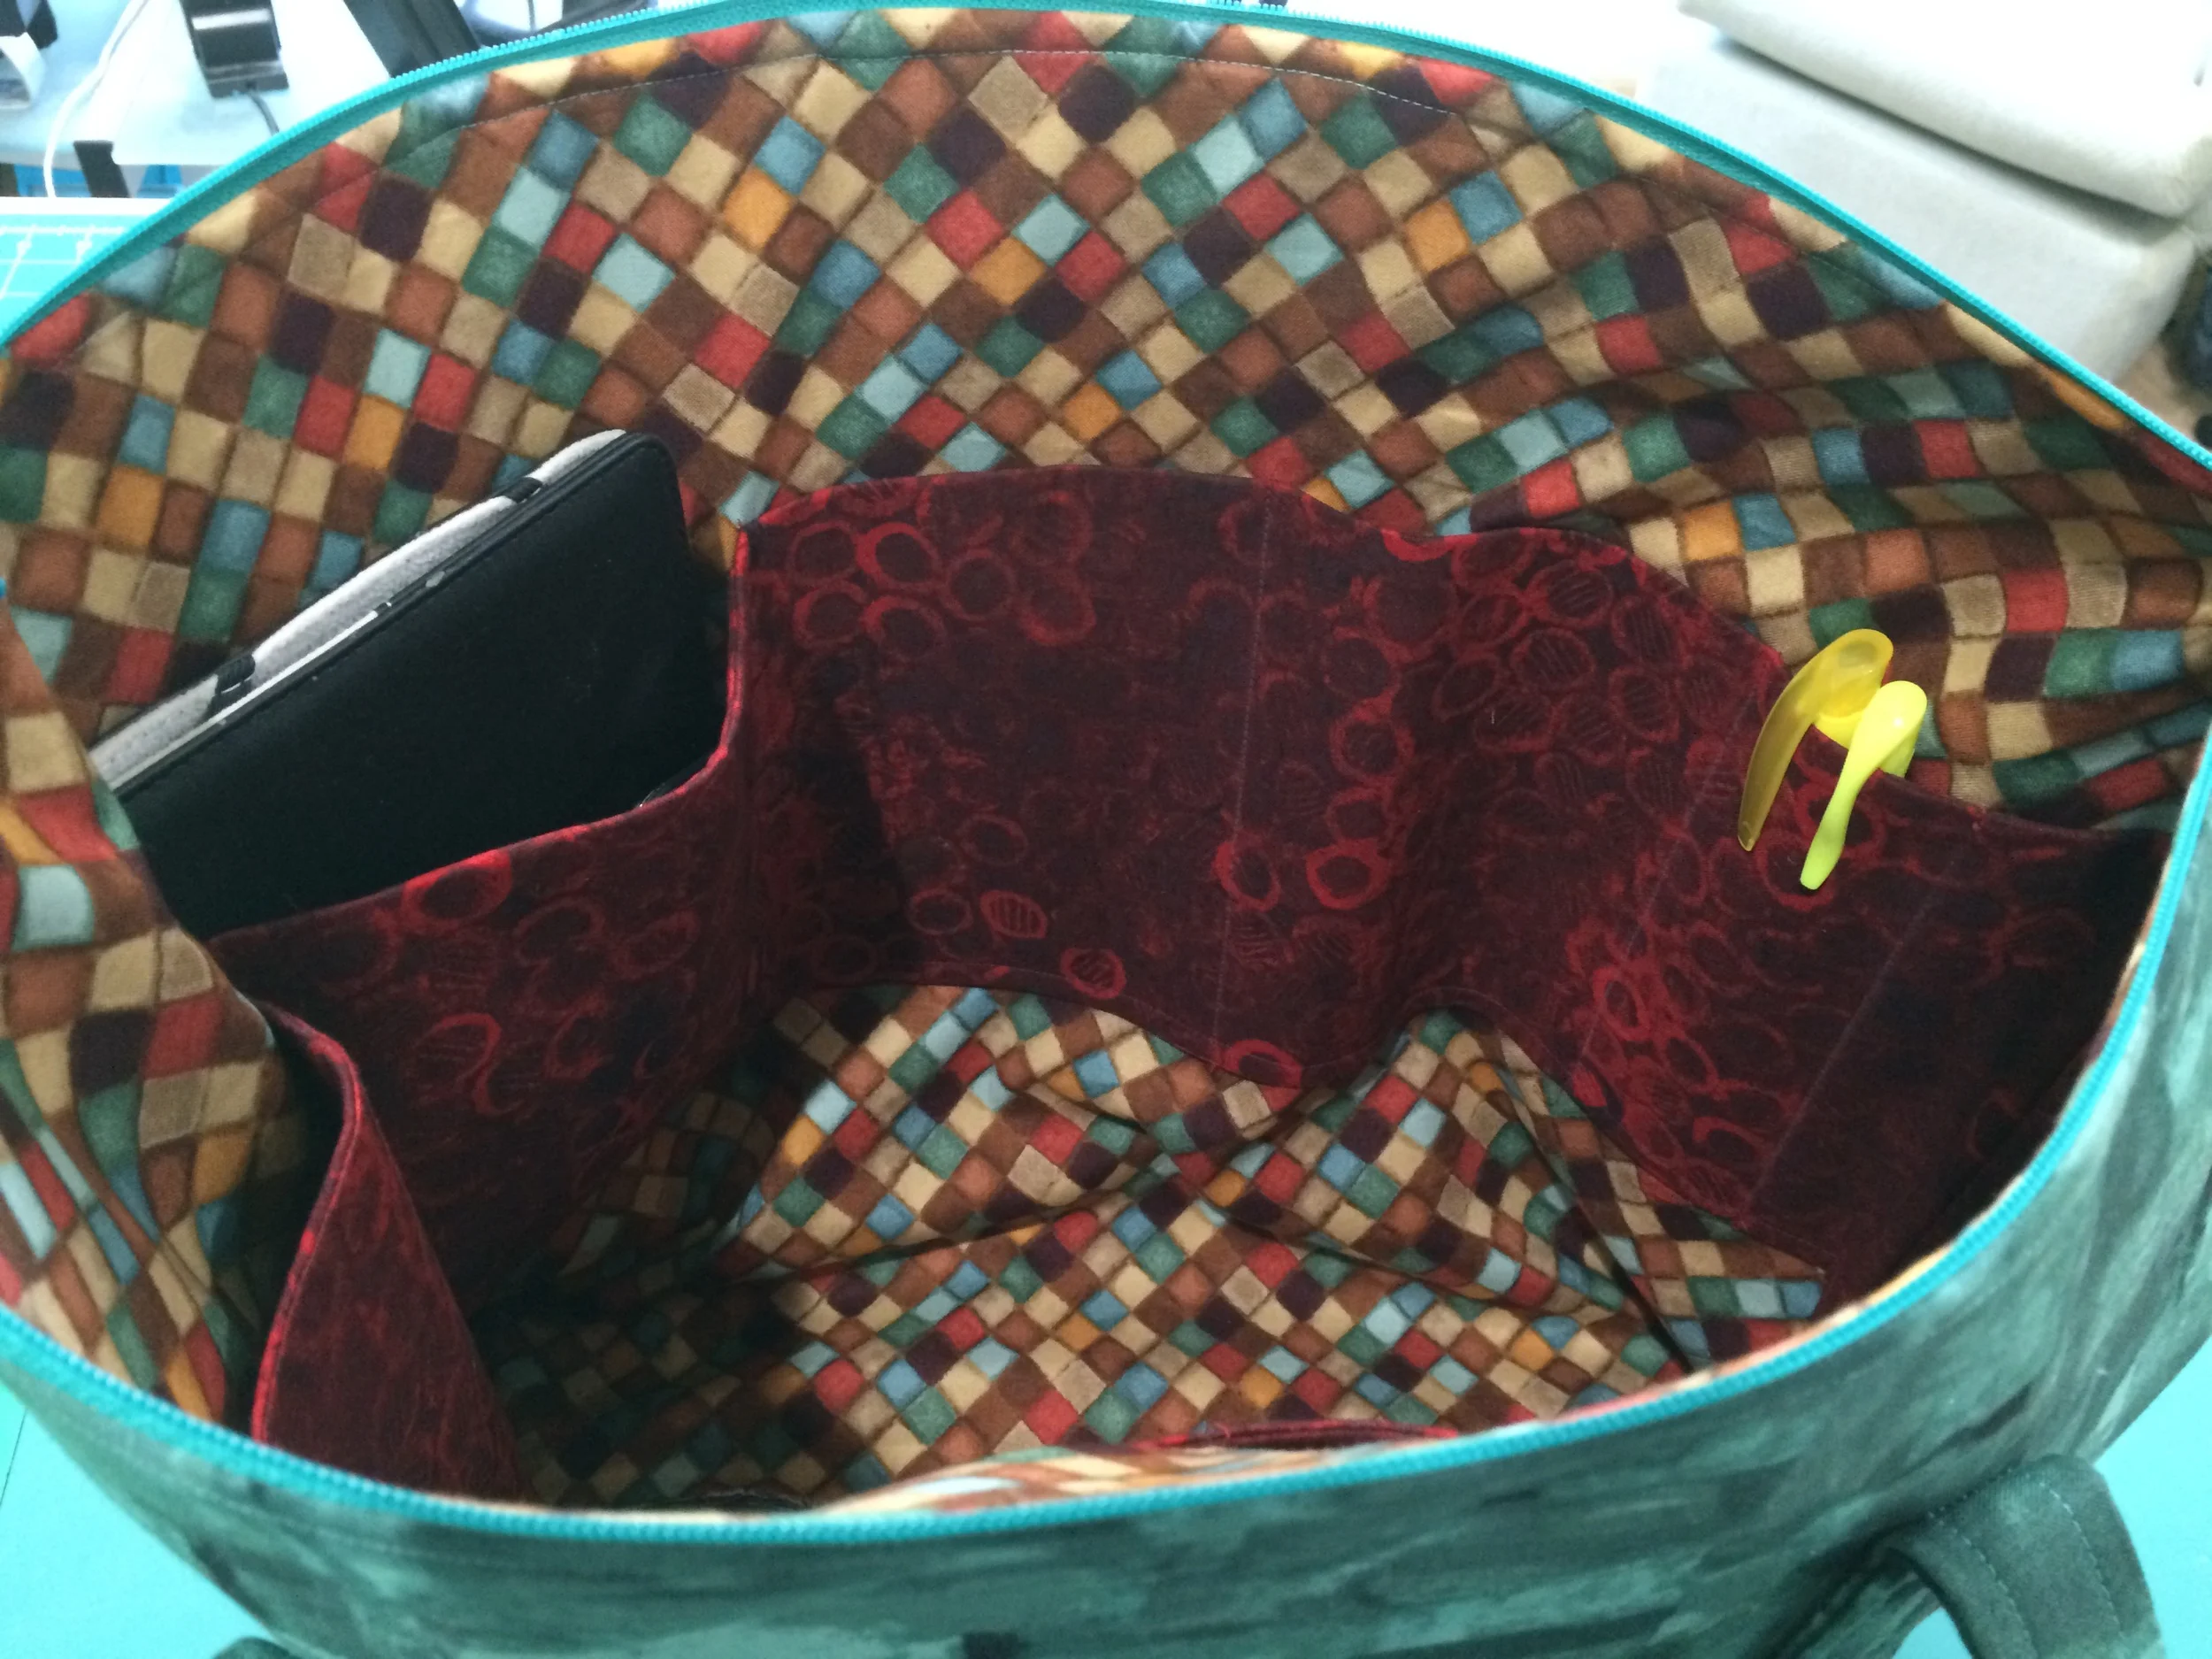
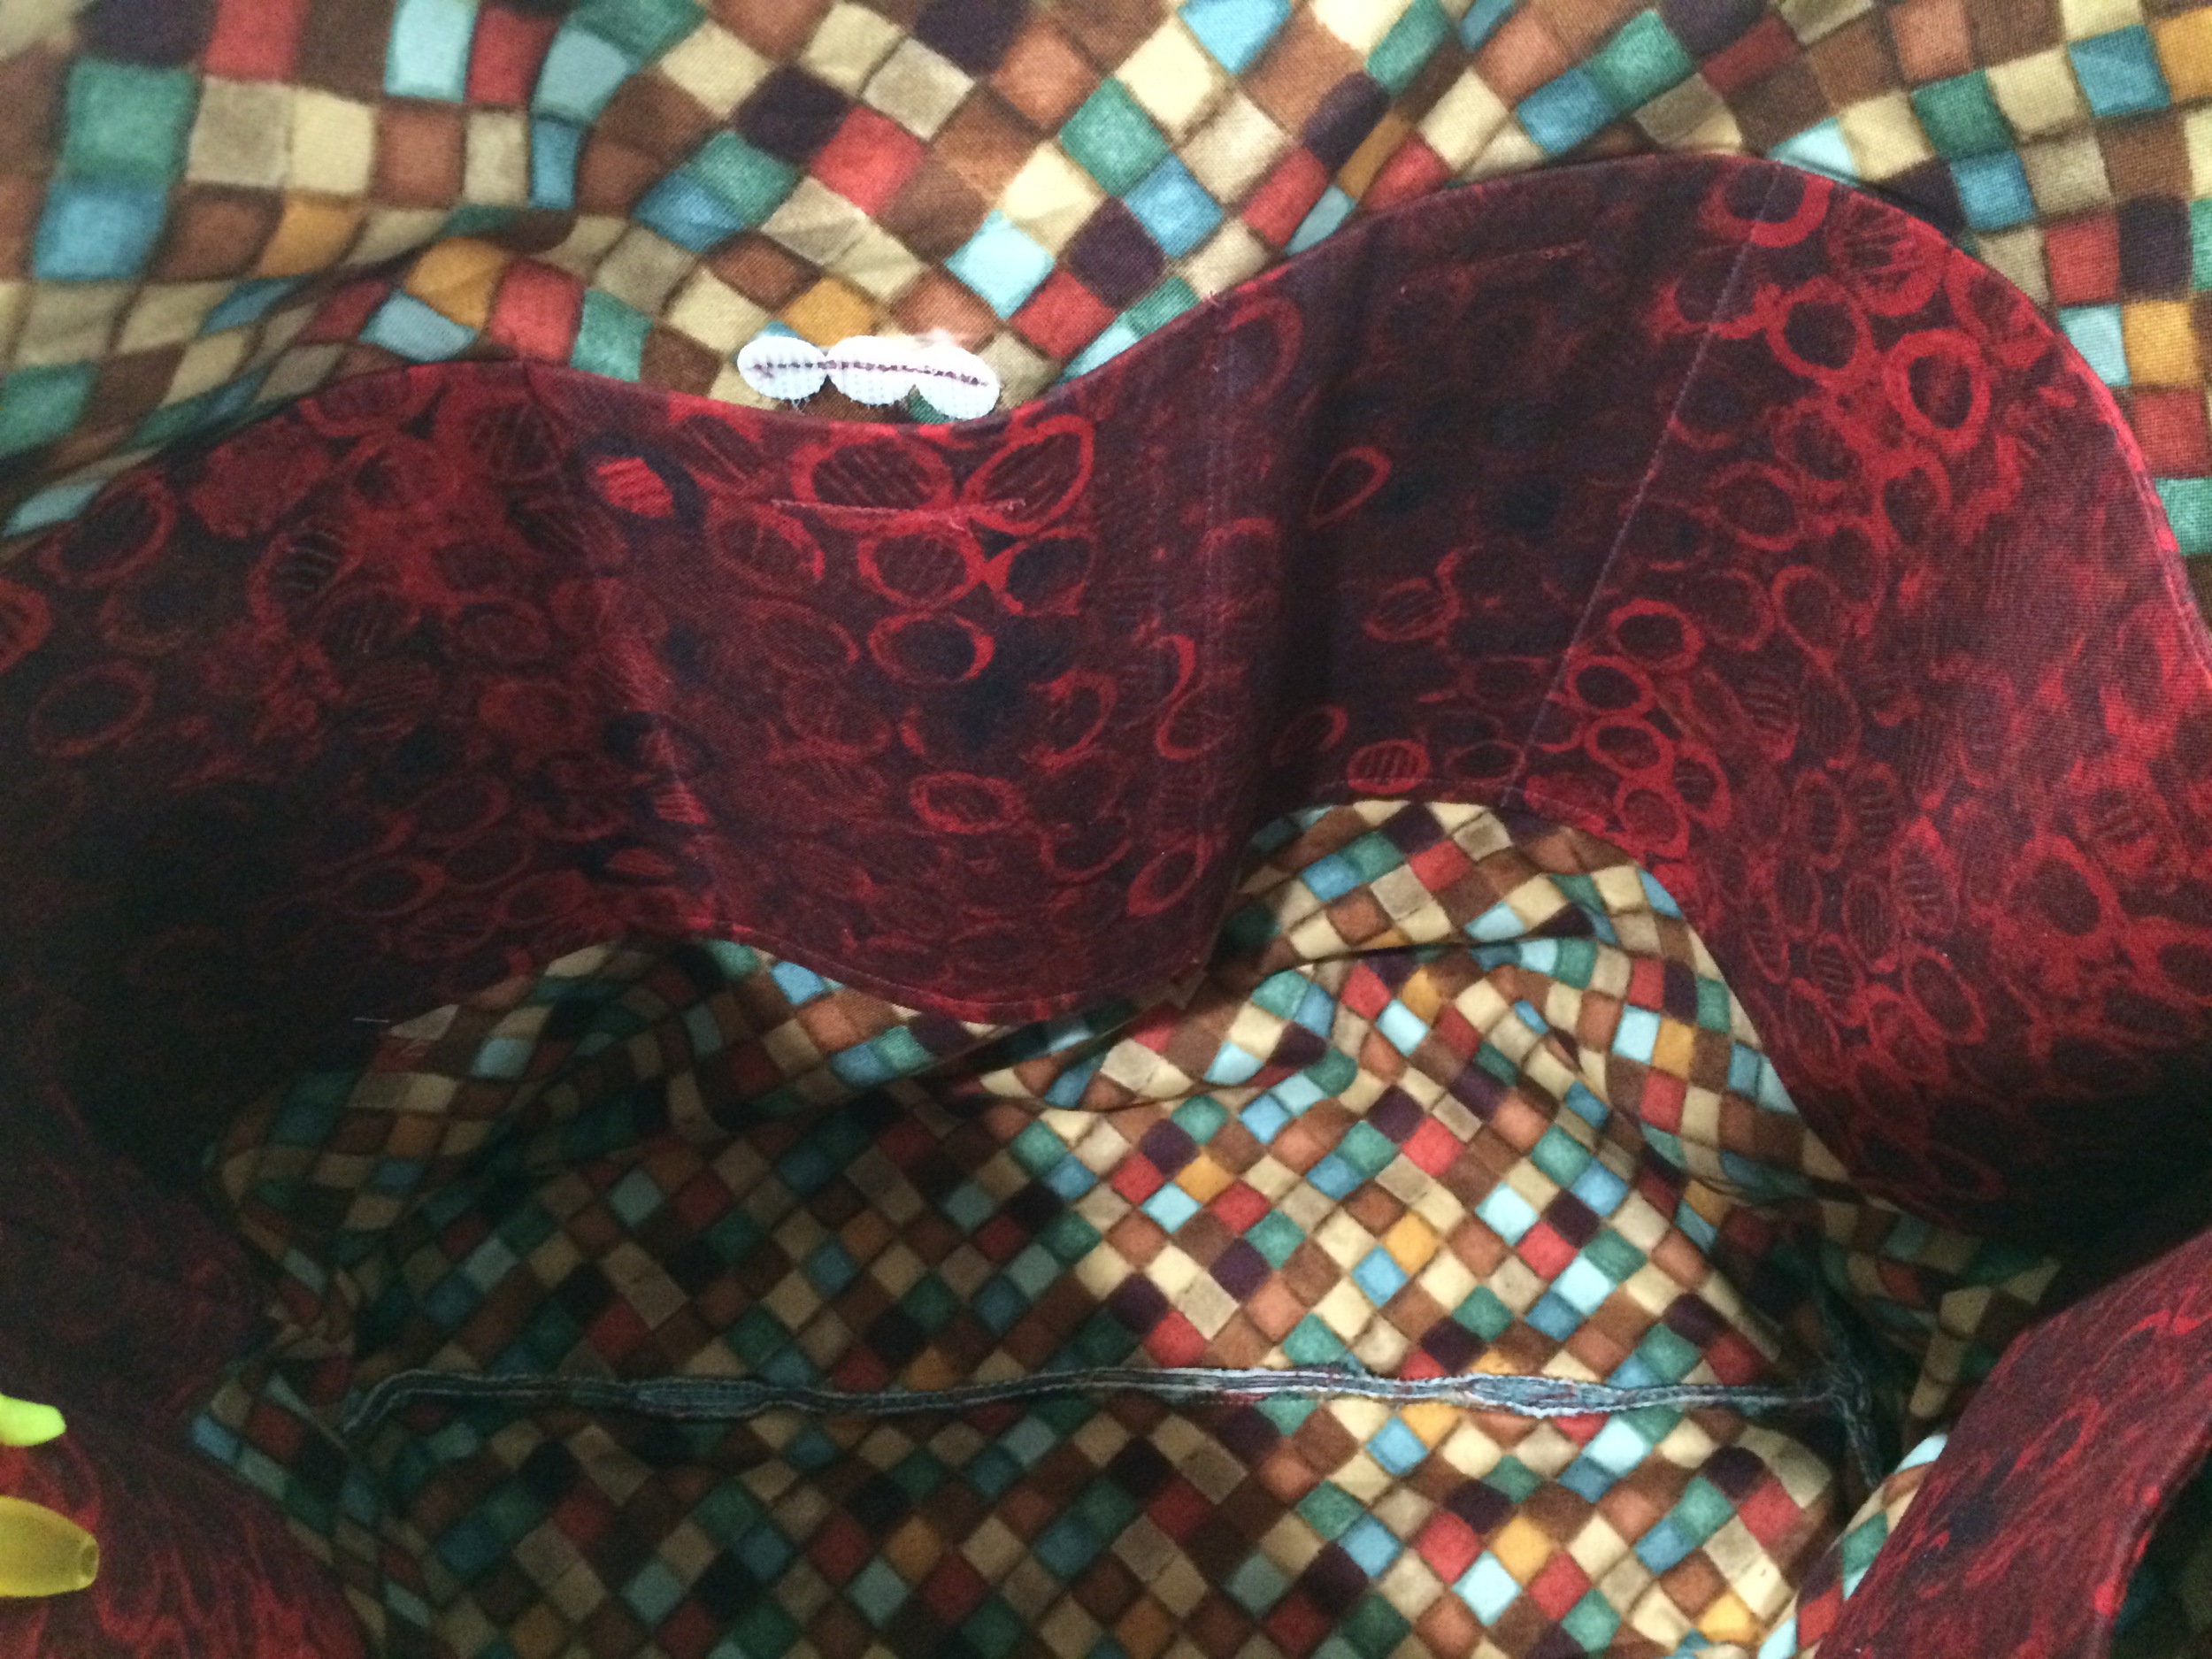
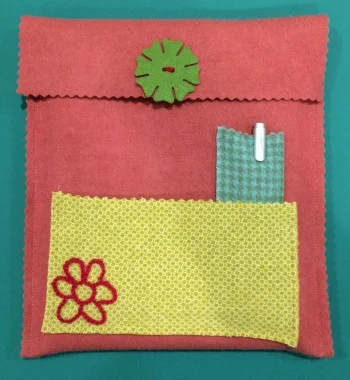
Oooh--I did finish that one! Yay, me! That was the Zip It Up class that resulted in two of these three nifty little bags that I've put to good use, (The third bag was from a previous class; there was a third bag in Zip It Up not pictured here but shown on my blog here.)
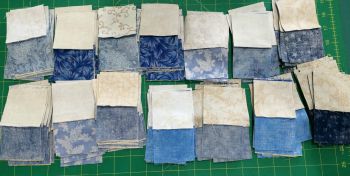
- Quilt Project: Get pieces sub-cut for Jacob's Ladder.
Jacob's ladder units are now all pieced and trimmed to size. I'm starting to organize the blocks. Yes, it's supposed to be random scrappy, but I have some pieces that would create a visual "hole" in the quilt if they end up banged up against each other, so I do have to exert a little control over where things are ending up.
The goals I then set for the following week were:
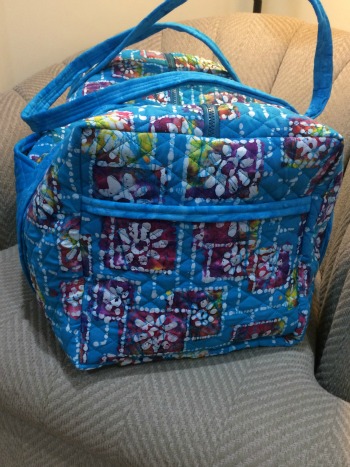
- Accessories: Get the first class project done (small purse).
- Quilt Project: Get 4-patches completed. Get half-square triangles sub-cut, if not completed.
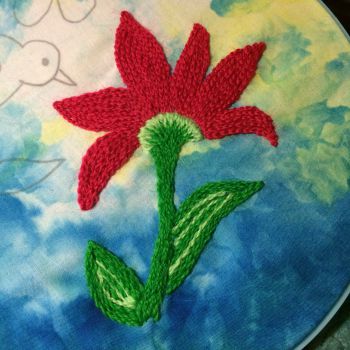
- Embroidery: Go back to working on my crewel embroidery project that I'd started back in early June, now that the other project is completed. I had to give my neck a few days of rest but it's feeling better now. I still feel like I should whip off the heatable neck wrap pattern I've had saved in Pocket for months--that was my original thought for my fast accessory project last week.
I got the entire class done, I've already reported on the Jacob's Ladder progress. As for embroidery, I haven't done much more on the crewel project. I did get another embroidery project set up and nearly done, though. More about that in a minute.
Now that we're all caught up, let us move on:
Goals for This Week
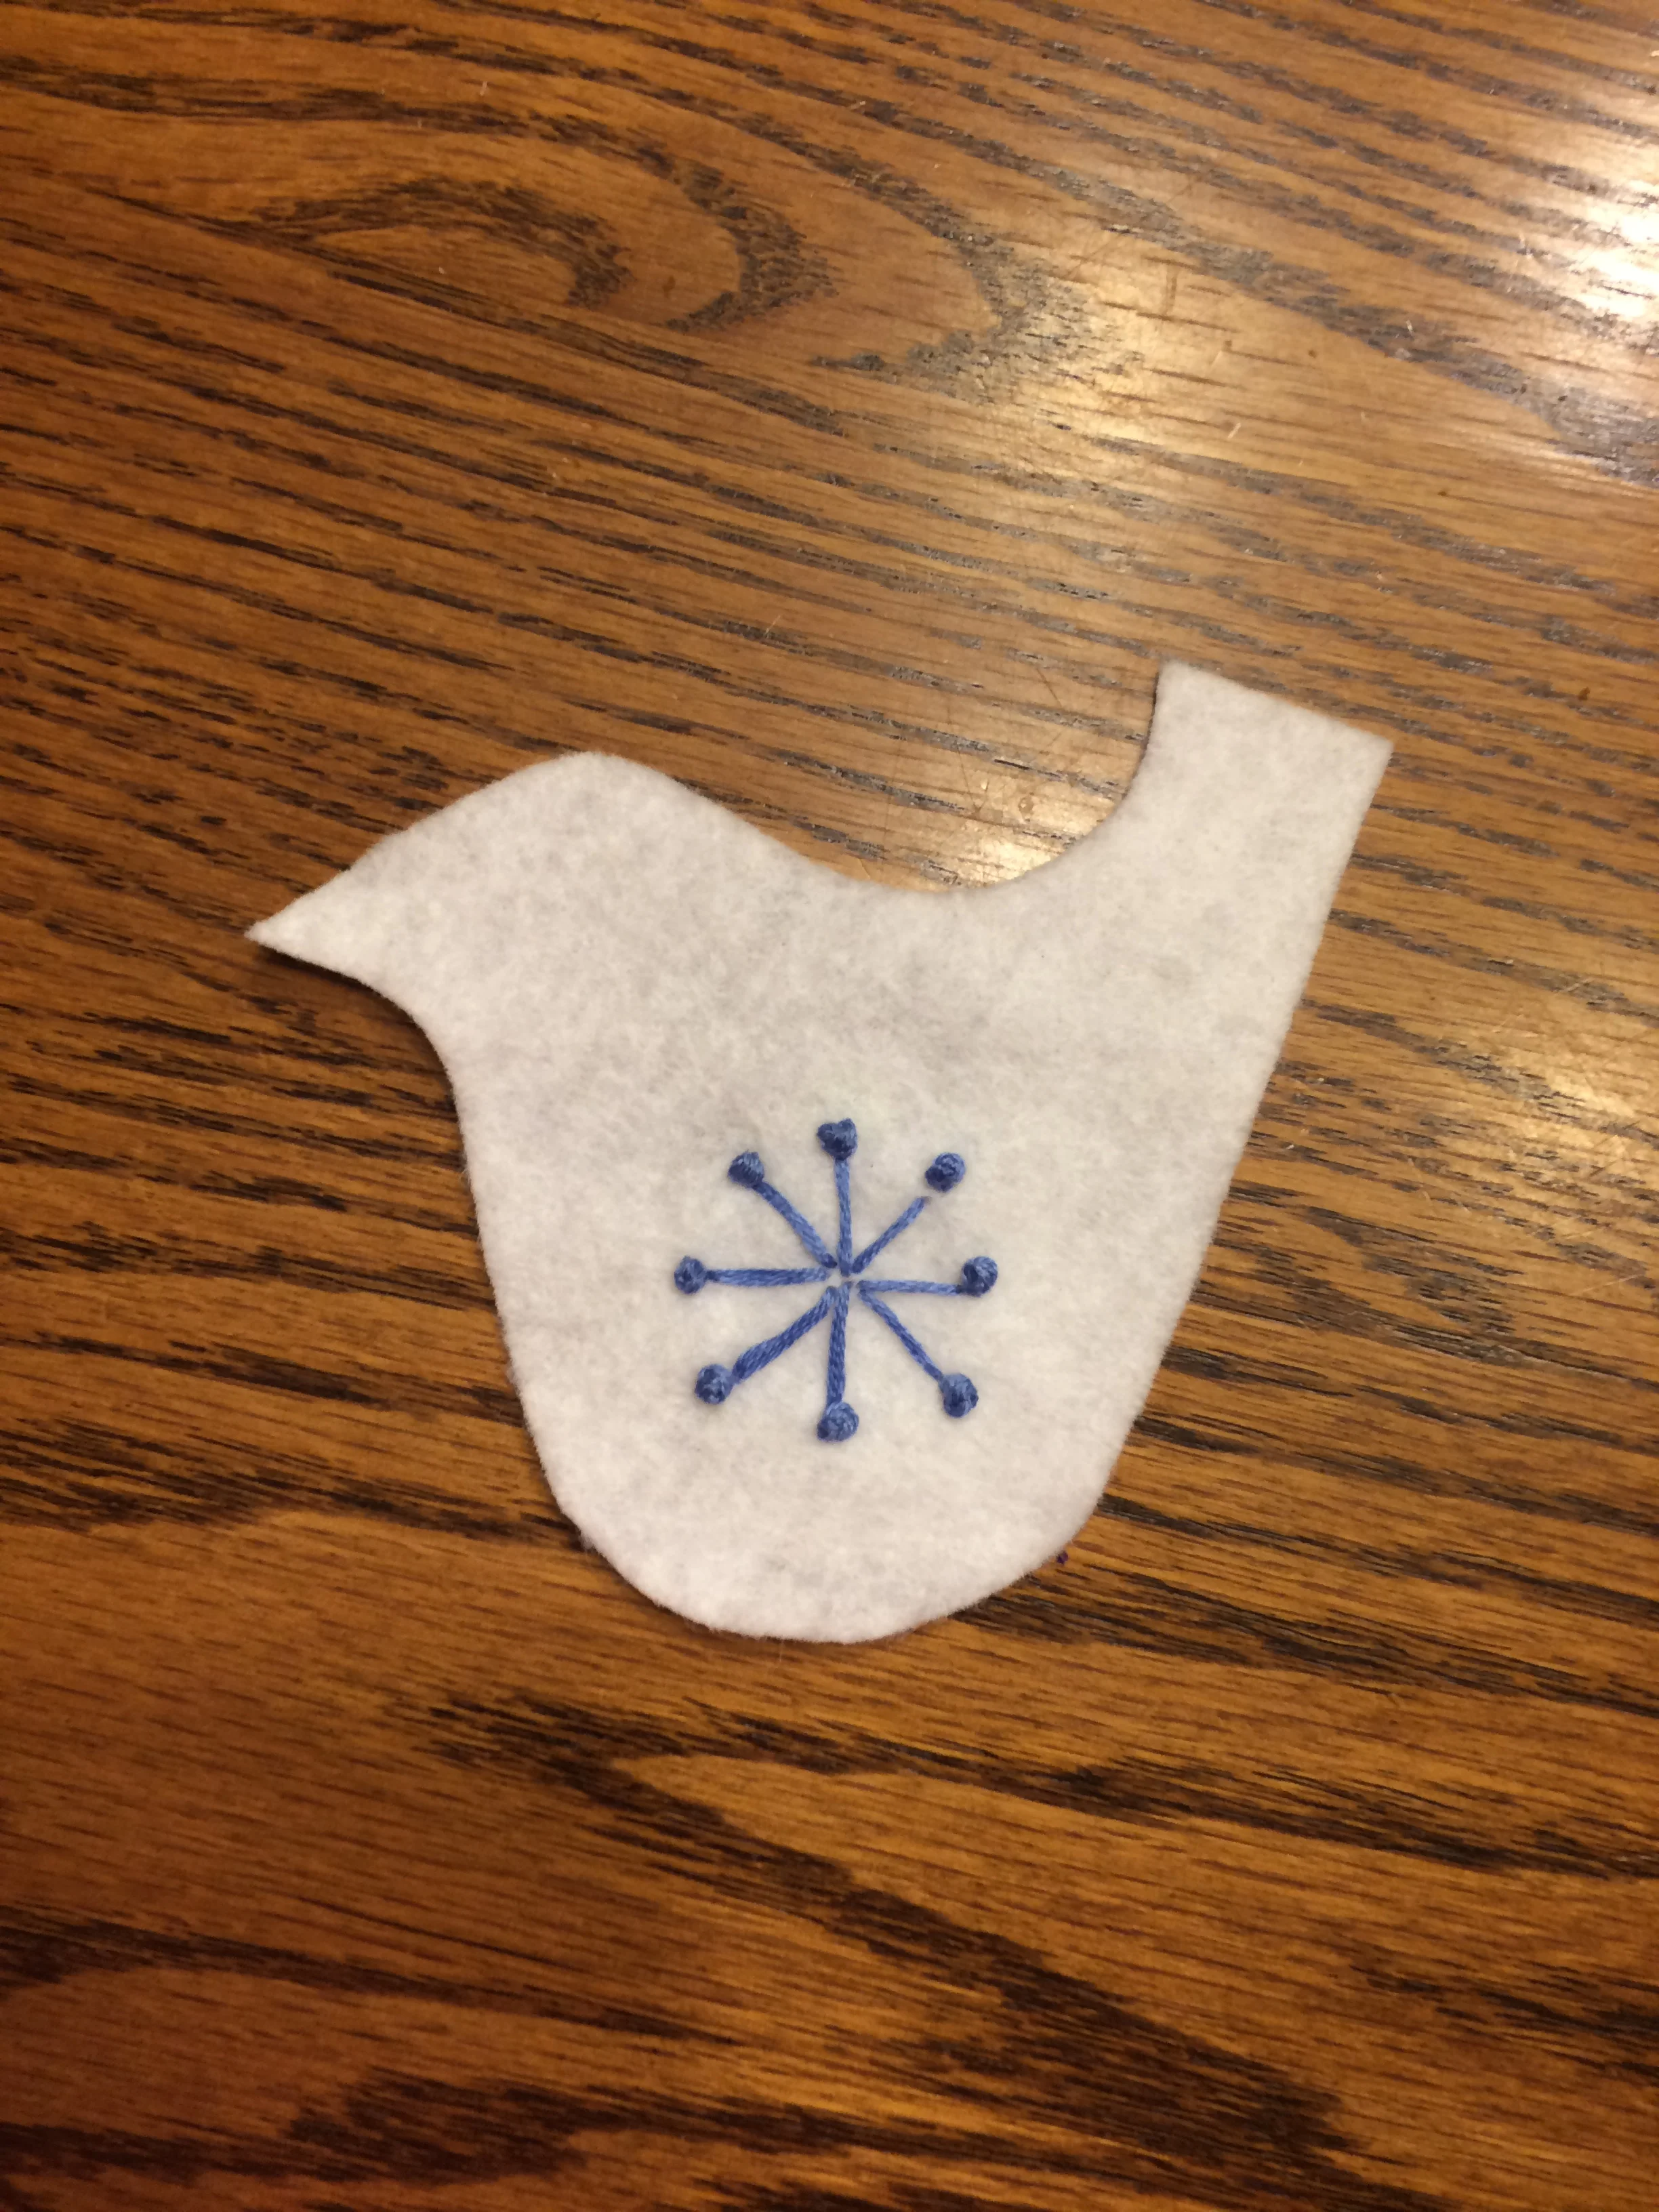
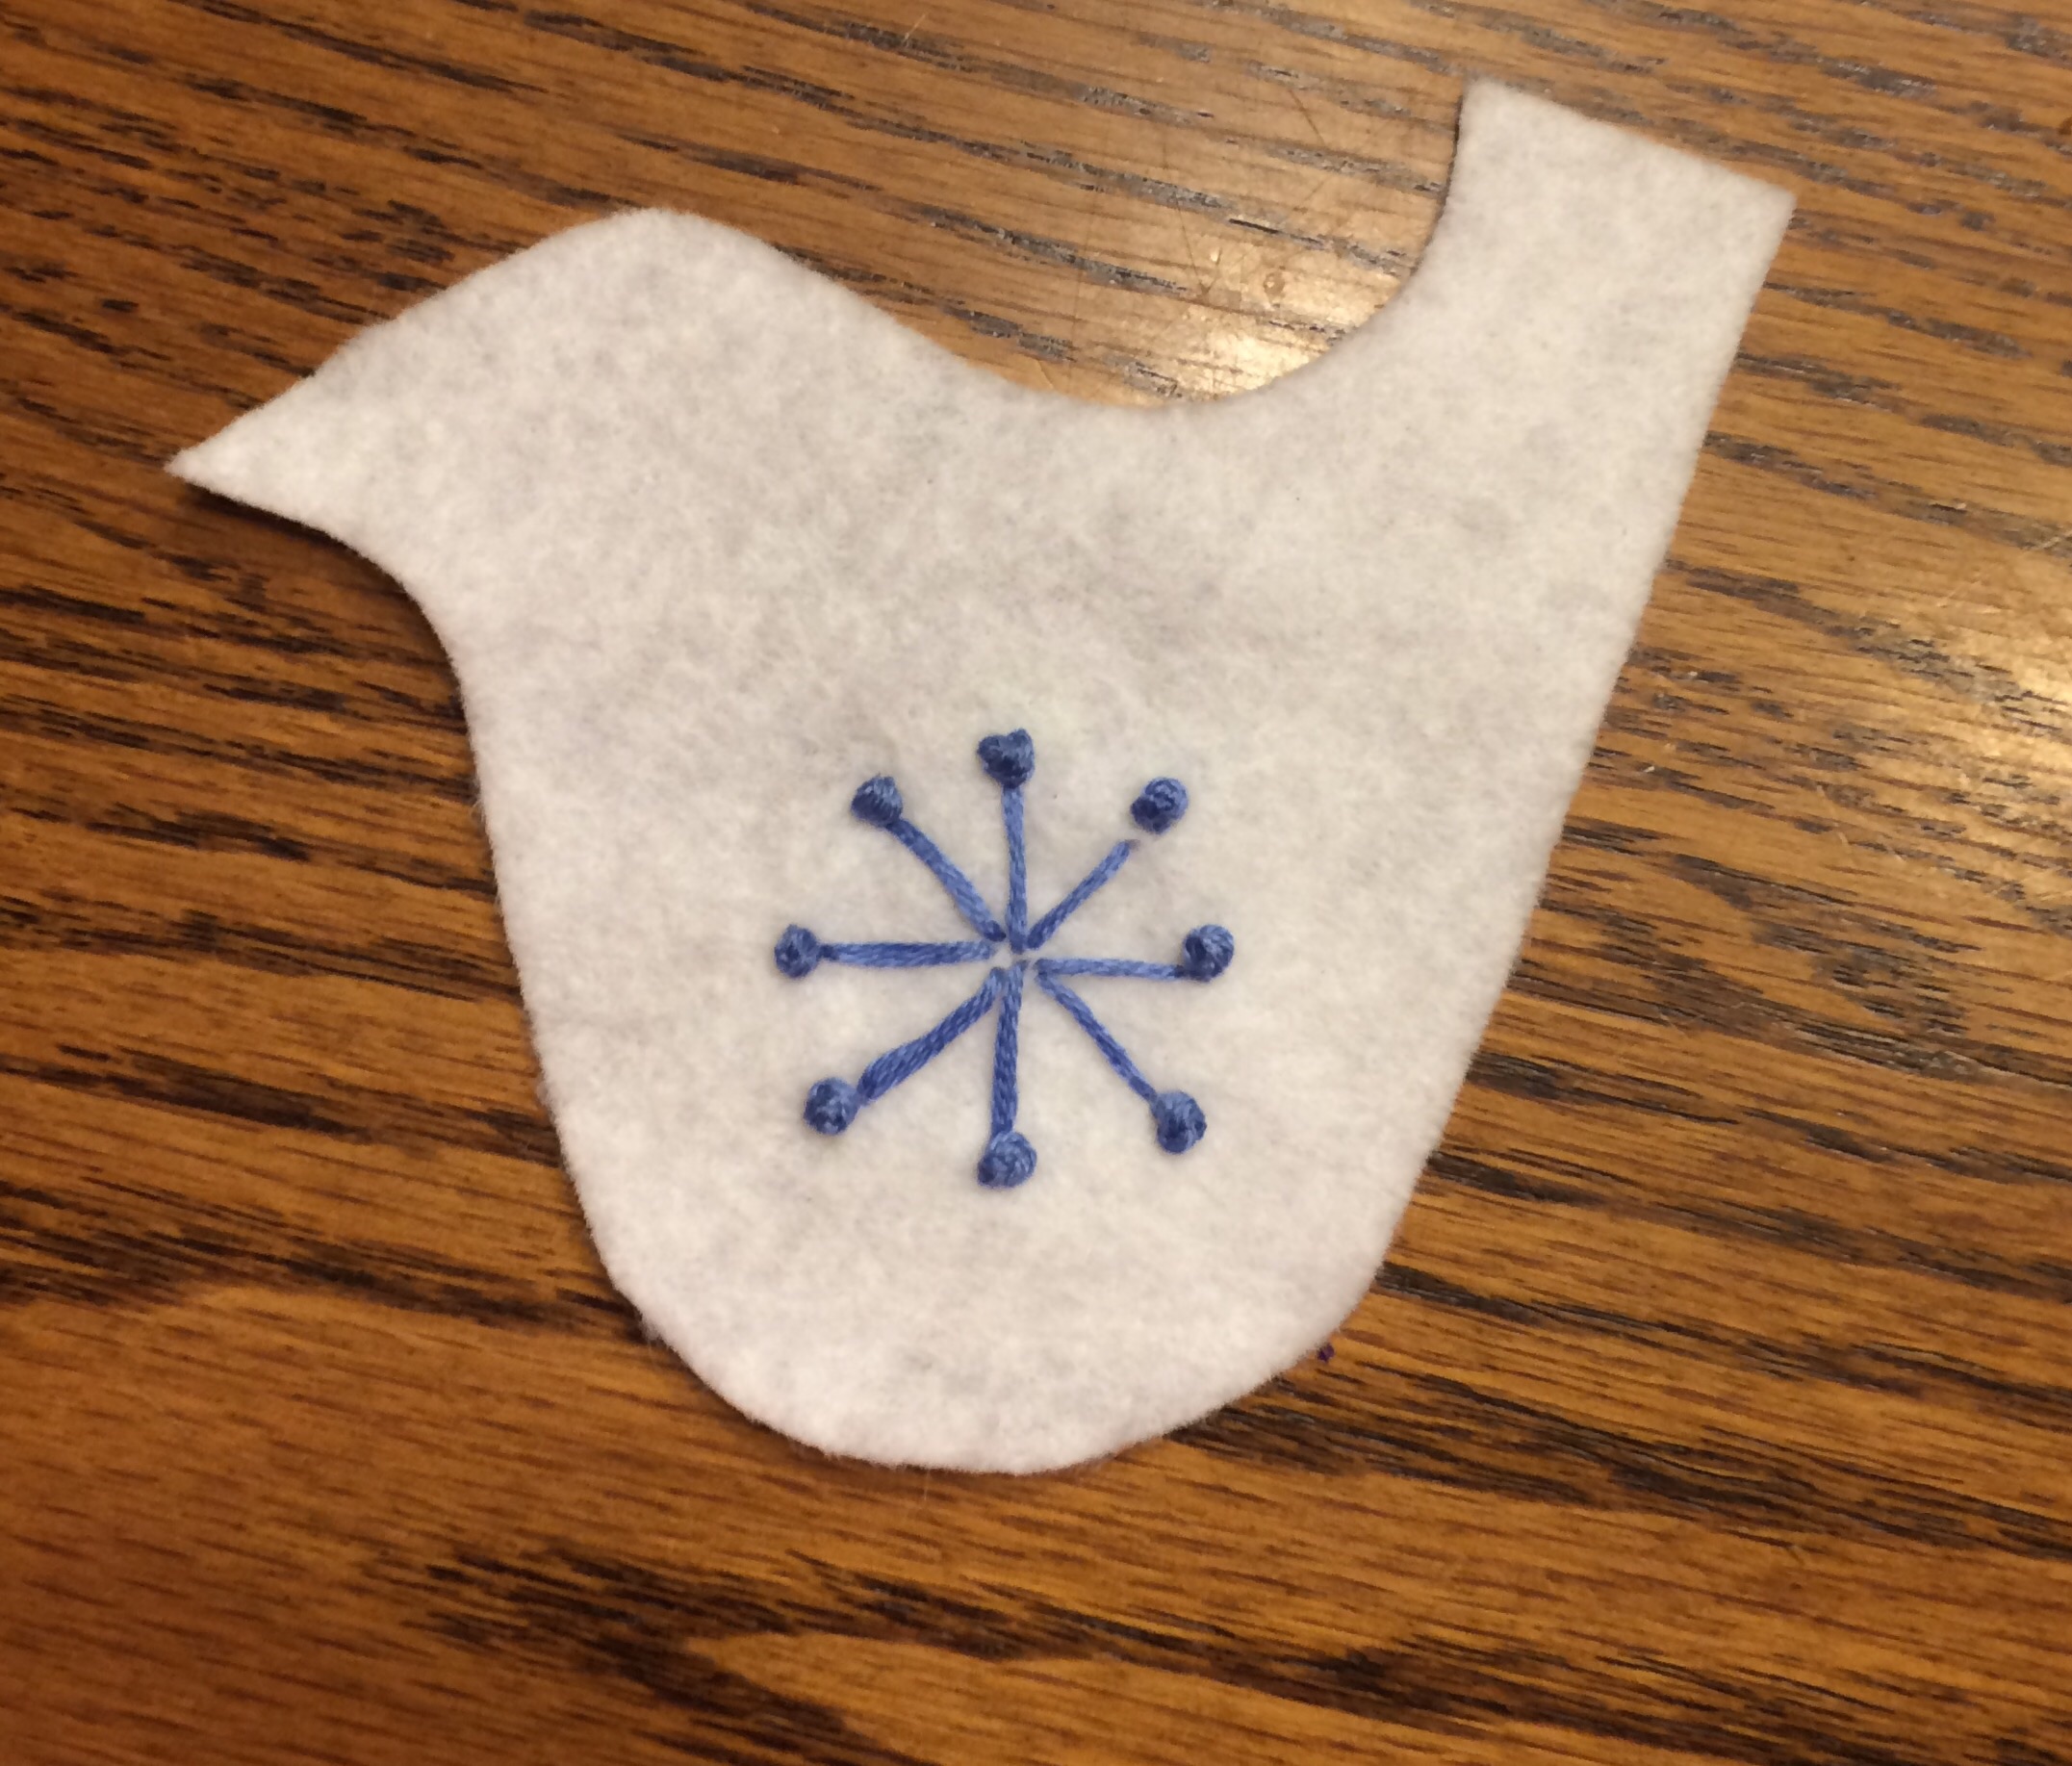
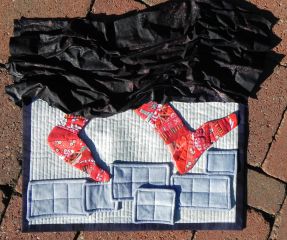
- Embroidery Project: Finish pudgy bird garland. This is a project I got out of a book on Swedish Embroidery from the library (and no, the project is not named "pudgy bird," but you know that's my thing). I prepped at the end of the summer with the intent of working on it while on all my fall travels. I don't think it ever got pulled out of the case. Once I got home and my dust had started settling, though, I buckled down and had it all embroidered in just a couple of nights. I figured I'd have it done by the weekend. And then, dang. I looked at the picture in the book again and realized I was supposed to have done half the birdies facing the opposite direction. Rather than ripping out perfectly good embroidery, I decided to use it as a reason to enact my original plan of making two garlands at the same time so I could keep one and give one as a gift. This week, I need to make an entirely new set of birdies and leaves, but face all the birds in the opposite direction. Then I'll combine half from each set and end up with two complete, correct garlands. (Yes, I considered just making the garland with them all lined up like soldiers but it really does look better with pairs of birds facing each other. I'm okay with this decision!)
- Quilt Project: Jacob's Ladder--Finish setting up blocks for sewing. I don't think I'll actually get to sewing them, but I'd like to get the blocks all laid out. There's a Block A and a Block B--I'm stacking As on top of each other and will do the same with B, then sew one block together at a time so I don't inadvertently get two of those "black hole" fabrics abutting.
If I can get both of those things done by next Sunday, I'll consider it a major success!