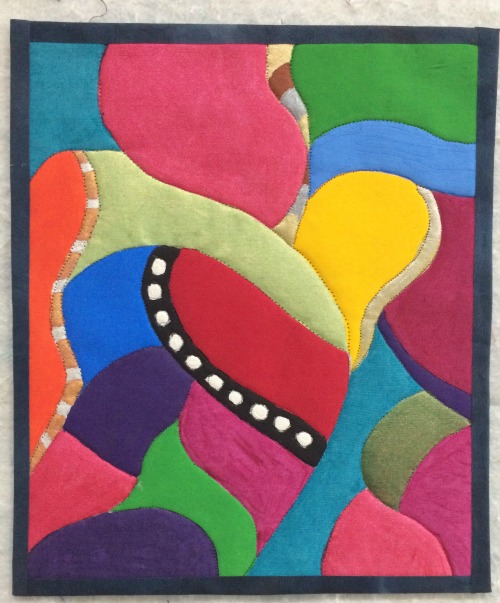
I can't ever resist, can I? This may be the birth of a #swanbutt series of quilts...
I wasn't able to get this written before I skipped town with my husband for Memorial Day weekend, so it's coming out a day late. We had a beautiful, very relaxing weekend away at the Shakespeare Festival in Stratford, Ontario, so I was ready to spend a couple of hours in my sewing room this afternoon (Monday, Memorial Day and therefore a day off work for many of us here in the States). Therefore, the only thing listed below that wouldn't have been listed had I actually written this post to go live on Sunday is the progress on the bag--that was this afternoon. Everything else was legit last week, though.
My goals for the week of May 17 were to:
- Accessory category: Get back to the Annie Unrein bag.
- Embroidery category: three more butterflies.
- Art Quilt Project: FMQ my "fire" project.
- UFO category: Assess my UFO list and make sure all of them are listed with all the steps required to complete them.
Progress:
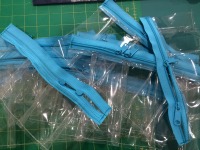
- Accessory category: Annie Unrein Bag. I got the zippers put on the vinyl pockets this afternoon. All I have to say is, Holy cr*p. I really am disliking this process. Not only was my thread breaking all over the place, but I really don't like the end result. Some of it was my own inexperience, of course--I do own up to that. It's possible that I would have an easier time of it next time--if I ever allow there to be a next time, and that I could get it to look better. But, to be honest, I find myself questioning why she has us do one step the way she has us do it. I'm not sure that, even if I did it perfectly, I'd be happy with the way it looks. But I also didn't want to try to do it differently when I've never done this before. Unfortunately, I just have to work this project all the way through before I can really understand why certain decisions in the design have been made, I think, which means living with results I'm not overly keen on. Unfortunately, the next step is really the "moment of truth" step, when I find out if everything has finished to correct sizes. I'm holding off until this coming weekend to tackle that one--I actually have nothing on the schedule for the weekend and I'm going to obstinately keep it that way so I can finally spend tons of time in my sewing room.

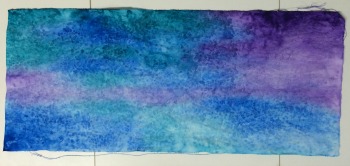
My painted fabric from several weeks ago, now washed and ready to use. It's the background for my May journal quilt.
- Embroidery category: Three butterflies. I got about a butterfly-and-a-half done, but then I ended up switching gears to do embroidery on my May journal quilt. Plus I'm just running out of ideas for stitches, so I decided to spend a little time getting more inspiration. I also bought a book I've had my eye on for awhile--more about that when I get it.
- Art Quilt: Fire tapestry. Nope. Instead, for this category, I started work on my May journal quilt. So I was doing an art quilt project--just not the one I had planned on!
- UFO: Double-check UFO list. I thought about my UFO list but haven't looked at it again. This week ended up being busier than I thought. Still n' all, since that was just my blog post from yesterday, I've bought myself another week's grace period, so this will stay my goal for this week.
Goals for This Week:
- Accessories: EIIP Bag. As I mentioned above, I've got an open weekend coming up. I may decide I just need to blast through this bag and get it done. I think it would take me all weekend to do, though, and I'm not sure I want to give over my one big free weekend entirely to a project I'm so thoroughly not enjoying. But I can say, I will at least get the next step done.
- Embroidery: Three butterflies. 'Nuff said.
- Art Quilt: May journal quilt--because it really should get done in May.
- UFO: UFO list (carry-over from last week)
- Hand-Dyeing/Surface Design: Since I have a free weekend, it's possible I may decide to throw something in a dye bath. This will be my "if I go mad from the bag" plan B.