Weekend Check-in Number One: Mostly Prep-work

I got my new Accuquilt Mask dies this week so I was anxious to make up some masks to see how well they worked.

82B24FE7-A7A9-4607-9B5F-6EAC34BB08FC.jpg

Learn from me: Do NOT use the instructions that come packaged with the die. Lots of important steps left out.

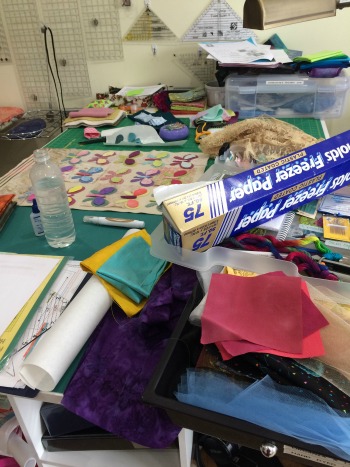
I ended up with this mess—exposed seams, fabrics every which-way, some sort of something going on with the elastic as it didn’t explain that well at all and I finally ended up shoving the ends of the elastic in and nailing them down the way I had been doing in the other masks but this one had all sorts of seams coming together and it was a heck of a lump…. ahem. I kept looking at the instructions thinking I must have misread something but I’d followed those dang instructions exactly. Poor quality control.

Had I watched the Accuquilt video first, or used the downloadable directions from the website, I’d have been at least somewhat better off as they both had correct instructions for the cutting and sewing. Mostly.

The downloadable instructions tell you to use a different seam allowance than the video I was watching (which was from a quilt shop) because the Accuquilt tutorial video also leaves out a key step: how to attach the ties or elastic.

C’mon, Accuquilt. Get your act together.

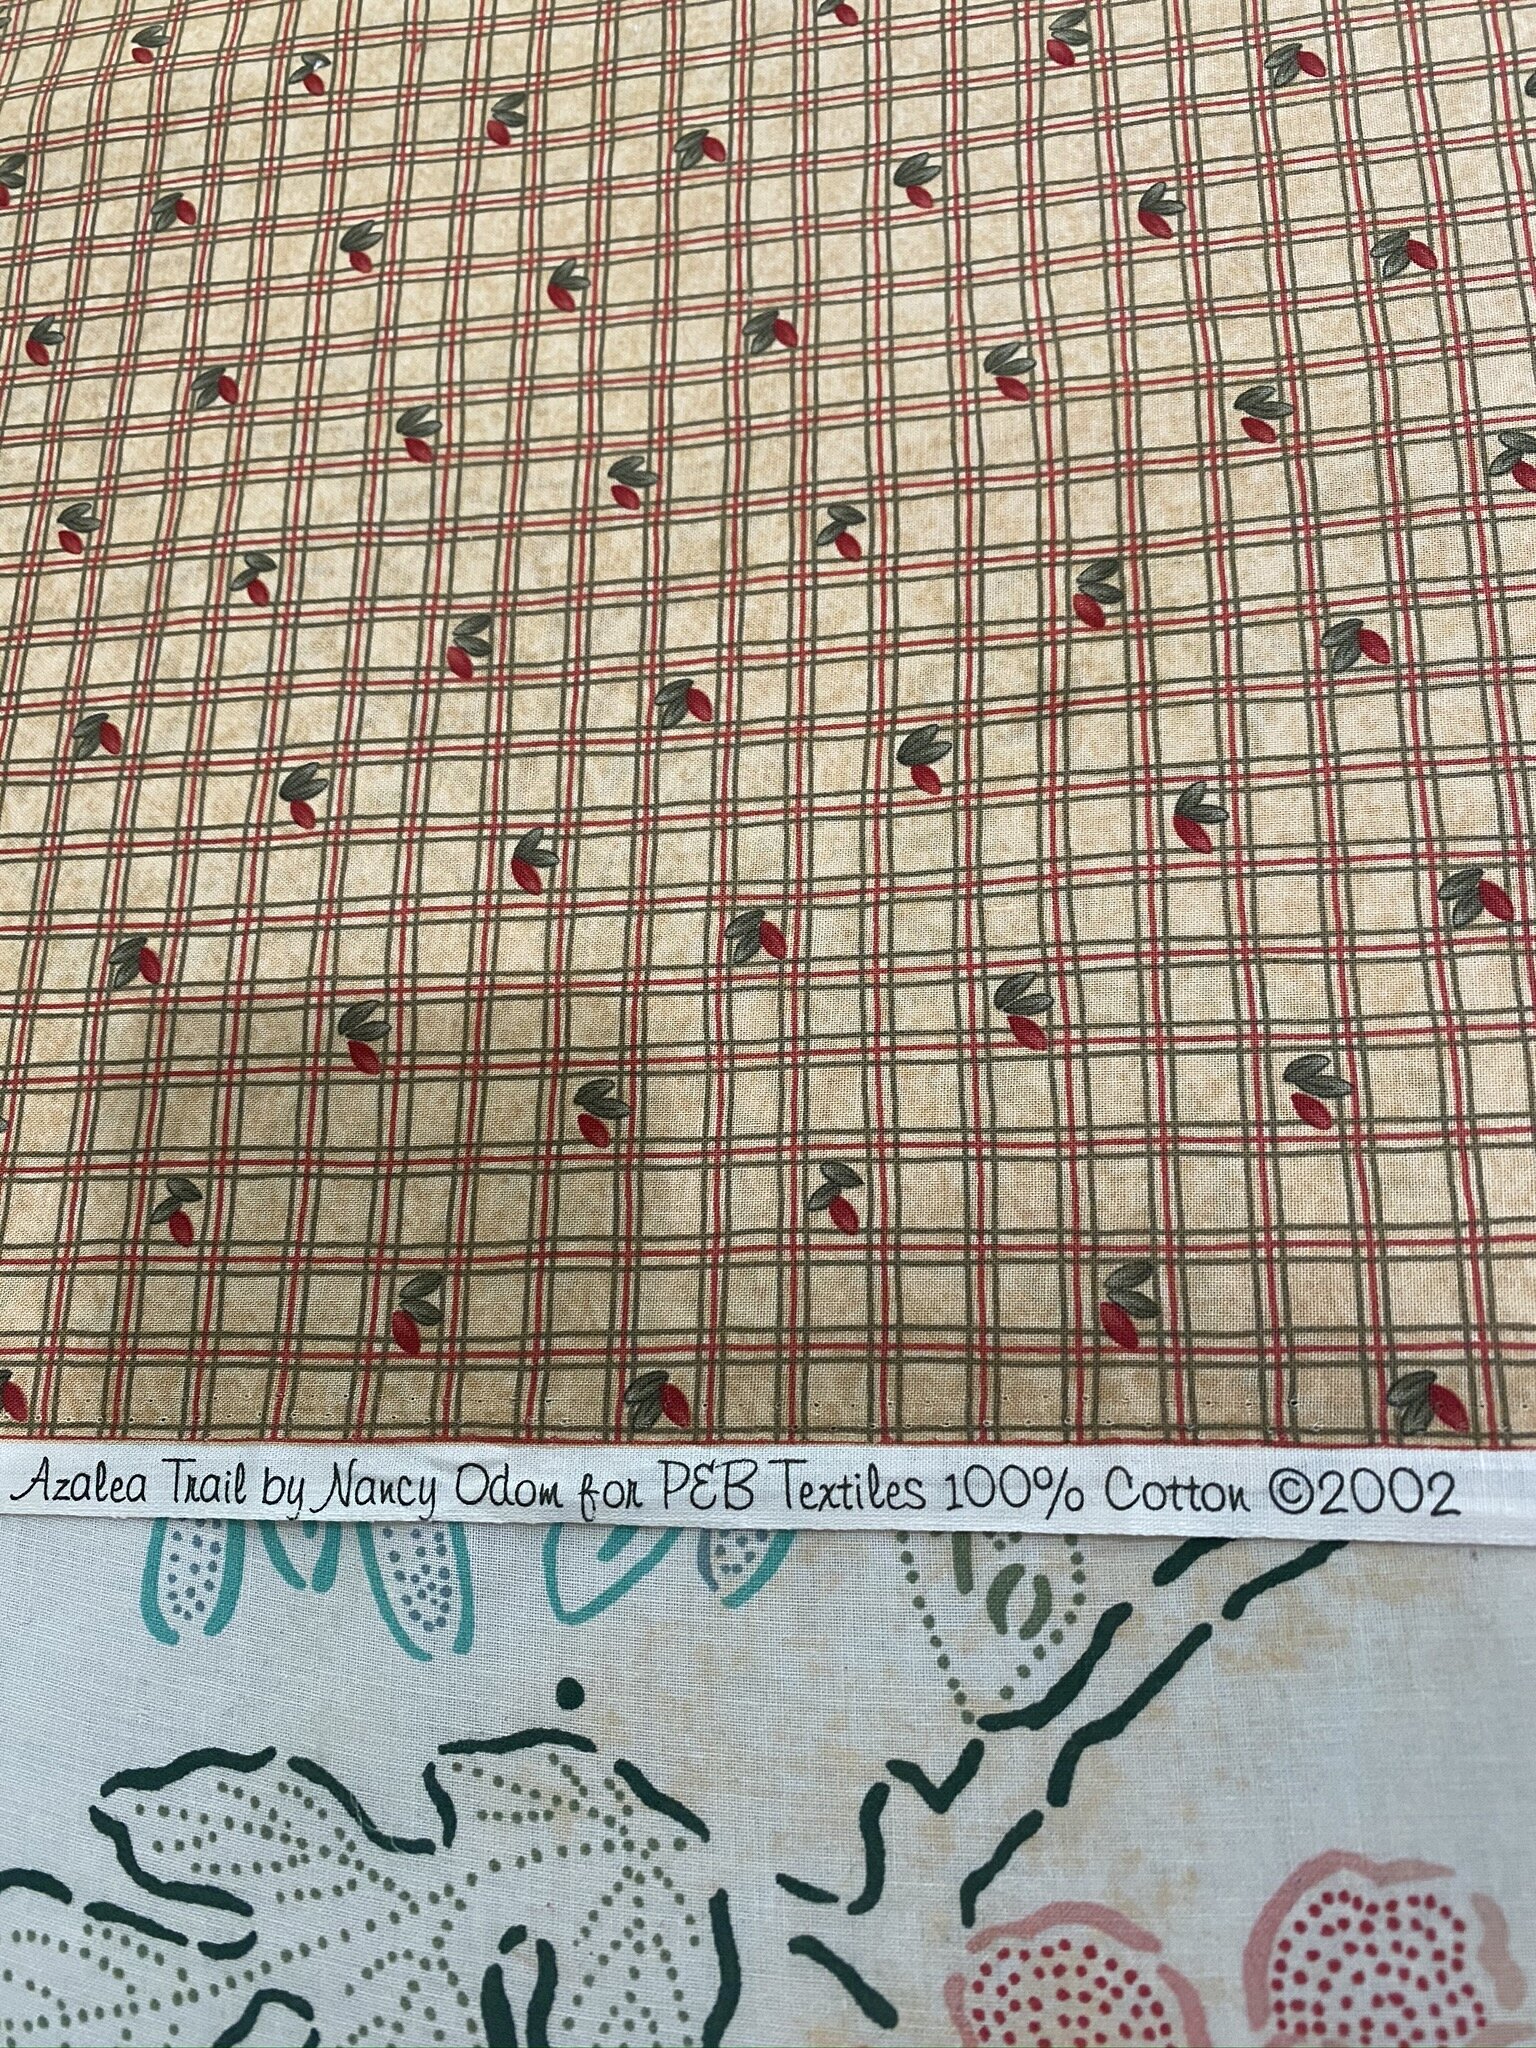
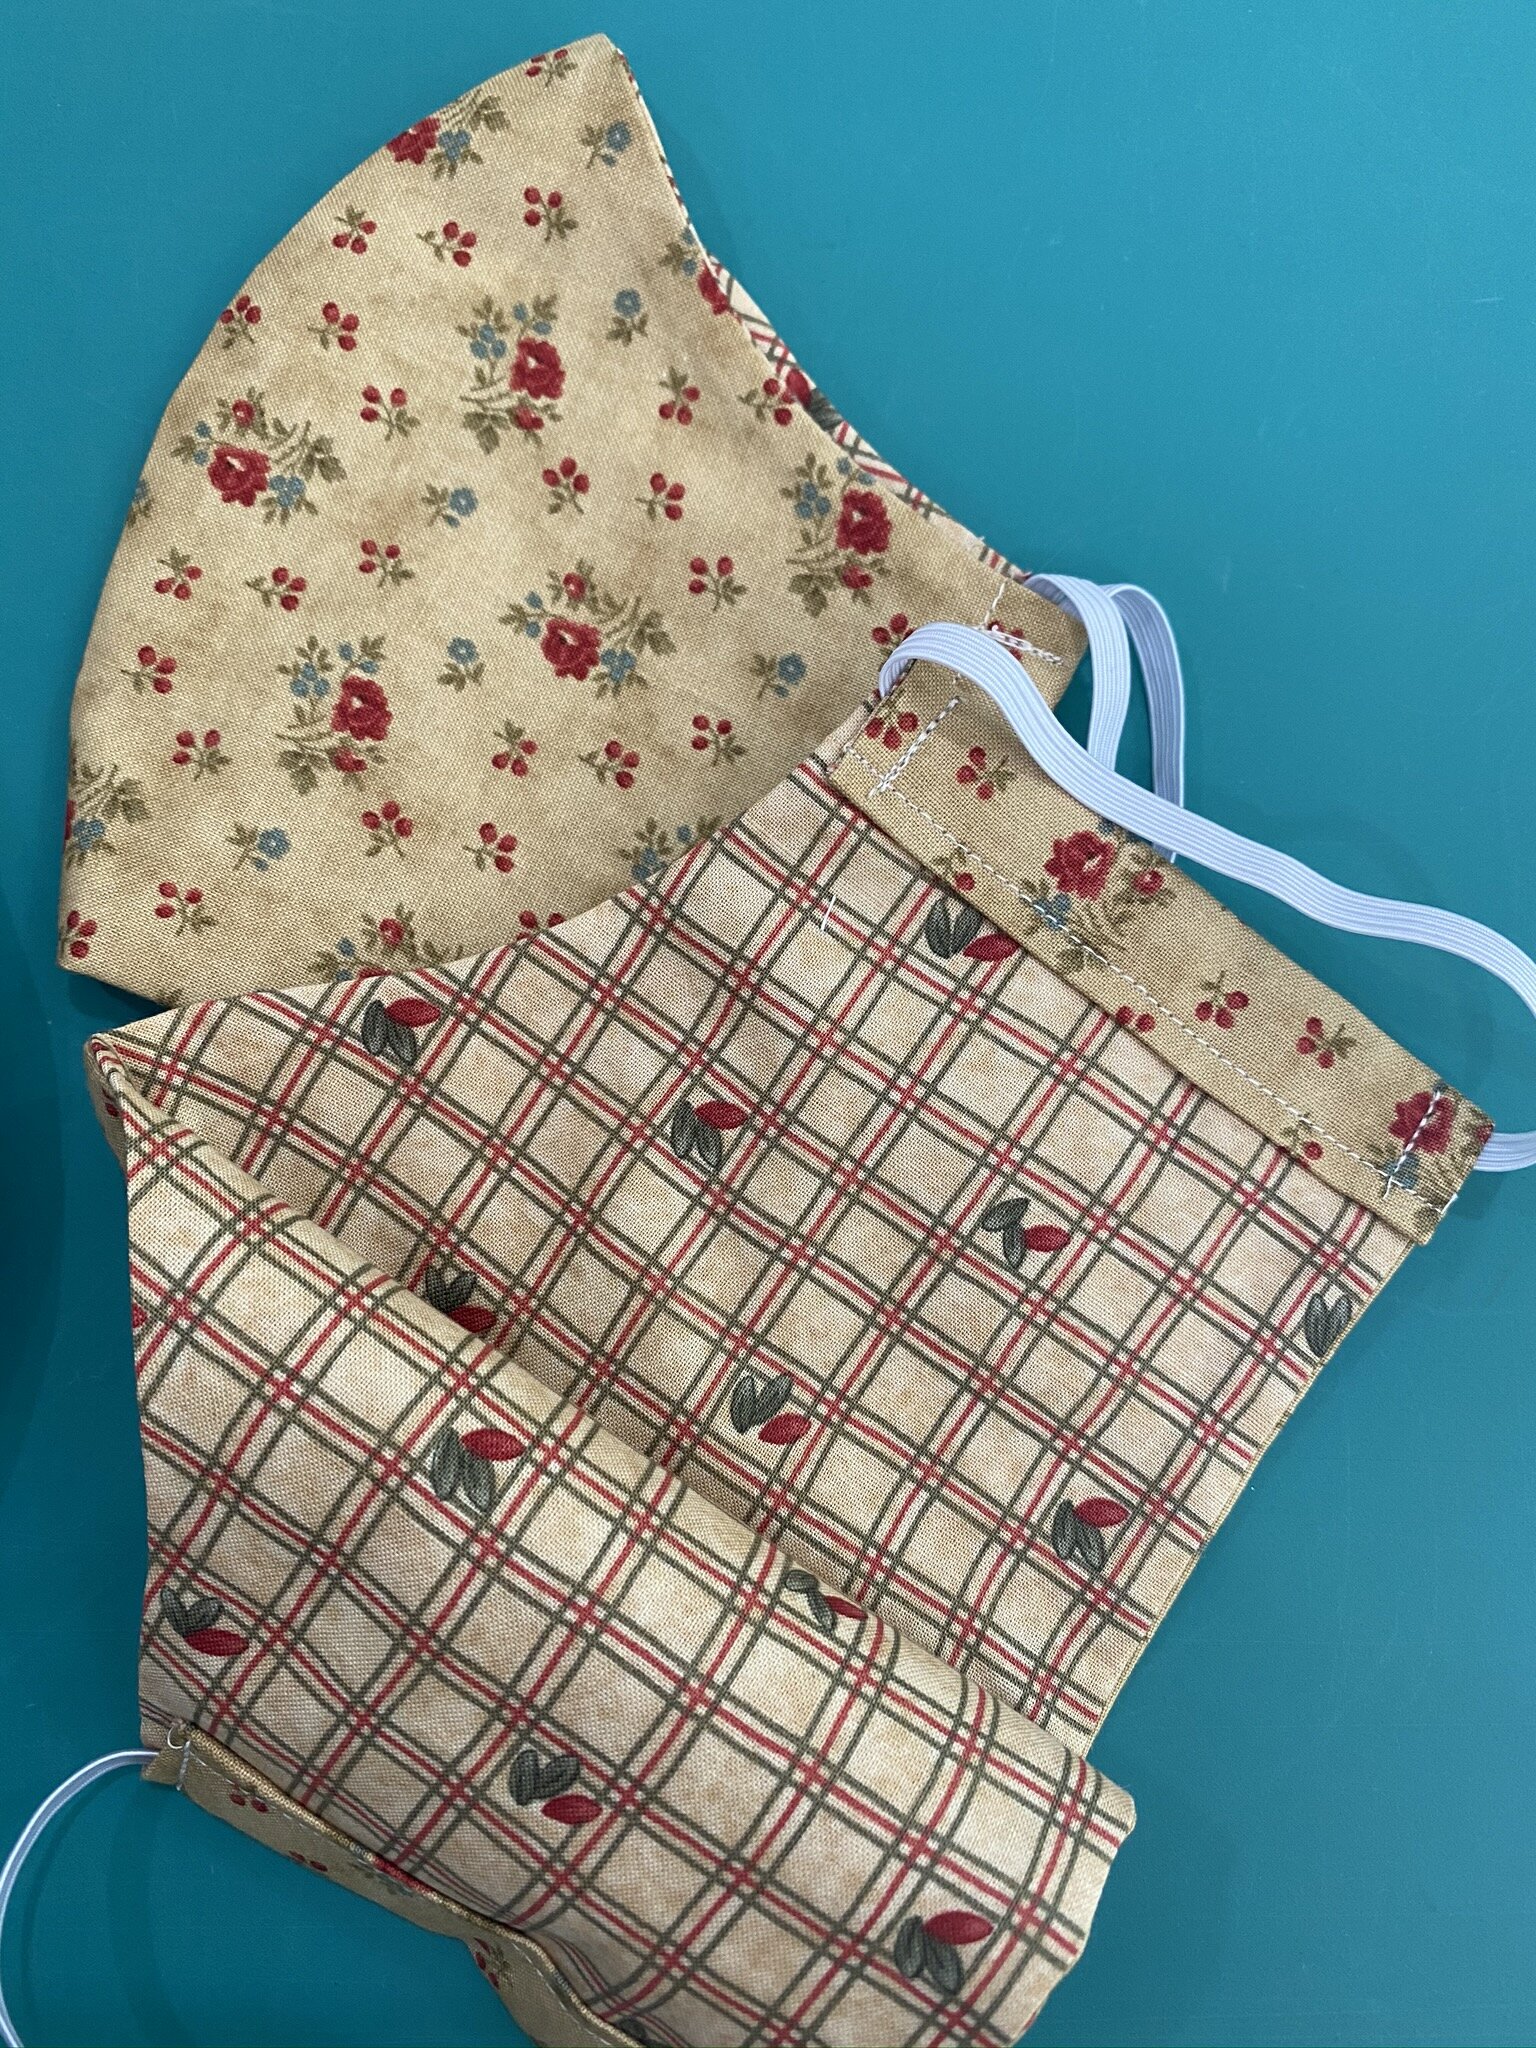
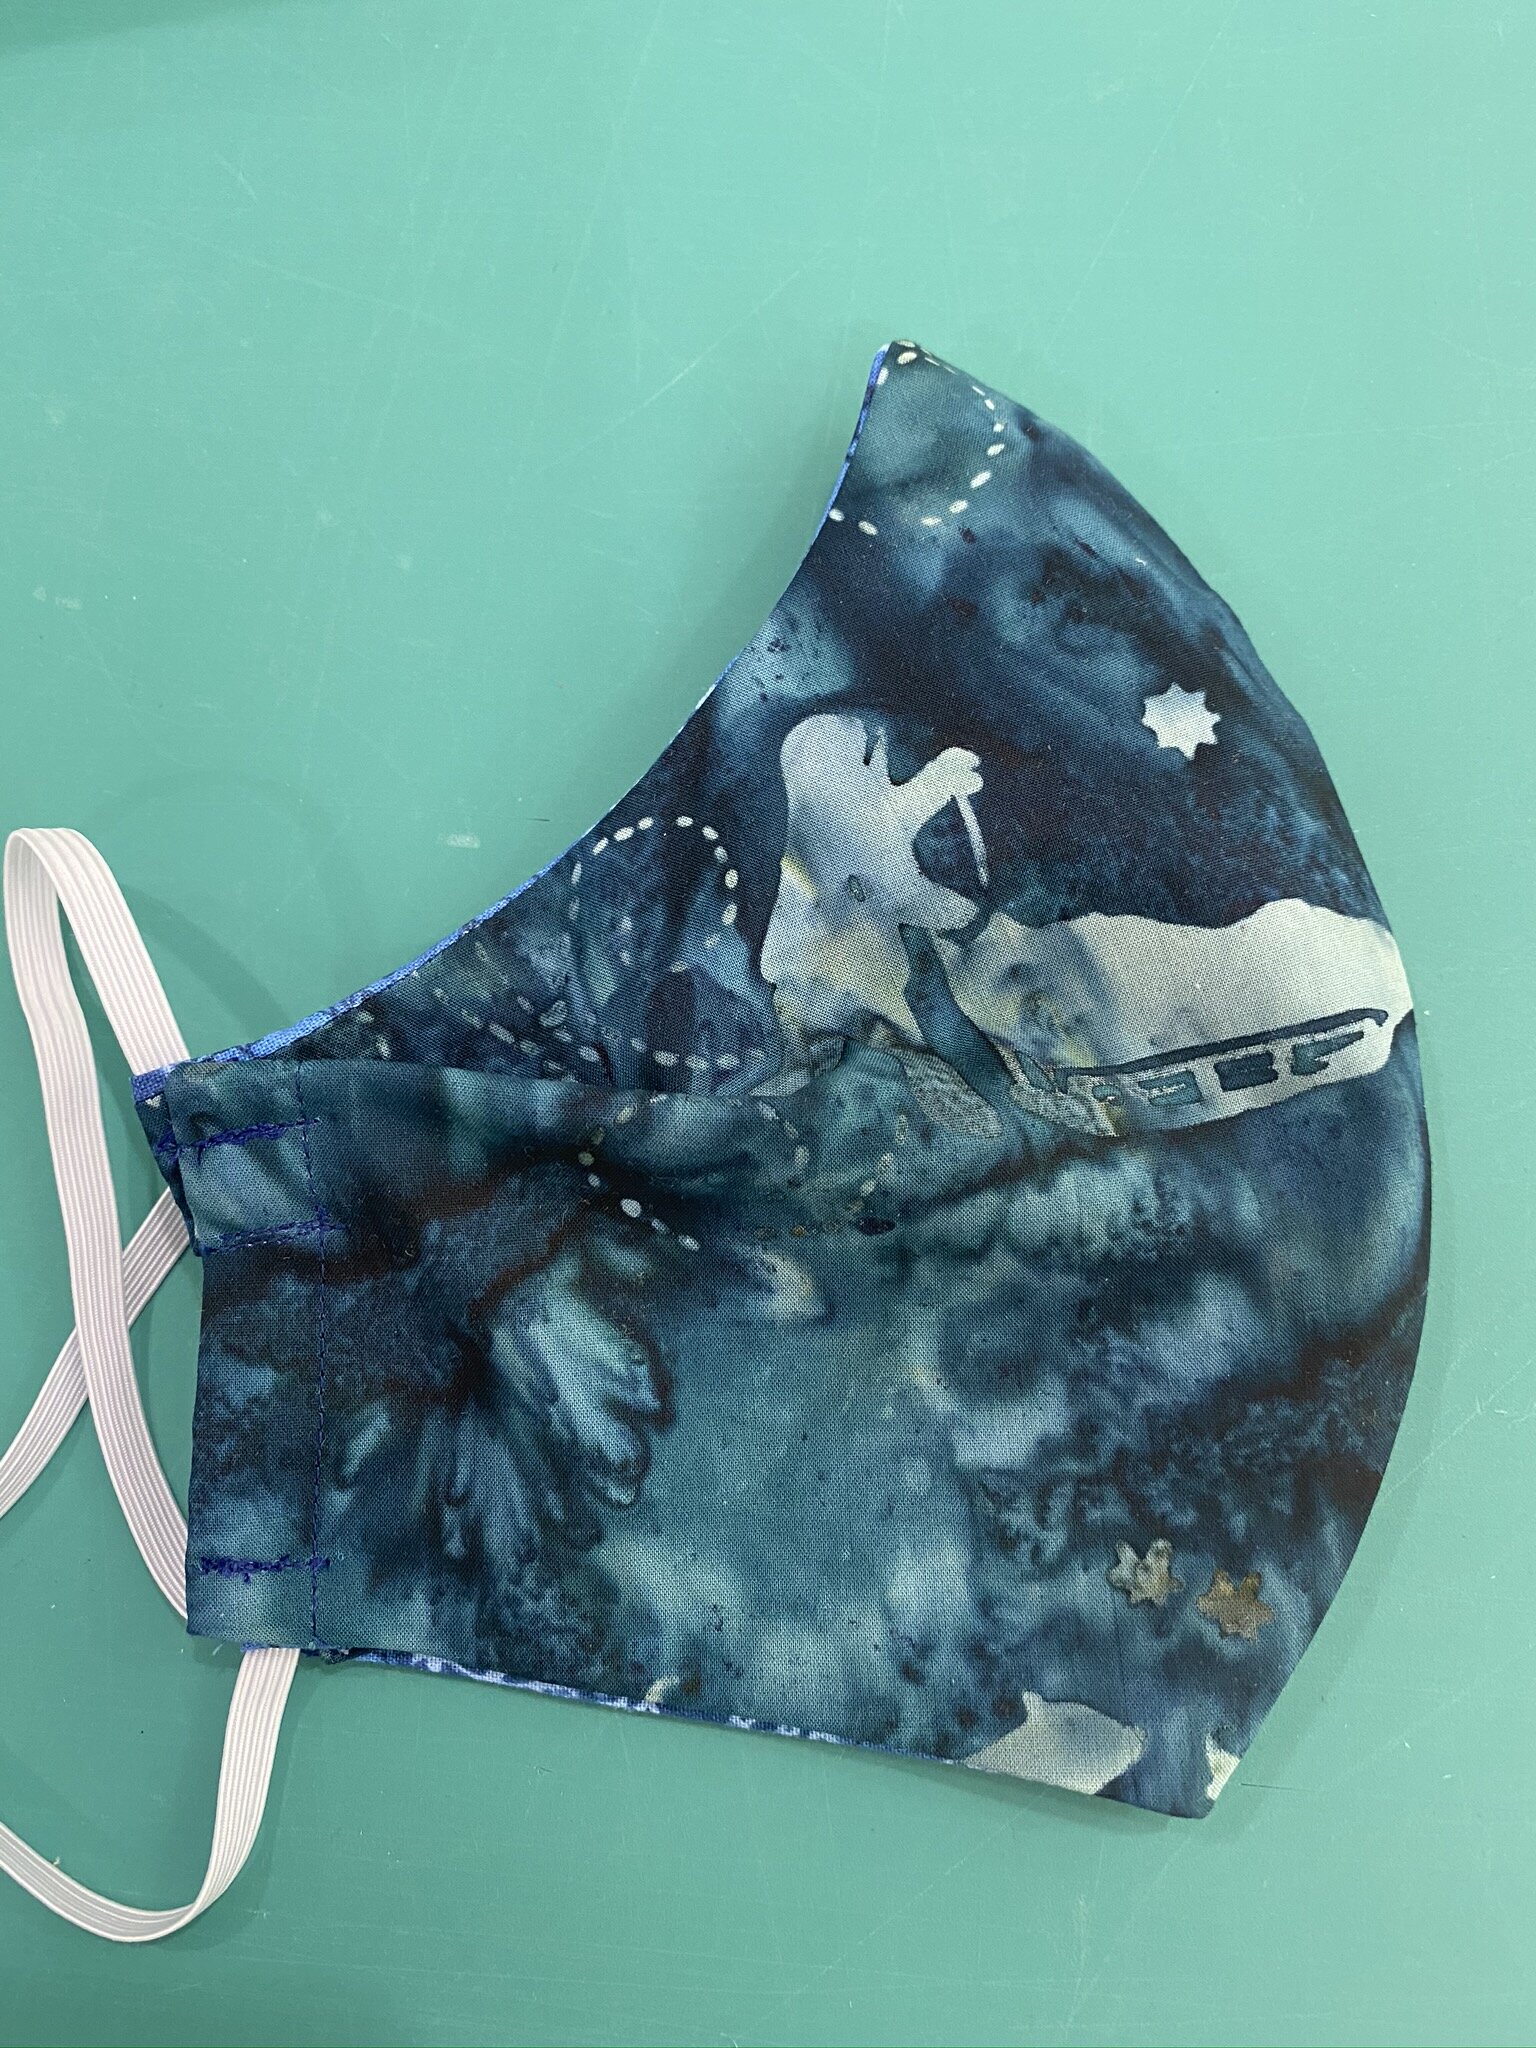
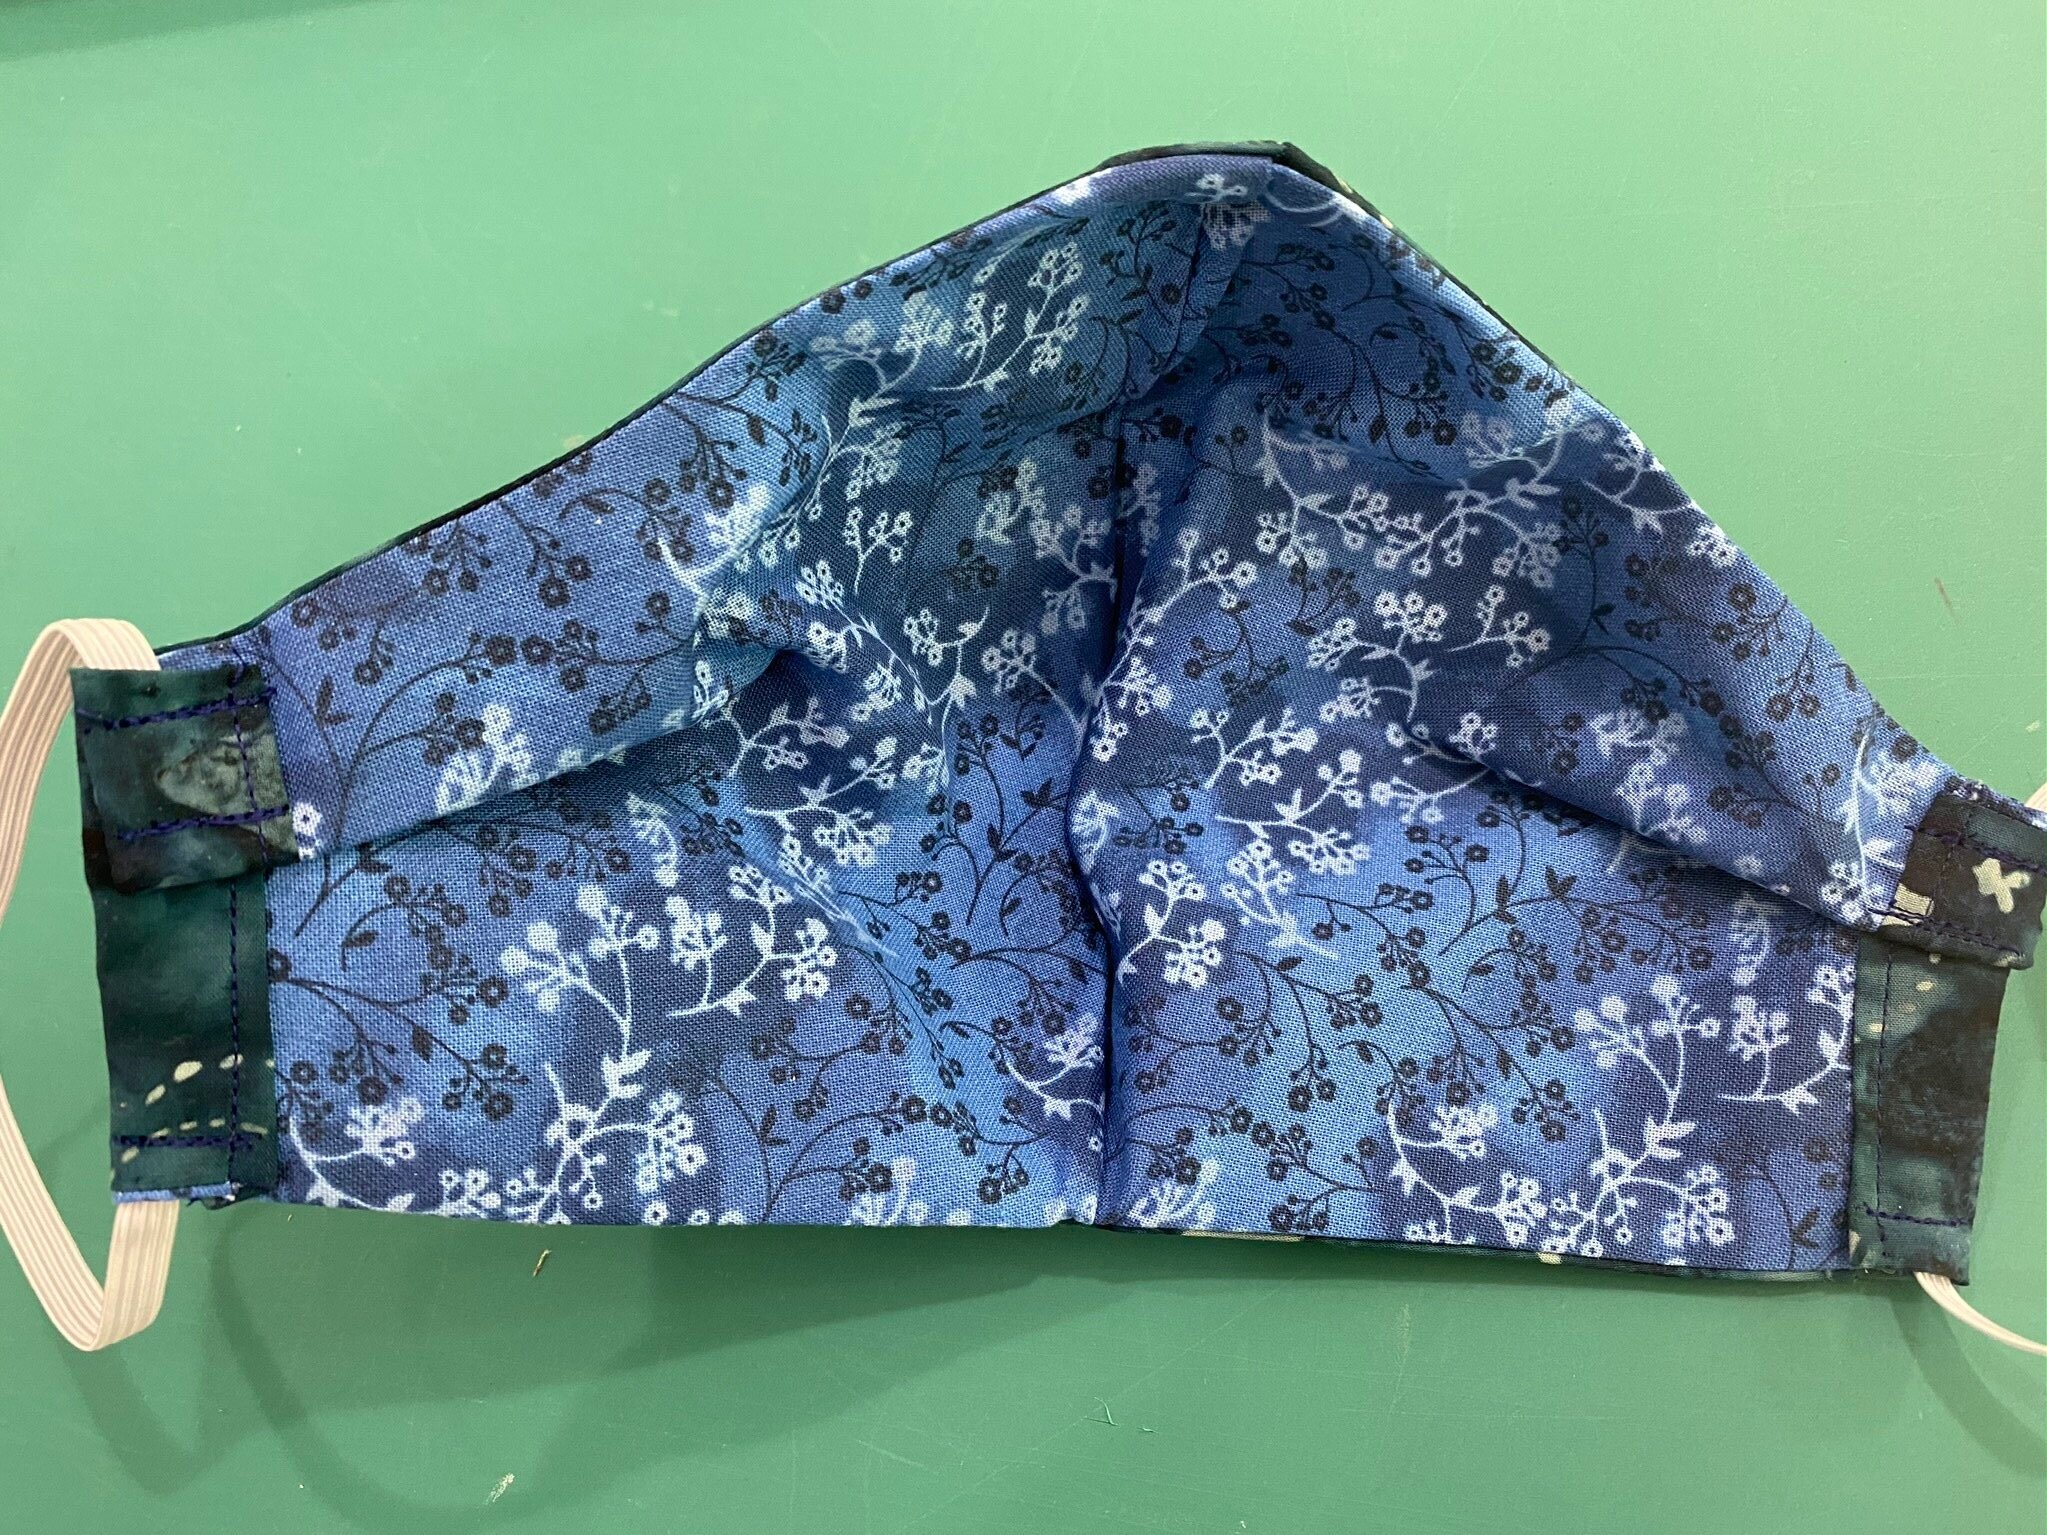
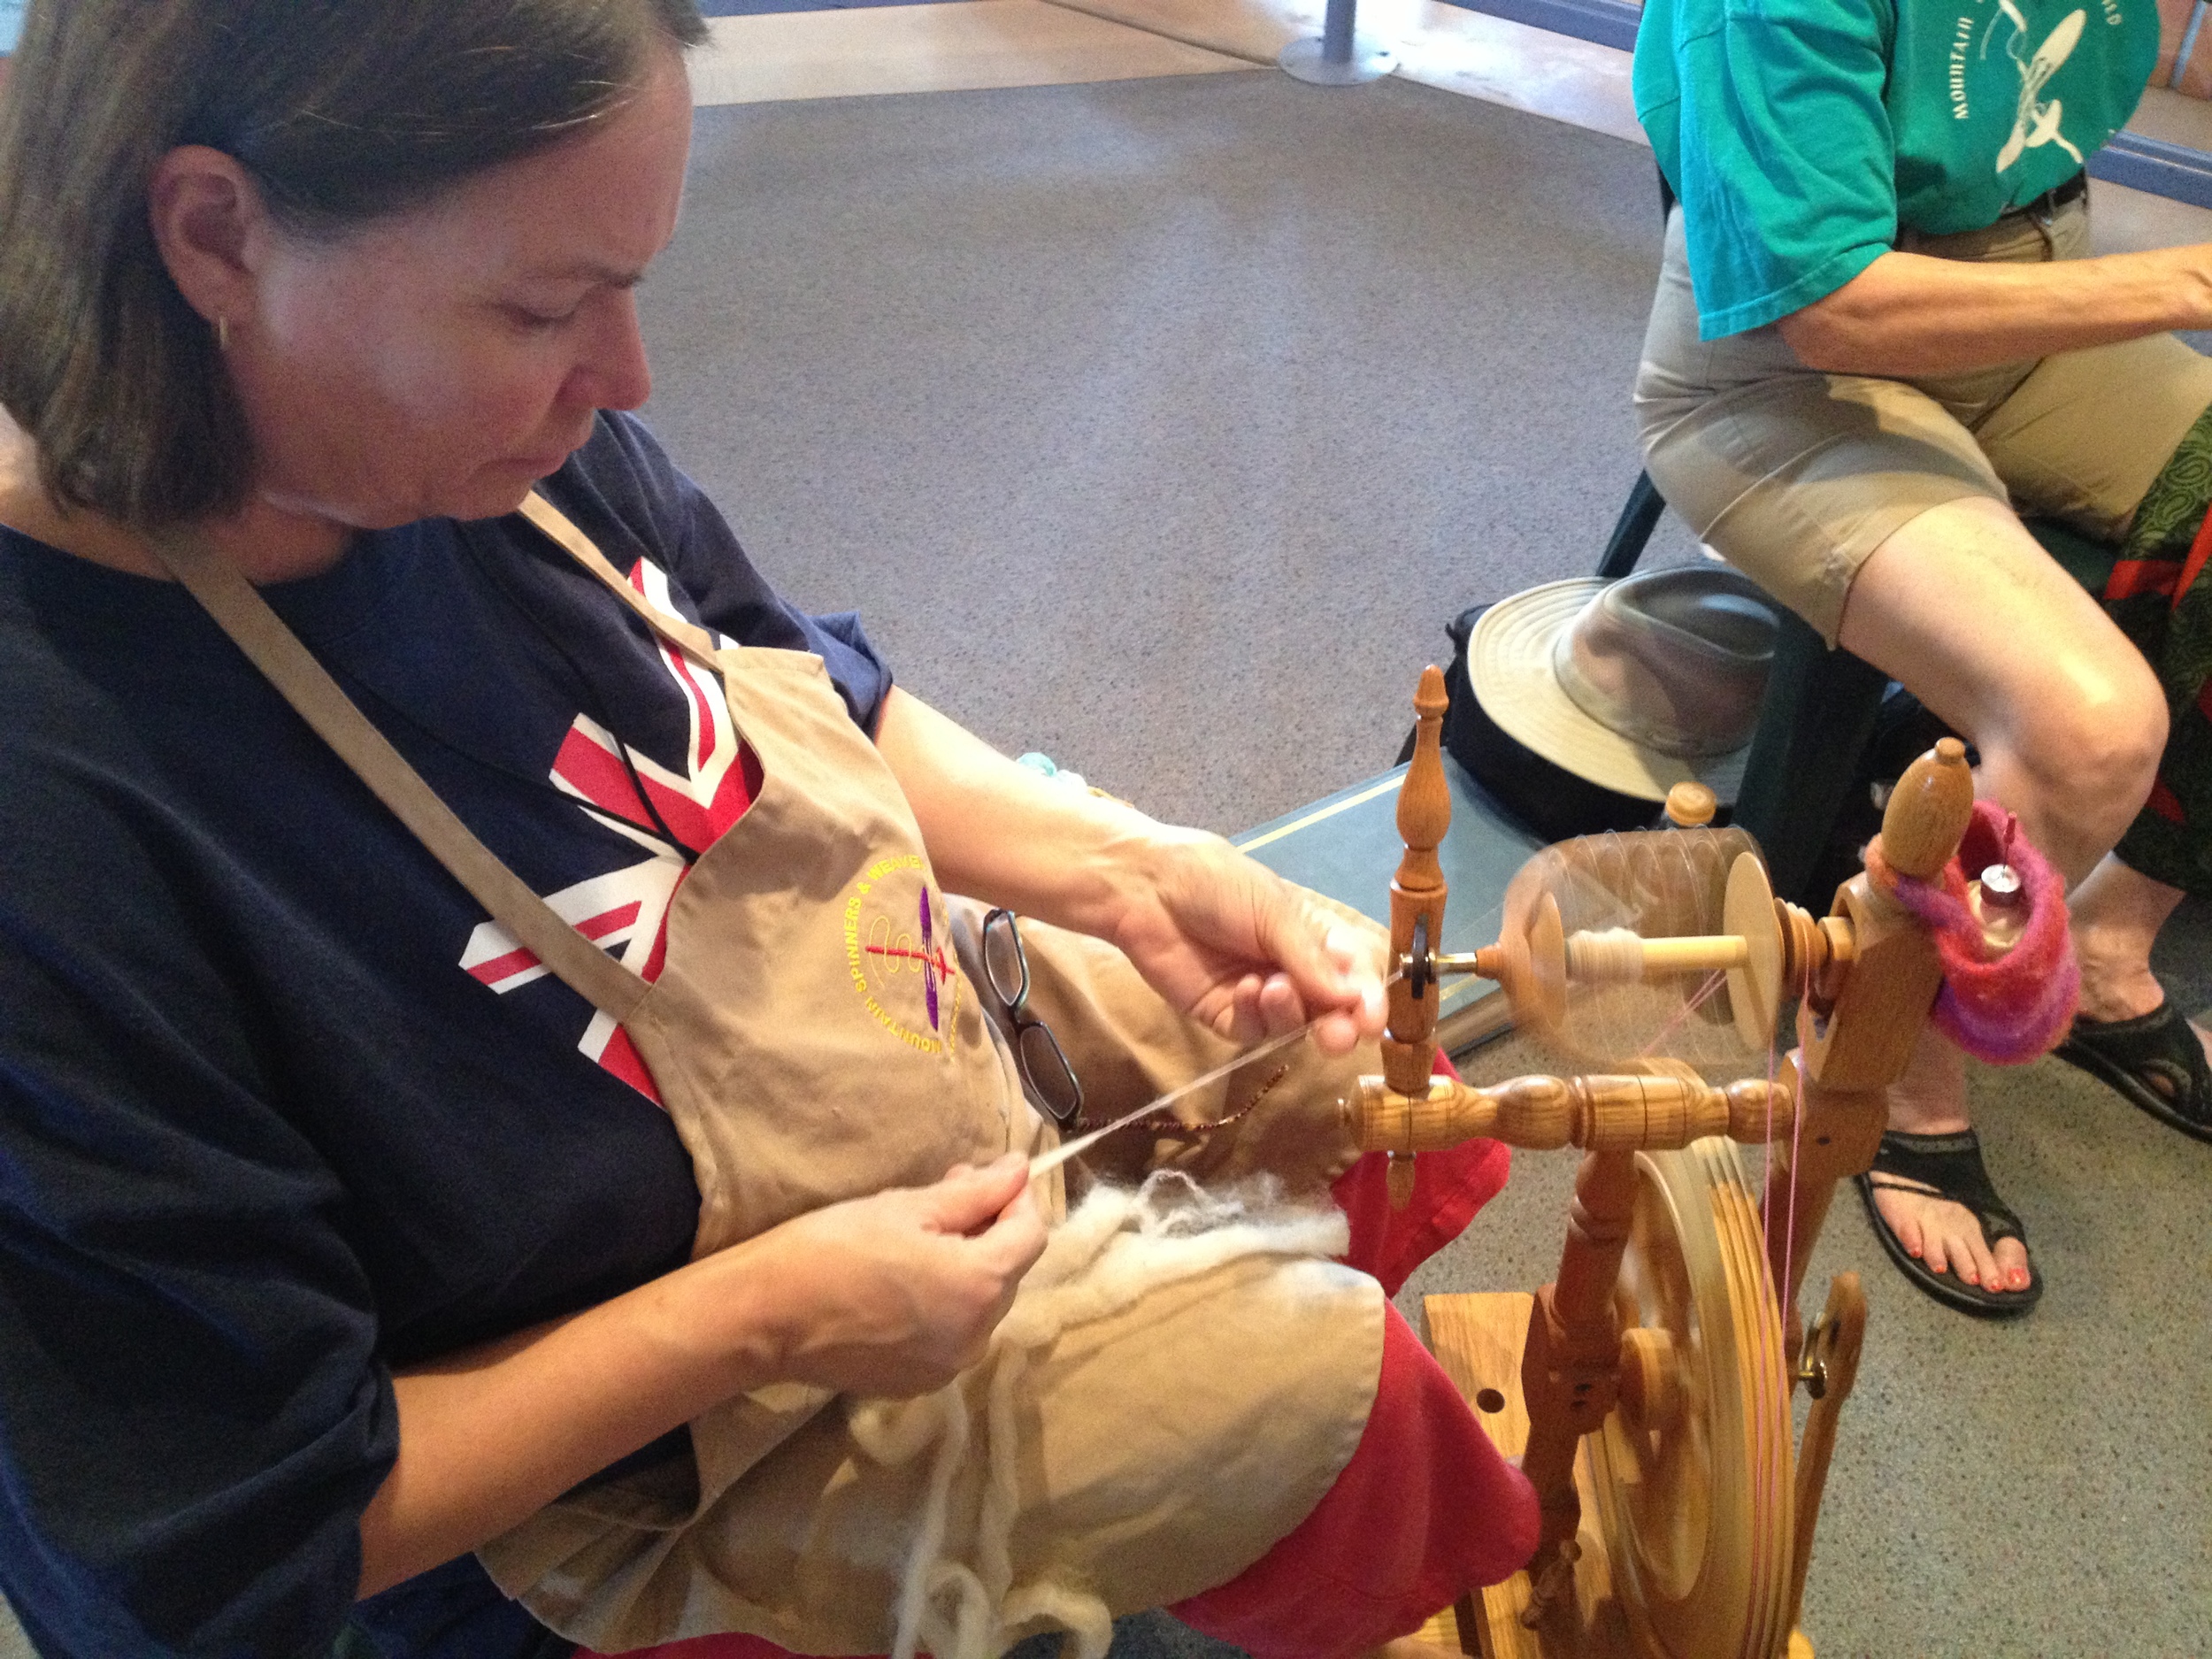
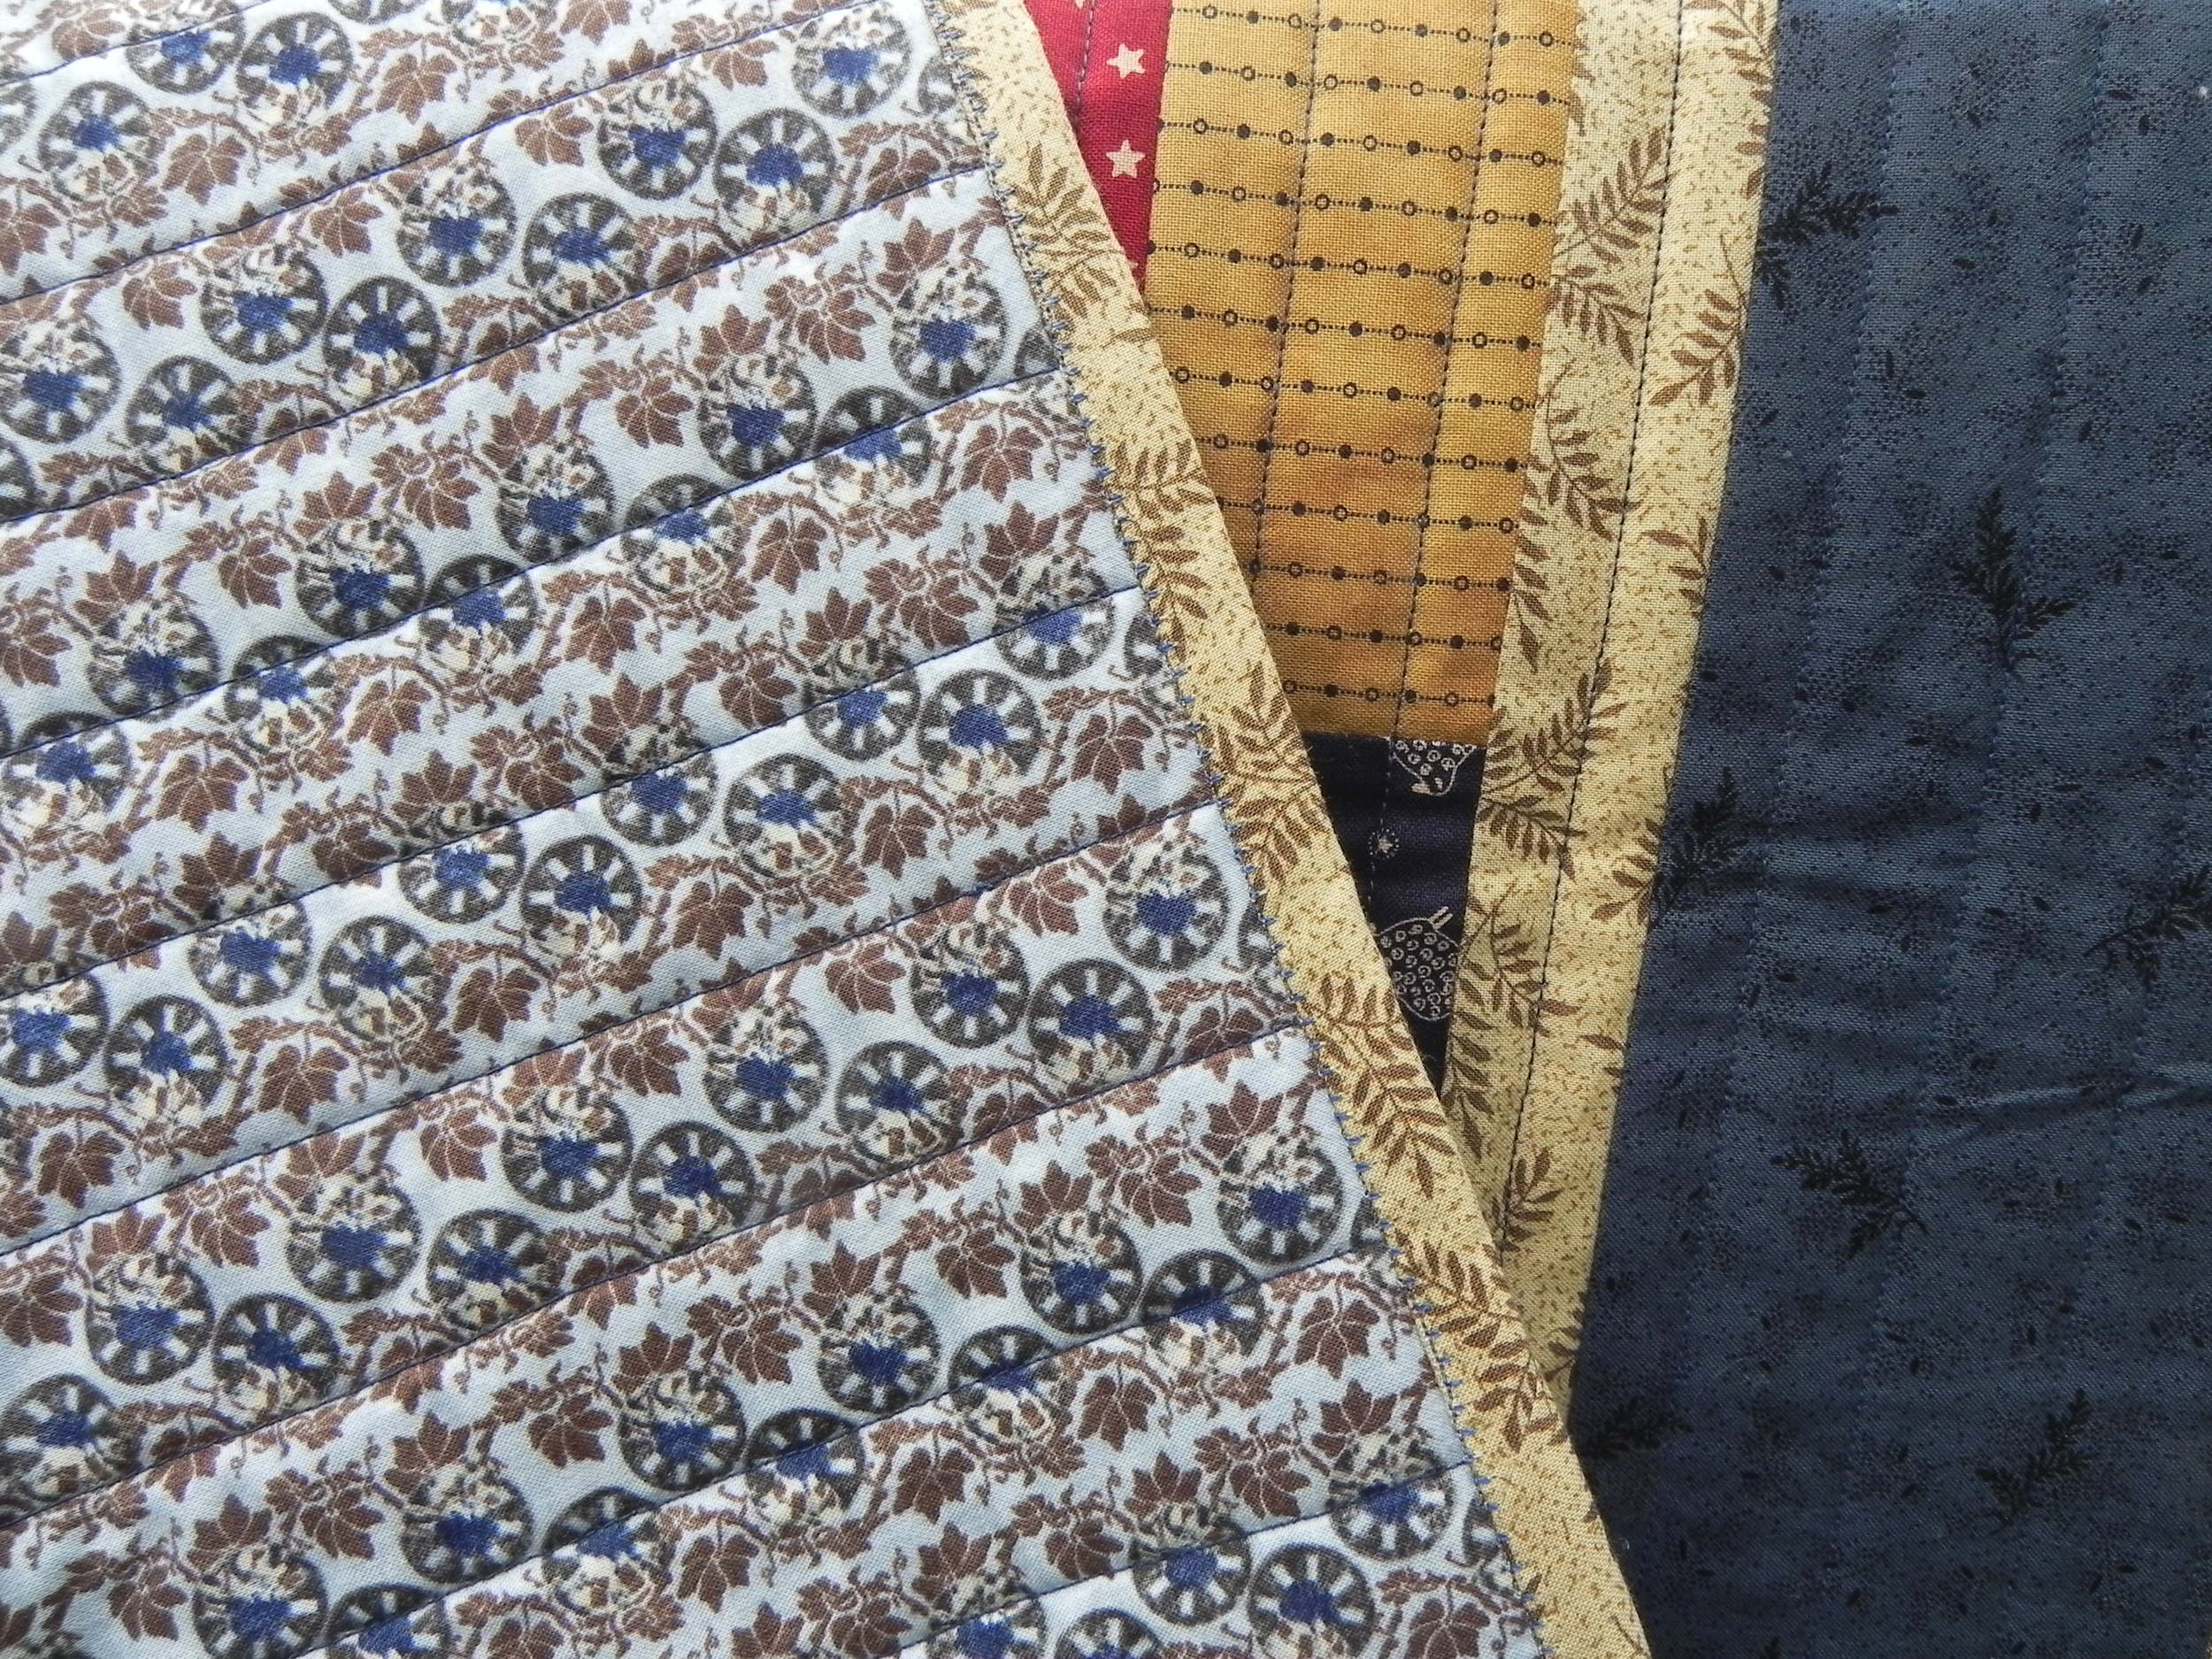
Anyway, between the downloaded directions, the quilt shop’s video, and what I’d already figured out how to do by making other mask patterns, I finally got some made. The first photo shows you just how old some of these fat quarters are that I’m using up to make masks—2002? Yikes. My Thimbleberries Era. They make very pretty masks, even if they’re not really my jam anymore. The blue mask is one I made for my husband. The outer fabric is a batik he brought me back from a work trip he took to Alaska—the lining is another really old fat quarter I was glad to use (and it’s cotton, which is far more comfortable against the face than batik is). He didn’t like the way his bulged out at the sides so I took in a quick tuck on either side. It’s not pretty but it’s wearable. I don’t mind mine bulging out—I don’t have to wear mine for as long at a time as he does.


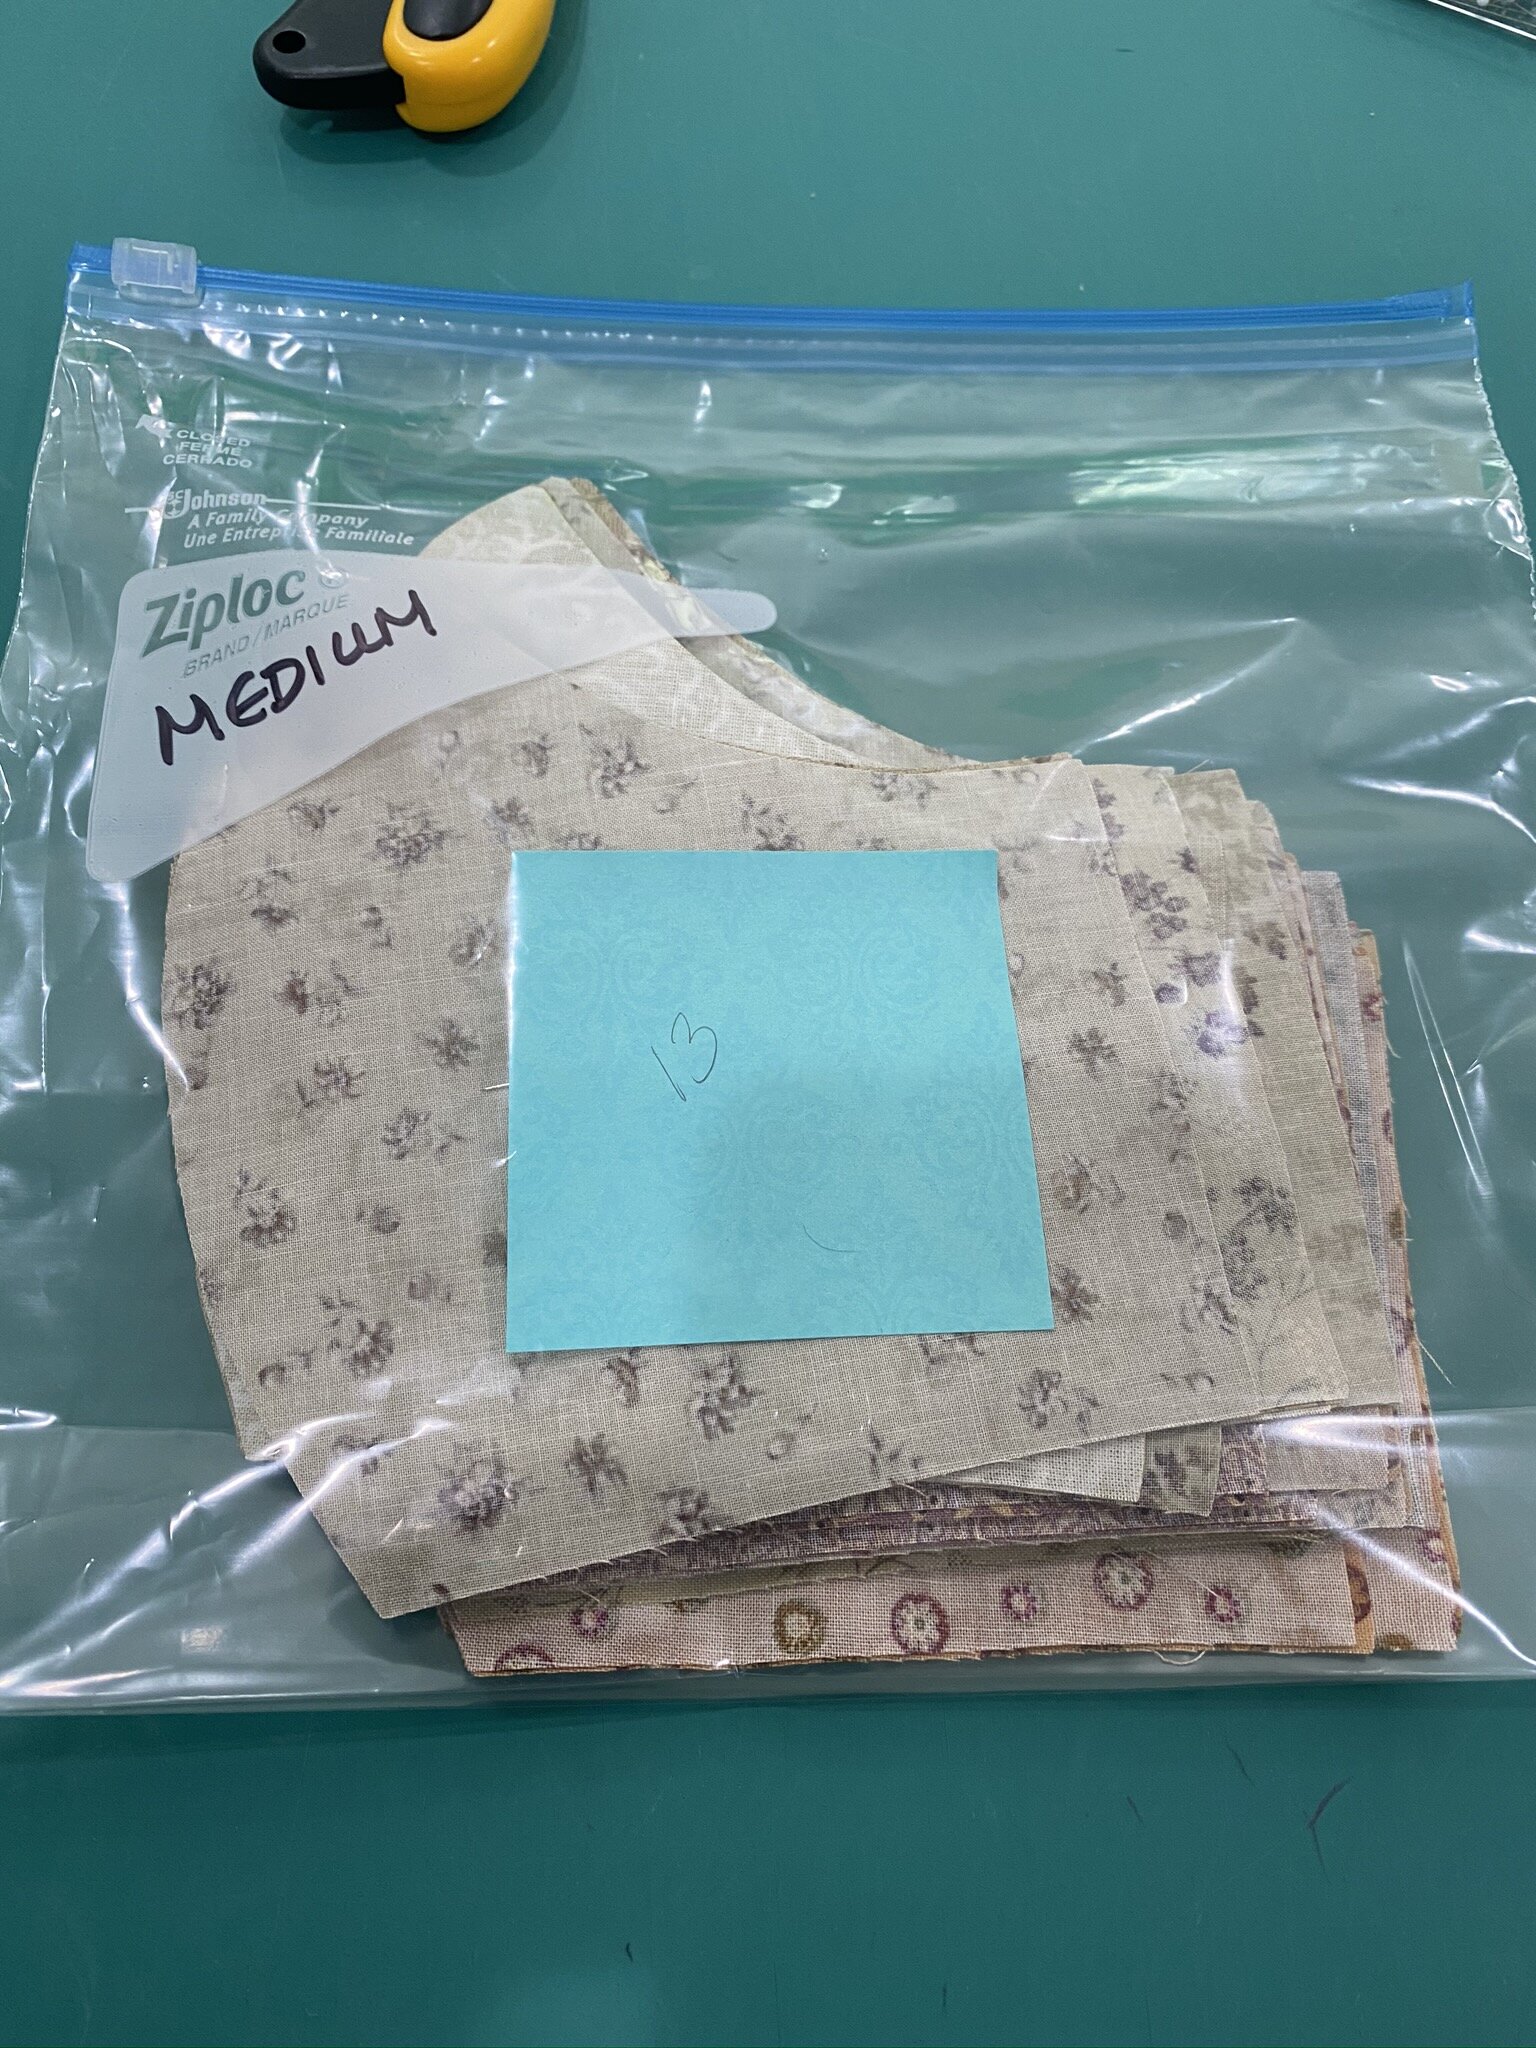
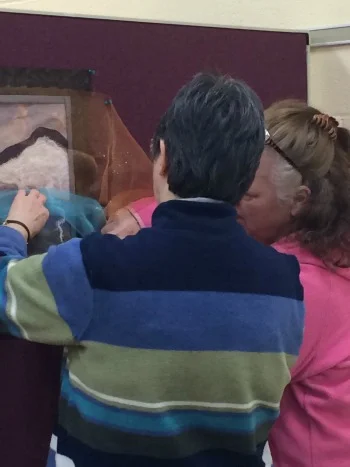
Then I got to work making “kits” to give to a friend of mine who is making masks to sell as a fundraiser for an orphanage in her home country of Myanmar.

She’s going to use elastic so I’m not worrying about cutting the ties. This is the perfect partnership as I don’t mind doing the cutting and donating lots of fabric to the cause, and she doesn’t mind doing the sewing.

I have 13 medium-sized sets cut right now—that represents lots of fat quarters. For the medium and large dies, I get two out of each fat quarter—haven’t done any small ones yet but I’m thinking I may be able to squeeze three. Sadly, I haven’t even made much of a dent in my fat quarter stash yet, but at least it’s no longer overflowing its drawer.

And I’ve got lots of decent-sized scraps left over that I’ll be able to cut down into usable sizes for other scrap projects.


IMG_0744.JPEG

Finally, I mentioned in the Twilters! Facebook group that I’ve registered for the Mancuso Online Quilt Festival this coming week. I’m taking Thursday and Friday and all next week as vacation, and I plan on sewing my head off!

I’m taking a class on the curved log cabin on Friday (I think—not sure which class is which day). It uses 2 1/2 yards of lights and 2 1/2 yards of darks, so I’m pulling entirely from my strip stash. 80 strips total, and I still have a ton left. However, it feels good seeing all of these finally getting used!

I’ve got a pretty wide variety in my darks but I’m hoping that helps it have a little sparkle. The yard of burgundy is the center squares, and can I tell you how glad I’ll be to use that one? It’s one I inherited from my Mom’s stash, and she passed away in 2009, and it looked like it had been on her shelf for quite awhile before I took it. That one is just crying for a home. It’s just an odd enough color that I’ve never found a project I could use it in—so this one is perfect. Cut into pretty small squares, the oddness of the color won’t stand out.

I’m trying to channel my Inner Charlotte with the randomness of the darks. I was mostly sticking to “colonial” and/or “country” tones (again, from my Thimbleberries Years and a whole lot of strip exchanges at my guild), but have a few ringers in there. I think it’ll be okay.

Now I have to start chopping all of these down into the appropriate sizes for the blocks. That’ll be tedious. Saving that for tomorrow.


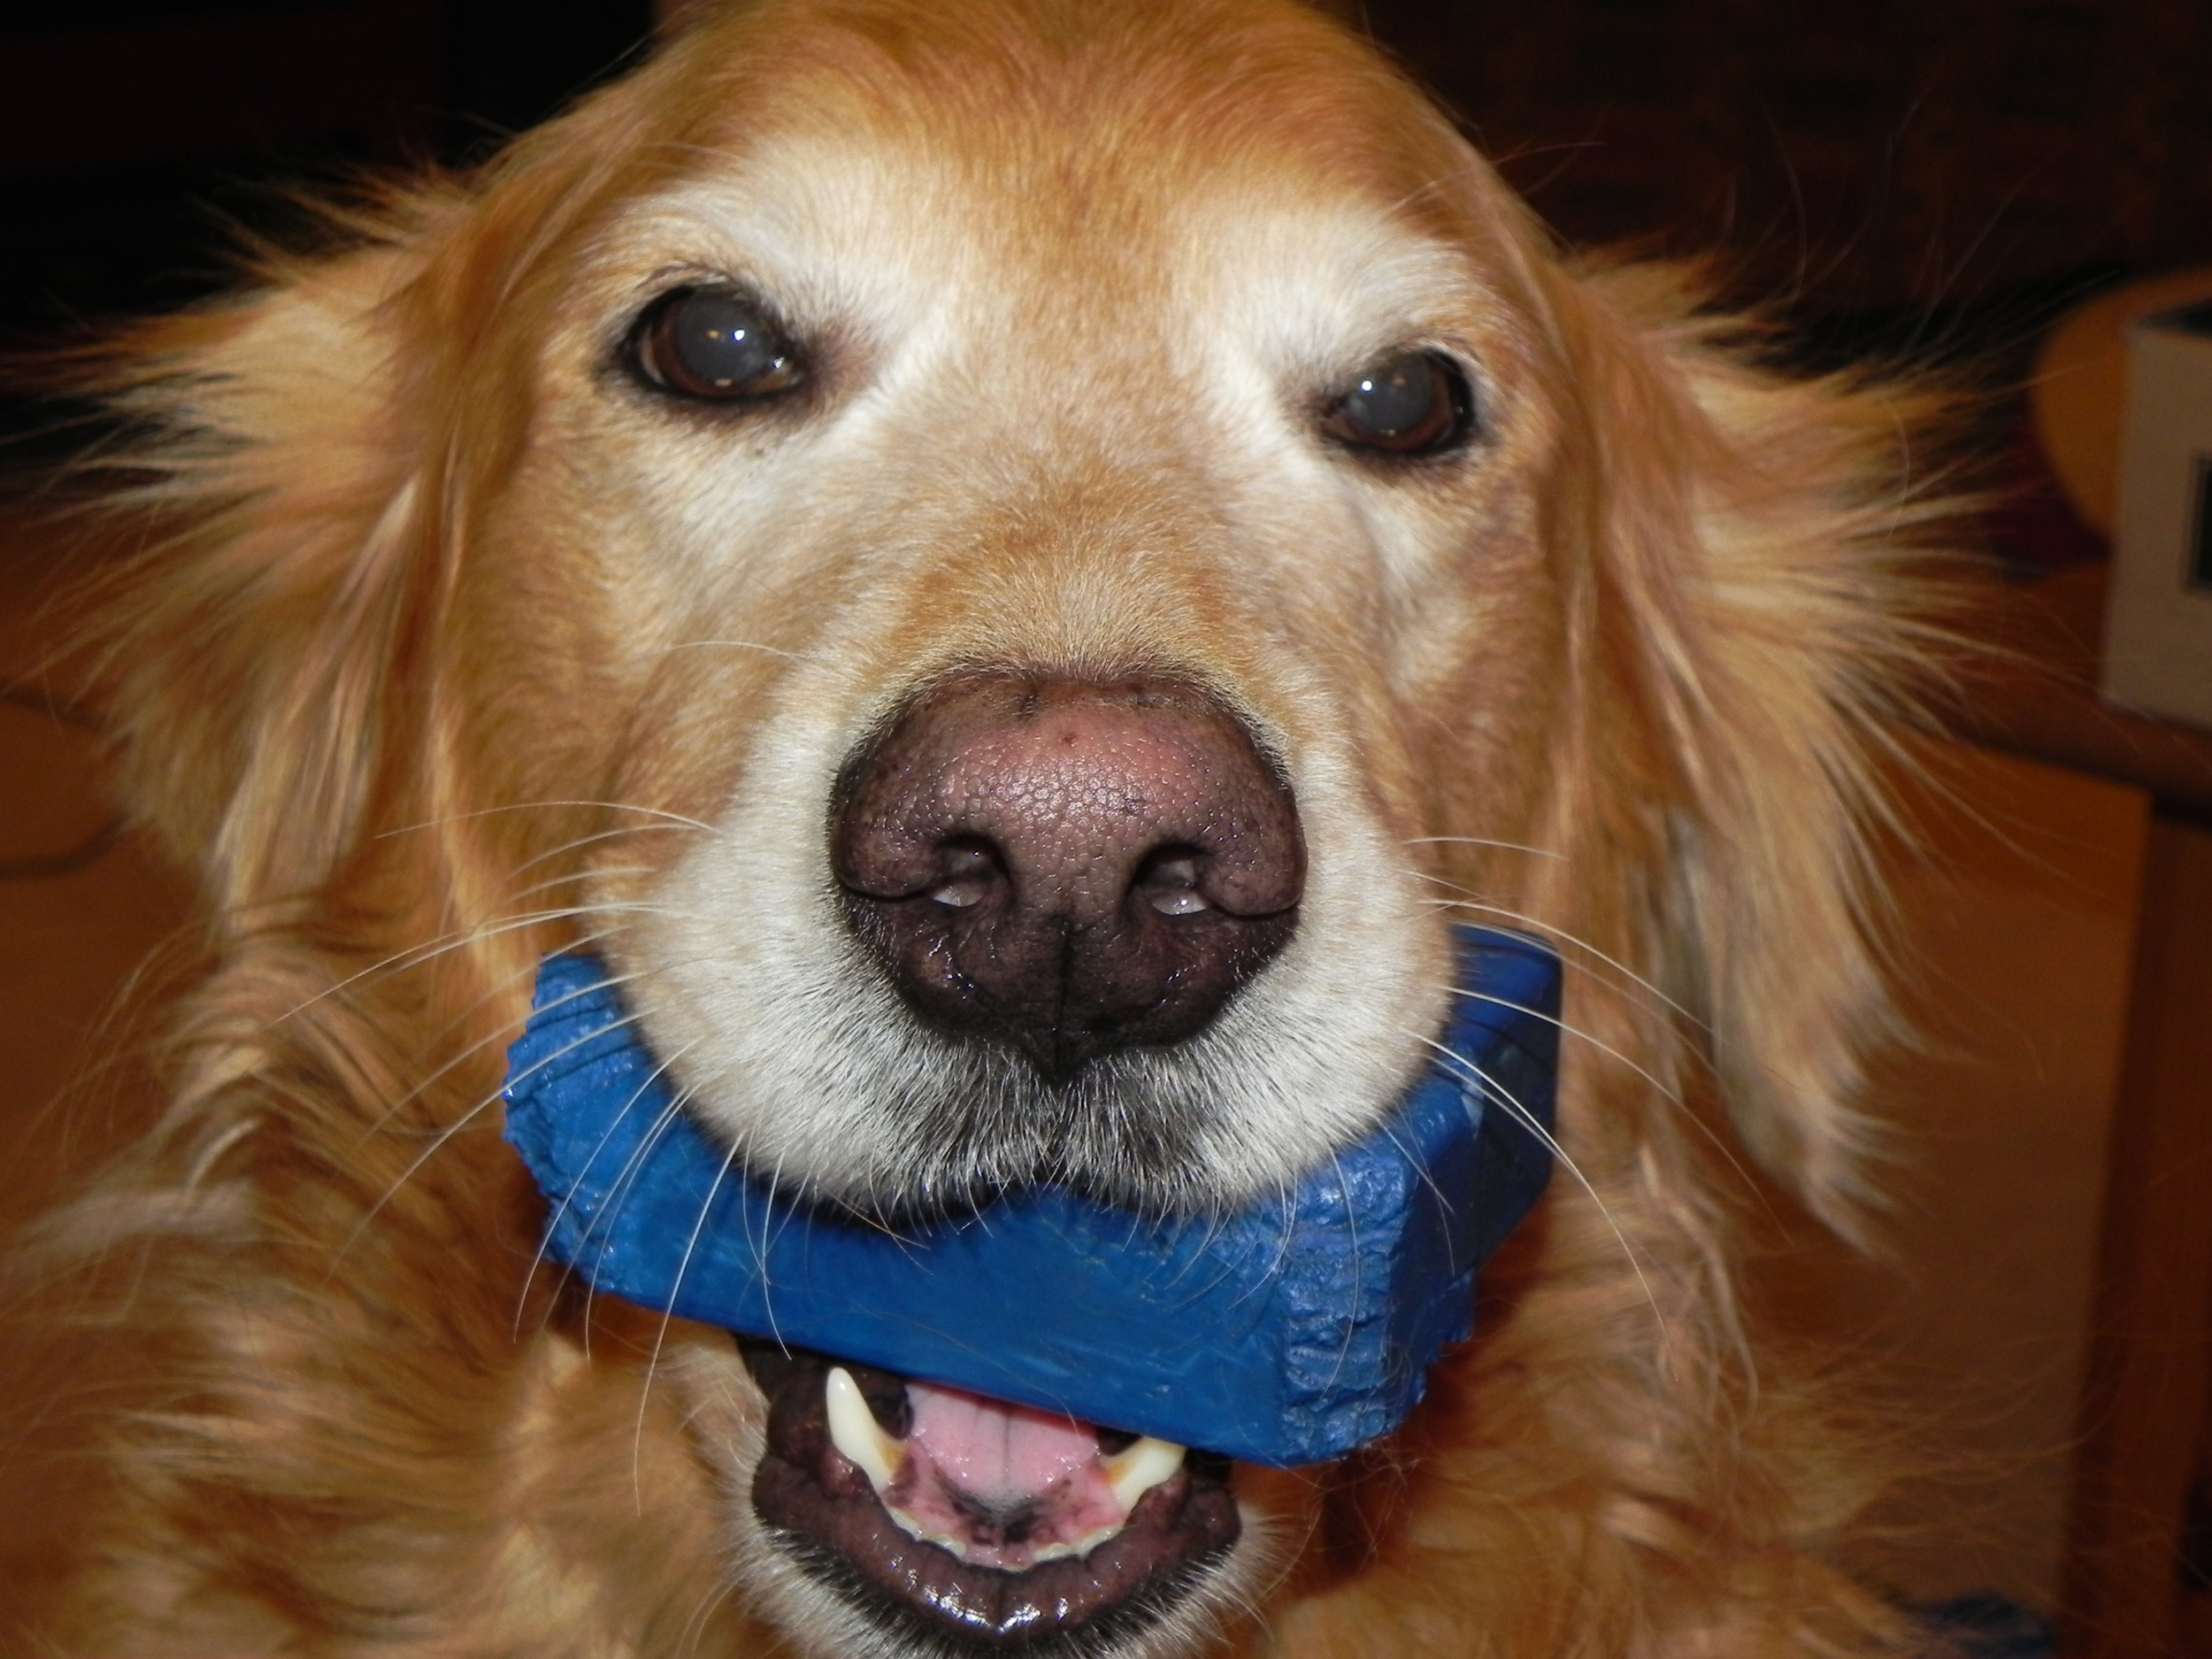
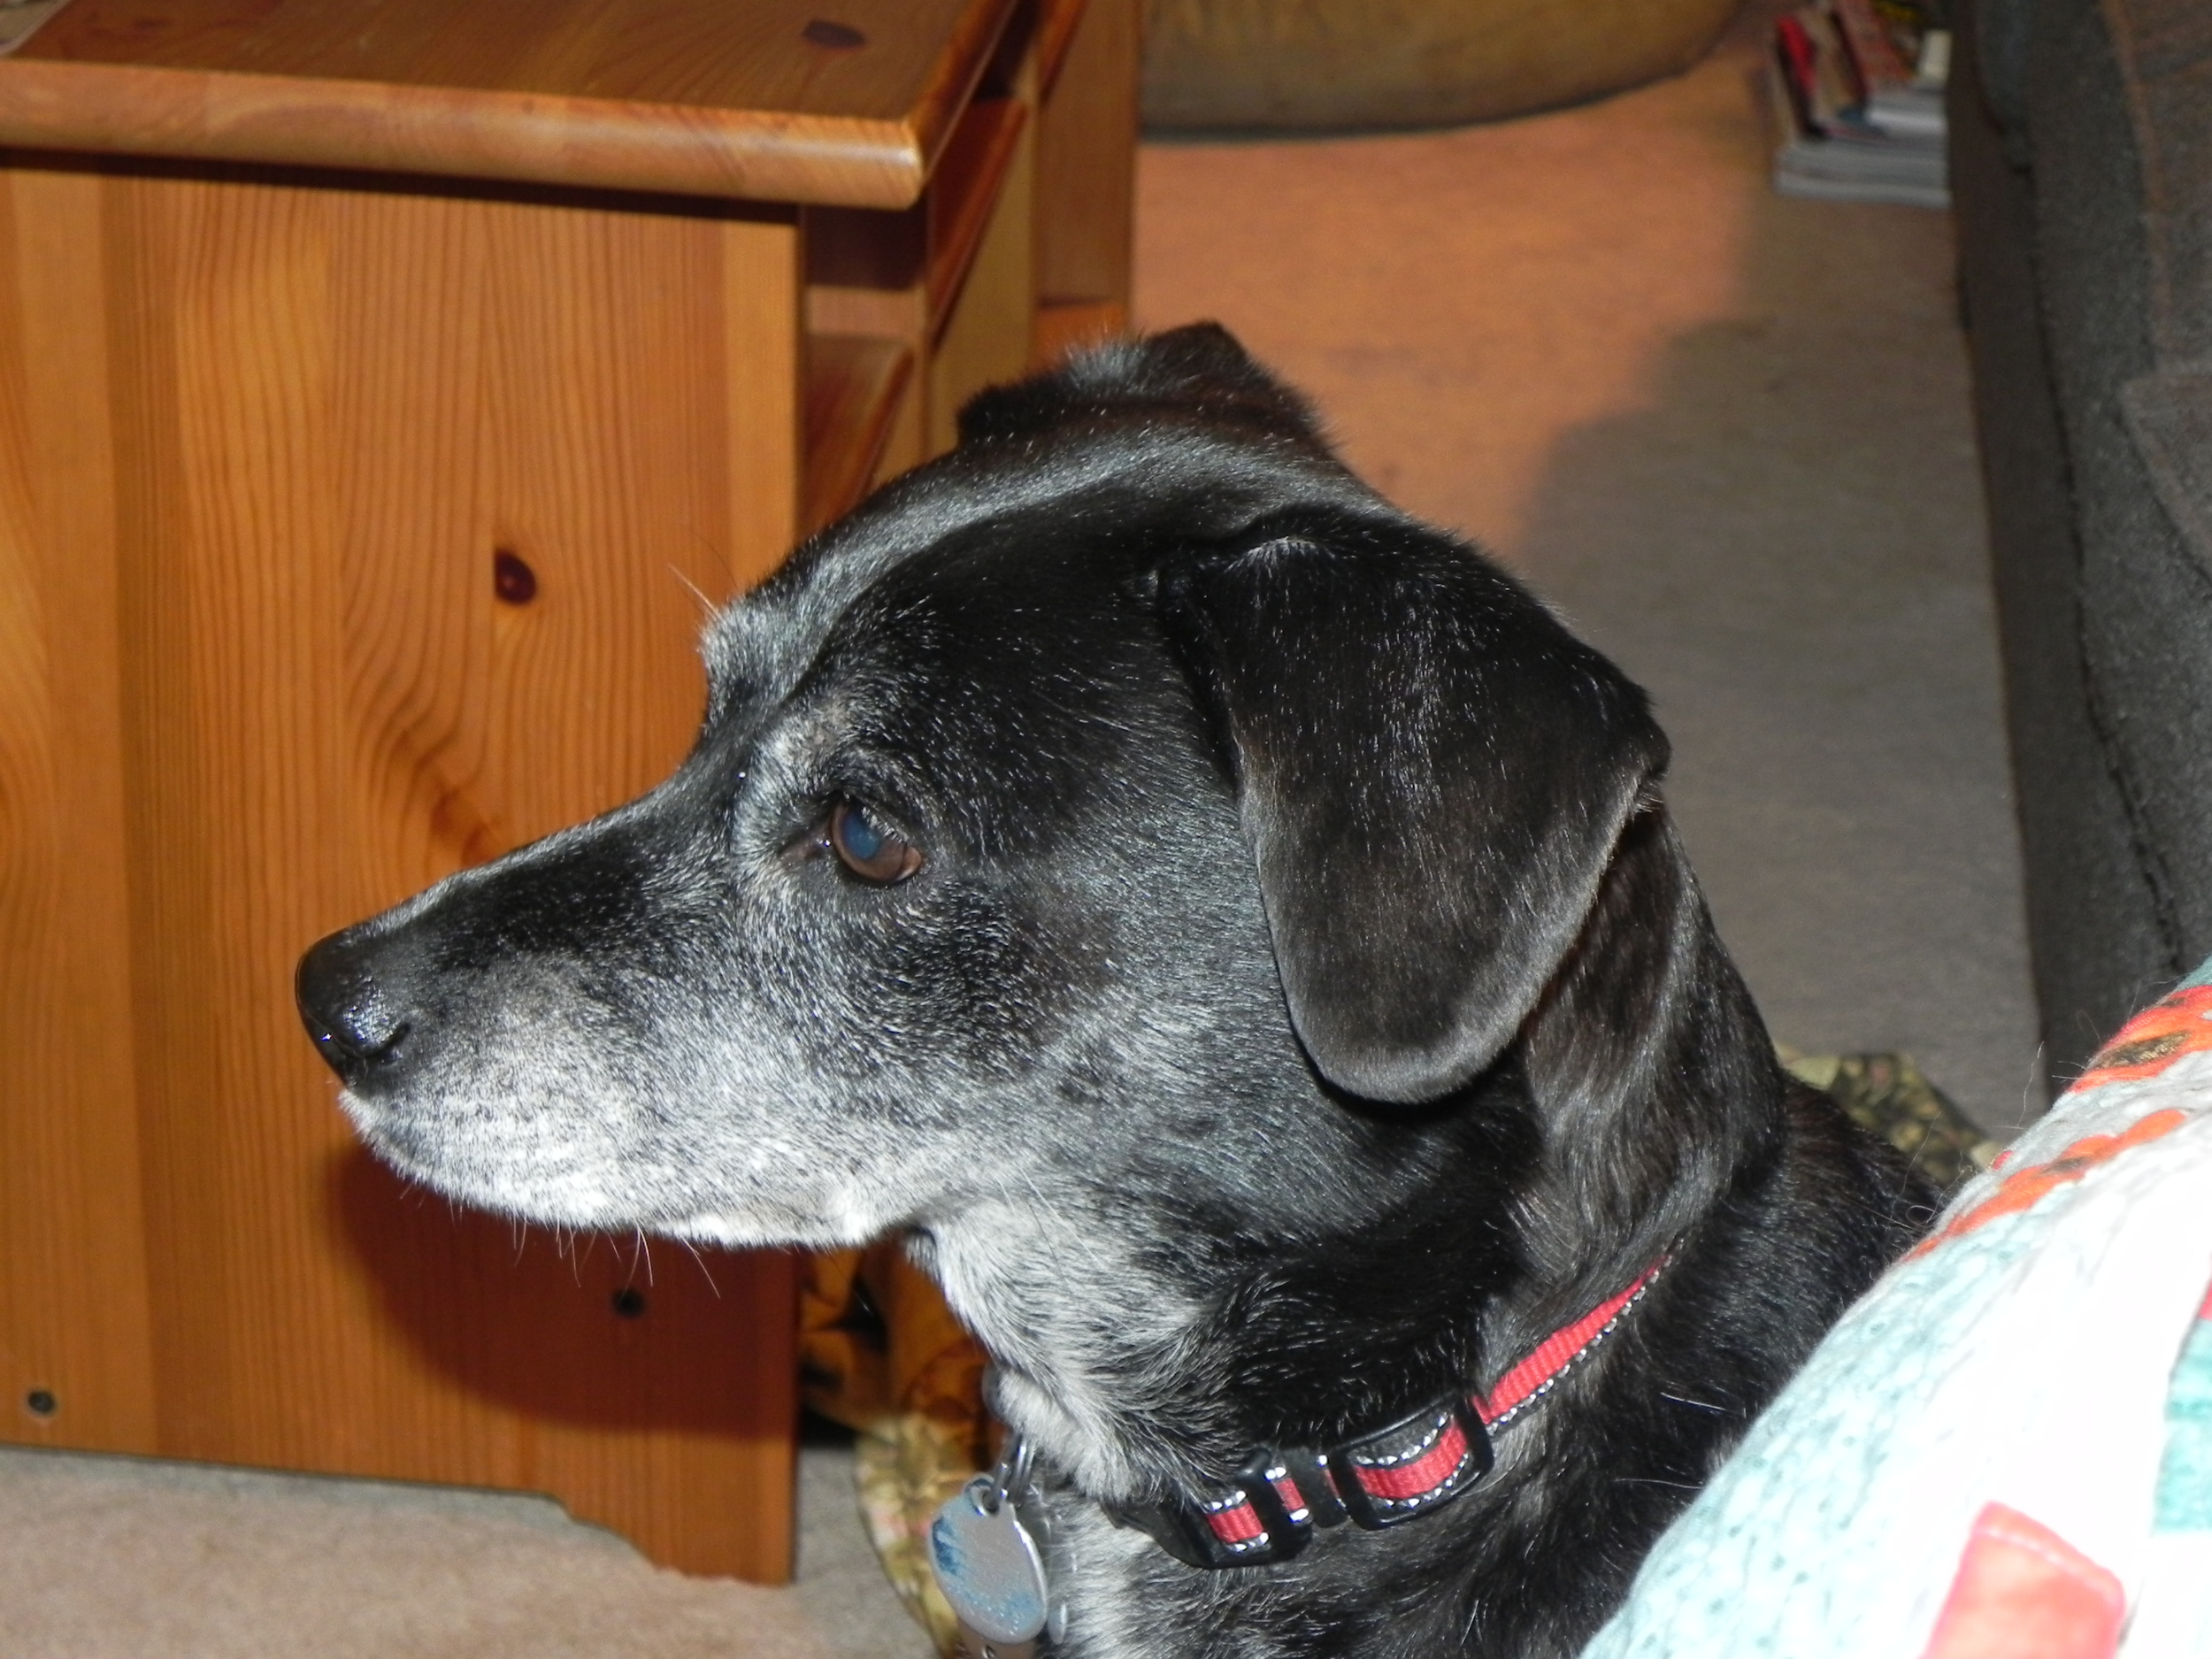
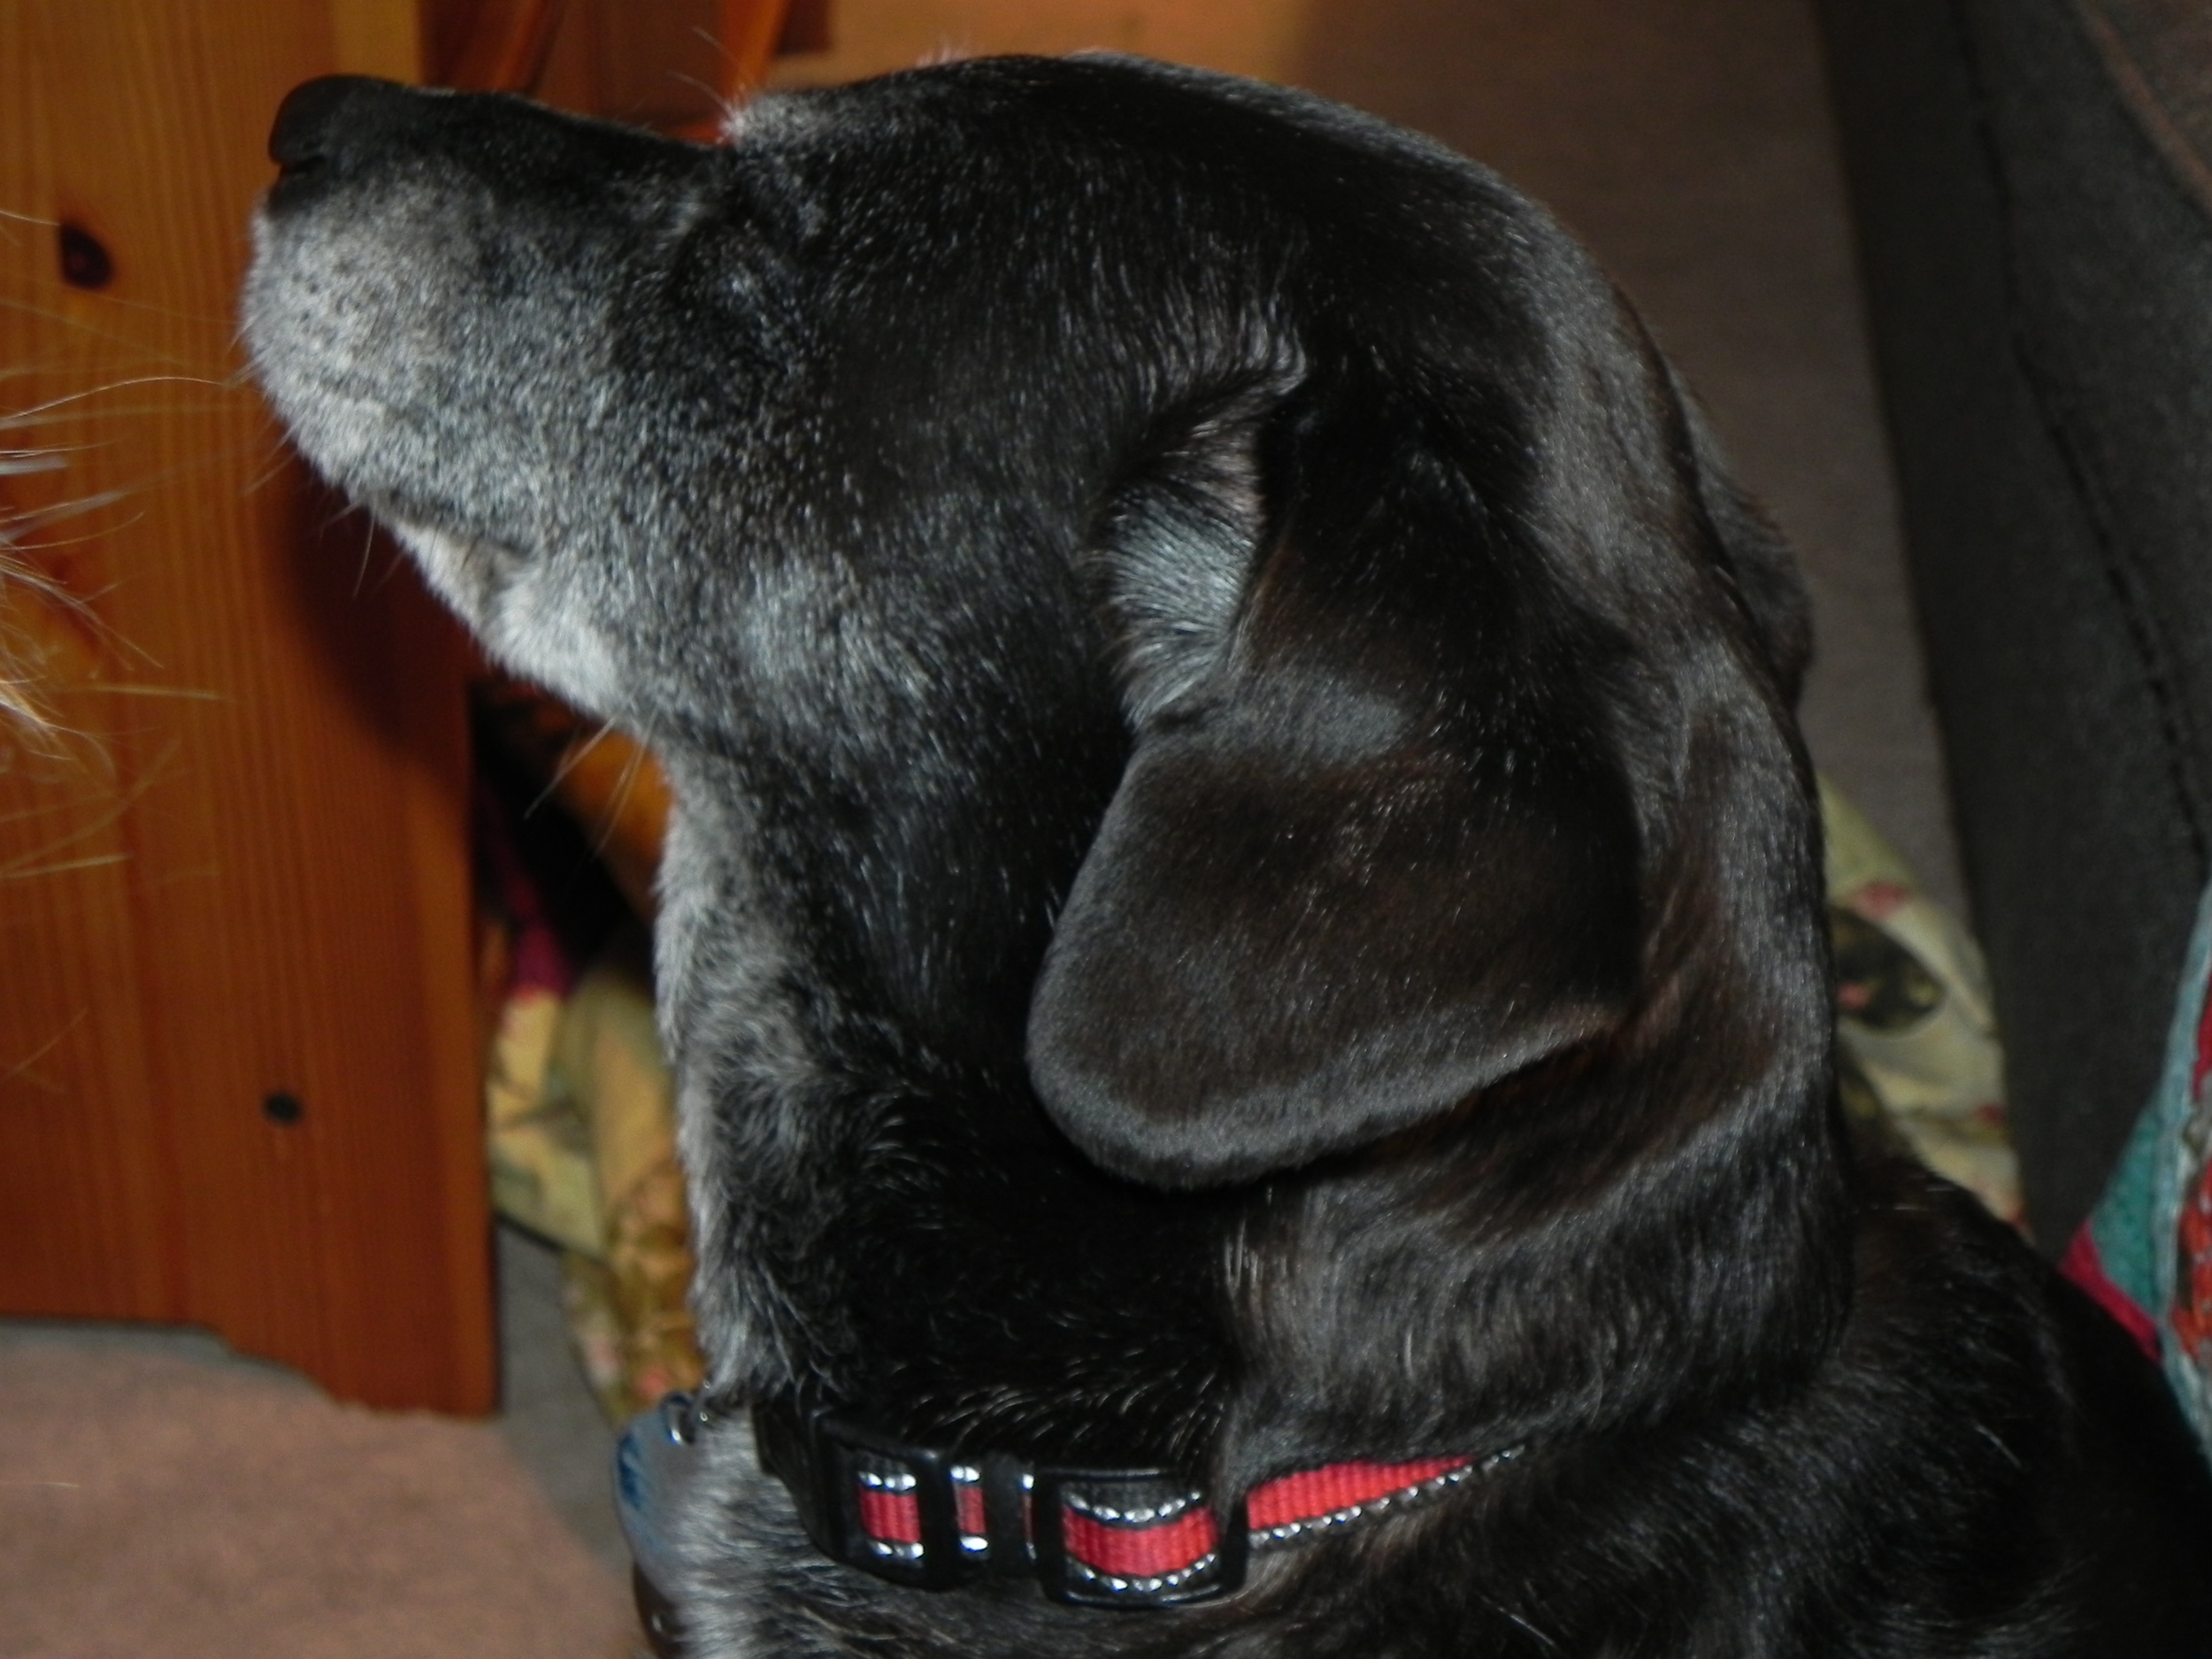
Last news of the day: Doggos got into the groomer today for the first time since February. Sadly, this turned out to be the last time Princess Doggie goes. She’s going to be 16 in September and is showing her age in rapidly increasing stages. She’s deaf, almost blind, has joint issues, and this past week has started losing her balance pretty frequently. She only let the groomer give her a bath but only one toe got its toenails trimmed before she freaked out. I’ll have to see if I can get her to let me do the rest of them. Otherwise, it was clearly just too stressful for her at this point. Aug-dog, though, was in his glory, having people pay so much undivided attention to him. As the groomer said, “He has so much [pregnant pause] personality!” I’ll bet.

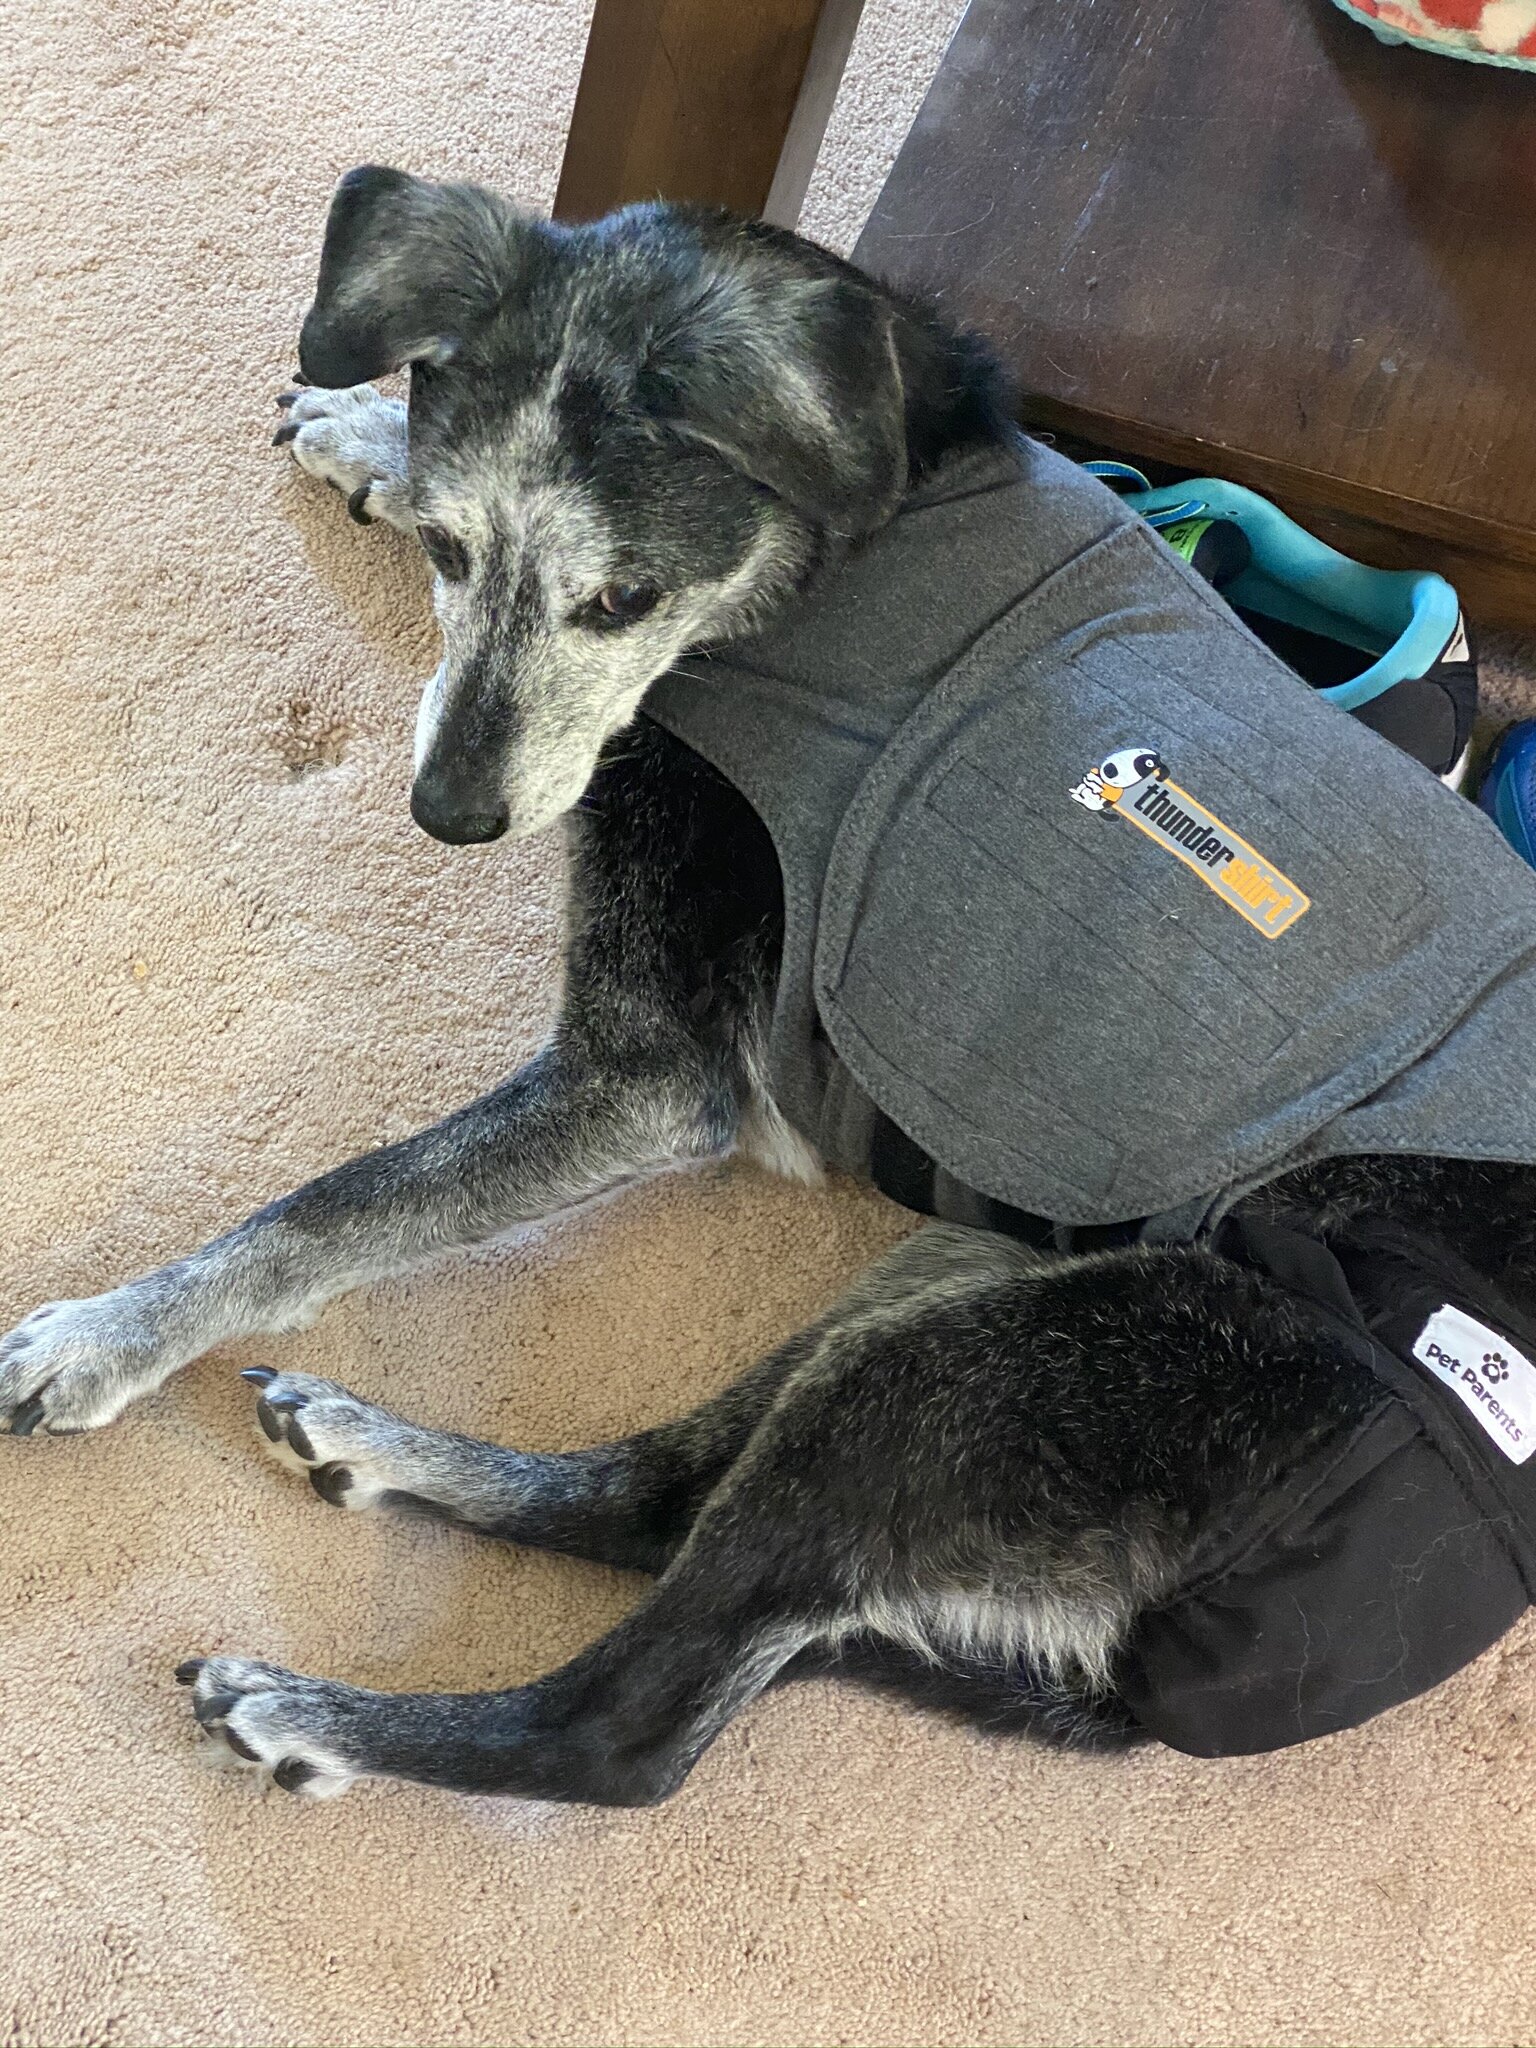
Spencer was in such a fuss when she got home I put her thundershirt on her to help her calm down.

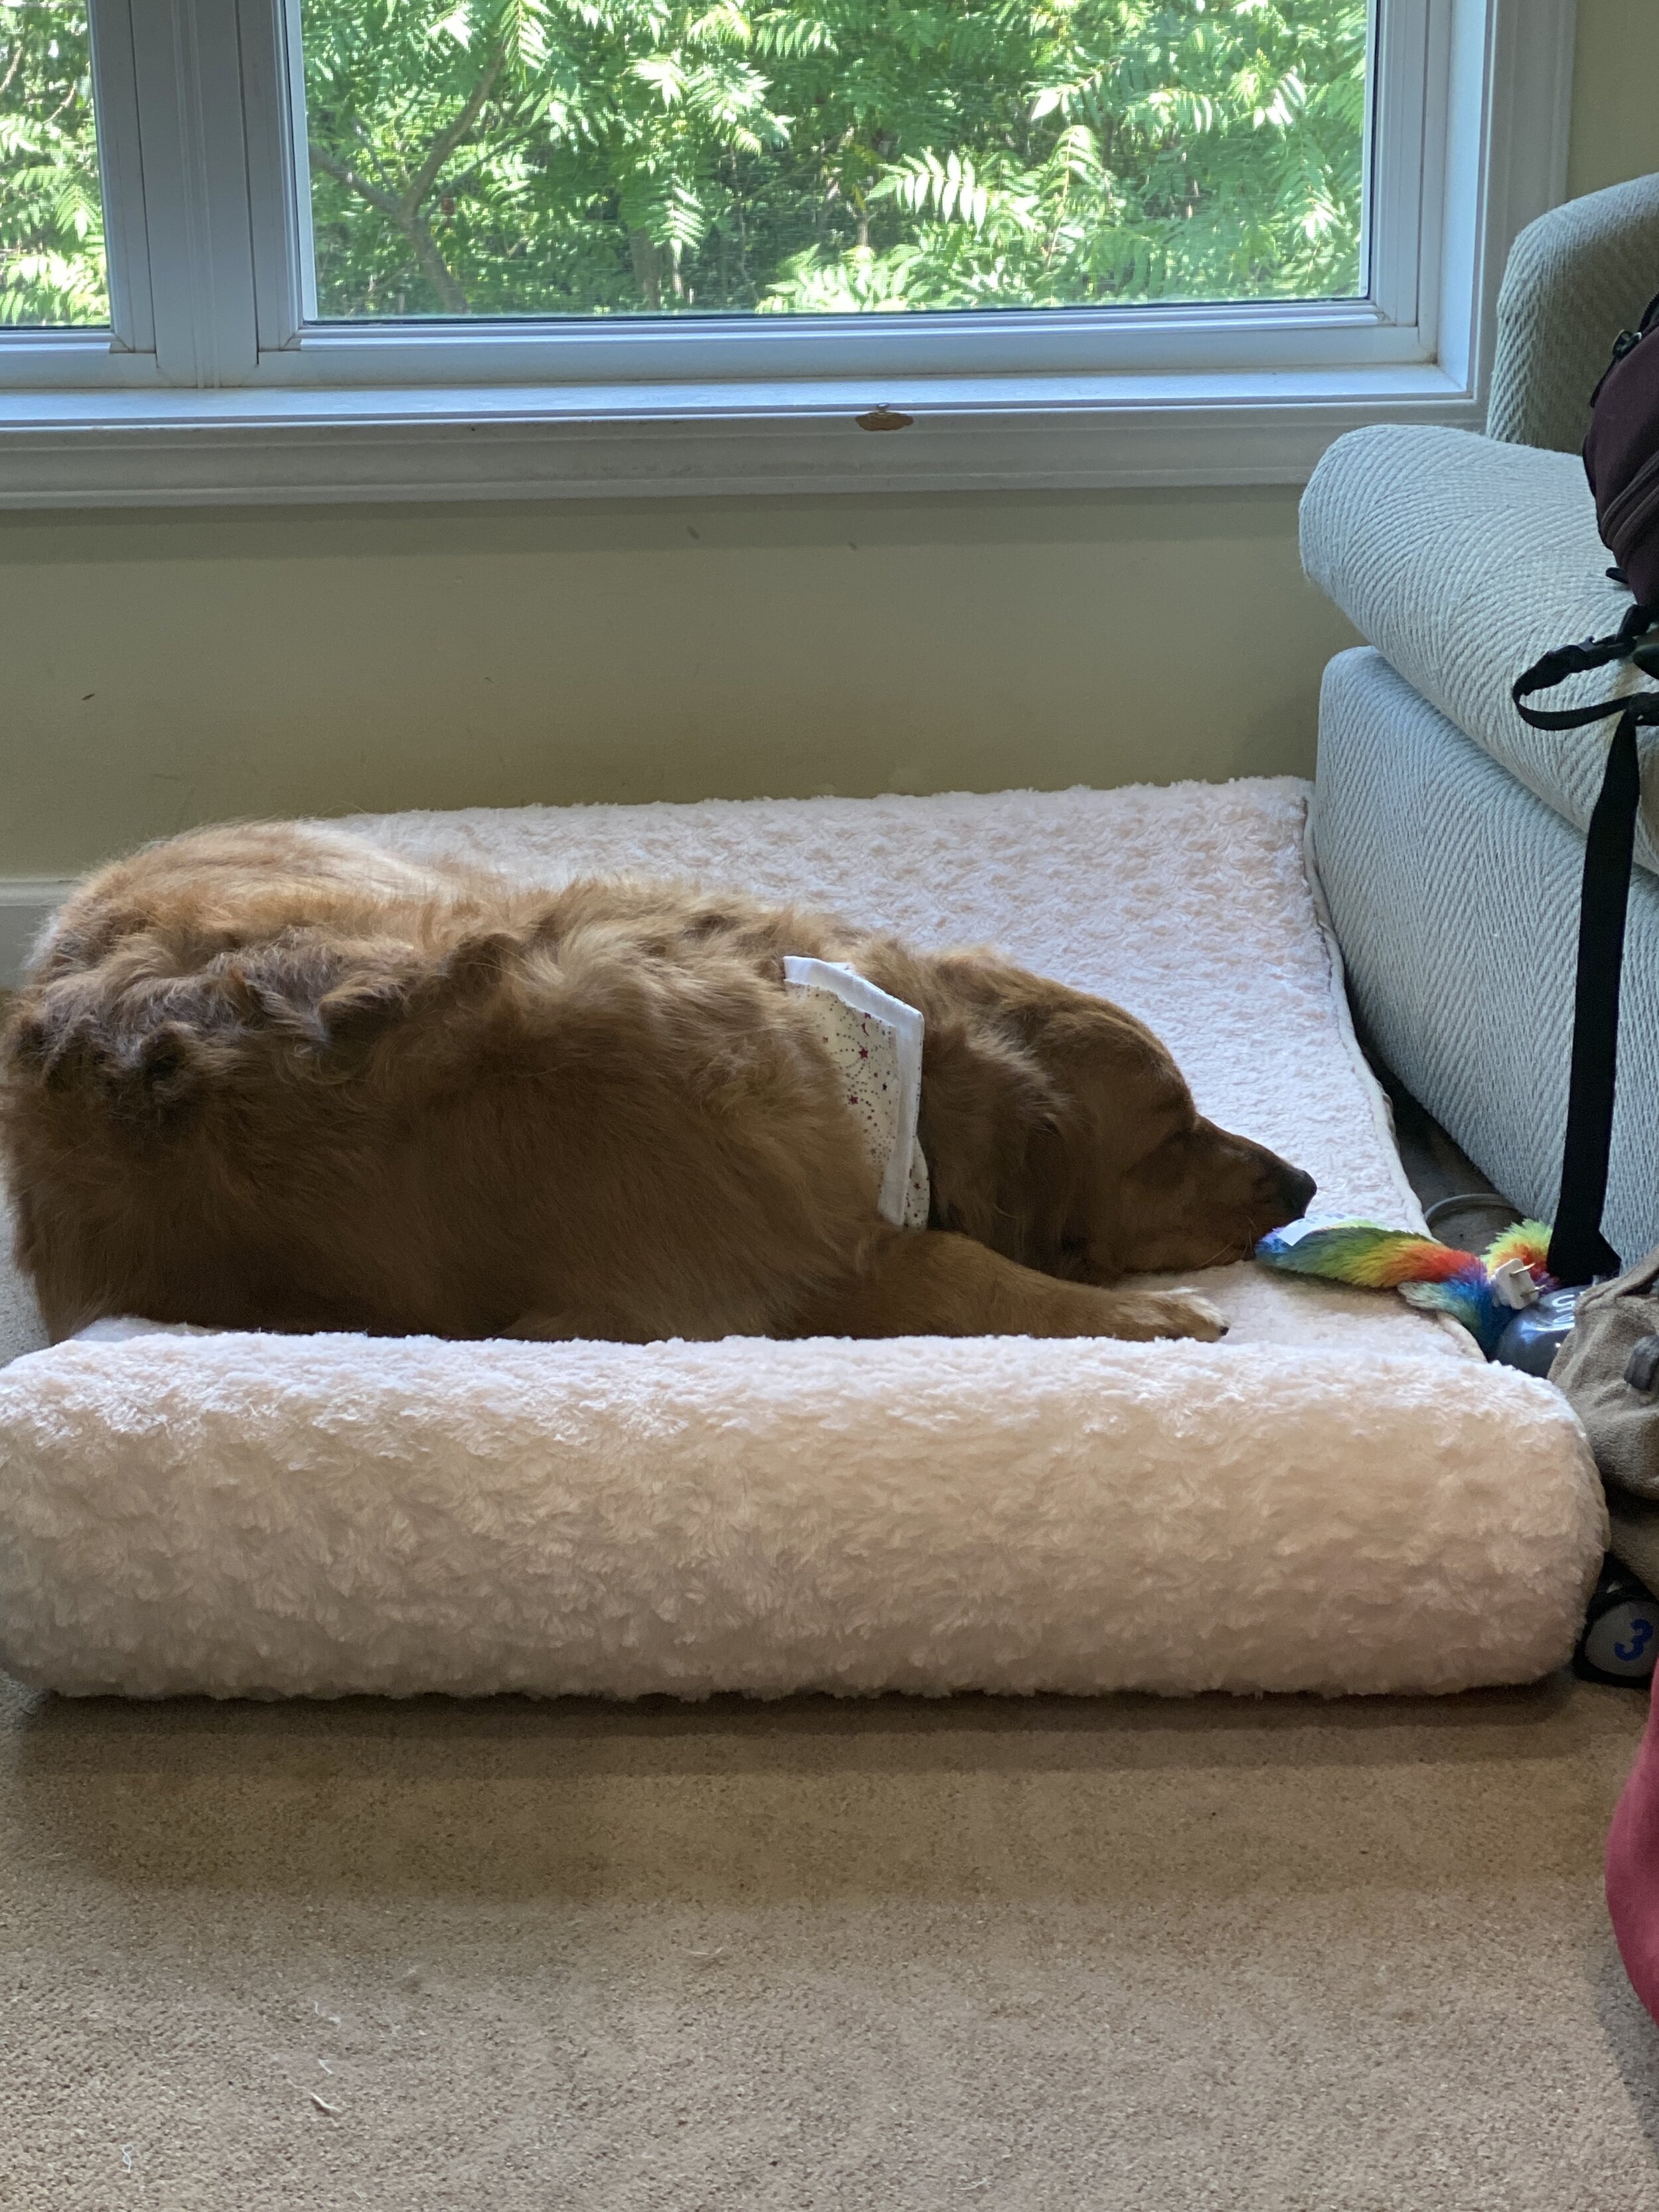
Auggie came with me up to my sewing room and crashed on his bed.

Hygiene is tiring.

(And btw, they got groomed before I did. I still haven’t brought myself to make a hair appointment yet!)

Progress on the "Hunting and Gathering" front

So I spent most of this week moving our offices to a new location. In 90 degree, 90% humidity weather. Although we had some volunteers, I was still lifting and hauling furniture and cartons and such for a few days straight as I packed, we moved, and I unpacked. Needless to say, when the weekend got here, I was toast. It was time for a relaxed, straight-up weekend off. I even cut errands to the bare minimum.

(Top pic: old office mid-packing. Middle pic: new office after moving in. Bottom pic: panorama shot of new office with everything put away. Eventually the side with the round table with be set up for teleconferencing and the side with two chairs in the upper right corner will be set up as more of a living-room feel for smaller meetings. My actual workspace is all in the far right—same amount of space as I took up in the last office, despite this being four times the size! The administrative office is separate, and smaller, but still bigger than we used to have, and we have a small reception area leading to both offices. It’s a great space and I look forward to when we’re finally able to afford to fully furnish and decorate it! One step at a time….)

I did manage to get in some much-needed friend-time. I’ve recently reconnected with a high-school friend, who had married another high-school friend right out of high school. I actually knew her now-husband better than her in high school because he and I were in several classes together starting in elementary school; I saw her less often. Now that we’ve reconnected, though, I said to her, “I’m wondering why I wasn’t closer friends with you in high school!” It wasn’t that we weren’t friends—we were more along the lines of friendly acquaintances. When we were together, we got along great. We just weren’t together all that much. We’re fixing that now. She and her husband raise Siberian Huskies. They have 18 adult dogs and do their own breeding, very carefully, and only once a year or less. They have very strict rules about only having one female have two litters total, if that, because it takes such a toll on the mom’s body. They’re also very careful about who gets one of their puppies. They’re basically dog-lovers first who then offer some very loved, cared for puppies into the world on occasion.

IMG_2775.JPG

They currently have a litter of pups who are about 3 or 4 weeks old and in need of socializing. And I was in need of puppy breath. So my BFF/BQF Katie (another one of our circle who all grew up together), Katie’s daughter and I went out to visit the puppies on Saturday.

I discovered that Husky puppies aren’t quite as face-oriented as Springer Spaniels (the puppies I grew up with) or Golden Retrievers (the puppies I’ve had as an adult), so getting my fill of puppy breath was a little more work with these little guys. But going nose-to-nose with them garnished enough nose nibbles and face licks that I got enough to get by. They were absolute sweeties. And hearing their carers/owners talk about their pack was a joy—they clearly love them so much.

Boy, did I need that puppy breath.

But this is not, all signs pointing to the contrary, a dog blog.


IMG_2676.JPEG

Because I was toast, I just couldn’t get my mojo up for any actual sewing again this weekend. Instead, I managed to push some UFOs forward in a non-sewing way.

I dropped the two jelly-roll race quilts off at an LQS for machine quilting. It felt good to get them off the hanger in my sewing room.


public.jpg

I looked at the LQS for fabrics for backings for the other two pieced tops I have ready to go, but didn’t find anything that appealed and I was running late for meeting my friends for Puppy-a-looza so I bagged it for then. As I was driving home, my face covered in puppy licks, I realized it was too late to stop at any other quilt shops that afternoon. Given how little time I have to actually go shopping, I decided I was going to have to risk doing it online.


Backing for shabby-chic sampler quilt

Backing for shabby-chic sampler quilt

This afternoon I did a little looking around at various online fabric places and finally found what I think will work at The Fat Quarter Shop. It’s tricky trying to match colors in a physical quilt with what you’re seeing on your computer screen, but since I wasn’t going for an exact match and rather a “coordinate with” type of fabric, I think it should work. Plus, it’s only the back.


Backing for taupe sampler

Backing for taupe sampler

I’m not 100% convinced I have binding fabric for either of these two quilts but I decided that’s a problem for another day. I didn’t have enough puppy breath built up in my system to try to take care of that today too.

Thinkin' about It Thursday

This week, I'm thinking...

  • That I really, truly, am a machine girl.
  • That hand-piecing and hand applique are just not really my cup of tea.
  • That, however, I do like doing felted wool with a blanket stitch by hand.
    • Just not in several layers with a honkin' big chenille needle that hurts my fingers trying to get it through everything.
  • How I'm finally narrowing in on being able to start my embroidery for the Sue Spargo embroidery class (not the "Sue Spargo Take 6 Weeks to Finish Your Background" class).
  • That I'll find out then whether I'm an embroidery girl.
  • How I have a few too many projects clamoring for my attention at the moment.
  • That, regardless, I'm having too much fun to stop myself. ("Ooh, shiny!")
  • How much I'm looking forward to going to a class on Saturday with a bunch of my peeps.
  • How it's been way, way too long since I've gotten to spend time with my Guildy-Girls. 
  • That, on the other hand, I've gotten to spend time with a few of them in our Design Study Group this week.
  • How much fun Design Study Group is. 
    • Especially when someone brings in a project for a consult.
    • And we can all gather around and discuss design principles and voice opinions.
  • That it'll be fun to see what they do with the art quilt design classes we're all taking the next couple of Saturdays.
  • How that brings me back to looking forward to going to a class with my quilty peeps.
  • How that almost makes it better that there's still piles of snow outside that haven't melted enough yet for us to even see pavement.
  • How the forecast doesn't look good for the next several days.
  • That at least "March 1st" means "Getting closer to spring," so I'll be celebrating that day even if it is supposed to snow.
  • That even the Doofus has an opinion about the weather.

Weekend Progress

Sorry about completely blowing off my Fight the Funk Friday post. I was fighting the funk in many other ways! Thursday through Saturday were a mite busy in these parts and I just wasn't on my computer much. 

I actually touched my sewing machine for awhile on Sunday afternoon. I could've spent more time sewing this weekend but my BBW project is one of those that just needs time. As I'm working on one step, my mind is brewing possibilities for the next step. I'm pleased with where it's at but I needed another brief pause before I make final decisions about the last part I need to do. No pics until final reveal, though--the individual parts don't make much sense without the whole. And the backstory. So wait until next Sunday!

Meanwhile, I made pasta.​

I've been anxious to work on whole wheat pasta. I've tried eating whole wheat pasta a few times (dried, boxed, from a grocery store) and just couldn't get into it. Not so much a flavor thing as a texture thing. Too chewy or something. It just didn't jazz me enough to bother. 

But when I decided I wanted to learn how to make pasta myself, my primary goal was to make whole wheat pasta to see if I liked it any better than the boxed stuff.

And oh, I do.

This was definitely a success. I'll be making a lot more.


And, subsequently...dinner.

Whole wheat pasta with a quick sauce made of diced onions, garlic, diced tomatoes, diced roasted red pepper, Italian seasoning, leftover rosemary garlic chicken (Saturday night's dinner that's going to be a Craftsy class review as soon as I have a few minutes to really pull it together), and fresh shredded Parmesan. 

Very, very tasty. And pretty dang healthy, all in. Absent the Parmesan. (There's not as much pasta on that plate as it looks--I'd spread it out bowl fashion and put the sauce in the middle.)

So, of course, we have to figure out dessert.  

Yes, Virginia, there IS chocolate pasta. 

I know it may sound odd. When I bought the book Artisan Pasta and flipped it open to have my very first peek at the inside, it fell open to the chocolate pasta recipe. "How very weird," I thought, intrigued and a bit horrified at the same time. But it had to be tried. 

Mind you, this chocolate pasta isn't sweetened at all; you just add some unsweetened Dutch Process cocoa and a dash of cinnamon to your pasta flour. It's just about the prettiest pasta I've ever seen.

Look at that, all creamy brown ribbons. Gorgeous.


My first experiment for dessert tonight: I boiled the pasta (then drained and cooled it) and melted some Nutella with a dash of Canola oil to make it a little more of a syrup. Then I sliced up some strawberries into the pasta, drizzled the Nutella over the top, added a spoonful of Cool Whip Lite (had to save calories somewhere!) and sprinkled just a few chopped hazelnuts over the top.

I was shooting for a good balance of bitter, tart, sweet, and crunchy--and I did achieve that, at least--it wasn't too bad, but I don't think it let the chocolate pasta really shine. I'm intrigued by some ideas I saw online for using it Mexican-inspired preparations. After all, cocoa is an ingredient in molé so why not? This begs more experimentation. I've appointed fellow-twilter-foodie @HQSuz as my research assistant on this one.


On a day filled with pasta, it was a darn good thing I still managed to get in my canal walk despite threatening skies. No rain, though. I took my good camera along to play with some new filters I'd bought for it. No really exciting pictures, although you can see things are still pretty lush and green around here. While I walked I was pondering some hand-dyes to capture all those lovely variations on green. I'm starting to see some reds and yellows develop, though--just a couple more weeks and these pictures will look very different!

And, for those of you in his fan club, I'll leave you with a picture of a very happy mid-walk dog.


Fight the Funk Friday

Two quick notes before I begin:

1. I've noticed that the Fight the Funk image--and often other pictures--don't show up in Feedly for some reason. They used to, so some glitch happened somewhere. I haven't had time to figure it out yet--so if you want to see the pics, you'll need to click through to the website. Sorry!

2. For those of you who were asking: Princess Doggie (Spencer) has experienced a full recovery from whatever her mysterious malady was. By late last night she was back to her usual freakish self. It's good to have her back, as annoying as she can occasionally be. Freak.

And so, on to my Fitness Friday/Fight the Funk Friday. Be sure to check out ozzypip too! Sandy at Quilt Cabana Corner is on vacation this week, racking up the steps and ready to knock us all down a few pegs on that leaderboard. Looking forward to hearing her report when she's back!

Friday 8/15: Walked the canal with Sammy for 90 minutes. Total 10,455 steps for day.

Saturday 8/16: Planned on walking the canal with Sammy for 30 mins. Ended up walking the canal with DH for 90 minutes instead. I told him he was almost as fun a walking companion as Sam but not as nice to scratch behind the ears. Total 13k steps for day. (Also got groceries in the morning which accounted for nearly 2500 of those steps--we were way behind in our grocery shopping!)

Sunday 8/17: Slept. A lot. Apparently my body needed some recovery time. (2,325 steps--woo.)

Monday 8/18: Gym and elliptical for 45 minutes. Total 11,183 steps for the day.

A very happy walking companion wearing his "oopsie" bag--which remained empty--and my wrist wallet with car keys and ID attached to his collar. He's happier when he's got a job.

A very happy walking companion wearing his "oopsie" bag--which remained empty--and my wrist wallet with car keys and ID attached to his collar. He's happier when he's got a job.

Tuesday 8/19: Beautiful day with lousy weather predicted for the rest of the week, so I opted to do a canal walk with Sammy rather than the gym. I was dragging a bit again, and my shin started cramping up partway through the walk. I completed the entire walk (45 minutes, about 2.5 miles) but slower than usual with a couple of breaks for stretching; total 7,464 for the day.

Wed 8/20: Gym and elliptical for 45 minutes. Total 11,210 steps for the day.

Thur 8/21: I went to my WW meeting--which is during my usual workout time after work, so Thursdays are a little trickier in terms of getting steps in. Total 3,071.

This week, I moved from somewhere in the 30s to ranking #17 on my leaderboard in FitBit. I'd like to be in the single digits but to do that I have to get better at working more steps into the day rather than just when I'm getting to the gym. Still n' all, not too shabby for my first full week back in the game.

This week's #fightthefunk recommendation: Good sleep is key to a good mood. I've often had a cup of chamomile tea at night to try to help me sleep, but to be honest, I'm not a huge fan of the flavor of straight chamomile. Meh. I was much happier when I discovered this wonderful Chamomile Lemon Tea. (The link is for Amazon, but I get this in my local Wegmans grocery store.)

It's not a strong lemon flavor at all--just very nice and mellow and tasty. Although some insomnia nights still require actual sleeping meds, this tea helps me settle down on an average evening, and get in the mood for some zzzs.

WIP Wednesday--String Star

I think I've only managed to connect to Freshly Pieced's WIP Wednesday once, but I've finally managed to time it right this time!

Last weekend I finally got the borders on my string star quilt, started in a class with Ami Simms at the AQS quilt show in Lancaster, PA, back in April. I took the class mostly because I've always wanted to take a class with Ami Simms--she's a hoot. (I have an interview with her on my podcast too--great fun!)  I used a collection of African fabric fat quarters I'd been gathering over the years--I'd never figured out the best way to use them and decided this class was as good an experiment as any. I was very unsure how everything would turn out, but I'm quite pleased!

The background fabric is from my LQS--I like the cross-hatch design on it (sort of "thatch-y"), and the light gray sets off the fabrics really well without being the more jarring contrast of a plain white.

The biggest challenge on this was the African fabrics themselves. There was a lot of variation in thread count and weave. Some were very stiff, others were really stretchy. That border caused me some grief. Besides, mitering string pieced borders isn't fun--seams ending up in all sorts of wrong places. But it worked out better than I worried it would, so it's all good.

As of this writing I'm still pondering quilt designs. I think I'll have awhile to do that--I'm unlikely to get back to this until August when my work travel is over for a few weeks.

This has already been designated for a recipient, but I've really fallen in love with it. I do have enough of the fabrics and even enough cut borders left to do a second quilt for myself. I haven't decided if I'm up for that yet--I'm not a huge fan of doing the same thing twice. We'll see.

Here's my traditional "Dog with Quilt" shot. He was apparently quite pleased to be included. Smiley guy. But he kept his tennis ball nearby just in case I put the camera down.

And yes, I dragged my portable quilt hanger out of the pool for the photo op. Because I'm just that kind of Mom.

Be sure to check out all the other WIP Wednesday bloggers at Freshly Pieced!

Craftsy Class Review--Shoot It! A Product Photography Primer

DSCN5663.JPG

Yet another Craftsy class finish! This time, we're talking about Shoot It! A Product Photography Primer with Caro Sheridan. I watched this class in its entirety while I was on vacation in Savannah last week (and, in fact, blew out my data plan allotment for the month by doing so on my iPad but it was well worth it!).

If you've got a blog or an Etsy shop, you really ought to get this class. I took photography in high school and have done a fair amount of self-study in it, but have gotten--admittedly--lazy in recent years. I used to be a much better photographer than I am now. I still have a decent eye for composition, but when it comes to taking the time to make sure I've got really well composed, nice looking photos on my blog, I only manage that about a quarter of the time. The rest of the time, I have a "Lookie! I'm finished! Let me quick snap something on my cell phone, upload it, and call it a day!" attitude.

Frankly, I really want to get over myself on that one. I would like to have much better photos on my blog, so I need to make a bit of a mental commitment to that. I can't guarantee that'll happen consistently, but it's something I'm going to...(wait for it)...shoot for more often in 2014.

Back to the class. I enjoyed Caro Sheridan as a teacher. She clearly knows her stuff, and in the class she illustrates her points with a lot of examples so you get the visual of how the background can really add or detract to the subject of your photo, and so forth. And she goes more in-depth than just "get rid of the clutter around it," which I do generally remember to do, even if it's just a quick sweep of my arm across the top of my cutting table to clear it off. She talks about the use of color in the background to highlight your product/subject, lighting and shadows, tools to use that make lighting issues a little easier, composition, and how to tell a story with your shot. She addresses using a point-and-shoot or your phone camera as well as more sophisticated cameras--so you don't have to have a whizz-bang camera to take this class! Probably better than 85% of the information in the class is applicable regardless of what you're using.

If I ever do have an Etsy shop for my hand-dyes, I'm definitely going back and reviewing this class again. For now, though, I've been inspired to drag out the manual on my good digital camera to refresh my memory on some of the settings (said laziness has led me to rely on auto settings far more than is good for me)--which also means, seeing if I can learn to love this camera. I still miss my old one and just haven't bonded with this one even after owning it a couple of years, so I'm giving it another few months before I decide if it's really just a learning curve thing, or if I really need to go back to my original line of camera. I've also been inspired to see if I can set up some sort of studio space in my basement to get better photos of my hand-dyes and small projects. I only need a table (hmmm...a retired cutting table, perhaps?), a few different colored back-drops (solid colored sheets to hang on the wall and drape over the table), and probably a couple of lights and light reflectors on stands--all things I can jury-rig together using hints from this class and stuff I find at Goodwill.

One of the other things I've been inspired to do based on this class is a Self-Portrait Project--the topic of her last lesson. She offers several very helpful tips in how to get a good self-portrait and suggests taking one a day for several days, playing with poses, lighting, camera settings, and so forth. Not only will you get a really good self-portrait out of it eventually but, as she says, you'll also likely deal with some of your own self-image issues. And that's something worth working on!

So I highly recommend this class. I really enjoyed it and, even with a pretty solid foundation of photography experience under my belt, got a lot of very helpful tips and ideas--and plenty of inspiration!

The basics:

  • 10 lessons, ranging from 6 minutes to nearly 30 minutes. The average is around 15 minutes.
  • Lessons begin with an introduction, in which Caro Sheridan talks about her own background and experience.
  • The next lesson is "motivations and style," which talks about why you'd want decent photos in the first place, as well as tips for developing your own style of photography. She offers some very helpful suggestions about how to discover what your style might be that believe I'm going to be trying out.
  • She then goes through color theory and composition in the next couple of lessons, spends a lesson on prepping for a shoot, another lesson on the shoot itself, then she talks about camera settings, editing, post processing, and the self-portrait project in the remaining lessons.
  • The lessons also have sprinkled through good information on working with a model (i.e., if you want someone wearing the sweater you just knit, or wrapped in a quilt, or whatever), including permissions and helpful tips about getting them more comfortable in front of a camera; they also include information about getting permissions for location shots and other considerations.

Again, I highly recommend this class. Here's the link again: Shoot It! A Product Photography Primer with Caro Sheridan. (Usual transparency statement applies: Using that link to purchase the class helps support this blog and podcast.)

I haven't had anything quilty to practice photography on since I got home, really, and it's still too dang cold to go outside for nice nature shots. Therefore, my dogs are getting plenty of attention. Here's a photo gallery from me playing with some nifty flash settings I didn't know I had on my camera the other night.

Sam the Ham was game. He posed, he smiled, he brought me a toy just in case I wanted a prop.

Spencer wouldn't look at me, kept creeping away, and finally started diving under the couch every time I got the camera out. Princess Doggie and I need to come to some sort of arrangement.

(If you're getting this blog by email, you might not see the gallery. Sorry--you'll just need to go to the blog for it.)

Snowstorm January 2014

We got a lot, but a manageable amount, of snow--the plows have been able to keep up with it well, although it's still pretty slick driving. This is one of those days that I'm extra glad to be a tele-commuter (to use an old-school term).

We're also fortunate enough not to be getting quite the horribly frigid temps of other areas, although it's single-digits. I ventured outdoors just long enough to take a few pictures in the yard, because there's nothing I like more than seeing pine trees covered in snow.

SnowstormJan2014collage.png

Spencer (Princess Doggie)--who normally gives up on the outdoors two minutes into her walk on cold days--took off into the woods and was rollicking about in snowdrifts like nobody's business. I think she figured if she just kept moving fast enough she was good to go--and there were those dang, nasty squirrels to protect me from, after all. Sam (Doofus), on the other hand, who normally loves burying his face in snowdrifts...

SammySnowJan2014.jpg

I took them both back inside as quickly as I could and spent a couple of minutes getting ice chunks out from between his toes. Poor guy--the downside of all that pretty Golden fur is it's an ice-magnet.

They both immediately flaked out in front of the fireplace. I don't think they'll be asking to go outside again any time soon. And, since it's supposed to just keep getting colder as the day wears on, I think we're all just going to hunker down.

Good day for sewing, and perhaps some baking.

My World Spins (or: Something I May End up Doing Eventually)

In my most recent episode of the podcast, I talked about seeing the spinning demonstration at the Sharlot Hall Museum in Prescott, Arizona. Yes, it's tempting! 

Here are the pictures:...

The spinning guild members demonstrating their skills

The spinning guild members demonstrating their skills

A close-up of the spindle (at least, I think that's what this part is called) 

A close-up of the spindle (at least, I think that's what this part is called) 

Feeding the roving onto the spindle. (If I recall, this was some that had been koolaid-dyed, but don't quote me on that.)

Feeding the roving onto the spindle. (If I recall, this was some that had been koolaid-dyed, but don't quote me on that.)

A different model of spinning wheel. They're so pretty! 

A different model of spinning wheel. They're so pretty! 

A hand-spindle. I'd think this would take some wrist strength, but nicely portable. Good for business travel.... Hmmm.... 

A hand-spindle. I'd think this would take some wrist strength, but nicely portable. Good for business travel.... Hmmm.... 

A very bad close-up of the hand-spindle (dang camera phone), but it gives you an idea of how fast that little thing is going. 

A very bad close-up of the hand-spindle (dang camera phone), but it gives you an idea of how fast that little thing is going. 

Ahem. Shed much? Yarn made from Golden Retriever fur. I would happily mail her some extra that I just happen to have laying around my house!

Ahem. Shed much? Yarn made from Golden Retriever fur. I would happily mail her some extra that I just happen to have laying around my house!

So the floor-model-style spinning wheels all had treadle foot pedals. My first thought was, "Way to be creative AND burn some calories!" And it was so cool watching these lumps of formless roving become really wonderful yarn. 

Yes, indeedy.

Tempting. 

I Know How to Meet a Deadline (Another Finish)

So ignore the fact that I knew this young woman would be graduating from high school a few years before it happened.  

Ignore the fact that I decided to make her a quilt about 10 months before said graduation date.

Ignore watching me pick out fabrics from my stash that I could use in said quilt about six months before said graduation date, choose what kind of quilt I'd make about a week later, and then sort the fabrics into necessary piles about a week after that. 

Don't even look at those fabrics sitting, neatly pressed and still separated into their respective piles...until about two weeks ago. Graduation date done and gone. Graduation party (fortunately) delayed until mid-August. Quilter returns home from summer travels, completely fried, looks at calendar, and immediately thinks, "Cr*p. The party is next Friday."  

I didn't *quite* make the party. I was able to wrap up a completed quilt top (in some circles that's called a "flimsy," which I find highly entertaining and a perfect description) in a gift bag and hand it to her at her party, and them promptly snatched it back away again with promises she'd have a fully finished quilt before she moved away to college.

I made it. Sure, I had to overnight express the darn thing to get to her house the day before she moved, but I made it. 


Graduation quilt complete

Graduation quilt complete

Backing and binding

Backing and binding

Binding by machine--did a pretty darn good job this time!

Binding by machine--did a pretty darn good job this time!

Back of binding--I stayed on the lines! (Well, 95% of the time, anyway. Better than in the past.)

Back of binding--I stayed on the lines! (Well, 95% of the time, anyway. Better than in the past.)

Requisite "Quilts n' Dogs" shot. He's looking quite regal. A bit full of himself because he was recently groomed. (Read: "Defurminated.")

Requisite "Quilts n' Dogs" shot. He's looking quite regal. A bit full of himself because he was recently groomed. (Read: "Defurminated.")

(Yes, my portable quilt hanger was in jammies and a sweatshirt and I dragged her outside early for pictures. I had to get the quilt to the post office, dontchaknow.) 

I heard from the grad today--she got the quilt and loves it; I had to assure her that it really is okay to take it to college and not to worry about stuff getting spilled on it. I made it to be beat up. Velveteen Rabbit and all that.  

And now I get to start on baby quilts... 

Wheee! Finally--a Finish!

Yes, at long last, the Disappearing 9-Patch donation quilt is done. Woot! 

dis9patchjuly2013.jpg

I started with a Moda charm pack (don't recall the line, it was fairly old), added some 5" squares from my scrap stash, and then used stash fabrics for the borders and binding. I did have to buy the backing, but found it on a 50% off rack.  

machine binding--front

machine binding--front

I did the binding completely by machine, something I've done a couple of times before and never been happy with the results. I'm somewhat happier with the results on this one, but I still just don't like the look as well as one that's done the traditional way.  

 (Backing and back of binding)

 (Backing and back of binding)

This is wheelchair quilt size (roughly something like 36" x 45" or so, don't recall the measurements exactly now). I hope whatever elder gentleman receives it loves it and finds it cozy!

And then, because it's tradition... 

Dogs n' Quilts

Dogs n' Quilts

SPOILER ALERT: Kimberly Einmo Mystery Quilt

If you're doing the Kimberly Einmo Mystery Quilt "Chain of Stars" in Craftsy and do not want to see what the end result is, close this blog post now! Quick! Now! Stop reading!​ Step away from the blog post, ma'am, there's nothing to see here.

​* * * * *

Okay, for everyone else, here we go. ​

​I enjoyed doing this--so much so I did it twice at the same time. She offers instructions for four sizes so I chose the wallhanging size, noting that it's actually a decent size for lap quilts.

Here's the version I did all in batiks. I had most of this in my stash but did add two fabrics to give more contrast.

1.jpg

My daughter has claimed that one for her own. Since she's "fun-sized," (as she describes her diminutive height), this one works well for her to use as a lap quilt.​ The backing and binding are a dark purple batik I had in my stash.

​For the second one, I decided to go a completely different direction and use black, white, and red. I had most of it in my stash, but bought a couple of fabrics to round it out a little bit. This one seemed to be floating off into the distance with all the white around the outside of the design, so I added borders to ground it. (The backing is the red/white/black print from the front, and I used the same as binding).

2.jpg

My nephew claimed this one while it was still on my design wall. I texted him this afternoon to let him know it was ready for him to pick it up. His response was, "Omg!!!!! Yay!!!!" Nice to have such an enthusiastic recipient for my quilts.​

​I had them both quilted by the longarmer at Mt. Pleasant Quilting Company. I asked for pantographs with threads that would blend, but left it up to the quilter's choice from there.

Here's a close-up of the quilting on the batik quilt:​

2013-05-19 17.18.04.jpg

 And a close-up of the quilting on the red, white, and black quilt. It's hard to see in this picture but the thread is variegated black-to-gray.

2013-05-19 17.19.53.jpg

Doofus (Sam) is up at the cottage with my daughter for most of the summer, playing in the lake and generally getting messy and having a great ol' Golden time. Princess Doggie (Spencer) stayed home with us because she, well, let's just say she doesn't like change very much.

In any case, to stay with my Dogs and Quilts theme, here's Princess Doggie doing her best to make me happy, which is her general modus operandi.

2013-05-19 17.18.38.jpg

(She's not smiling so much as pleading with me to please love her please please please love her love her please....)​

2013-05-19 17.20.15.jpg

("I submit! I submit! Please love me...please please please love me love me love me...")​

By the way, depending on when you read this, you still have a couple of days left to enter my Kimberly Einmo Craftsy Class Giveaway on my previous podcast episode! You could win this Chain of Stars class, or her other Magical Jelly Rolls class, for free! Enter using the link on the podcast show notes here.​

Yes, I'm a Dog-Person

With thanks to @quiltscapes for sending me this link. Wonderful. And Doofus came over to sit next to me and laid his head on my lap when he heard the video playing. Apparently he wanted me to know that really this video was about him.

On the 8th day, God made a farmer. On the 9th day, He made a dog. With gracious thanks and credit to: Lindsay Kennedy Photography - http://lindsaykennedyphotography.com/ Erin Vey - http://www.erinvey.com FidoJournalism - http://www.fidojournalism.com Photohound Dog Photography - http://www.photohound.biz Marilyn Jeffers Photography - http://www.marilynjeffersphotography.com Evocative Photography - http://evocativedogphoto.com Once around Venus Photography - http://familypetphotographyflorida.com Murphy Dog Studios - http://www.murphydogstudios.com & Unlimited ----- If I used your photo but didn't give you credit, so sorry.