Pajama Day Fun

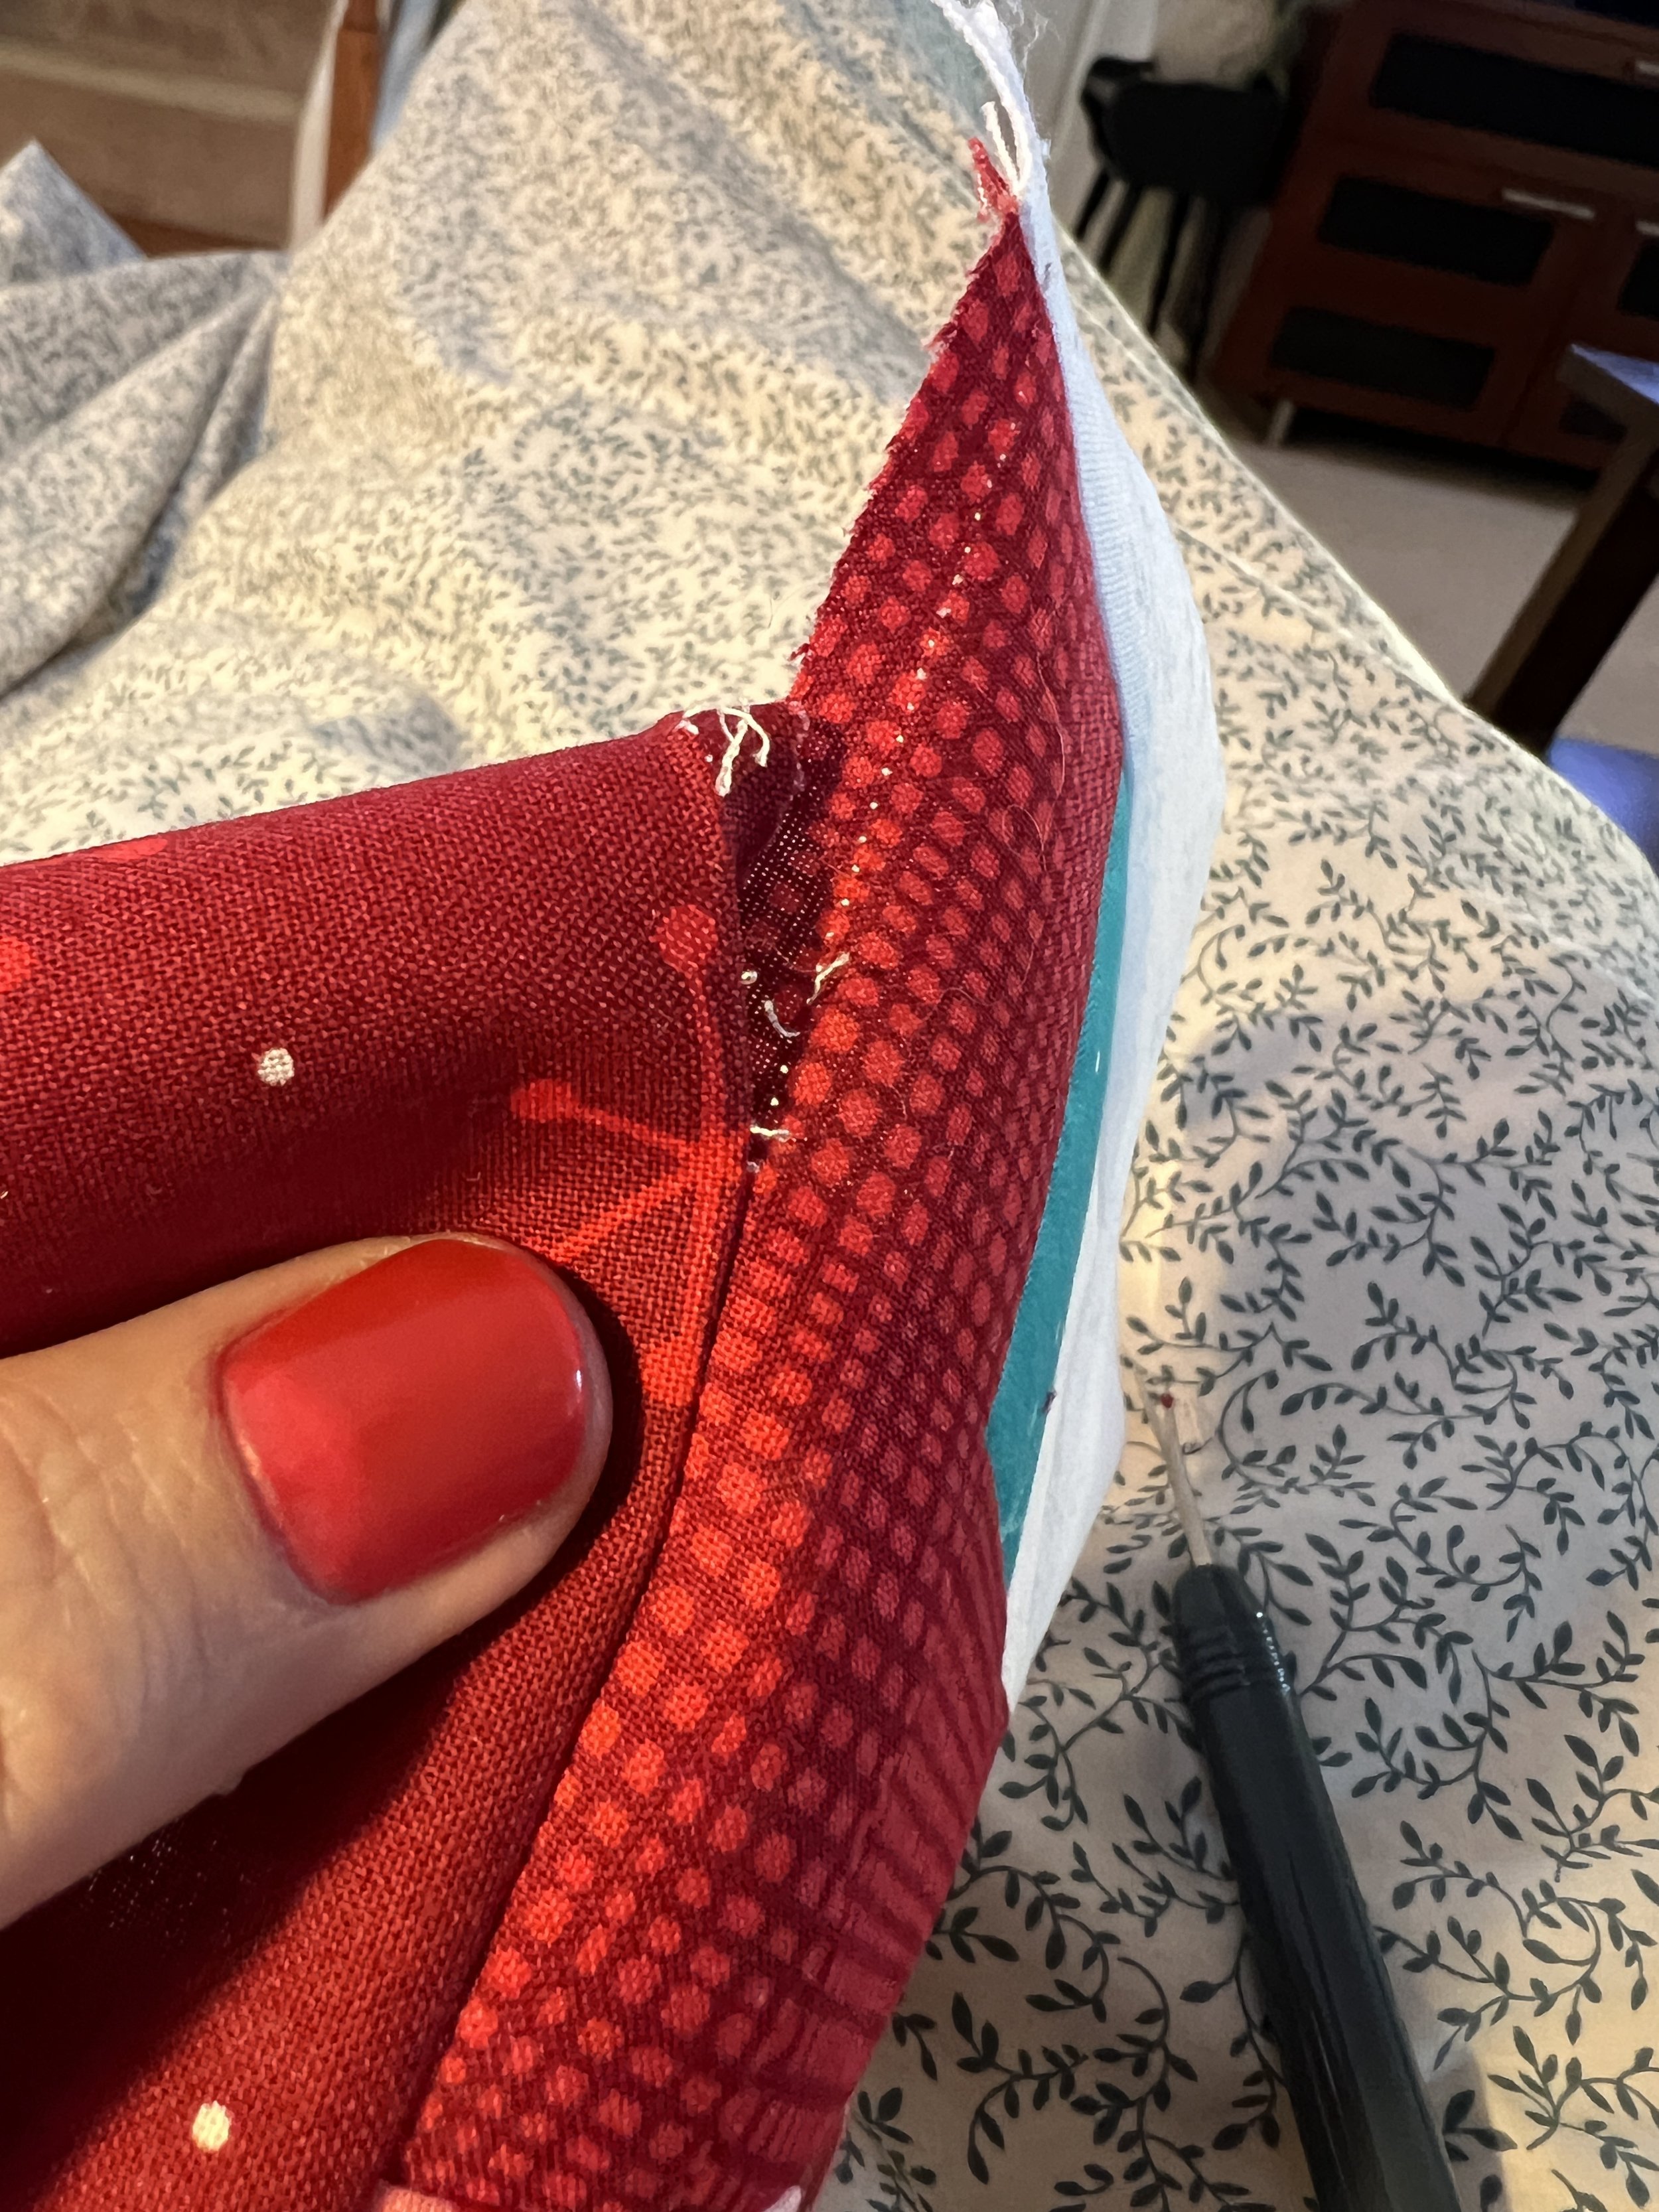
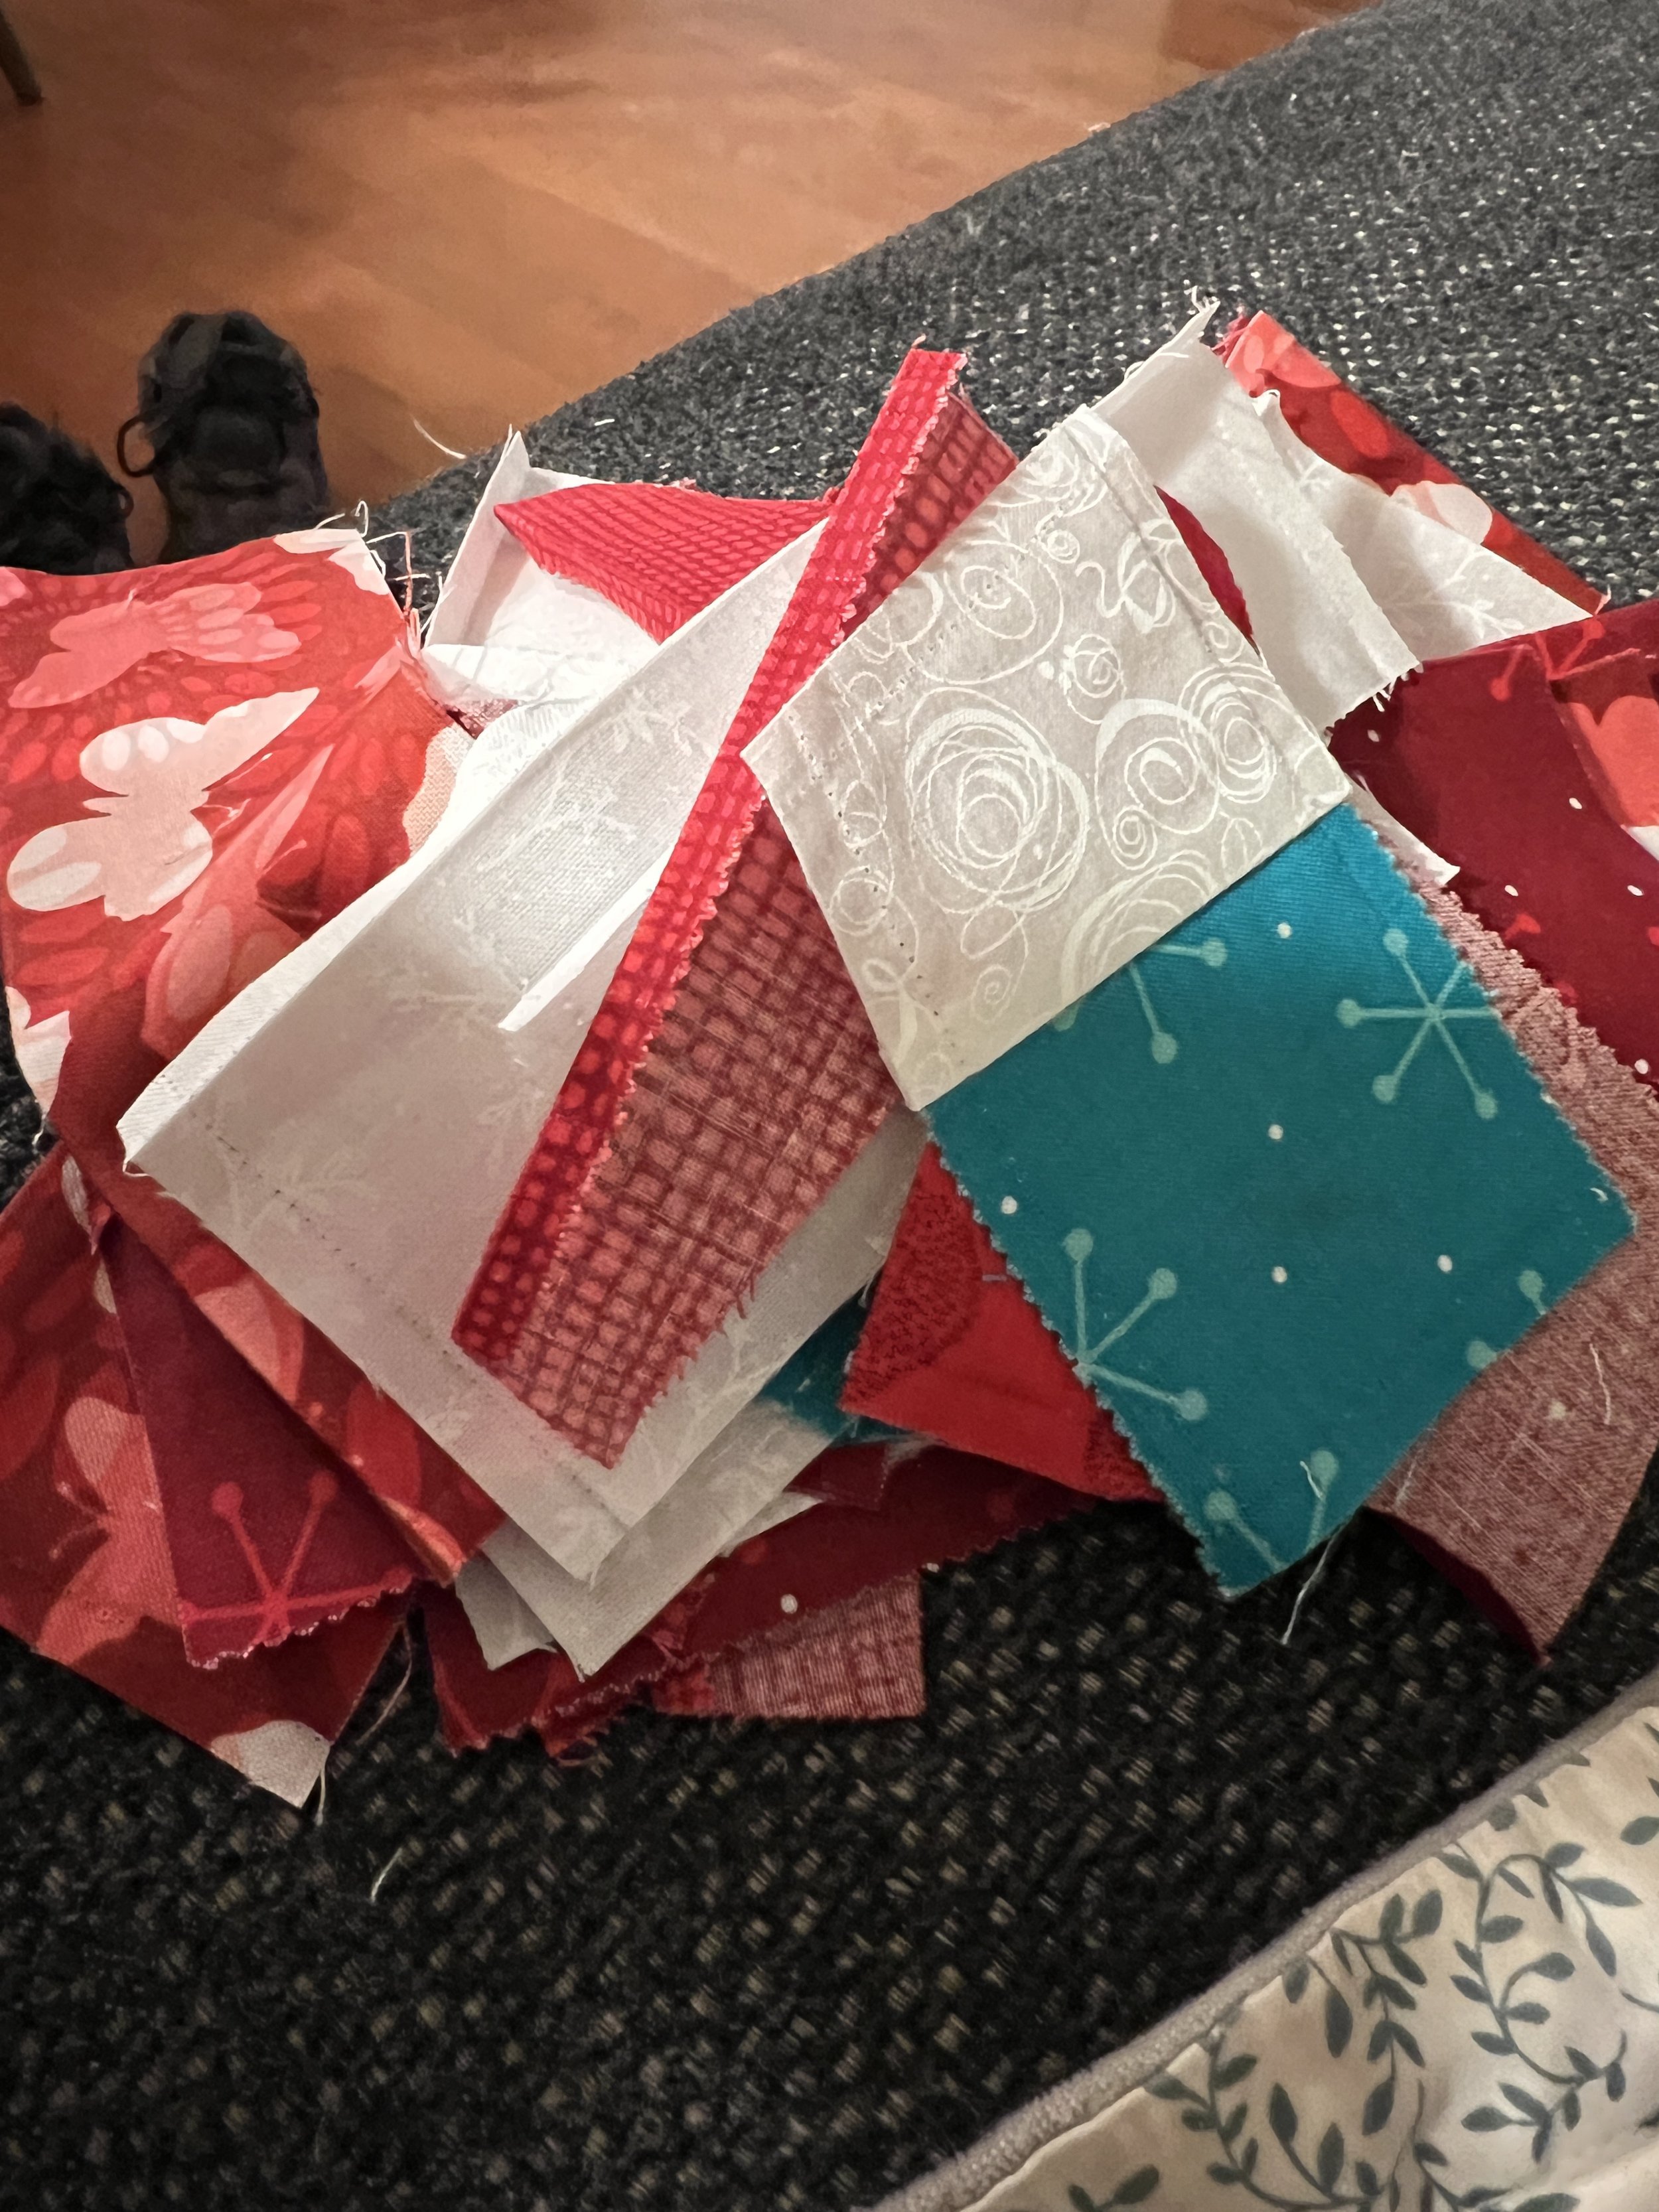
We had the second of two family Christmases yesterday so today was recovery day, IE Pajama Day. I spent part of the day cleaning from the second Christmas, but then just played in my sewing room. I trimmed up the storm at sea and figured out that yes, I do have to buy fabric for the binding, so I took care of that. Then I pulled out some fat quarters and old binding samples I’ve had forever, and made a couple of Humbug Bags. I made a bunch of these years ago but my zipper skills have gotten a little rusty so the first couple are a little rough. I’ve got more lined up to go, plus other types of zippered bags.

Great way to off some fat quarters!

A quick finish! Holiday Mug Rug

I decided to make a mug rug using my Accuquilt holiday-related dies as a gift for a colleague. I made one over the weekend but messed up the quilting on it: wrong choice of quilt design, wrong choice of thread, couldn’t just undo it and start over because the fabric showed too many holes. But it was a good re-entry into this type of project as it’s been awhile since I’ve done a small, bound project.


This one worked! I was still making decisions as I went along rather than planning too much ahead but I had a great time doing it!

I used the gnome die, added a little puffball to the top of the gnome hat (using the “nose” part of the die and doing my best to fussy cut it with the white-on-white print), added the little black buttons from the second die.

The holly leaves and berries are on the holiday die. I was able to use the red berry die to make the black buttons on the gnome’s clothes.

As I was making it, I was debating how to quilt it, but then I got the idea to use some fusible matte vinyl I’d recently picked up for making some zipper bags. Since this is going to be a mug rug, I decided not to quilt it and just fuse the vinyl instead to make it easier to clean.


Rather than doing a binding, I cut the backing fabric an inch bigger all around (8” square front and batting, 10” square backing). Then I folded it in half and in half again to create the binding. Decorative stitch to hold it down and voila, Christmas gift done!


My favorite things about this project:

  1. Using some of my accuquilt dies that I’ve had for awhile but hadn’t played with yet.

  2. Using a bunch of my hand-dyed fabric scraps that I’d fused for projects years ago—made it super-fast to do this project.

  3. Using a batting scrap.

  4. Getting it done in about an hour!

And now that I’ve used that vinyl for the first time, I want to use it on ALL the things!


My Show n' Tell at Guild this week

As you’ll hear in my most recent (9-7-24) podcast episode, I finally made it back to my guild meeting for the first time in years. And you know what guild means…. Show n’ Tell!

Here’s my jelly roll sampler made from the pattern in Jelly Roll Sampler Quilts by Pam and Nicky Lintott. I started it sometime in the early 2010s, I think. Rented time on a longarm and quilted it sometime between 2021-2022, and just got the binding on it a few weeks ago. Still hand-stitching the back down. Unfortunately, I pieced the blocks so long ago I no longer remember what the name of the jelly roll was. Sorry!

See my last blog post for the story on this one.

Neither of these quilts is in a color scheme I currently love, but they represent whole swaths of periods of my quilting journey. So there’s that. Glad to have some finishes on the books!

UFO coming in for a landing

A very old UFO, at that.

This was a block of the month challenge in my guild many years ago. I had to go back on my blog to see what previous references I had to it—apparently it was a challenge in my guild in 2008. I finished the top at a retreat in 2017. I quilted it myself on a longarm (rental) maybe two or three years ago. And this morning I finished the last stitches on a machine binding. Done. Well, I skipped putting a label on it but when I had my daughter play Quilt Holder for the photo I told her to just remember when she finds it in a closet when I’m gone that I’m the one who made it.

And this blog post will give her the rest of the history.

This project made me realize just how wishy-washy the color taupe is. Here’s a great post about it: https://www.colorpsychology.org/taupe/. You can see in this quilt everything from green to purple to beige but most of it is actually considered “taupe.” Wild.

I loved Japanese taupe quilts when I started this way back in 2008. I collected fat quarters for probably a year before I actually decided to use them in this challenge. These are no longer colors I gravitate towards but I still basically like it. It finished to just about lap quilt size so I’ll probably plant it in our living room where I sometimes sit in an armchair to read. It kind of works with the colors in there.

Mostly, it’s really nice to have a finish. Even a finish that is LONG overdue.

P.S. My quilt holder comes with feet. A artistic touch to any quilt. It almost came with a Golden Retriever photo bombing it with her favorite toy but I managed to avoid that addition.

Finished: Crafty Clutch (June Tailor)

(Oops. I just found this in my draft folder rather than posted. Here it is, a few weeks after writing it!)

Lookie what I got done! I talked about this in my latest episode (221) so the review of the June Tailor Crafty Clutch kit is there. In brief, the kit is easy to use, the sew-along video from AccuQuilt was helpful, and I could imagine myself maybe making another one at some point. For a full description, check out the episode.

Images include several shots of the exterior, one shot of the interior with the zig-zag-stitch finished edges, and the last image is of all the leftover fabric from the 6 fat quarters it required.

Being a Deconstructionist

(Title in honor of all of us post-modernists….)

I spent a couple of hours totally deconstructing four log cabin blocks. Yikes, that’s a lot of seams to rip. It turns out I really had started wrong from the get-go on this set. After sewing the first light to the center square, I then started sewing everything in reverse. What the….? This wasn’t my first set. No idea. Now I get to sew them all back together, crossing my fingers that all the pieces still fit somehow, although I’m not holding out much hope since they’re all wedge shaped.


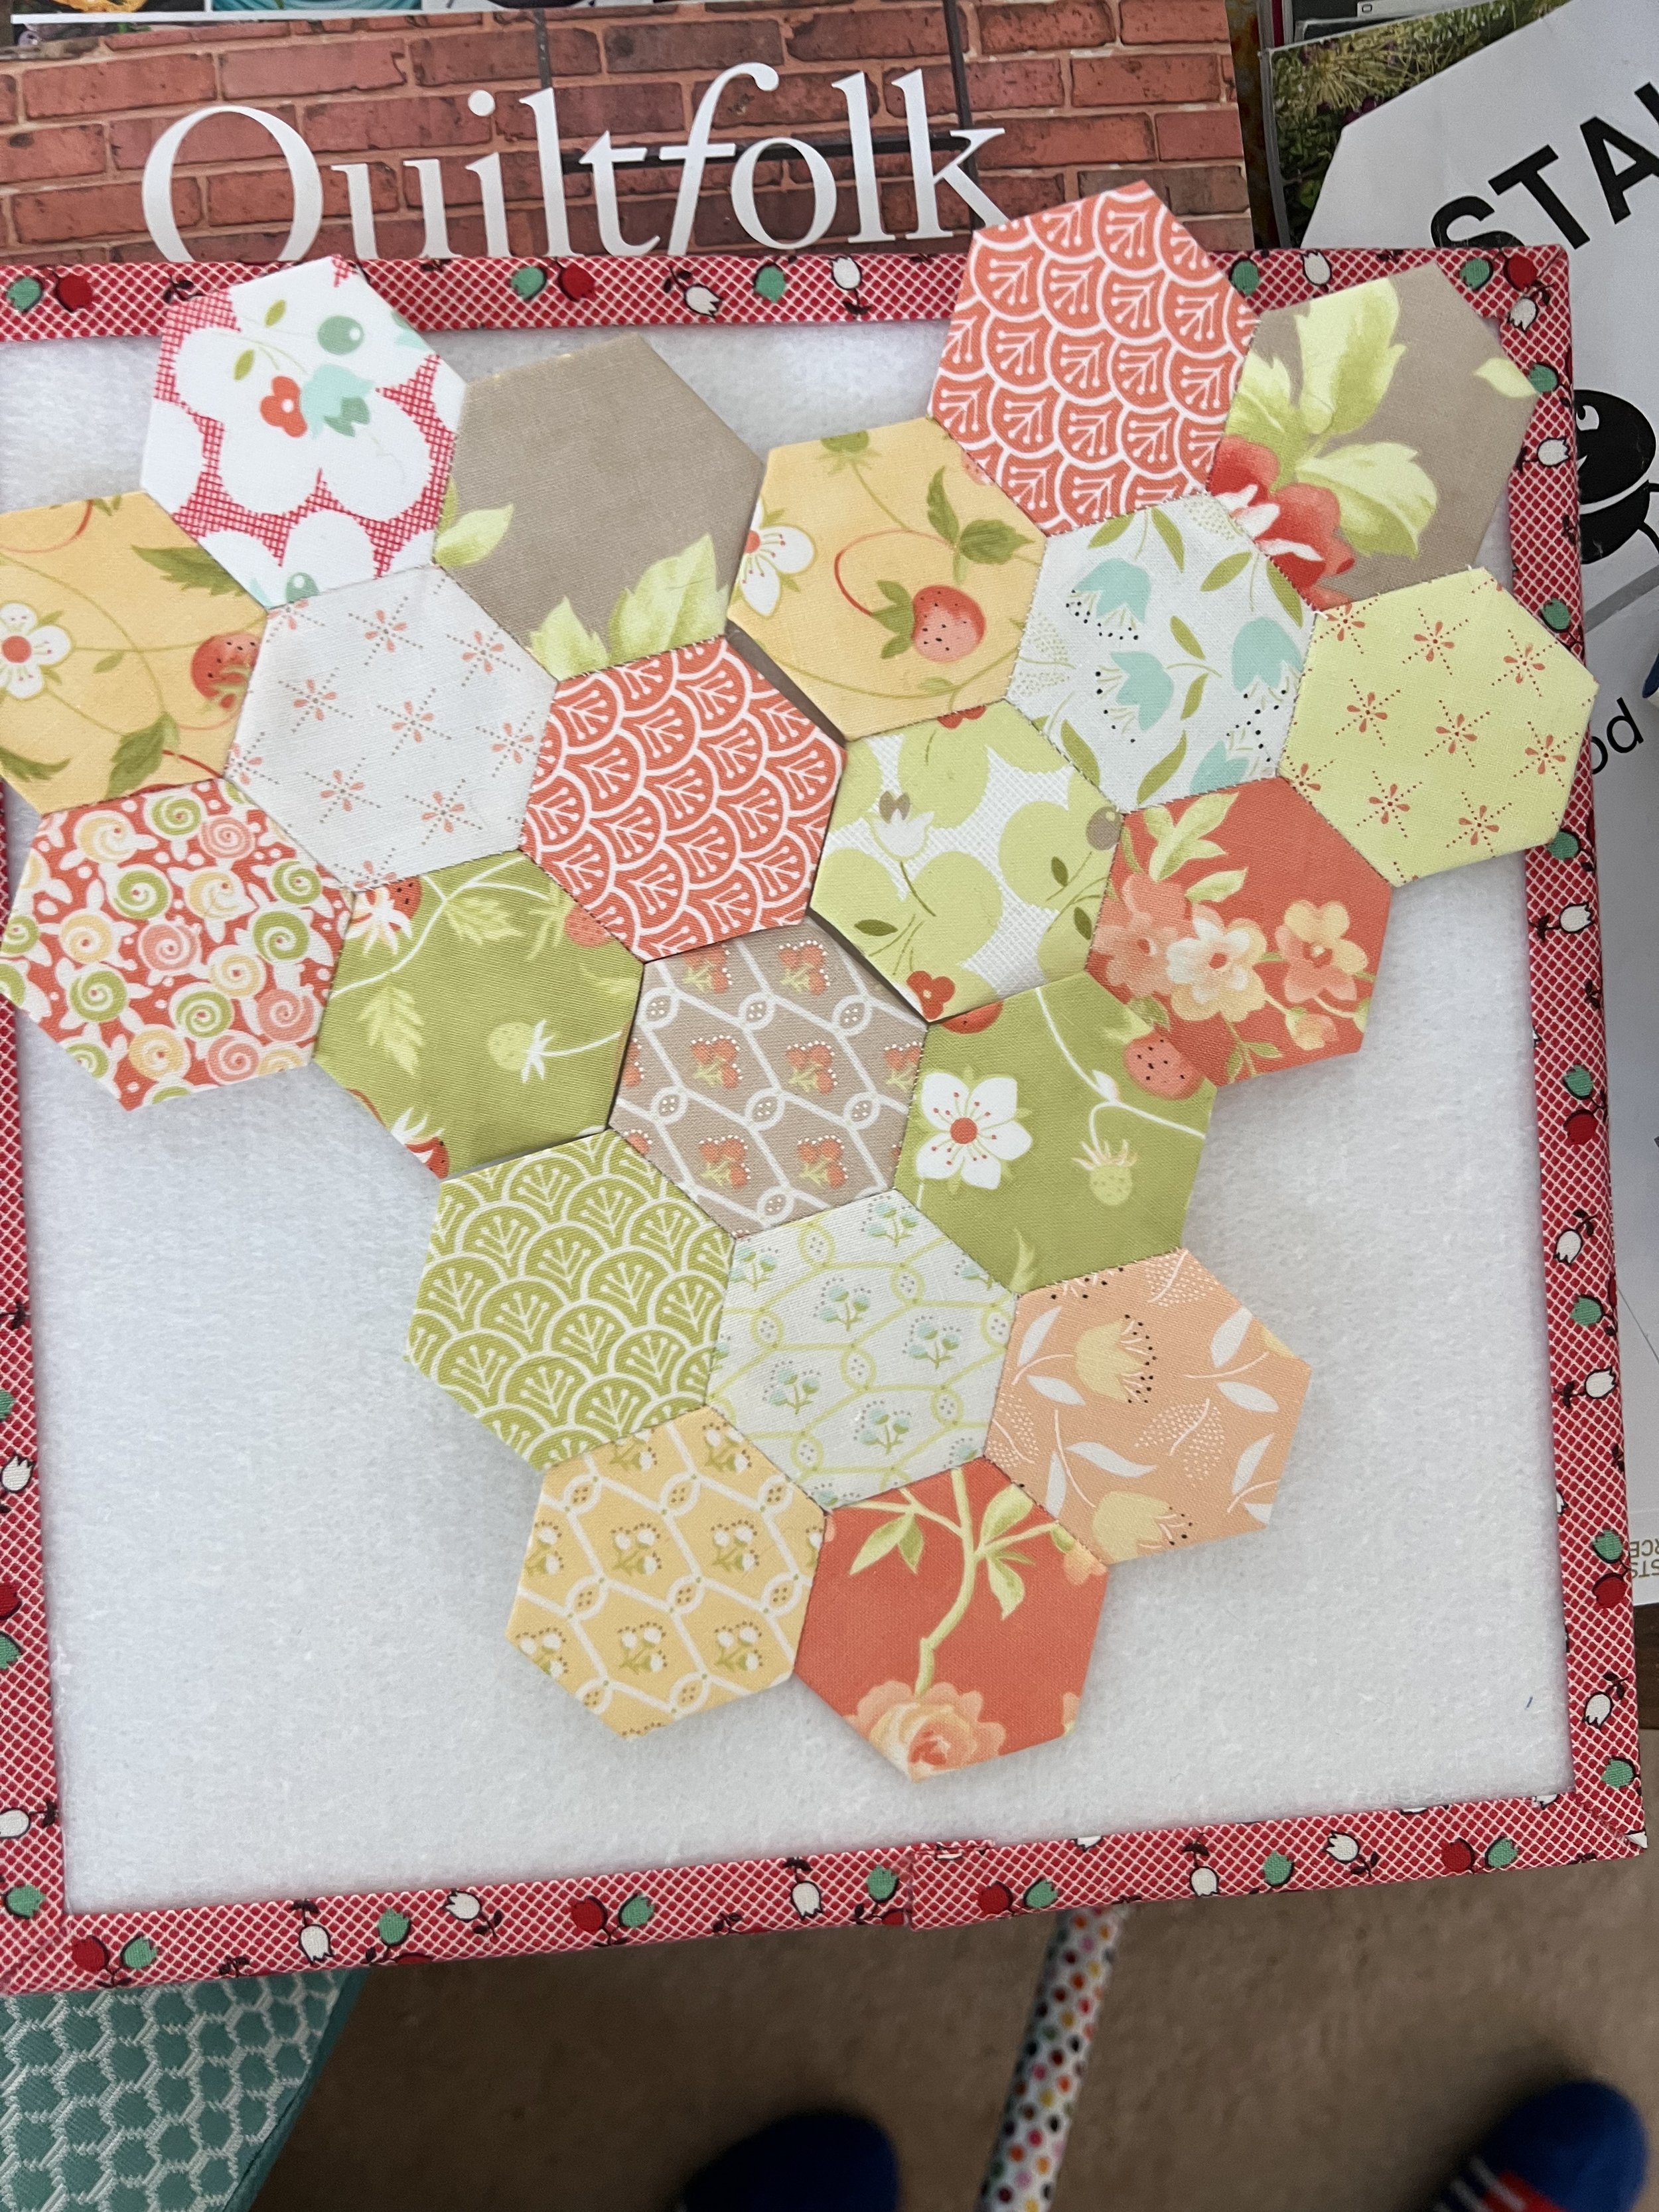
Meanwhile, I’m getting back on the EPP wagon. This was last night’s completed flower. Still no idea what I’ll be doing with these or how many with this particular set of fabrics I actually want to make. I’m just going to keep stitching along until I get bored or something.

Lousy lighting. They’re really much prettier than this would suggest.


And here ya go: The pic of the newest Log Cabin test blocks. The bottom one is another test of the Accuquilt die; the top two are using the Creative Grids Log Cabin trim tool (Duo—6” and 12” on same ruler). Listen to my last episode for my commentary on these two, as well as the explanation for the random “which one of these things is not like the others” log in the bottom block.

Update: Old Craftsy links on Blog/Podcast No Longer Work

Just a quick note: I received a notification that all of my old links to Craftsy Classes when they switched to Bluprint are now broken. They’ve actually been broken for quite some time. I just wasn’t paying attention.

I honestly don’t have the time to go back and fix them. Sorry about that—there are way too many of them and as you know, I’m having enough problems keeping up with today, let alone redoing work from 5 years ago!

If any of those classes interest you, they’re pretty much all still available through the current Craftsy streaming app, so just search there. Craftsy has also completely changed up their class system and payment structure and I haven’t kept up. I’m currently just watching old stuff and haven’t been paying too much attention to anything new, so I can no longer speak with authority about the platform. That being said, the fact I’m going back and watching my old classes speaks to the quality of a lot of those classes!

I do miss the glory days of Craftsy, but maybe it’s still as good as it used to be. I just haven’t been using it. If anyone is now doing the New Revised Standard Version of Craftsy (sorry, can’t resist the clergy joke) and would like to give a quick review in the comments, please feel free!

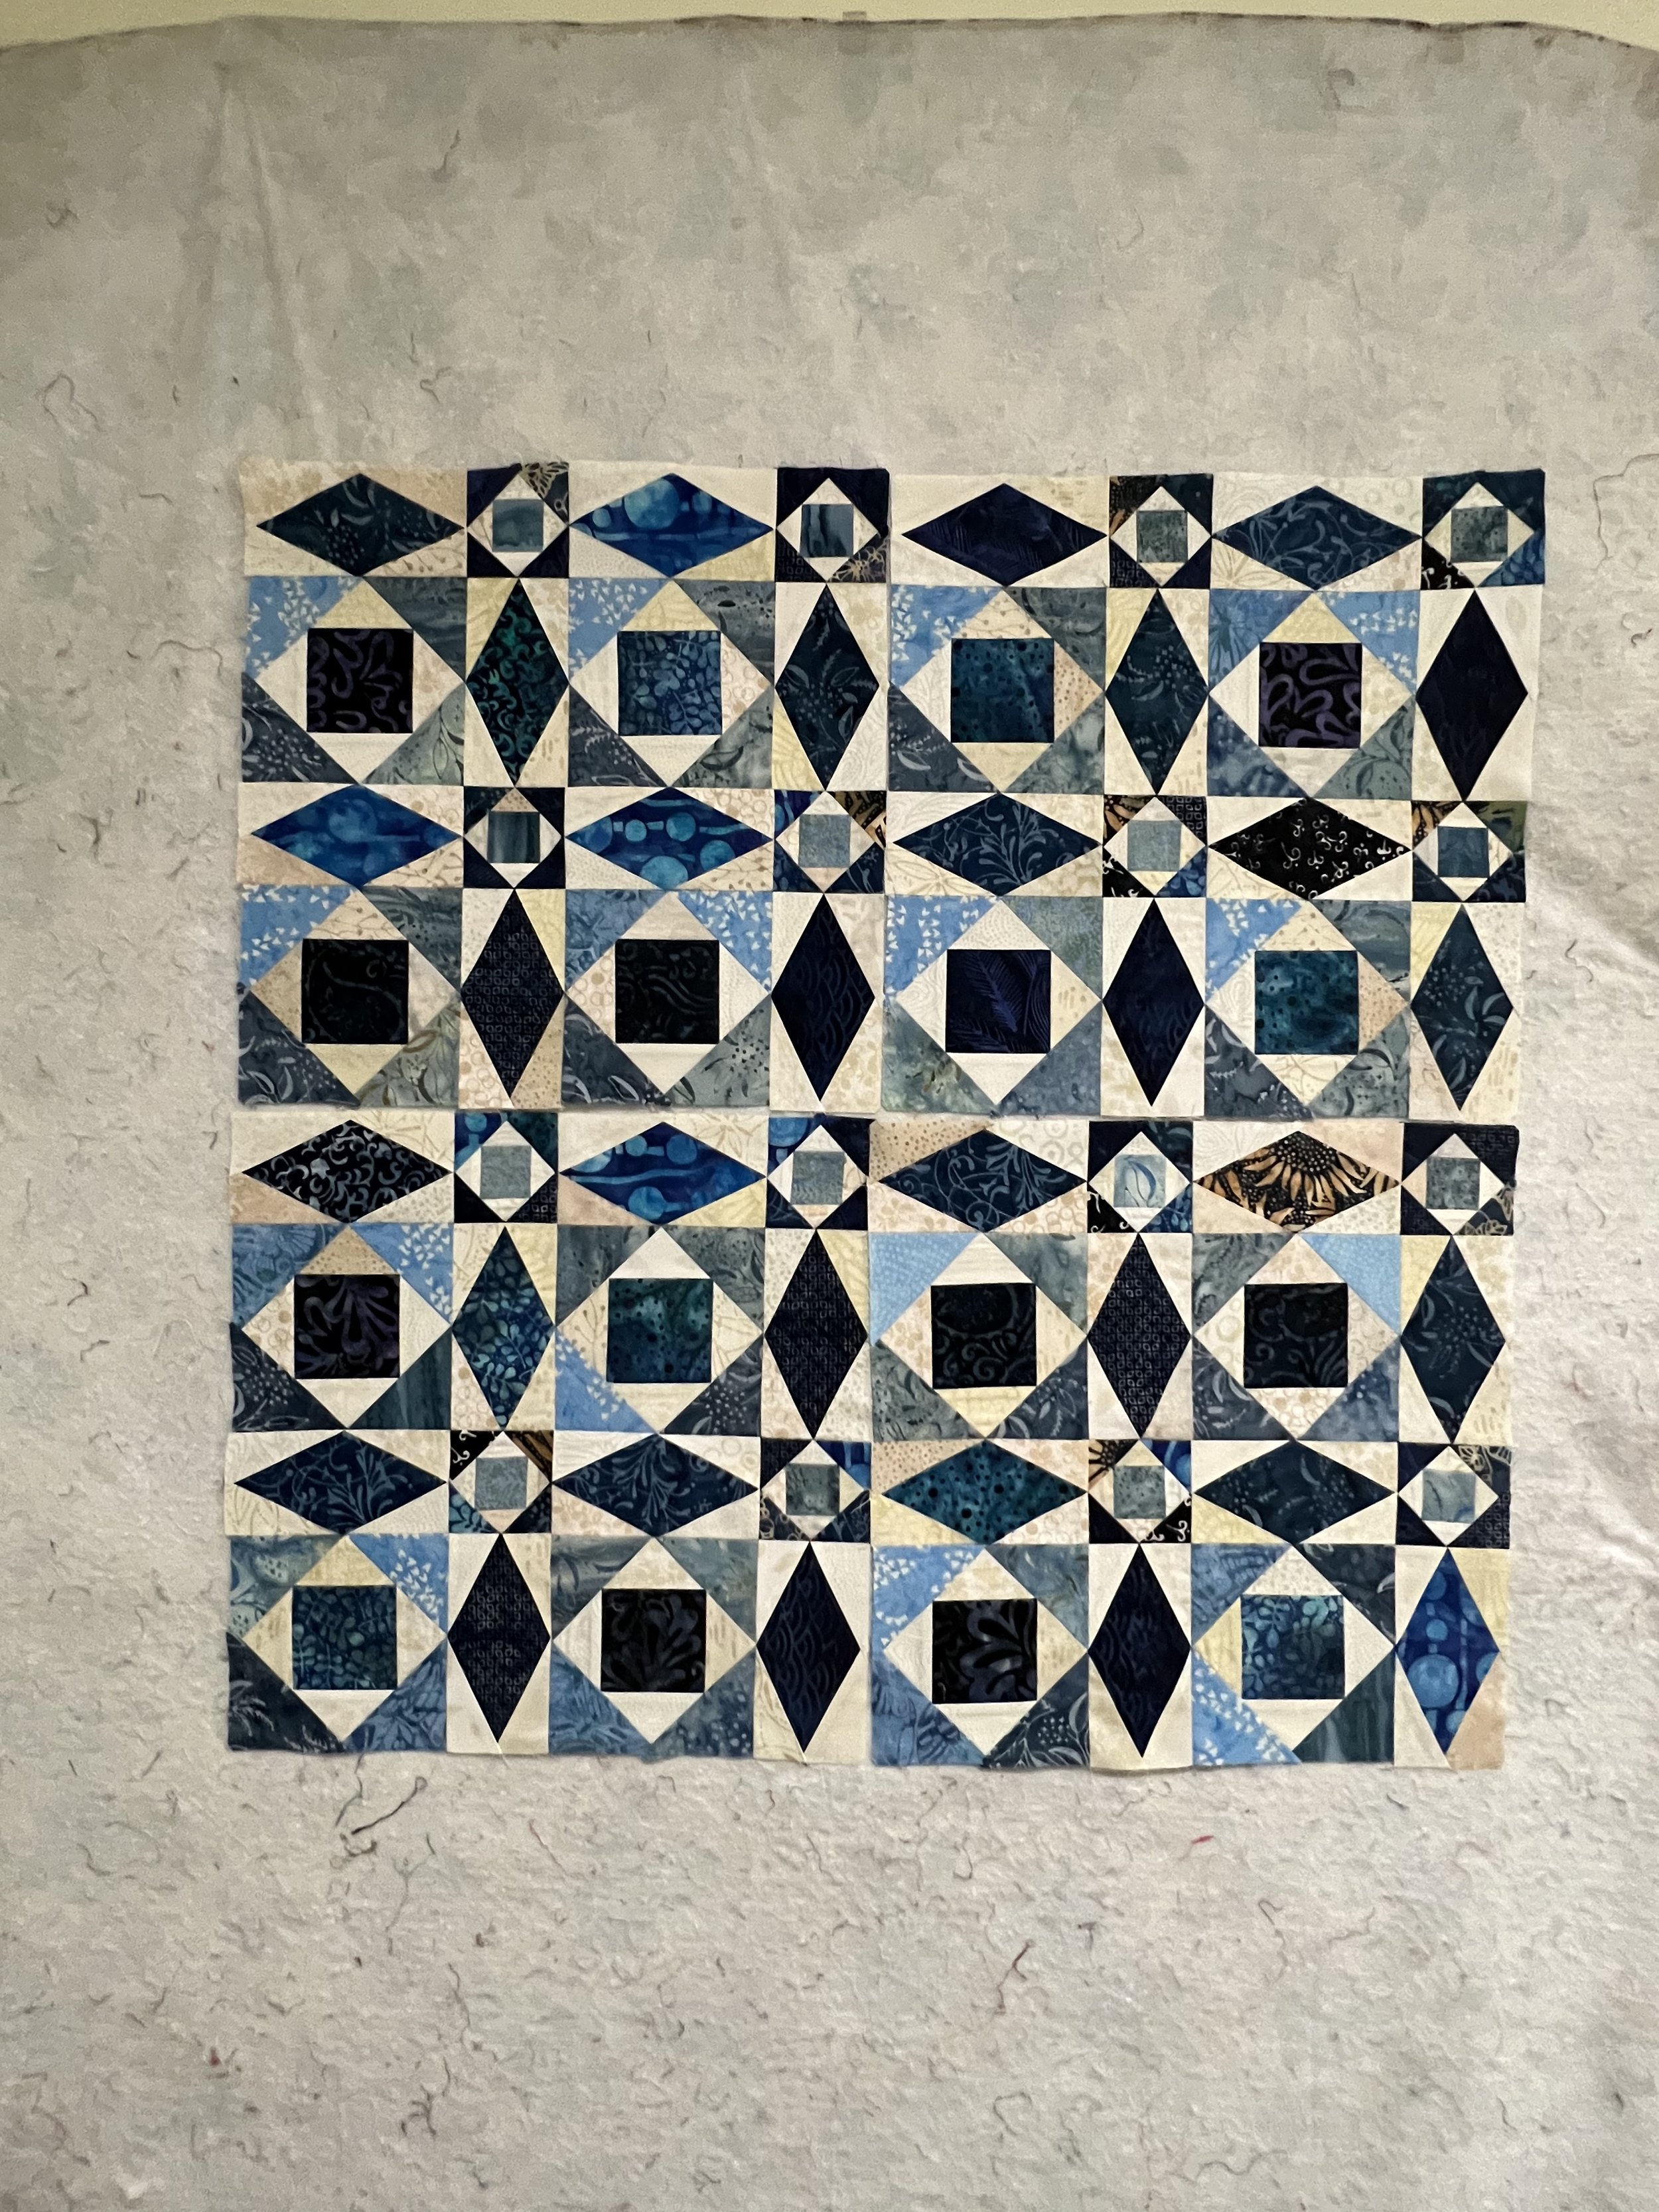
TAA-DAAA! Introducing the Storm at Sea Top Finished!

Can you hear my happy dance from there?

I couldn’t fit it all in one picture—it being huge n’ all. Something like 108” by some-other-big-number. As I’ve thought about it (I was still debating when I posted my episode), I will definitely be sending this puppy out for quilting. I need to keep truckin’.

Made using the Storm at Sea block die from AccuQuilt*, an assortment of batiks, and a whole lot of Aurifil 50 wt “Sea Biscuit” thread, my new favorite neutral. The couple who will be receiving it are California kids, so a sea and beach theme seemed appropriate. Plus, I’ve always wanted to make a Storm at Sea. Now I’ve done it. May never do it again.

*These affiliate links help support my blog and podcast. Thank you!

Catching Up...A Few Past Projects

As I mentioned in my podcast episode, I’ve had a few goings’ on. Here’s a quick gallery.

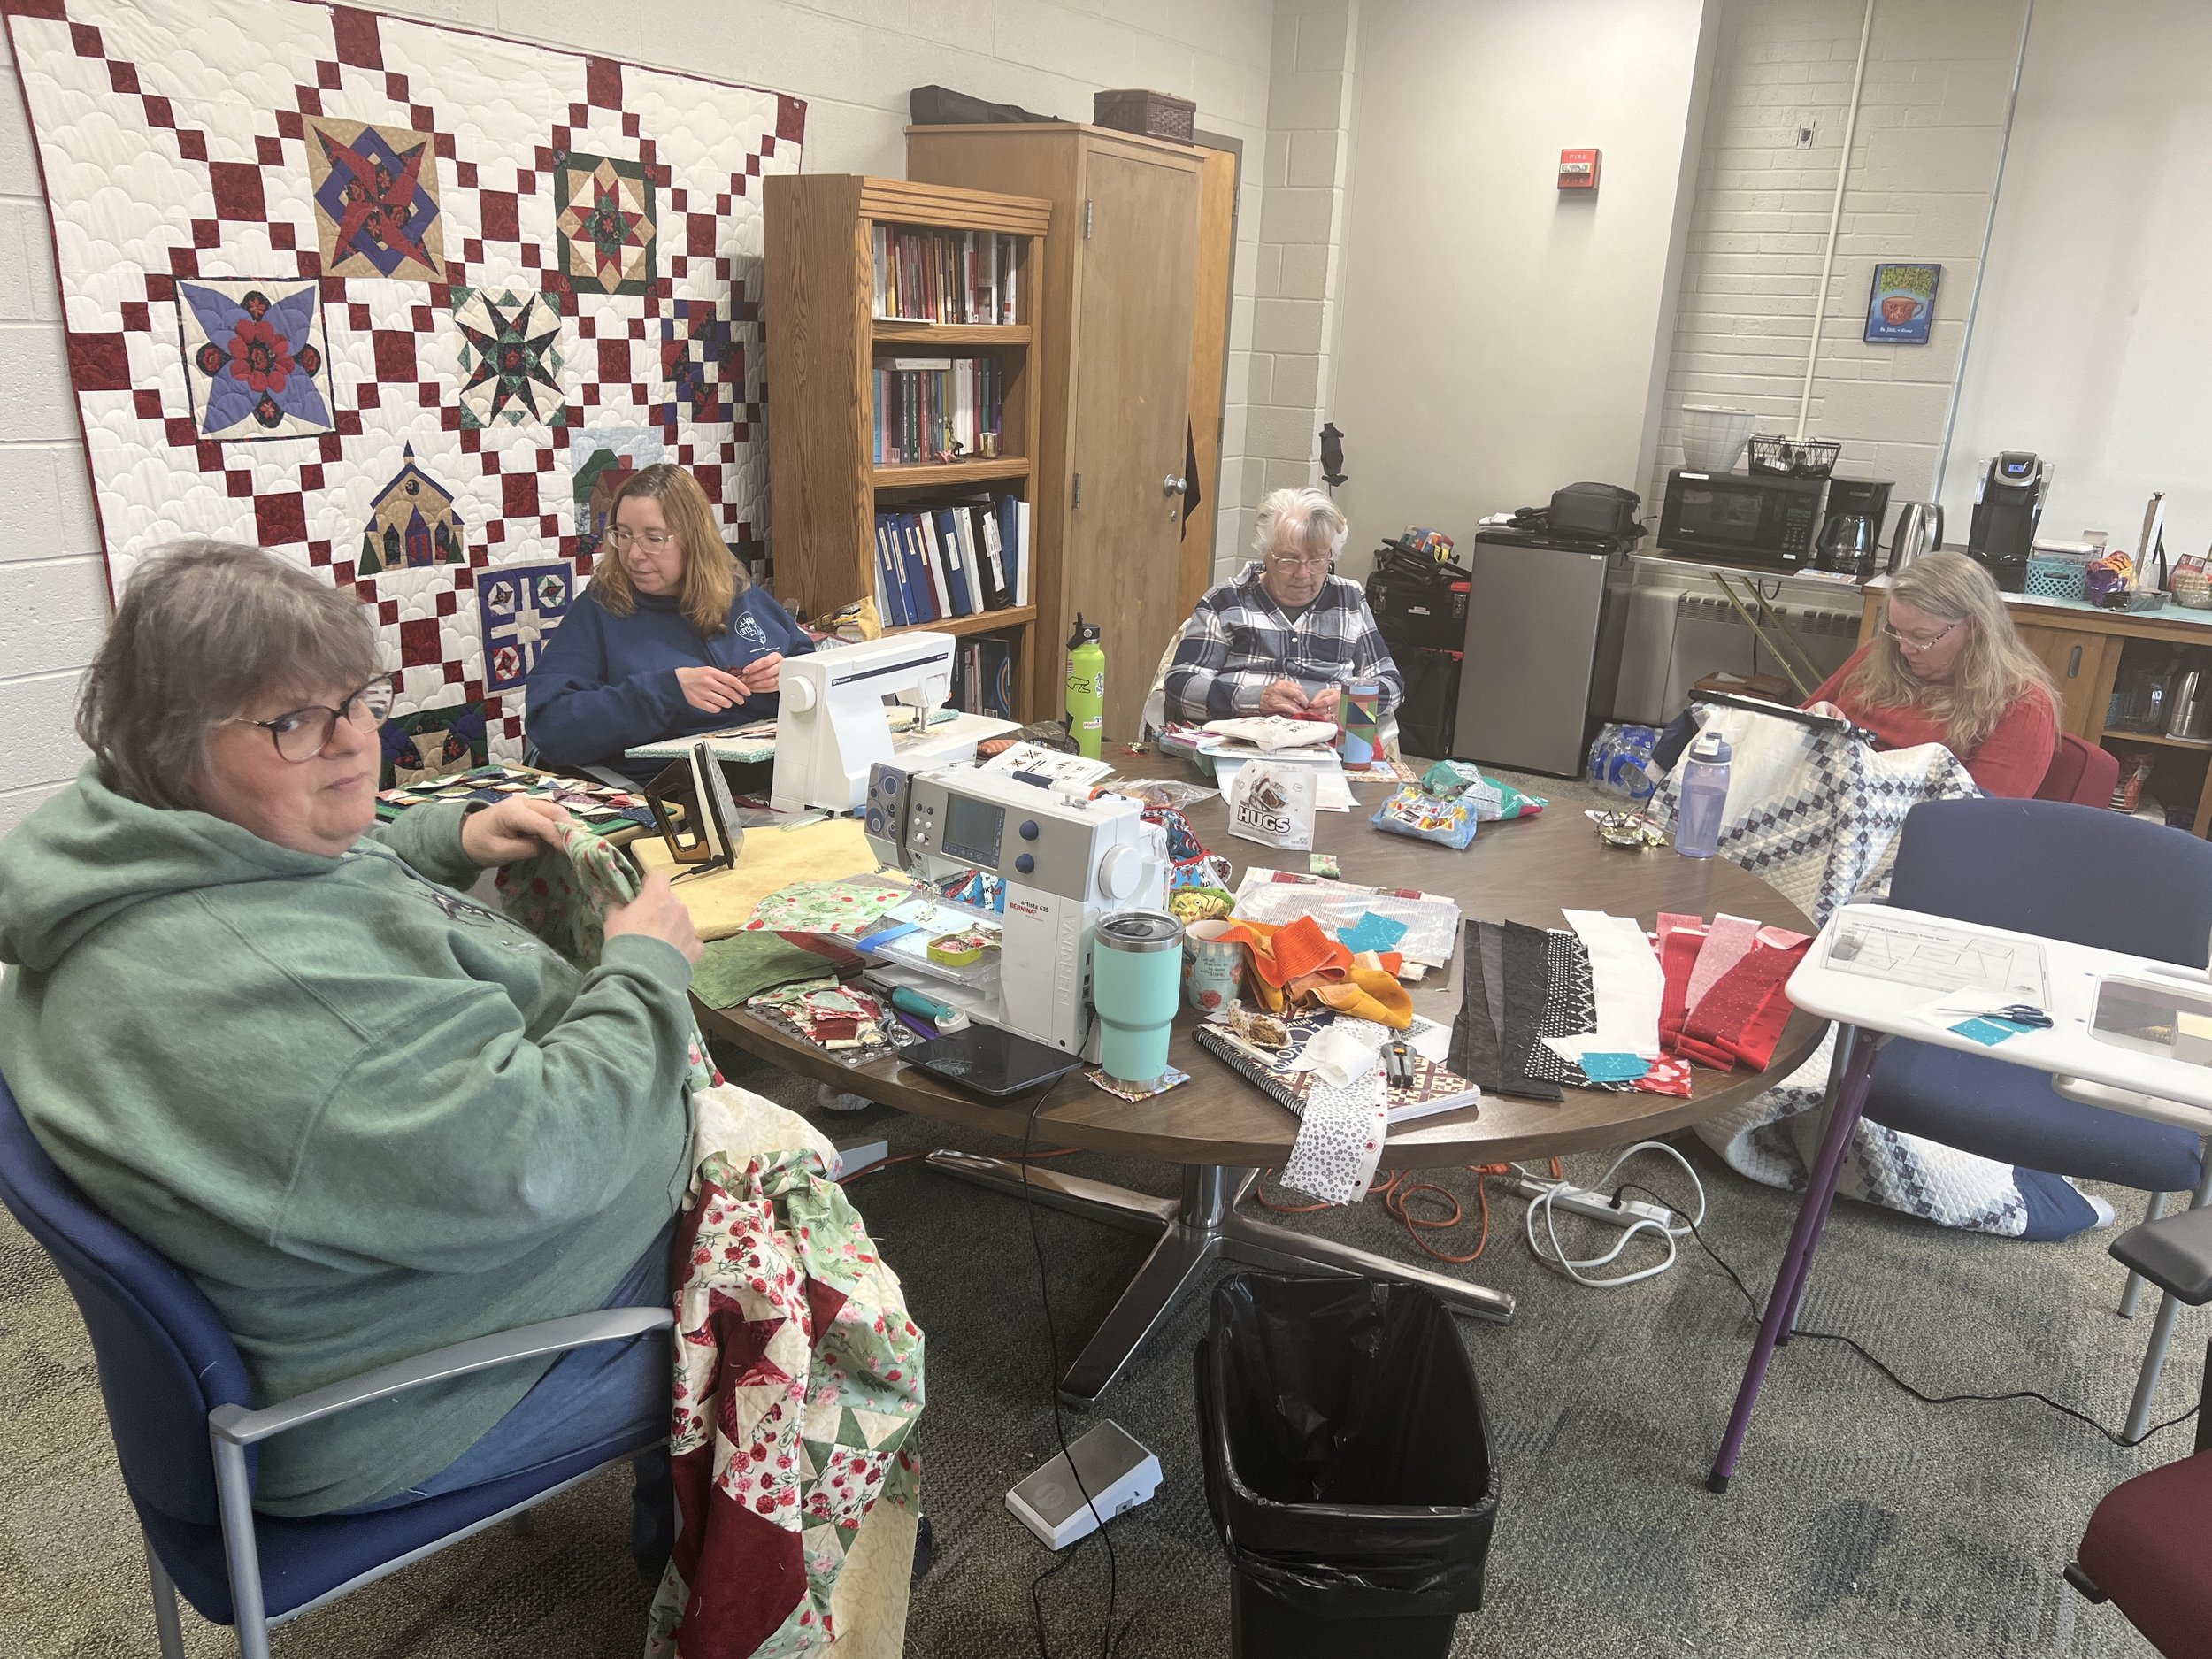
Photo 1: The sew day with friends in my office. The quilt hanging on my wall was made by my Mom—no idea what the pattern was, although it smacks of a block of the month kind of thing, or maybe a book of blocks or something. Anyway, because it has the church block it seemed appropriate for my region office. (If anyone recognizes the blocks/BOM/book, let me know!)

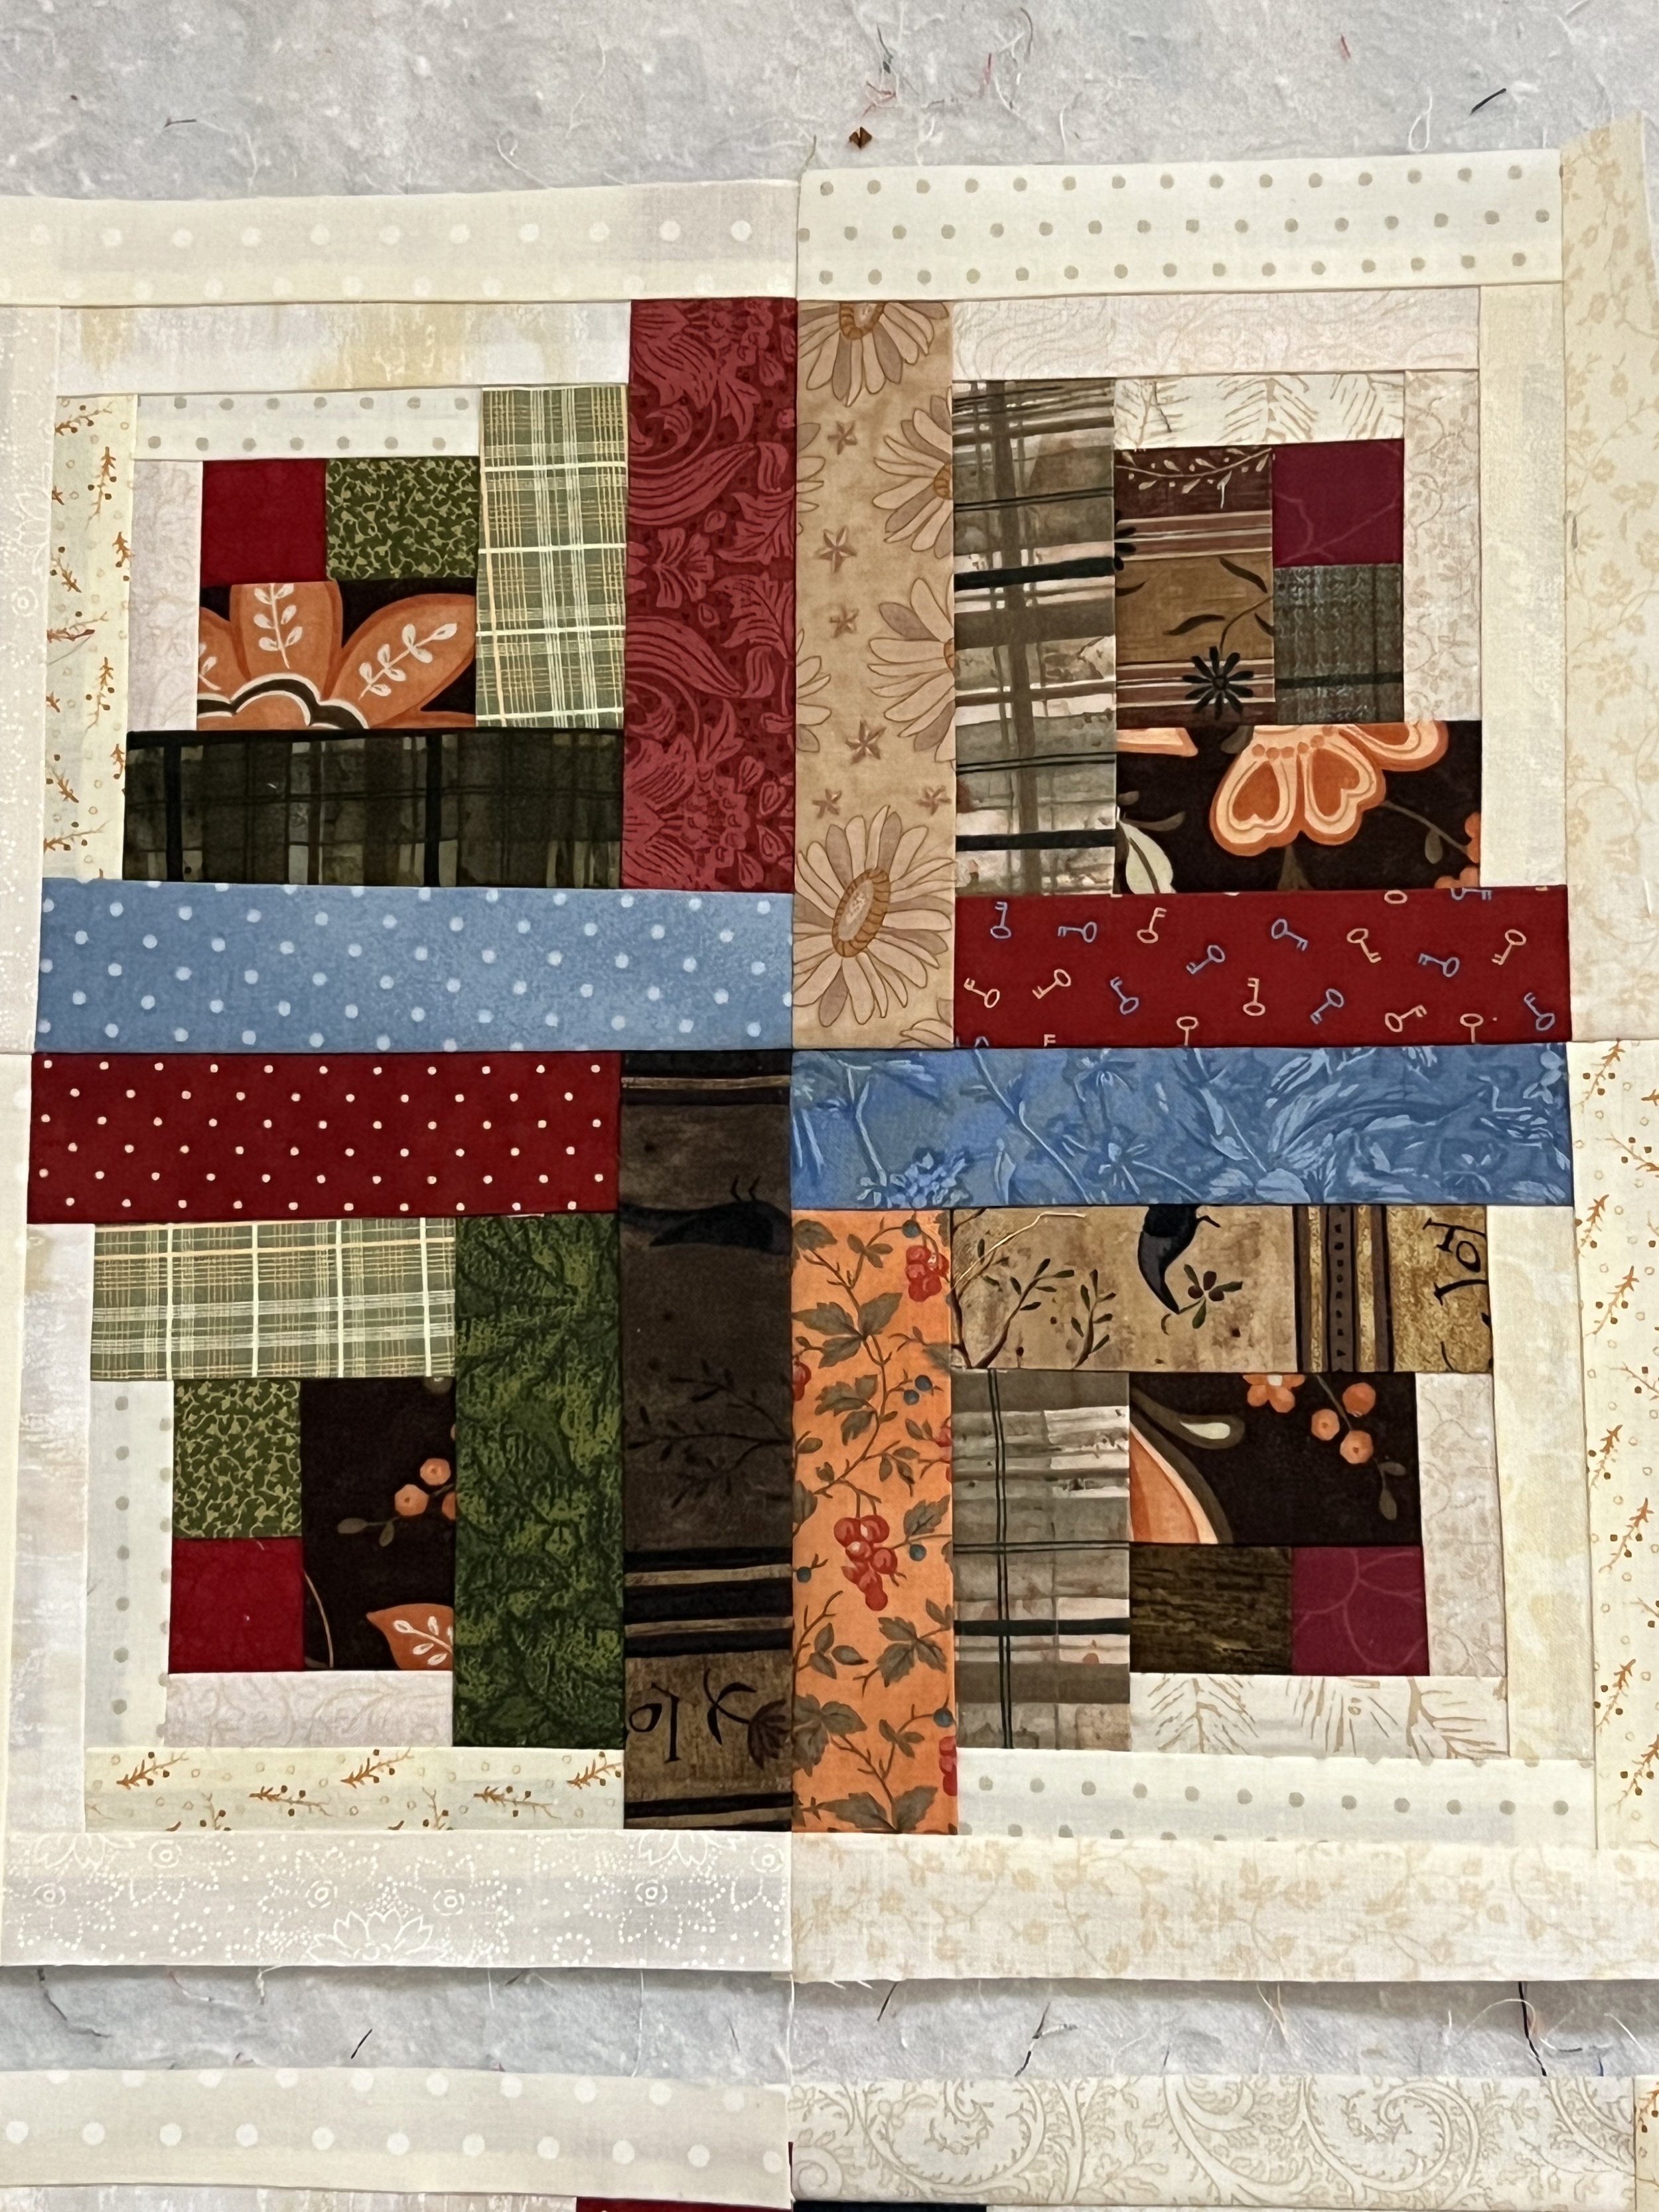
Photo 2: A close-up of one curvy log cabin block (using Creative Grids Curvy Log Cabin Trim Tool). You can tell I used three different quarter-inch seam presser feet in the process by the length of the longest “logs” next to each other. Having the trim tool saved me, though, as the block gets squared up every round of logs.So even though my seams weren’t altogether consistent due to the change of presser feet, the blocks themselves ended up all exactly the same size. Bonus.

Photo 3: All the blocks completed. I’m still in the process of piecing the top together.

Tying up Loose Ends—the DeCluttering “End of the Story”

So when I was quickly reviewing recent back blog posts to see what I had been working on before I, well, stopped working on much of anything, I realized that I’d posted about starting the 2022 DeCluttering Challenge a year ago but never let you know how it all turned out. Turns out, it turned out pretty dang good! I did, indeed, offload a decent number of books, although I’ve now filled that vacuum back up again. My bookshelf will always be a challenge for me. What was more significant is what I did with my fabric stash.

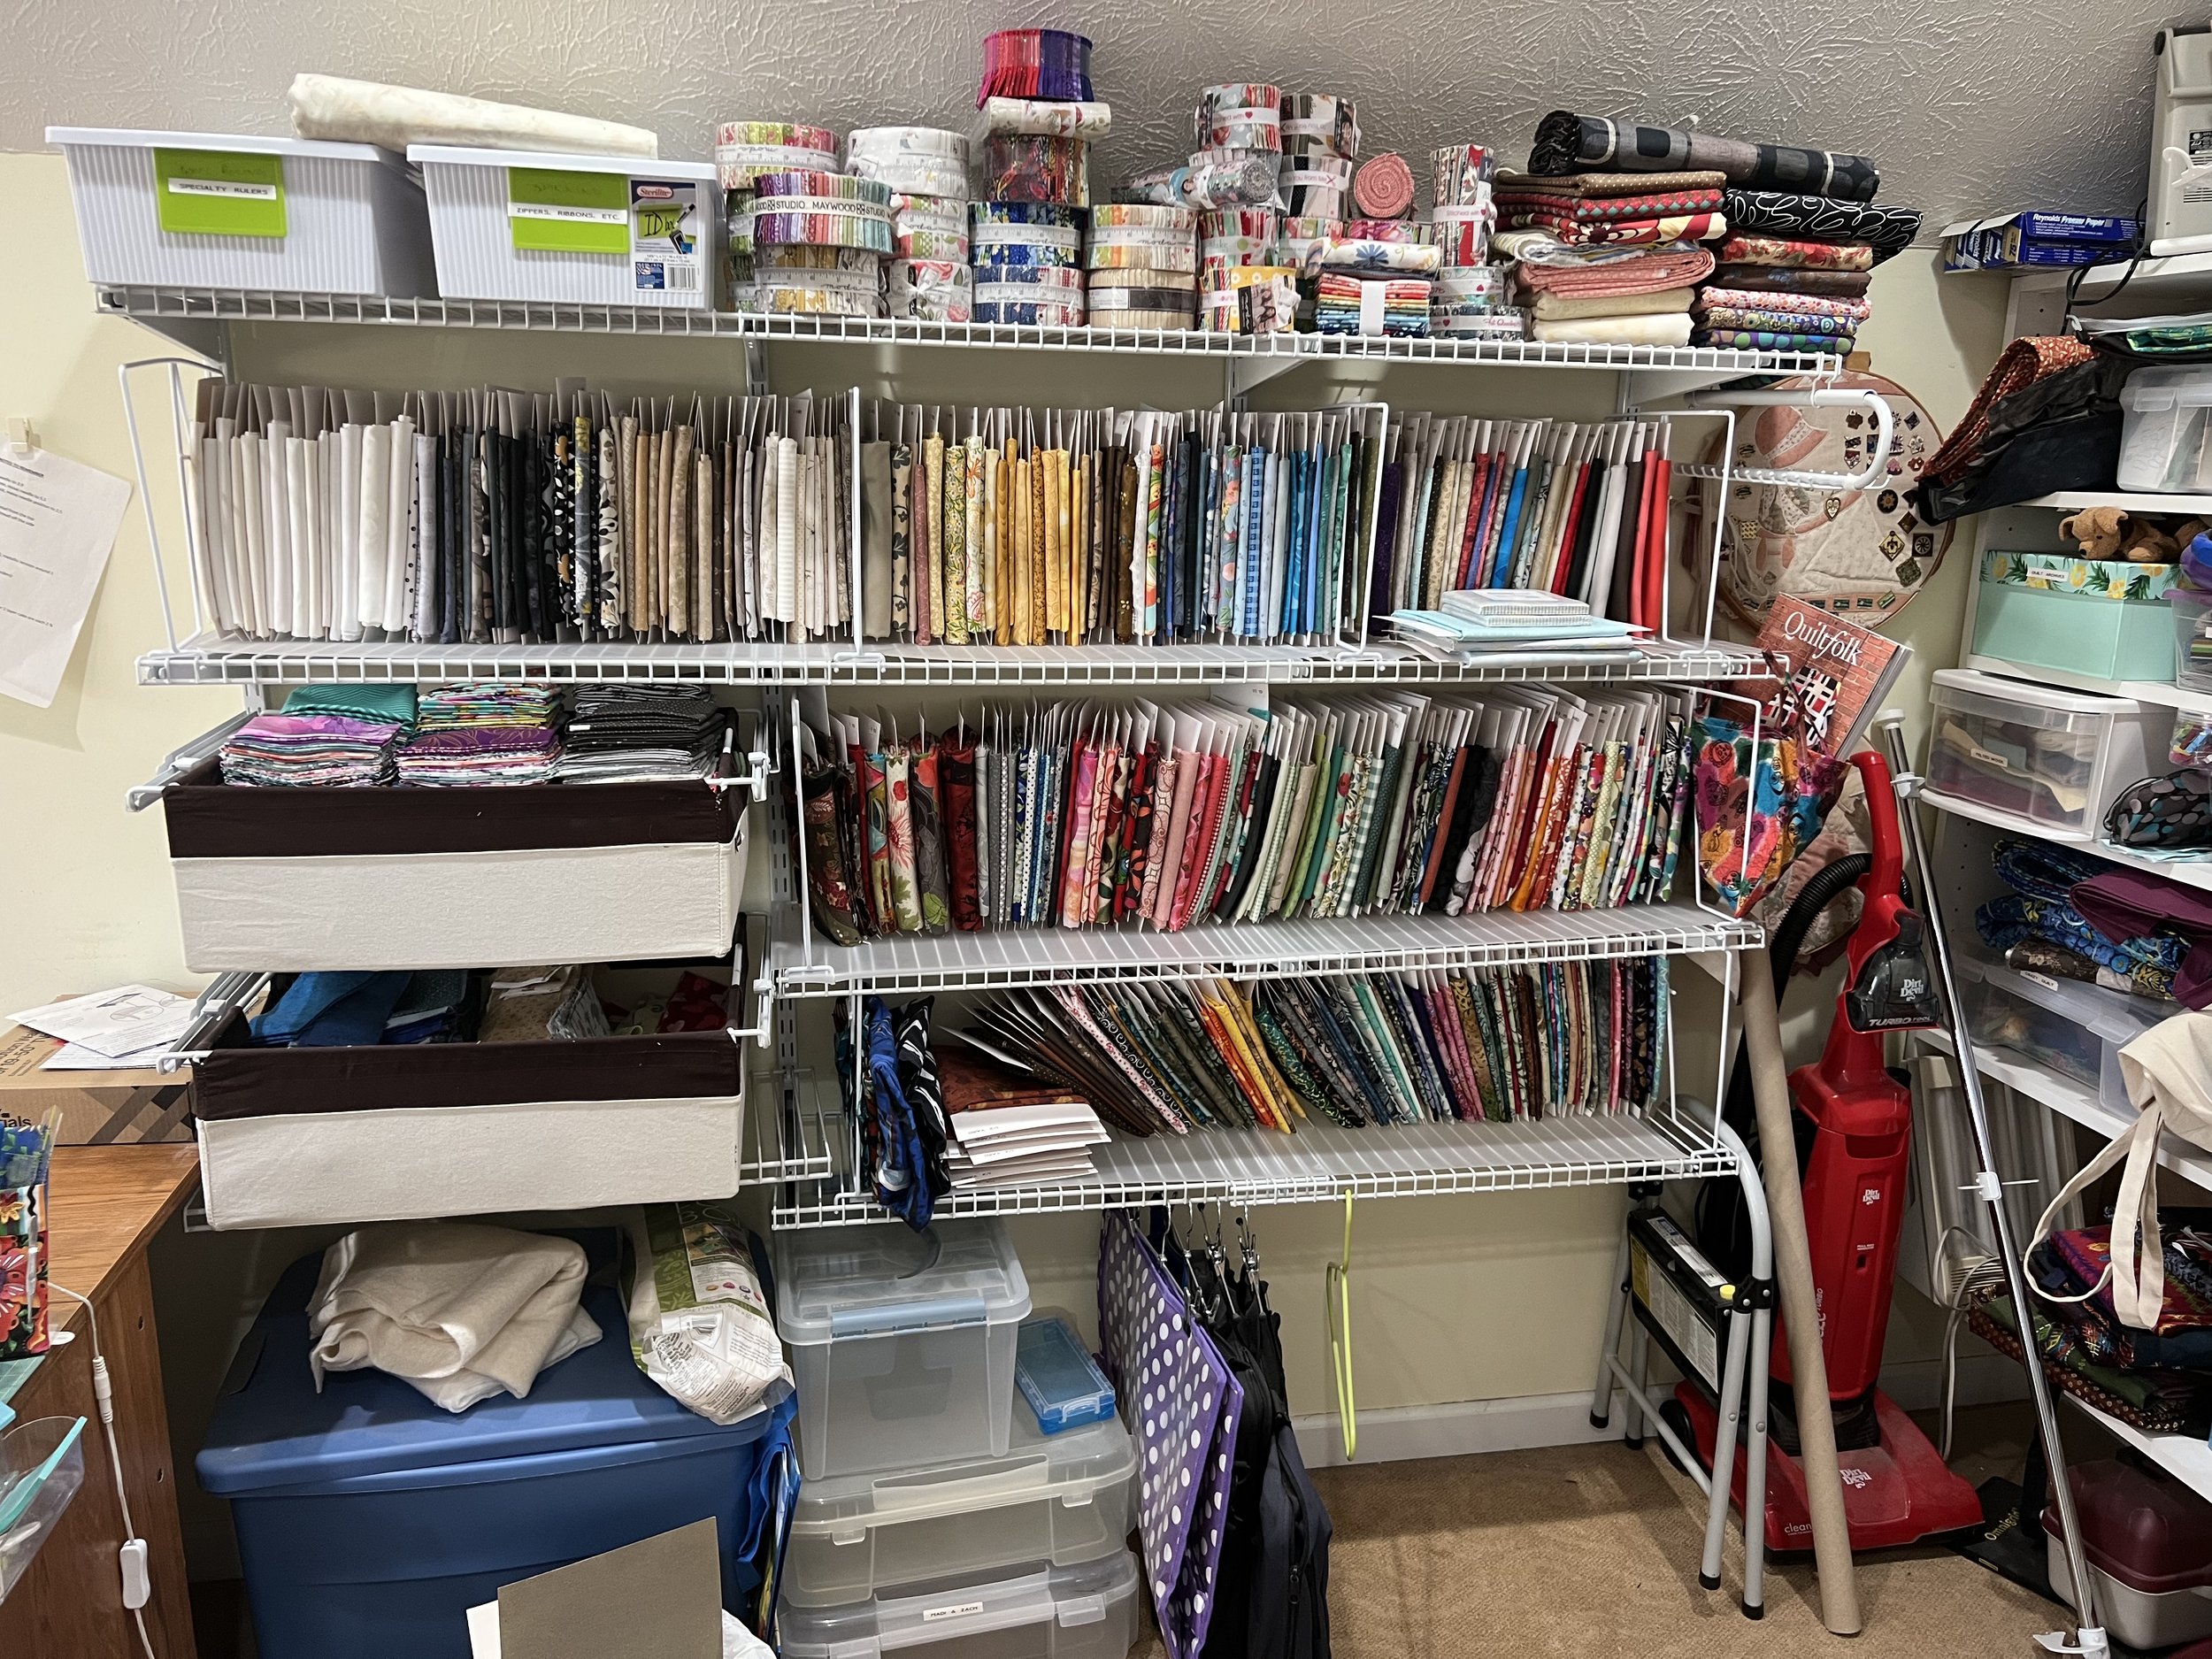
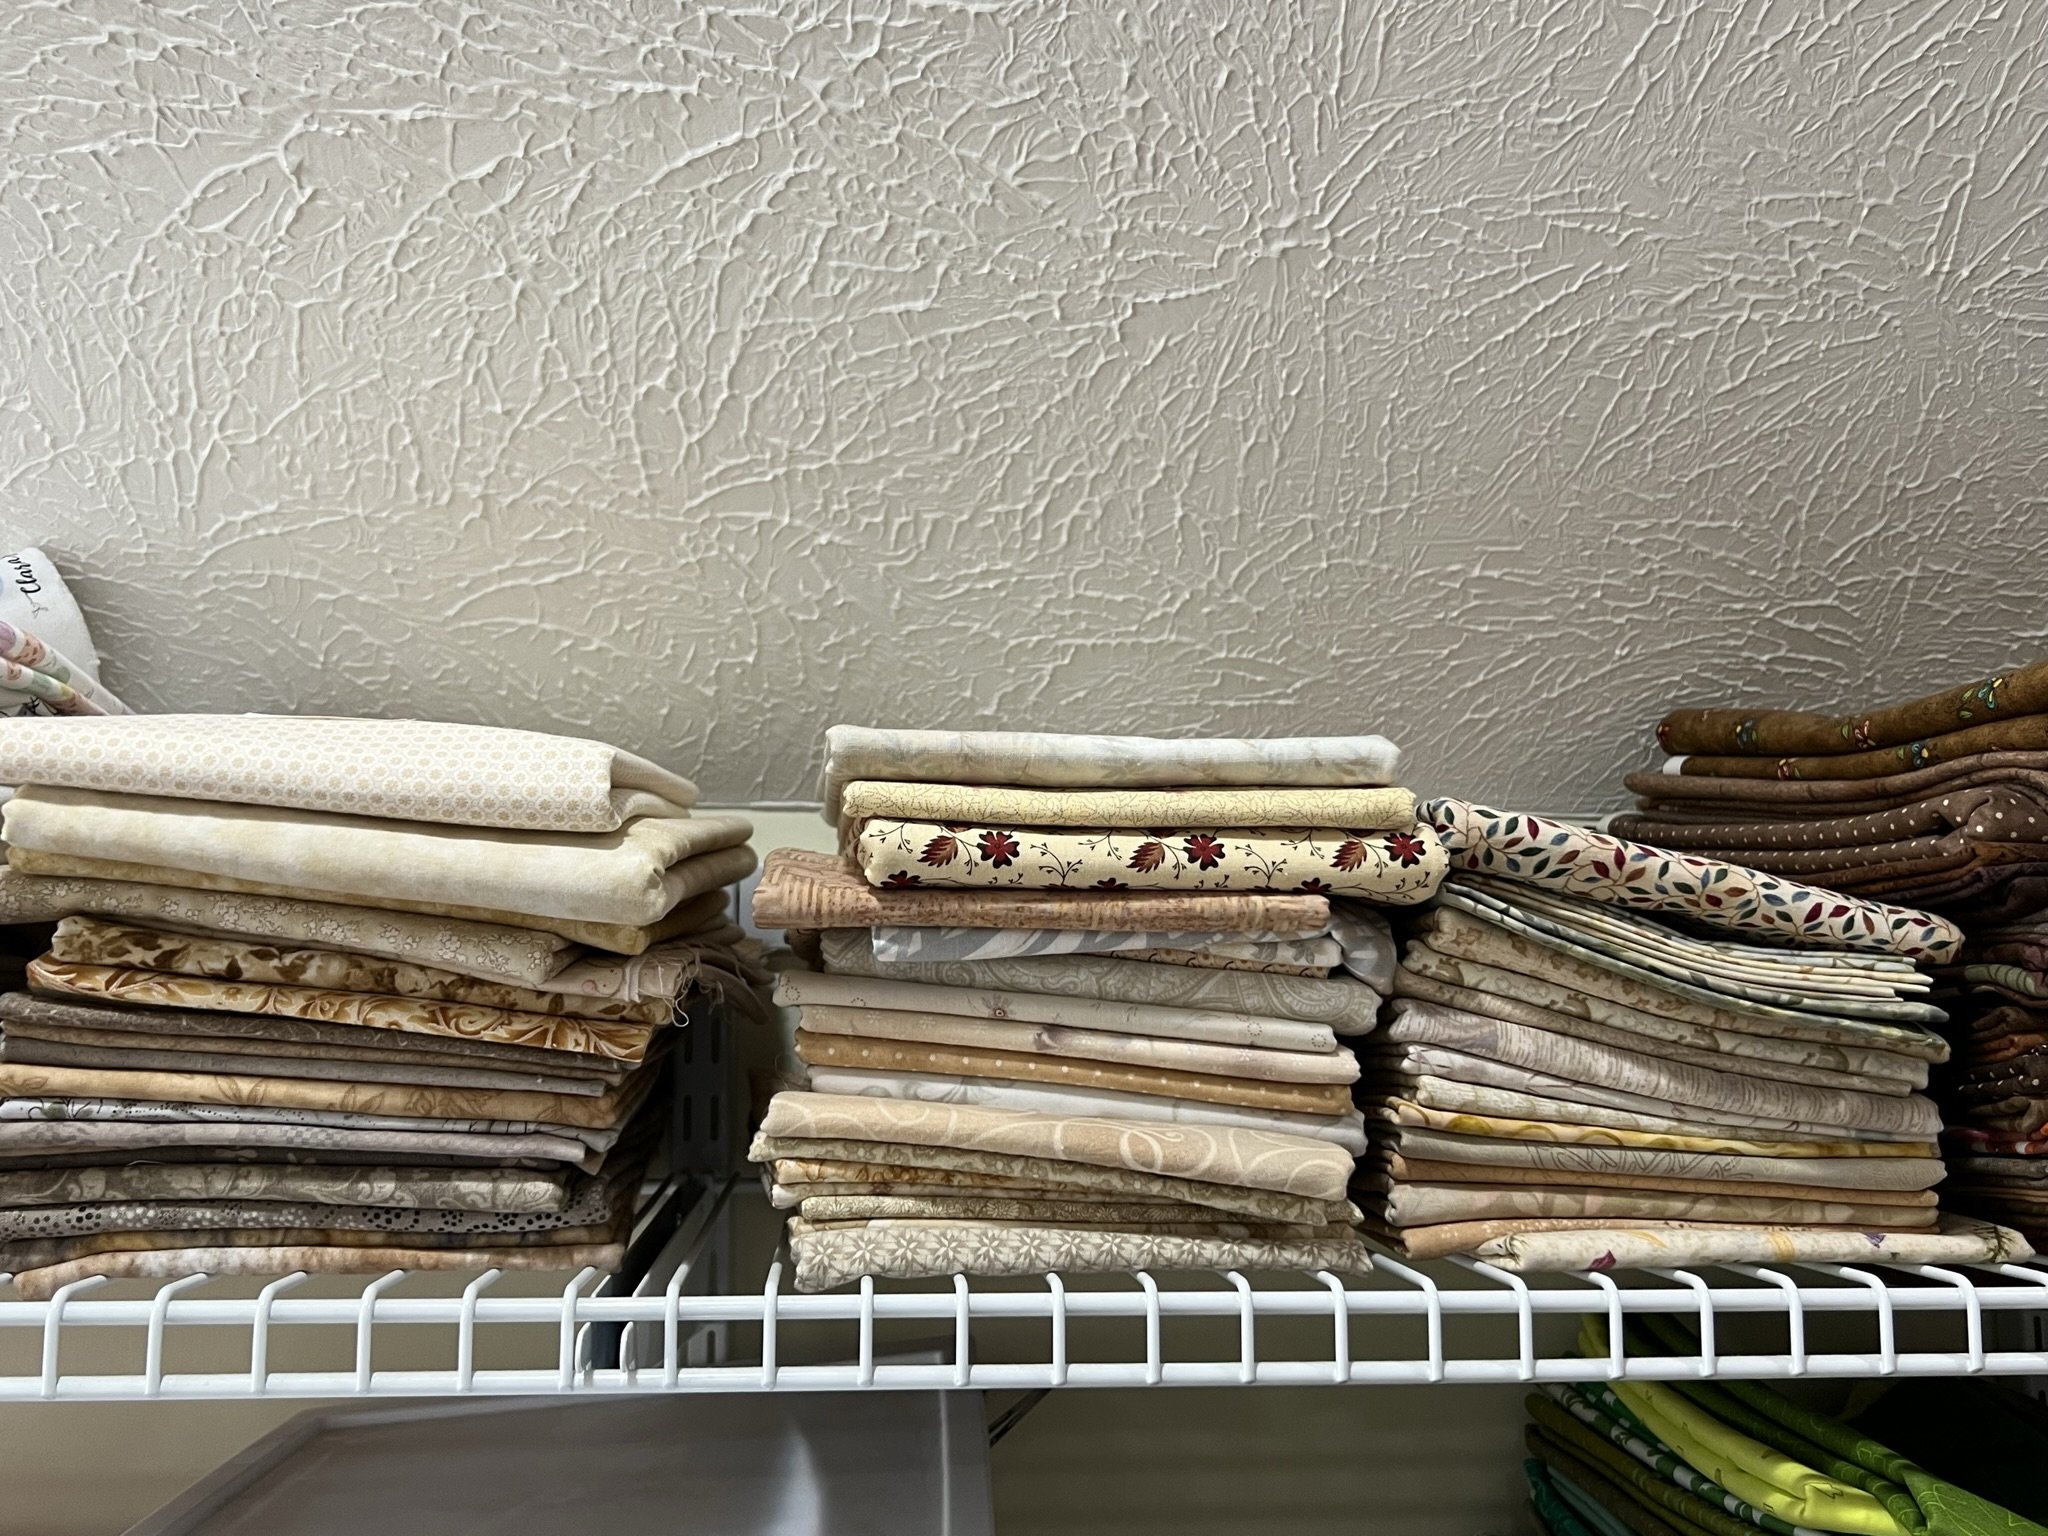
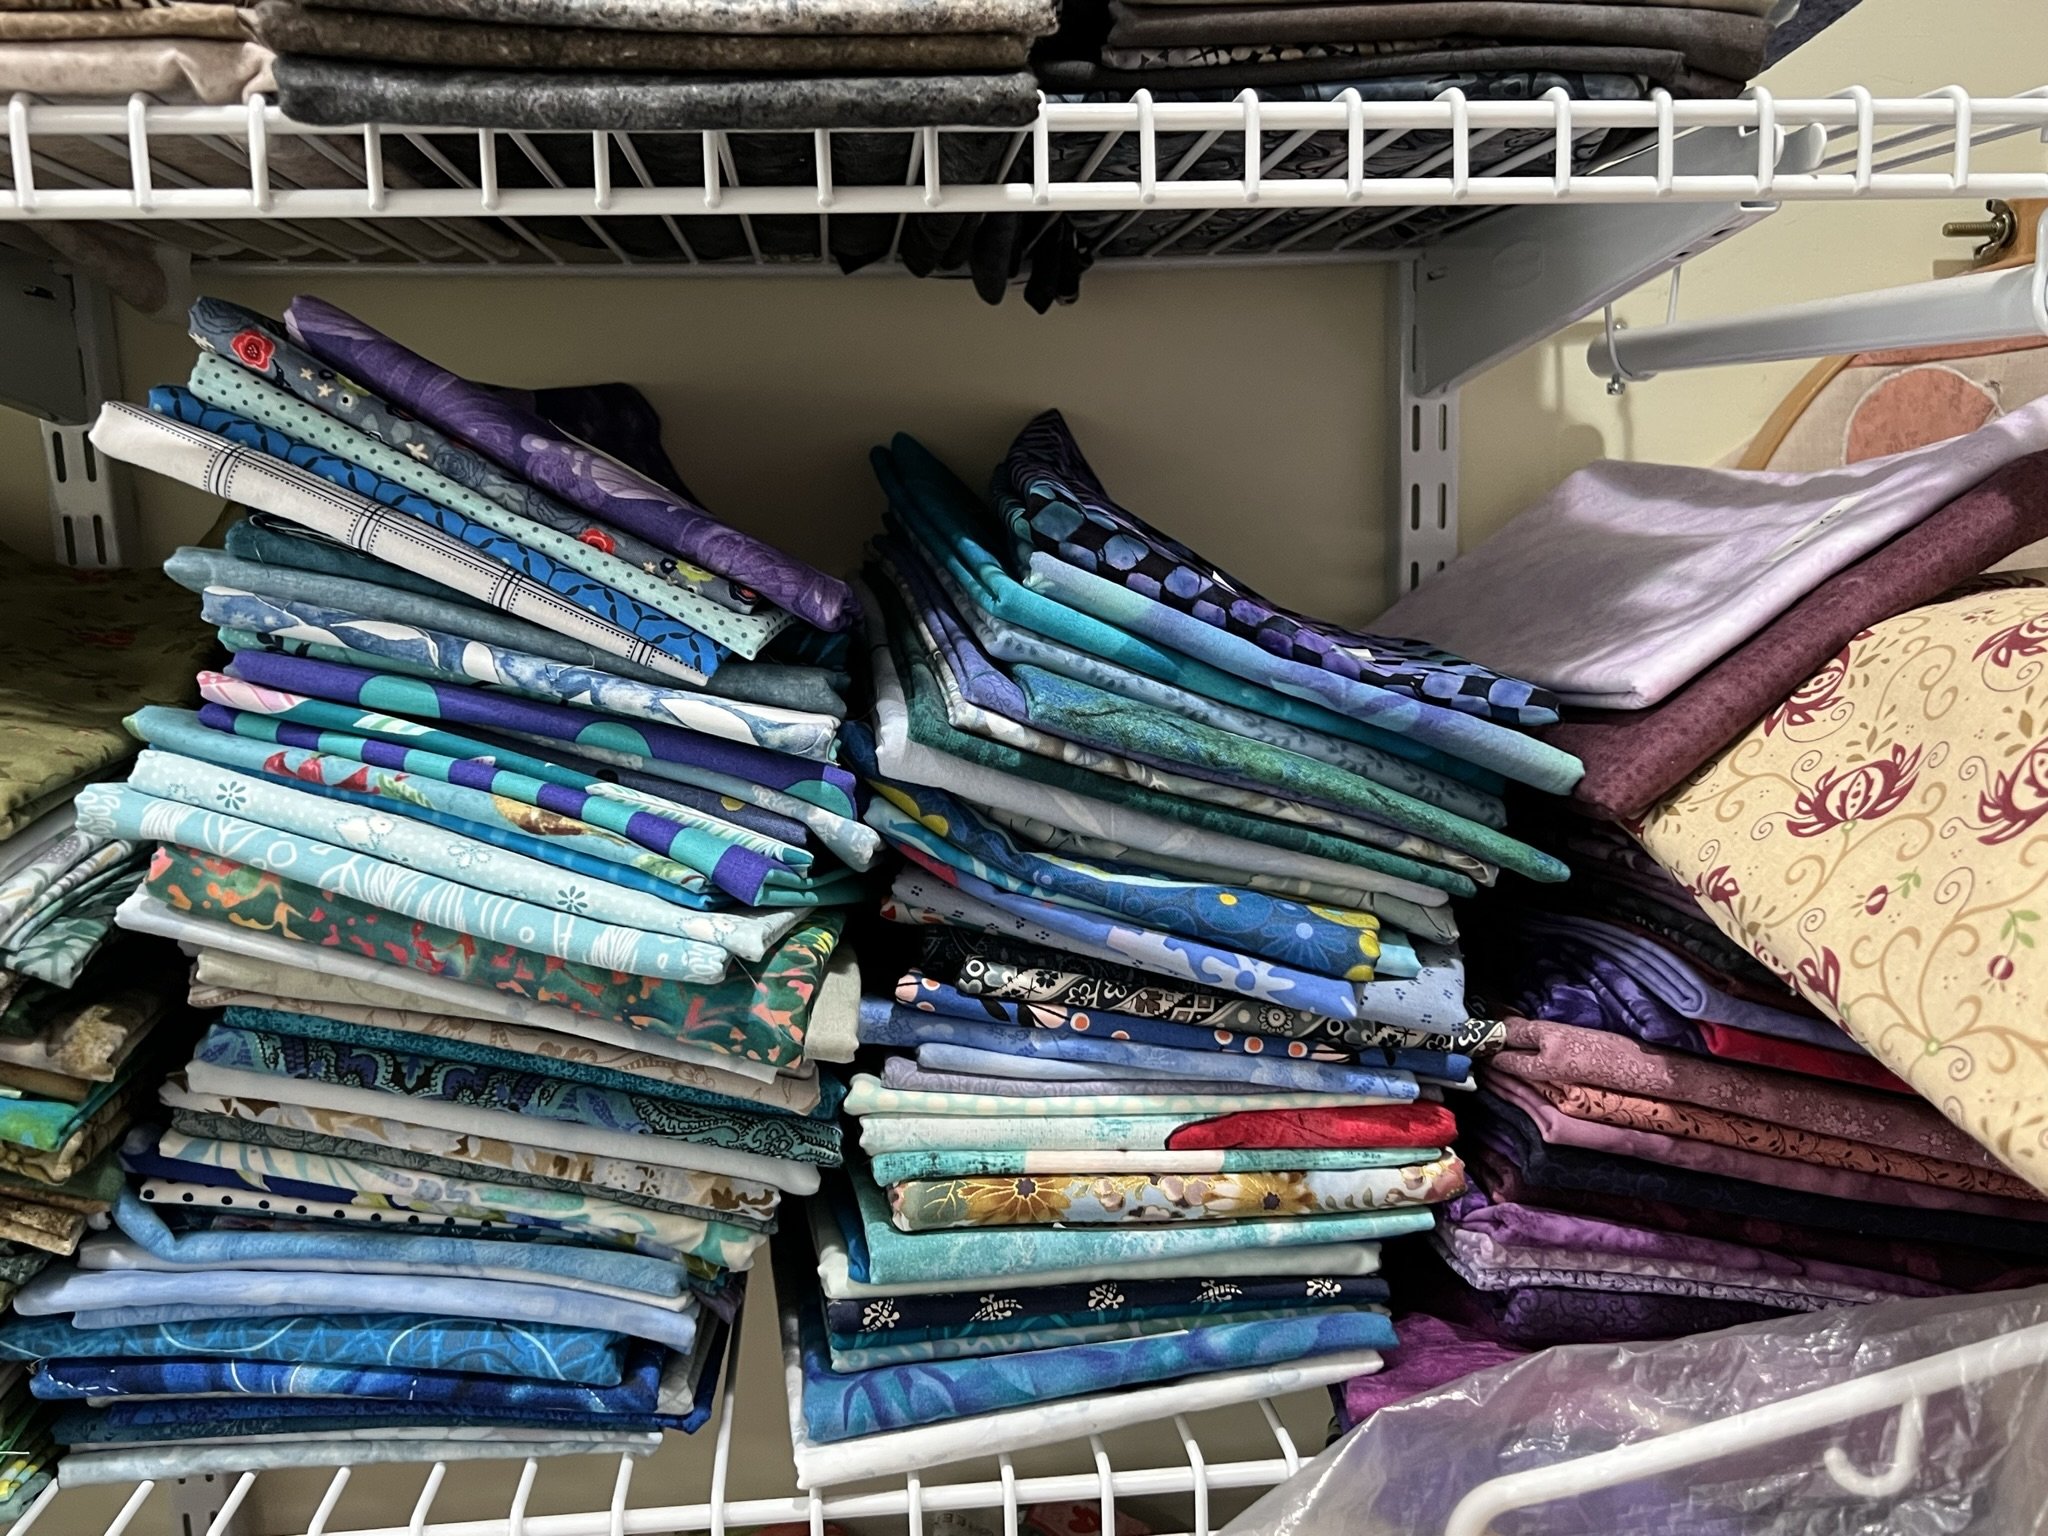
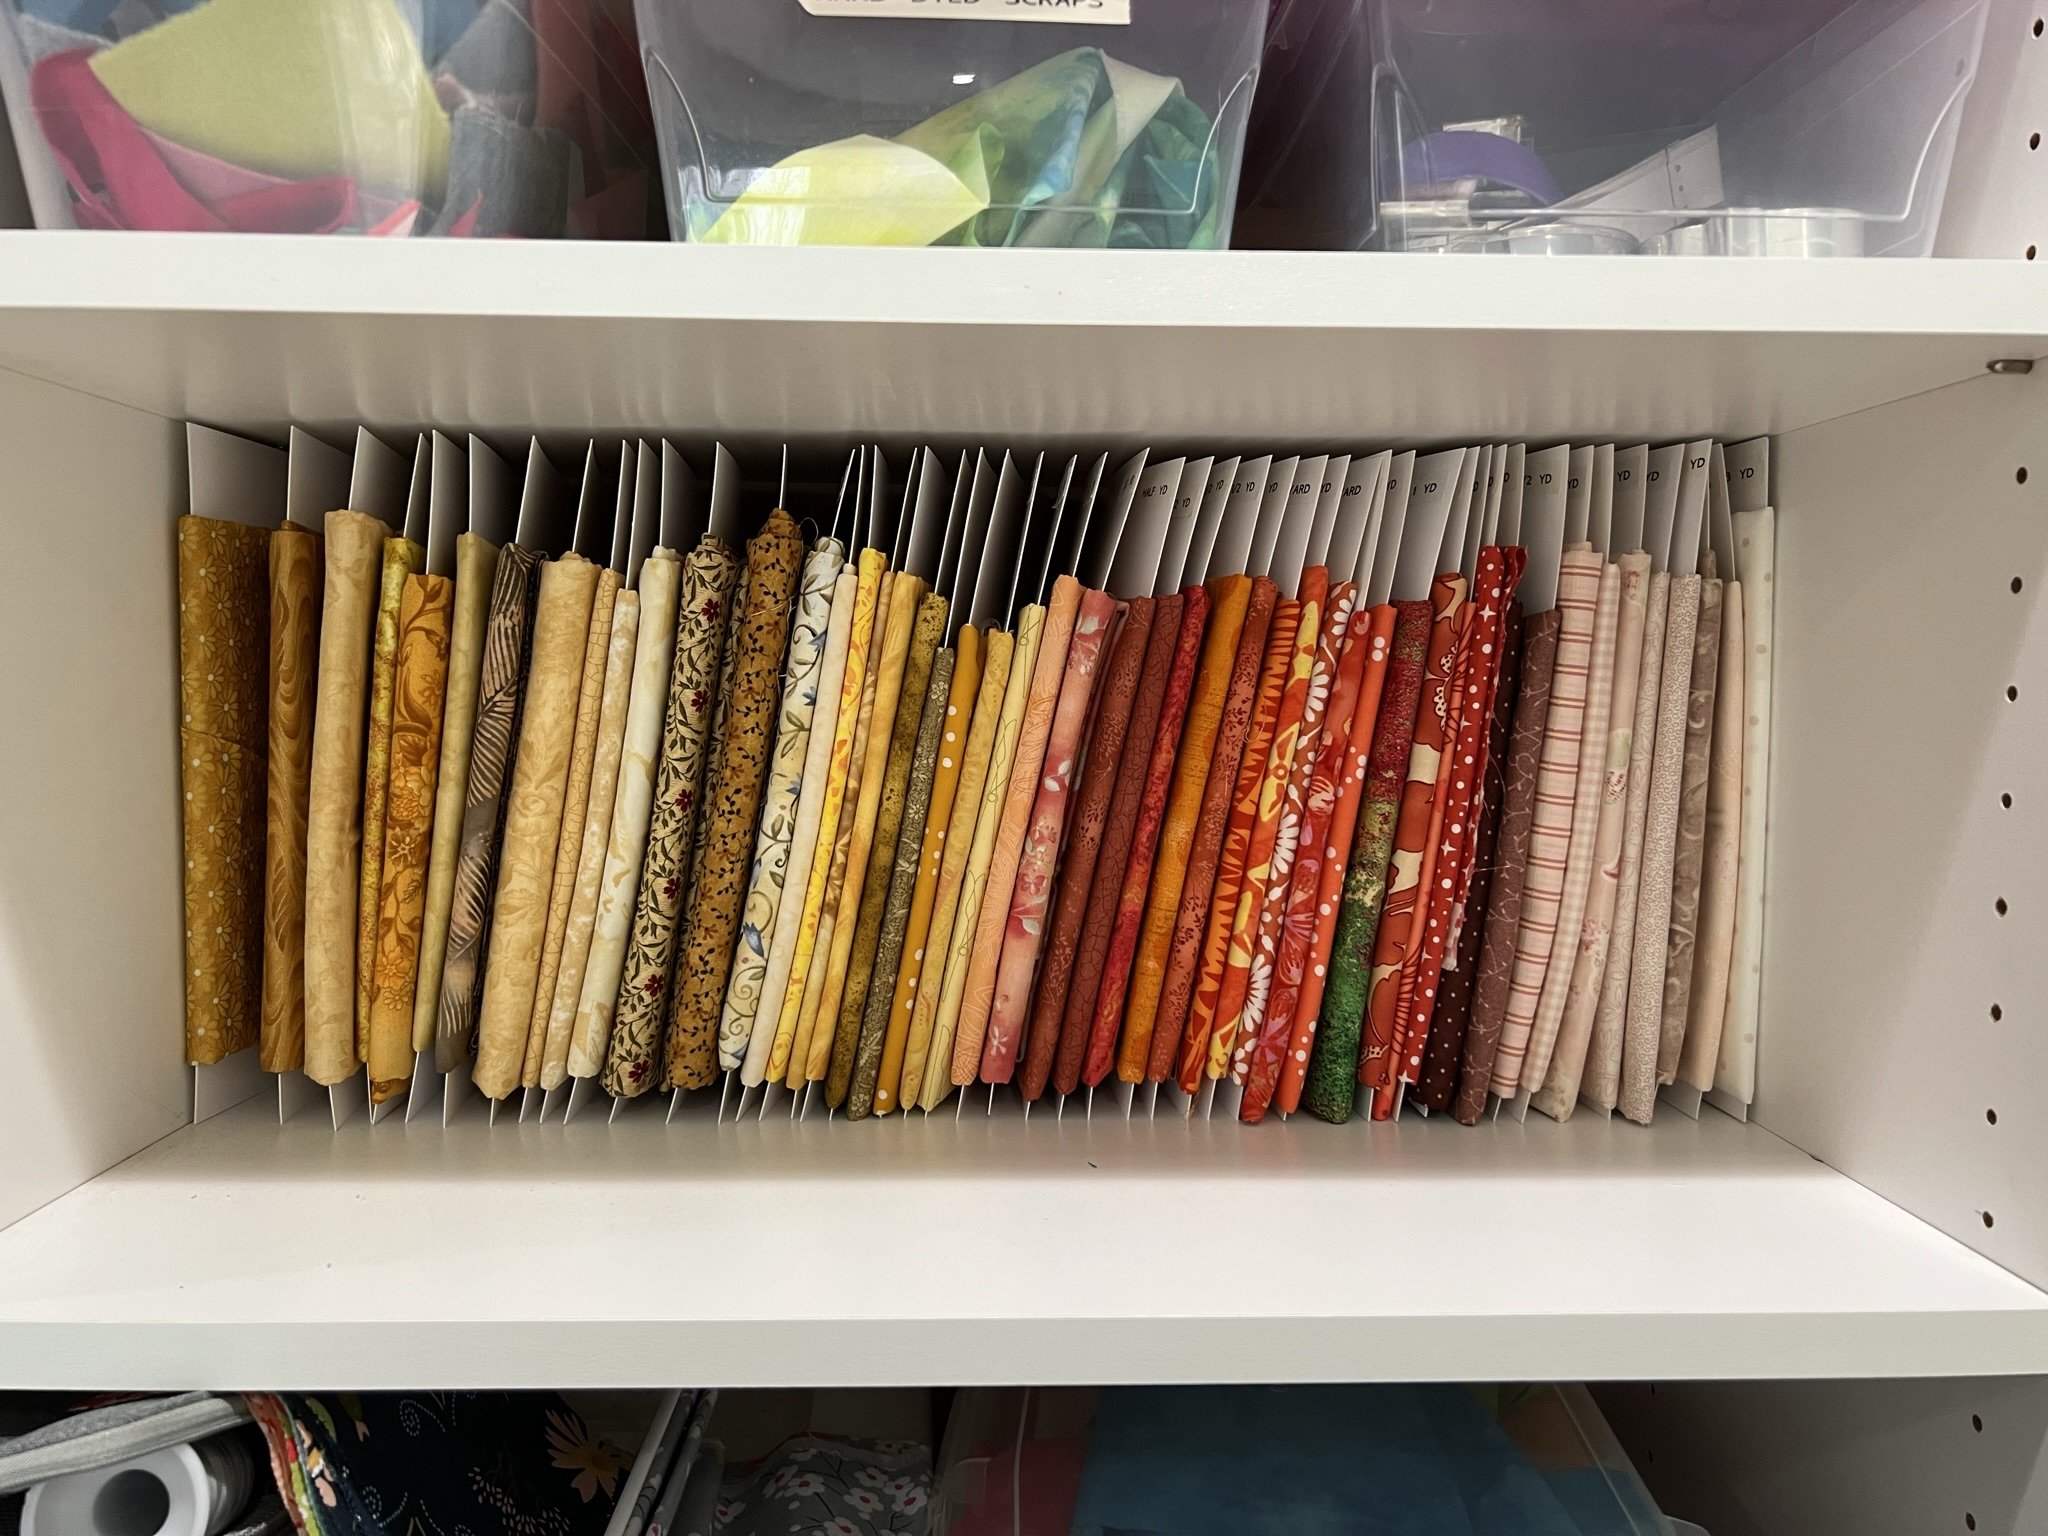
Everything is now on comic book boards except the higher yardage (backing) pieces. And now my jelly rolls look like a shop shelf—so fun to see and more out in the open to encourage me to use them. During the process, I finally decided to off-load all the fabrics I was entirely sick of looking at—the stuff that had been in my stash for years, much of which I had gotten from my Mom’s stash when she passed away in 2009. I told myself that I’d rather have a smaller stash of fabric I was interested in using than stacks n’ stacks of stuff that just made me feel vaguely guilty. A quilty friend of mine got first dibs with all the bags of fabric that came out of my sewing room, and then the rest went to my guild for their “fabric roulette” swap at retreats. It’ll get well-loved somewhere else! I think I cut my stash down by at least a third, maybe a half. It feels so much happier to me now. To be clear, because a significant proportion of that fabric had come from my mom, I didn’t have nearly the guilt about having spent money and not using it that I may have otherwise. But even the stuff I spent money on is earning its keep by making other people happy. I’m good with that.

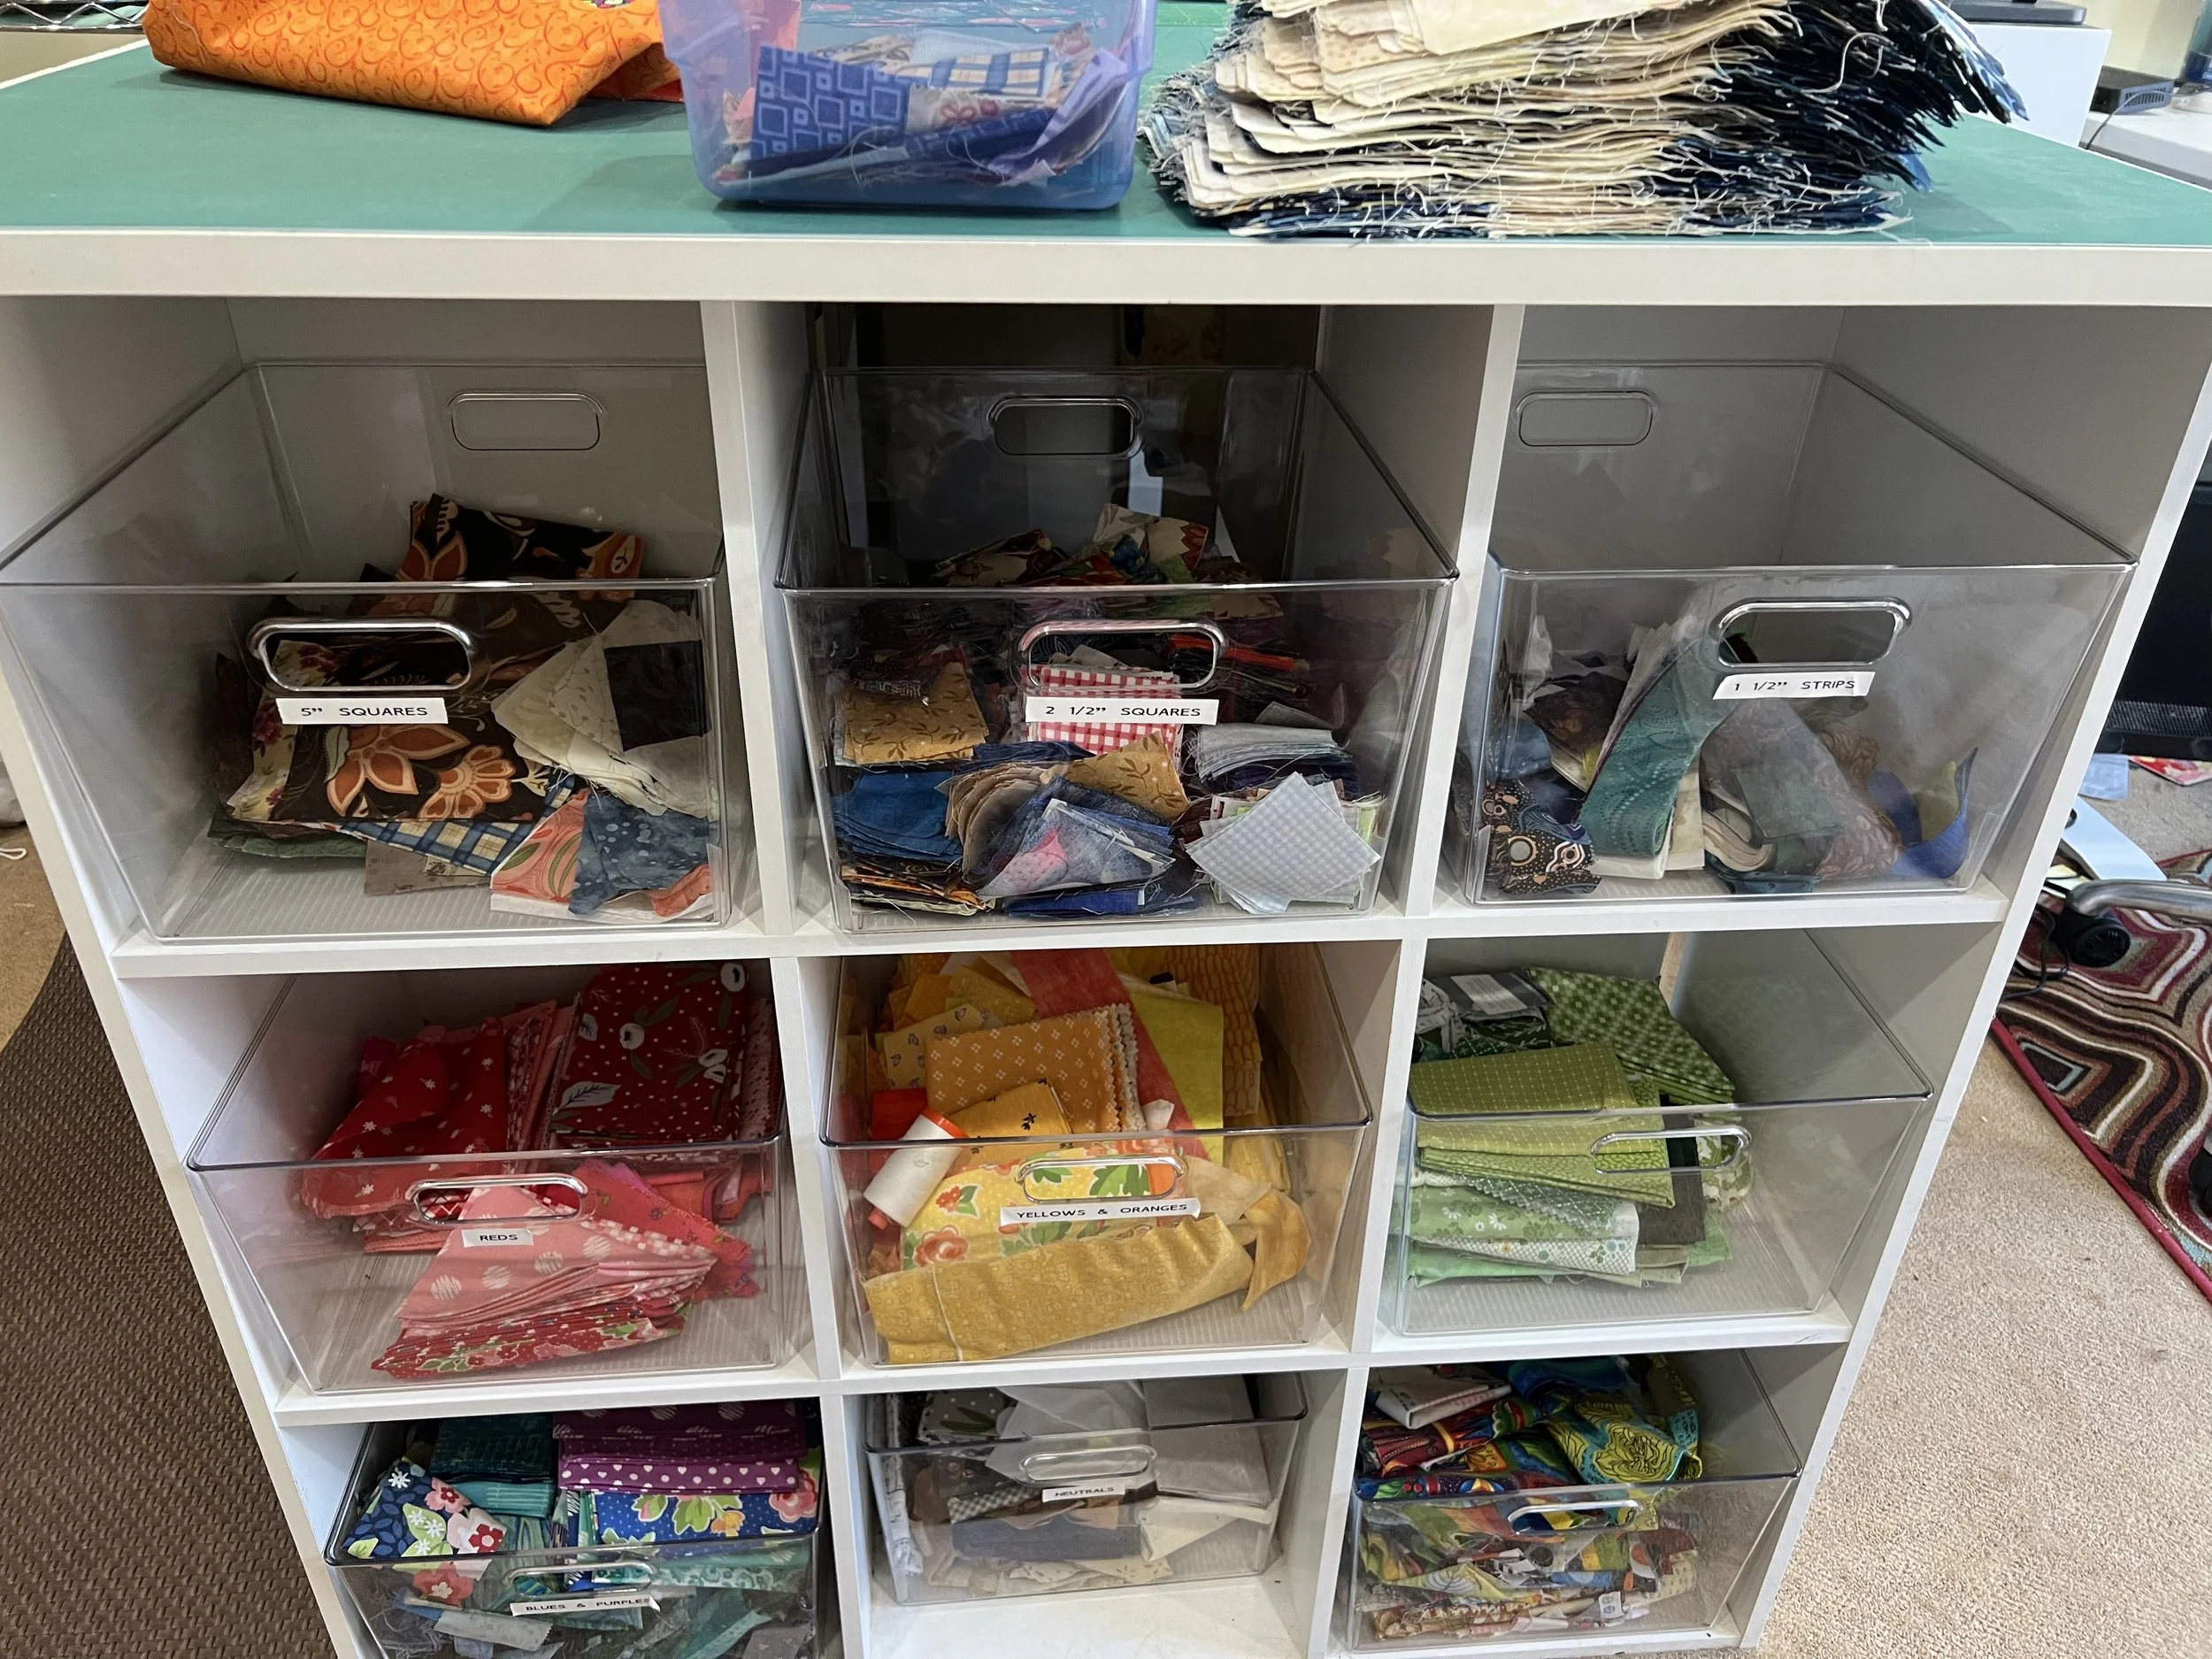
I also got several wins in one in regards to better utilizing the storage cubbies on my cutting table while at the same time having a better solution for my scrap storage. Meanwhile, my SIL was a very excited recipient of my two original rolling carts with colored drawers—they’re making great craft and toy storage for her three-year old. Wins all around.


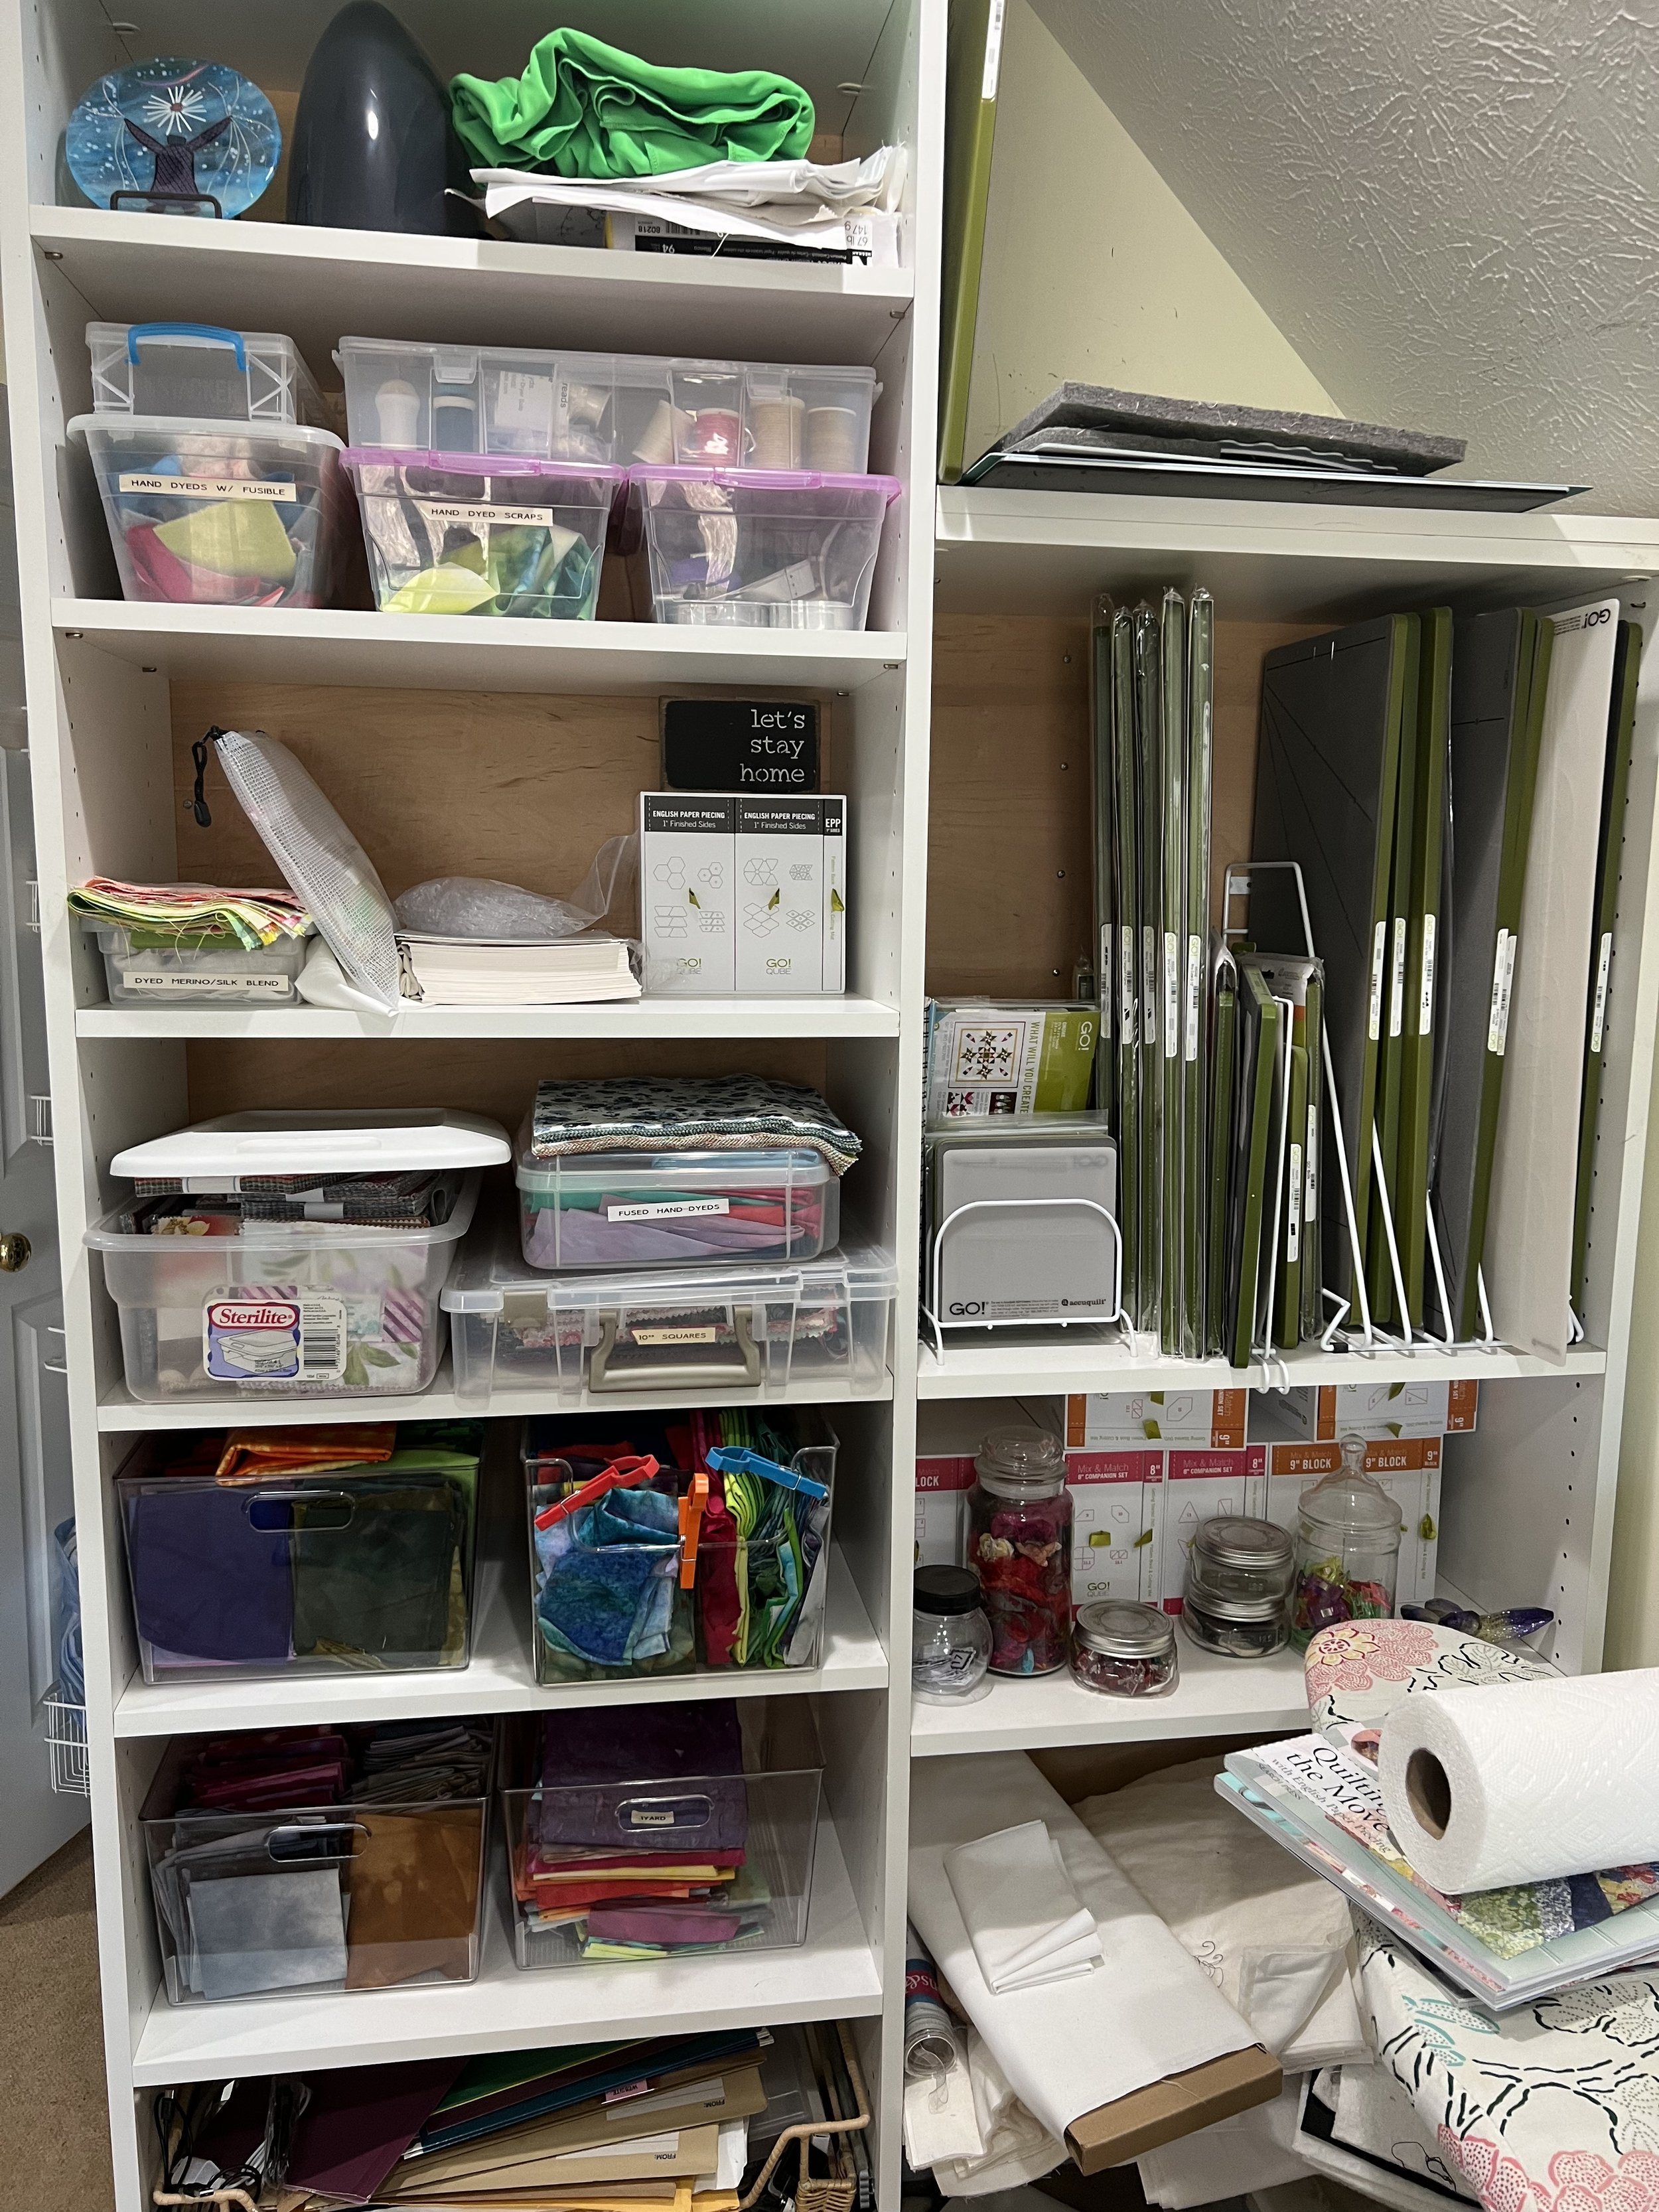
My shelves formerly-designated for office supplies and books are now home to my growing AccuQuilt die collection.

Plus, as I’d mentioned in the original challenge posts, my main goal was to dismantle my old office desk and replace it with something more streamlined now that I have an actual work office outside of my home. It took one weekend to dismantle everything and another weekend to get it all set up again, but I love everything about the revamped space.

I didn’t do the decluttering challenge again this year but will likely do it next year. Stuff does tend to creep in on you, plus with the chaos of the last 9 months or so, I haven’t entirely staying on top of things. But it’s all upwards from here!

Wow. It’s been a year.

I knew it had been awhile since I last posted or podcasted. I didn’t realize it had been over a year. But what a year it’s been. In a nutshell:

  • Several work and vacation trips back-to-back for about three months

  • The last trip sent me home with a COVID souvenir which knocked me out of the loop for about three weeks

  • Shortly after recovery, my MIL had a medical event (still don’t know what caused it) resulting in a month of hospital and rehab center then arranging for in-home assistance—her life changed significantly and she can no longer drive and needs a walker most of the time now—all of that took about two to three months to really get situated—she’s doing well now and we have a niece who my MIL was able to hire as her home assistant for a few hours every weekday which works out really well for both of them.

  • Several weeks of trying to catch up at work after all of that

  • After finally getting life back on track and I had time to think about other things, I realized just how frustrated I was about the fact of my knee still hurting after the double-meniscus surgery the year before, which ended up with…

  • Now being not quite 8 weeks post-op on a total knee replacement (right knee).

Panorama shot of my excellent hospital room at Unity Hospital in Rochester, NY. All private rooms, and very quiet. 10/10 recommend. And yes, that was one of our worst blizzards of February outside that window so I’d sent my husband home before the driving got too terrible.

I’m glad to say that with my knee replacement now in the past and recovery going pretty dang well (all things considered), I actually sat at my sewing machine for the first time in months yesterday. My bad knee was my sewing machine foot-pedal knee, as well as my driving knee, and both activities were fairly painful. I can now see the light at the end of the tunnel! I still can’t sit in a “normal” chair for more than about 15 minutes or so because something about the angle sets off a chain reaction of pain and stiffness, but we’re getting there. I’m privileged to have the kind of job I can do much of online and Zooming but last week I was able to spend a little time in my actual office and some face-to-face meetings, and then came home and iced/elevated (and napped) in the recliner I’ve rented from a medical supply service until I’m fully on the other side of this. I was prepared for the idea of the physical recovery; I wasn’t prepared with just how exhausting all of this is. When I first started trying to work again, I had one Zoom meeting for about 40 minutes and slept two hours after. The fatigue is definitely starting to lift but I’m still not back to full speed.

Unfortunately, while on my four-week full-time medical leave I was largely also not feeling up to doing much of a creative nature, but when I was feeling okay, I did some EPP. I do enjoy it, but I also have arthritis in my index fingers so I can’t do the hand-stitching for a really long time. I’m basically just doing hexies as one project and dilly flowers as another with no actual defined plan as of yet as to what I’ll do with them.

I’m using up some charm packs I’d collected over the years so off-hand I can’t tell you what the fabric lines are.

You may also notice the Lori Holt design board they’re sitting on. I ordered all three sizes while I was ensconced in the recliner as they make it much easier to hold the pieces as I’m sewing. Plus I was feeling a little self-indulgent. (Retail therapy got me through some of the worst days of the first couple of weeks, sadly enough for my credit card.)

The Dilly Flowers are from Elise Baek. I bought her paper templates to use to make life a lot easier on myself—I did that well before the knee surgery so that was part of my usual self-indulgence. If I can save myself some steps I will, as those of you who have followed me for awhile well know at this point.

This set pictured still has the paper templates in the outside petals but I removed the innermost paper which is why it looks a little puckered. That will flatten out once all the papers are removed and all the fabric has a little give. (For those of you who don’t know EPP, you generally only remove papers when the piece has all of its sides surrounded in order to help everything keep its shape.)

The flowers have another round of background that turns them into a hexagon but I don’t have a lot of those basted yet to put them on. I should probably work on that this week. These were some of my first efforts and I’m pretty pleased with the results, if I do say so myself. I have been doing a whip stitch and don’t mind seeing a little of the thread on the front. I do want to practice the flat-back stitch but the once I tried it I was a little uncomfortable holding the pieces even with some clips helping so I’m not sure that’ll ever work well for me.

And yes, ahem. Still working on that Storm at Sea. We’re coming up on the second anniversary of the couple it was for. It’s further along than this picture now, but still a long way to go. I’m piecing the blocks into fours at this stage, then I’ll put fours together, etc. I have a chart I’m working off of as my design wall isn’t big enough to get it all laid out at once, nor do I have any other bed, wall, or floor space in my house large enough. I know I’ll see fabrics in places I don’t want to see them when I’m done, but I should be able to keep it fairly randomized—I have the sets of four blocks sorted in such a way it should assist in the randomization moving forward.

Meanwhile, since I wasn’t up to doing much sewing during my recovery, I was watching a lot of YouTube and flipping through my quilt books so I now have at least 15 other projects burning a hole in my brain. The trick will be, once I’m fully functional again, remembering to leave time in my work and travel schedule for creative pursuits!

Oh, and by the way, my daughter who is finishing up their second year in seminary just preached their first sermon (ever!) this morning at the church that is calling them as an assistant pastor. We were able to Zoom in for it (church pews are still a bit beyond me—see previous comment about sitting in “normal” chairs)—so proud! And yes, they did actually look up quite frequently—hard to get a good photo of someone doing public speaking. Anyway, yep, they’re joining the family biz. They’re on their way to have lunch with my two elder sisters, both retired pastors, for a debriefing right now, LOL.

So that’s me and a year in a blog post. I do really want to get back into this blogging and posting habit because I so enjoy the conversation with y’all. It’s just hard to maintain focus at this stage. All I can say is, I’m going to try.

Let me know your quilty goings on!


Another Cotton Cuts Delivery

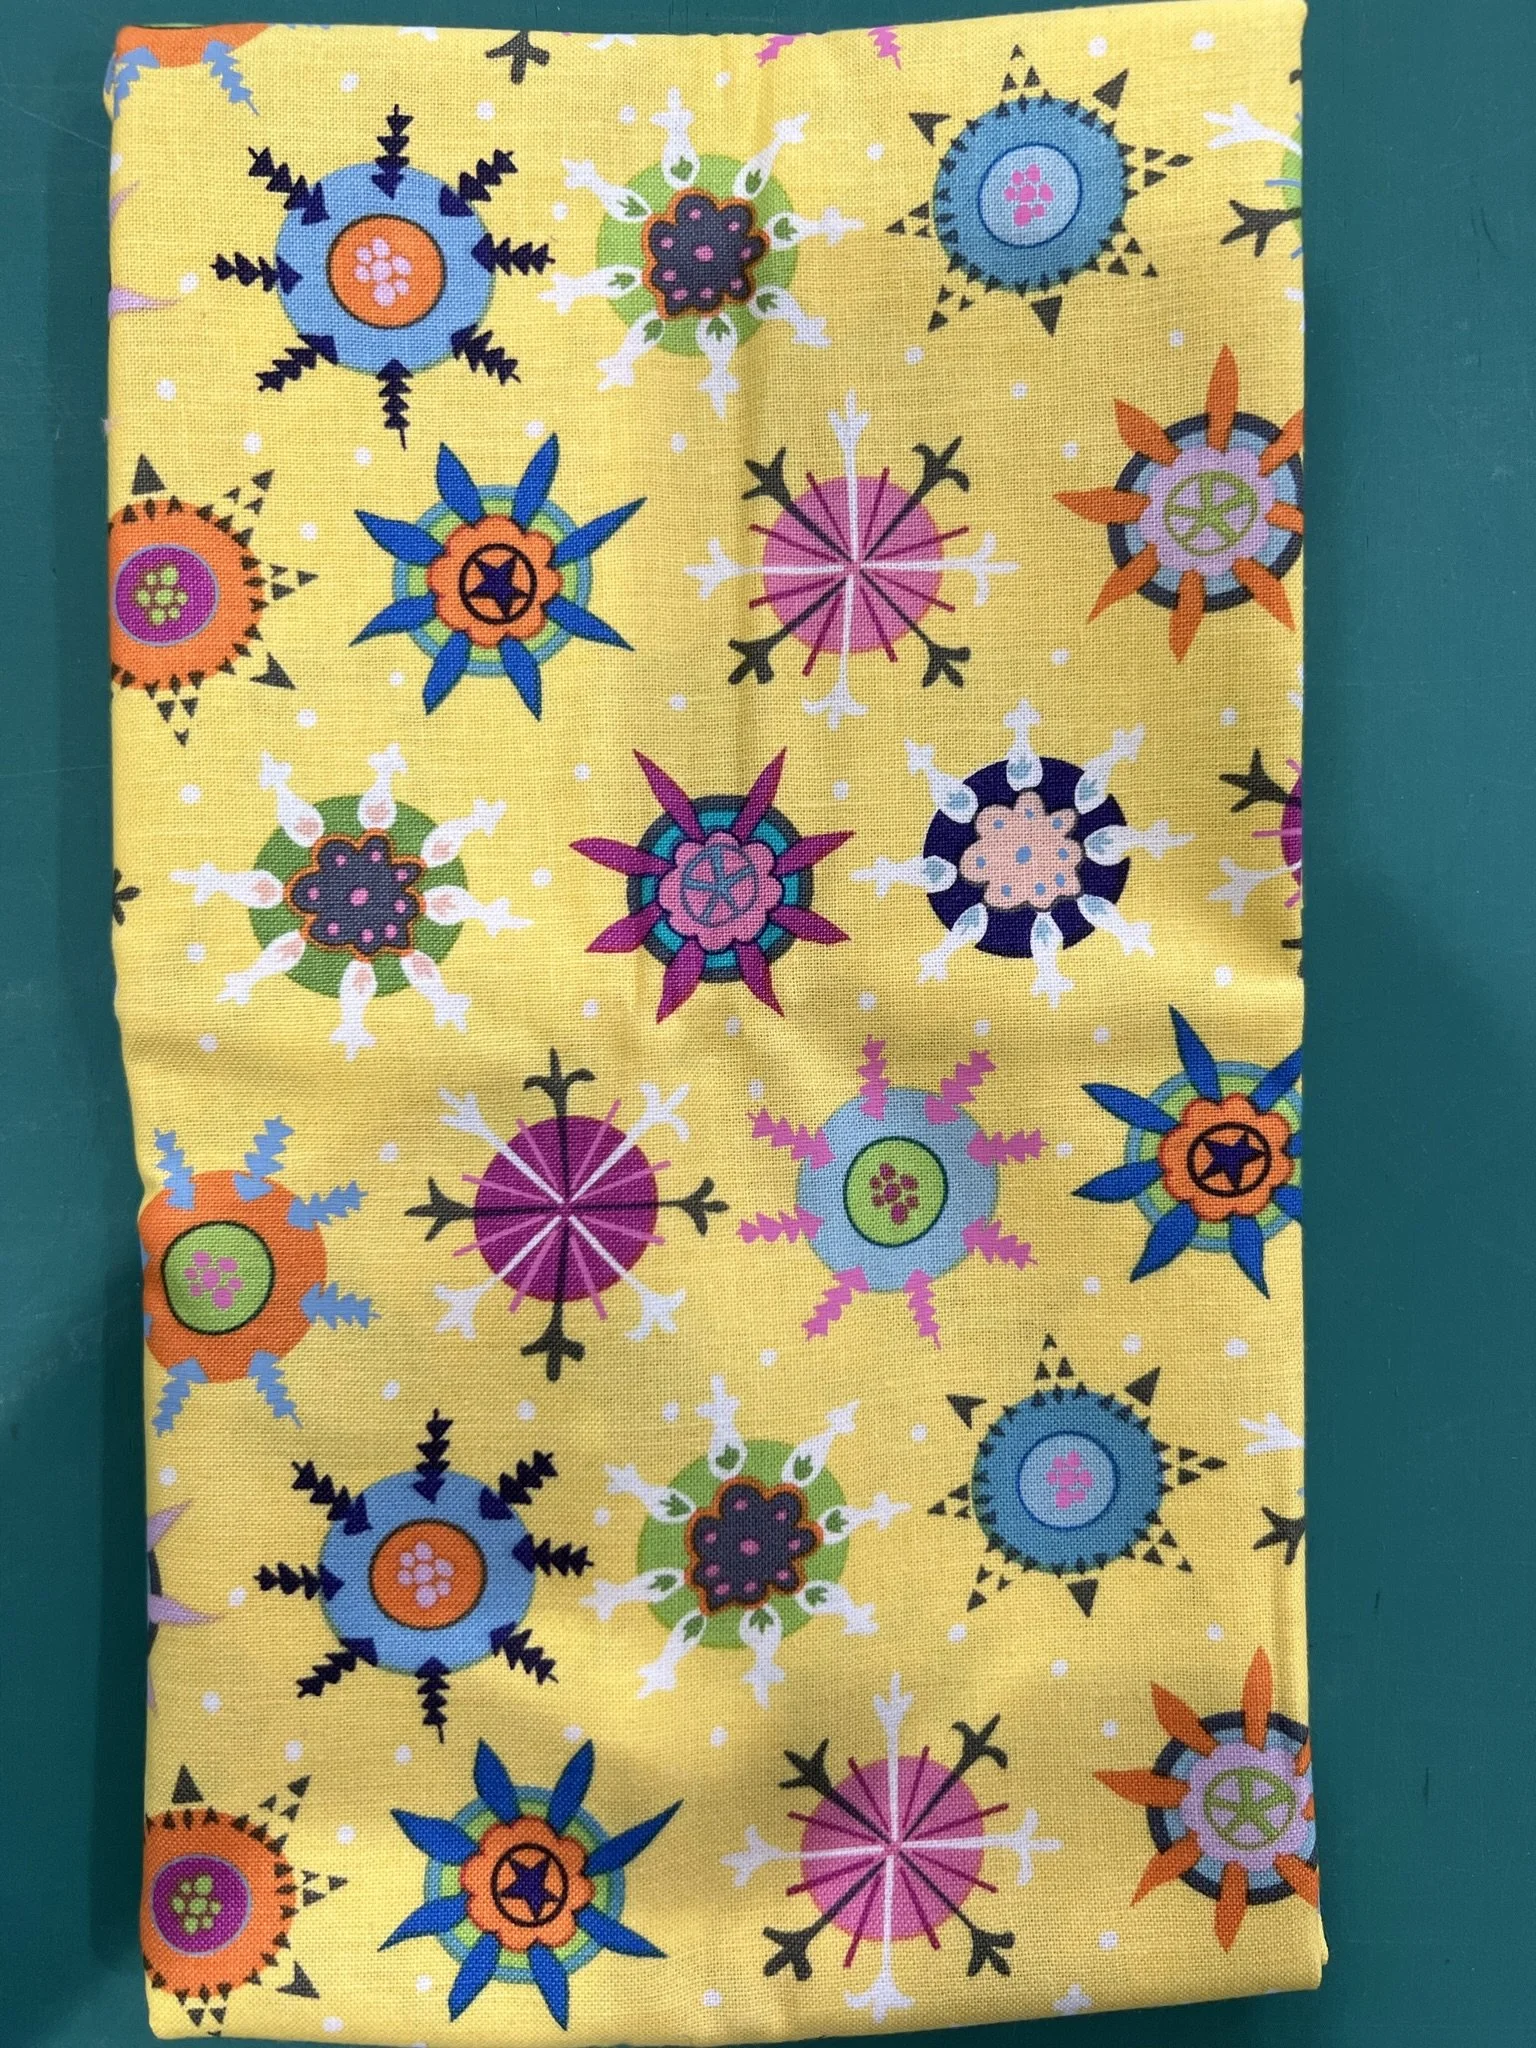
Although I’ve cancelled by Cotton Cuts monthly subscription, you pre-pay for a certain package. So this week I received the last of the subscription I pre-paid for. As usual, there are a couple I like, most I’m not a fan of. However, now that I’m doing EPP and more scrap quilting, I do tend to look at fabrics with a little different eye now. There’s no such thing as an ugly fabric when you cut it small enough!

Unexpected decluttering in progress

A couple of weeks ago I was perusing my fabric stash for a new project. In this instance, “perusing” is defined by “digging through, excavating, precariously balancing stacks of fabric while pulling possibilities out of the bottom, pushing stacks back into place with elbow while holding found possibilities in both hands….”

And I reached a breaking point.

For almost the entirety of my quilting life (read: 20 plus years), I have used the ruler technique for folding my fabric. You know the one—use your 6”x24” to fold fabric neatly into a bundle to stack on your shelf. In fact, even after I’d changed my rulers to Creative Grids and had changed to a 6 1/2” by 24”, I kept my original 6x24 just to fold my fabric. It actually works quite well.


In the ideal world, you end up with stacks that look like this.


In the real world, you end up with stacks that look more like this.

And just imagine that same stack post-fabric-audition-session.


So I did something I’ve been thinking about for a long time. Like, years. Like, since whenever it first hit the Internet. I ordered comic book boards. I bought a double pack of reams of 100, so I have 200 total. I don’t actually know how much fabric I have in my stash. I probably should have counted folds but…well, you know me. I’ve always been a visual person—I know whether my stash is getting too big when I no longer have space on this one set of shelves for it. Who needs to know more than that?


Today, when I wanted a break from brain work, I set about refolding my fabric onto comic book boards.

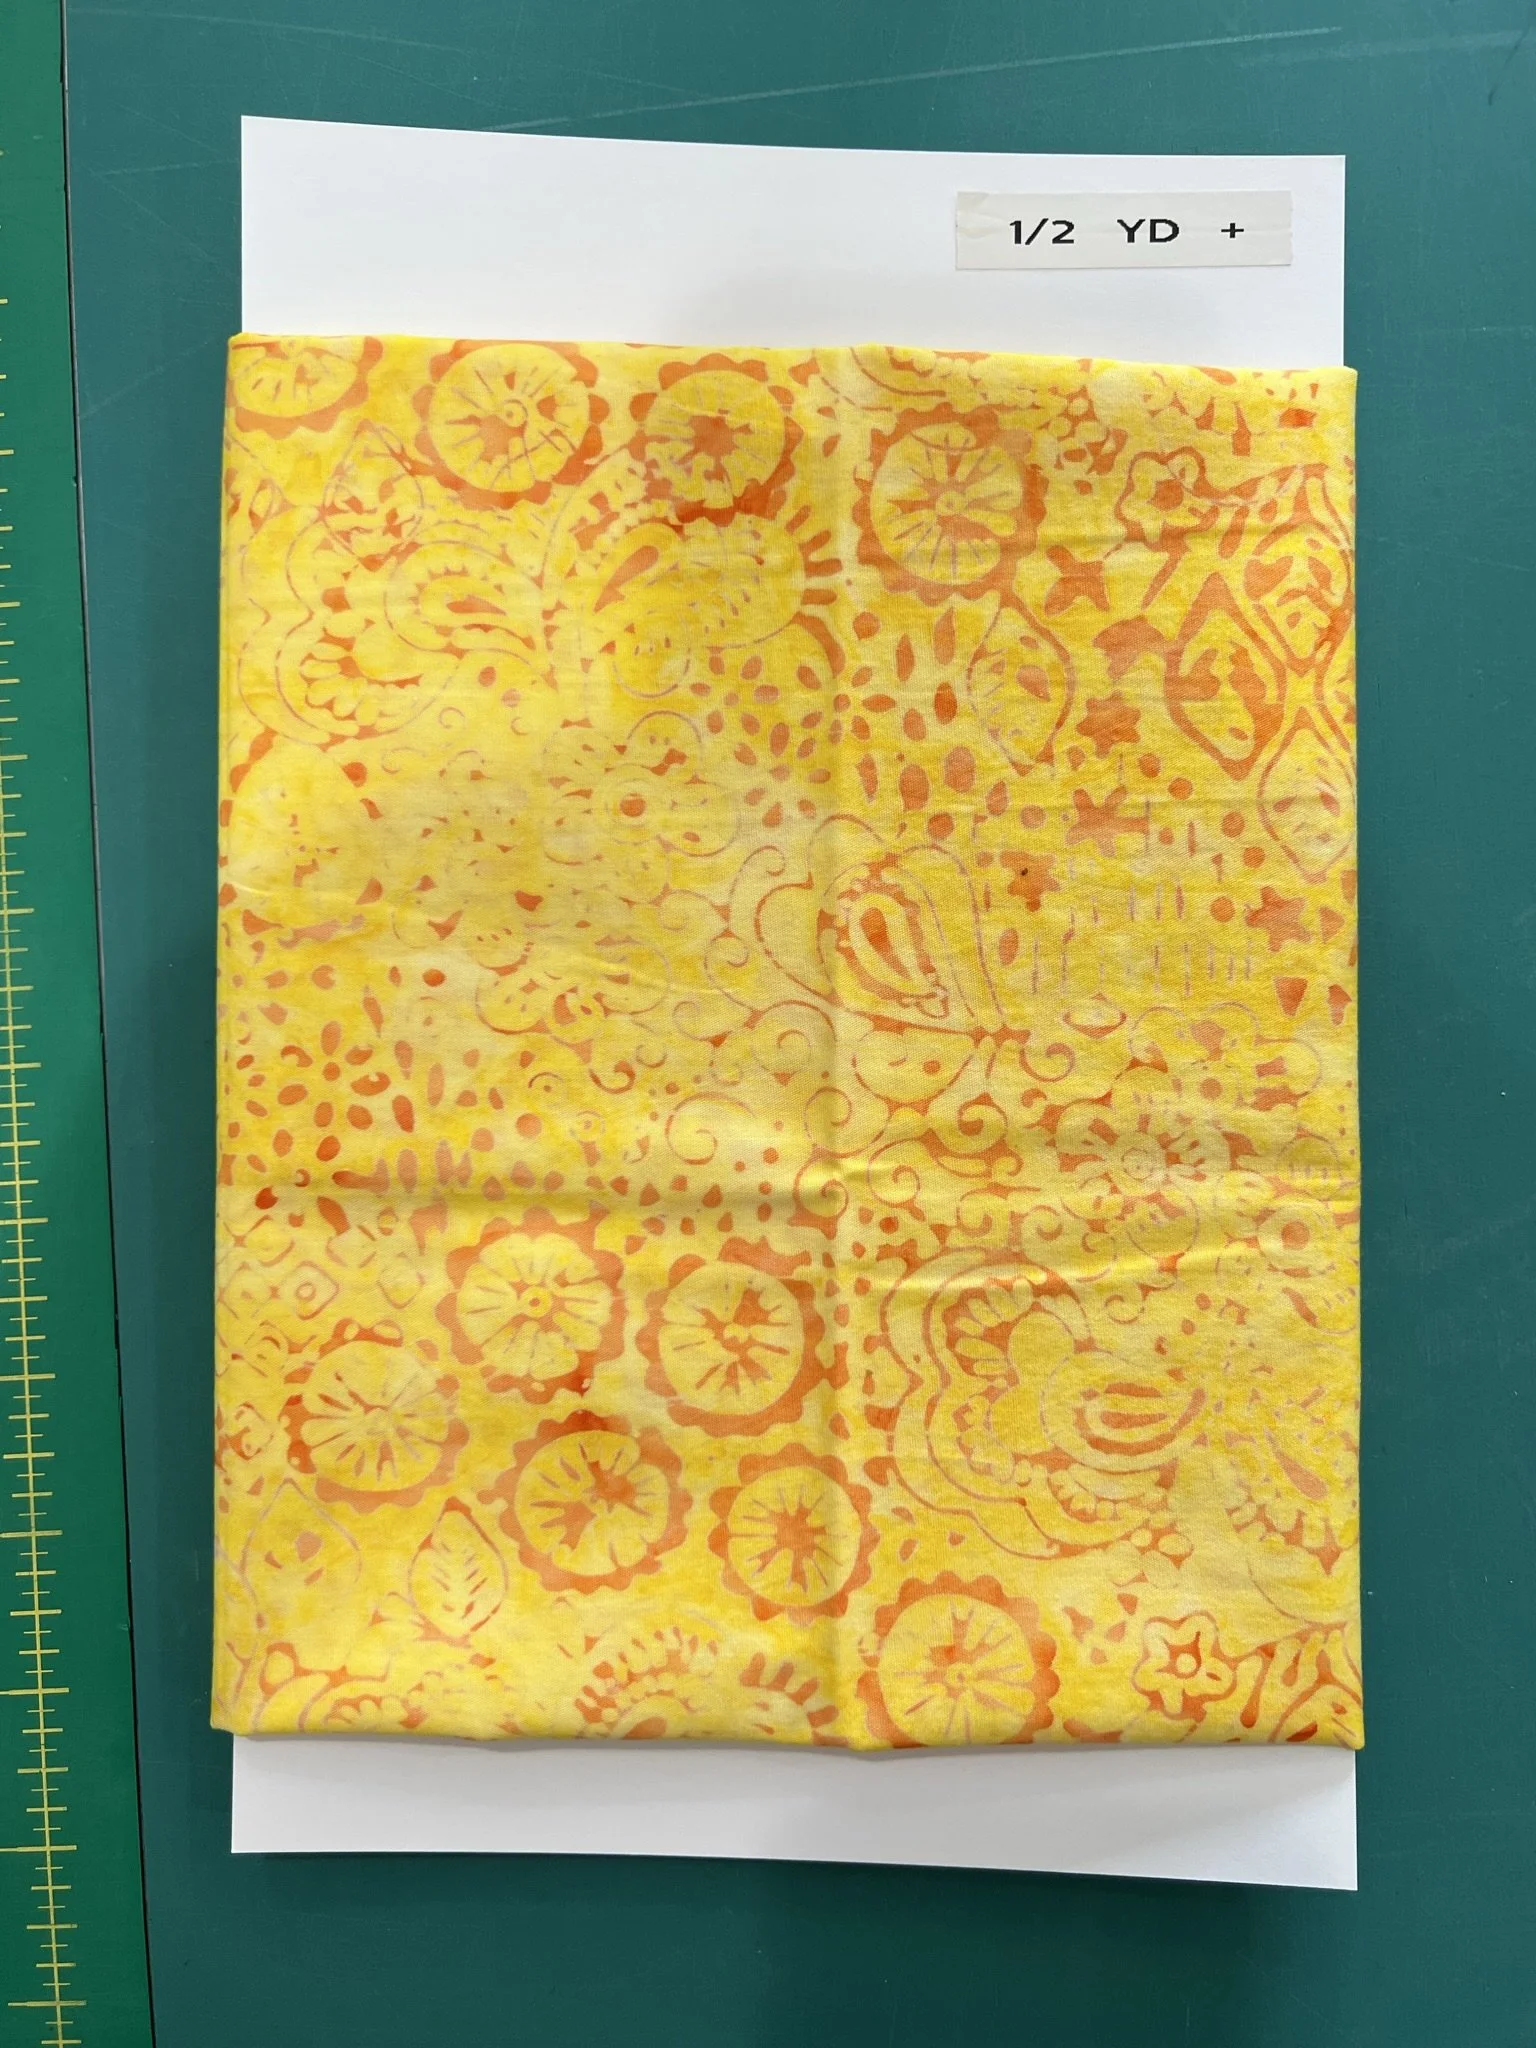
Here’s a nice, neatly ruler-folded example of one of my yellows, with my usual yardage label.

I unfolded it, laid it selvedge to selvedge, and then re-folded it into thirds horizontally.

No magic to my choice of thirds. I’d looked at a couple of Youtube and blog tutorials about how various people fold their fabrics onto comic book boards and decided there’s no real trick to it—it’s just how you want the finished product to look and work for you.

So thirds was easy to eye-ball, fast to fold, and allows some of the paper board to stick up out of the top…you’ll see why I like that approach in a minute.


Here it is, folded onto the board.

Yep, I gave myself permission to be lazy and didn’t press the original folds out before re-folding it. I want to get this done in this century.

See why I like having the board sticking up a little bit? Yep—same label! And so easy to see now! Plus I know the label will stay on the board. Those labels were forever flying off the fabric when I was digging through stacks to find what I needed.


I also ordered little plastic clips (also dirt cheap) to make sure the fabric stayed folded around the board. You don’t necessarily need these, but I can be a little compulsive that way. On the other hand, the first few times I pull fabrics for future projects, I may decide the clips are a pain in the tuckus and stop using them. We’ll see.

For most of the half yard or yard cuts, I only use one clip on the top. Some of the bulkier cuts, or ones with more “freeform” cut ends, have two clips.


Unfortunately, doing my fabric this way also means I need to move it onto different shelves. The shelves I’ve been using for my fabric stash are coated wire, and the wire goes in one direction, so the boards will slip between the wires. I debated buying a vinyl or rubber shelf mat, but then I’d also have to figure out how to keep the boards upright as the shelves are 5’ long with no dividers—and once I put down shelf mats, I can’t put up dividers…or I could buy new laminate shelving but would likely also need new brackets to hold them…. If you give a mouse a cookie…

So it’s faster, easier, and far cheaper to simply reorganize my shelves. Again.

Experimental Shelf #1 Complete. Now I just need to redo ALL my shelves to make the new system work. Sigh.

Another decluttering win--bag storage

I’m so proud of myself. Genius…at least for now.

If you listen to my podcast you may remember me talking about the sticky problem of how to store my quilt retreat/class/travel bags in a way that would help keep them from getting covered in dust and dog hair. There’s no closet in this room so everything is open storage. I’d had an idea that I could use the hanger rod on the bottom shelf of my fabric stash to hang them up—out of the way but easy access.

Bingo—it works!

The purple polka dot bag is huge so it’s particularly helpful that I could fold it in half with the clips on the hanger. At some point, one or more of these bags may end up filled with things so I am ready to grab and go—which would make the hanger solution a little more difficult. But for now, I’m happy.

I have more pant hangers so I could also hang up flimsies (UFO completed tops waiting to be quilted) if I wanted to reclaim some shelf space. I’m still monkeying around with that. But for now, I’m feeling pretty good about this!

The blue bin is my batting storage and, of course, a few empty project boxes waiting to be filled. Still moving bins around too so those may end up getting used somewhere along the way. When the kids were out of the house, I stored extra bins in one of their closets. I miss those closets. Sigh.

Well, now I’ve whittled around the edges enough that I really have to take on the desk dismantling. That’s really going to throw me for a loop for a couple of days until everything gets re-settled, so I’m procrastinating.

The Storm at Sea Just Never Ends...

quilt blocks

Previous unit of the same type but smaller

If you’ve been following along in the podcast, you’ll know that I’m now piecing the fourth unit for the block. This unit is a square in a square…in a square. I’m sure there’s a word for that. But essentially it starts with a square, piece four triangles on to make a square on point, and then another four triangles to make it a square-in-a-square no longer on point. If that makes sense.

Anyway, looking at the stack of pieces, I knew I was nowhere near close to having enough of the final set of triangles. So tonight I put my big-girl-panties on, as it were, and did a count to see just how far off I am.

I need 380 more triangles.

380.

More.

Triangles.

Big sighs. Several of them. In a row.

So I pulled what little medium blue batik I have left in my stash, did some math, and realized that yep, I need to buy more fabric. I was a little over a yard short and no…I don’t have close to enough in my existing scrap stash.

Fat Quarter Shop just got some of my business tonight.

Cotton Cuts January Fabrics

As I’ve mentioned on my podcast, I’m trying to refresh my fabrics a little bit because, frankly, I’m bored of going through the same fabrics time and again to make a new quilt. The ones I’ve owned forever will be refreshed and exciting again when paired with just a small handful of new fabrics.

So, one of the things I did was renew my subscription to Cotton Cuts fabric club. I’d done it once before but was half-hearted about the results. Still, I’d liked it enough to try again. I got my first shipment a couple of weeks ago but just today took the time to fold it and get it on my shelf.

I’m using the “gallery” function on my website to post the pictures as it conserves space. That means that if you’re reading this in a blog aggregator (like Feedly or Bloglovin’) or email you may need to actually view it on the website to see the photos. You should see arrows on either side of the gallery to move forward or back.

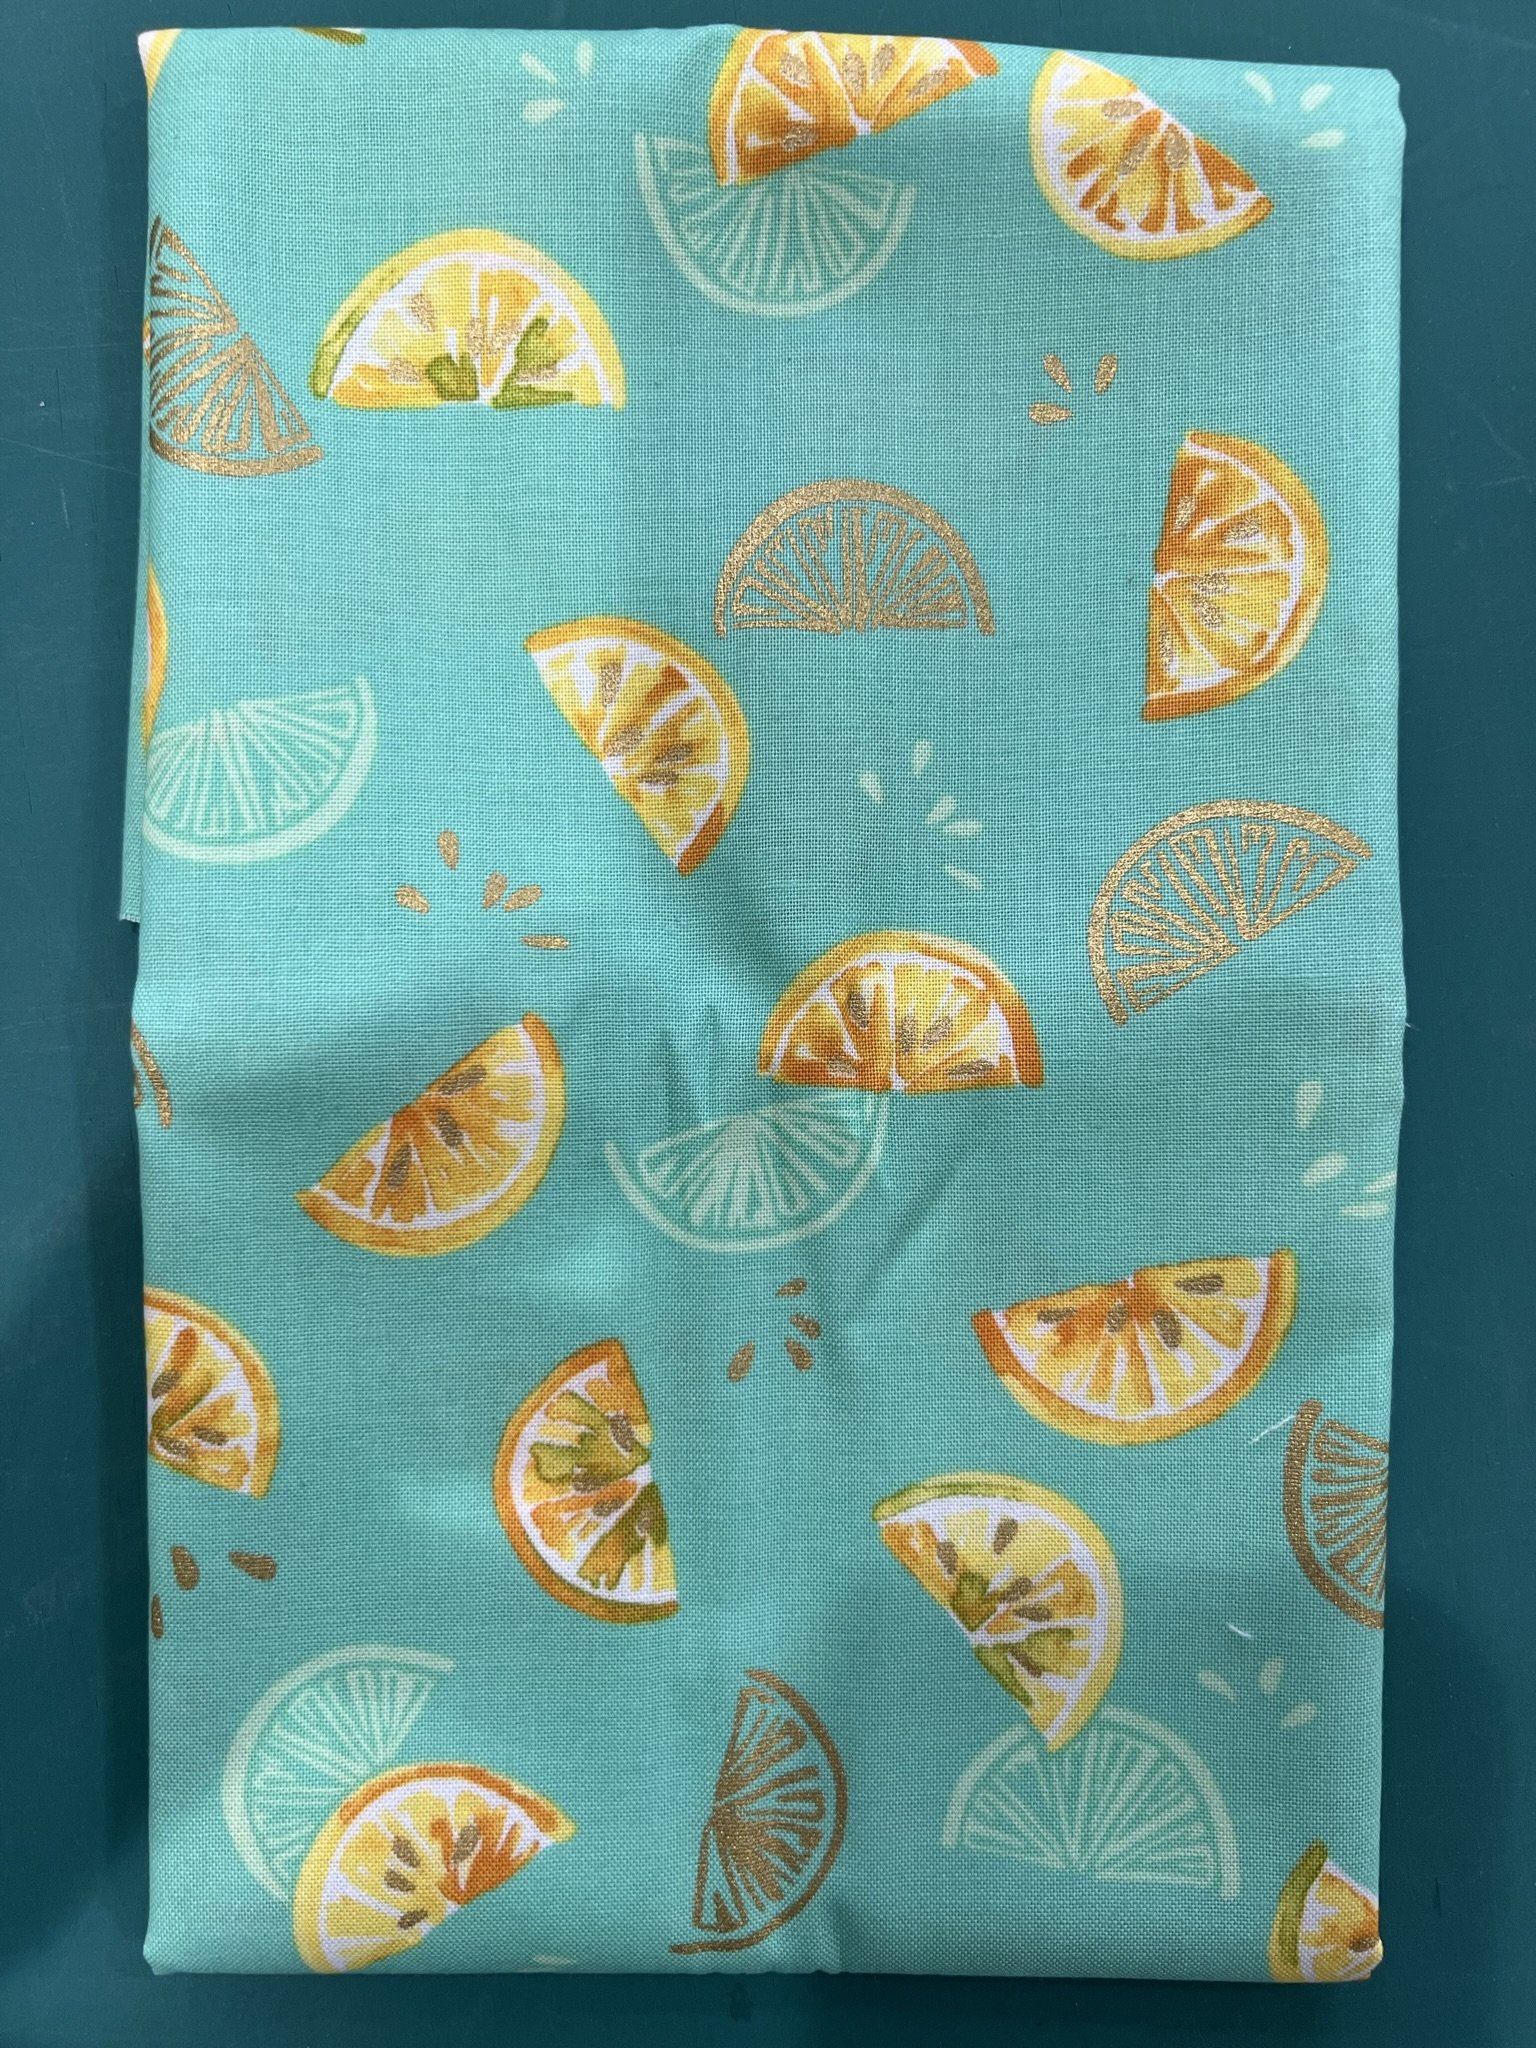
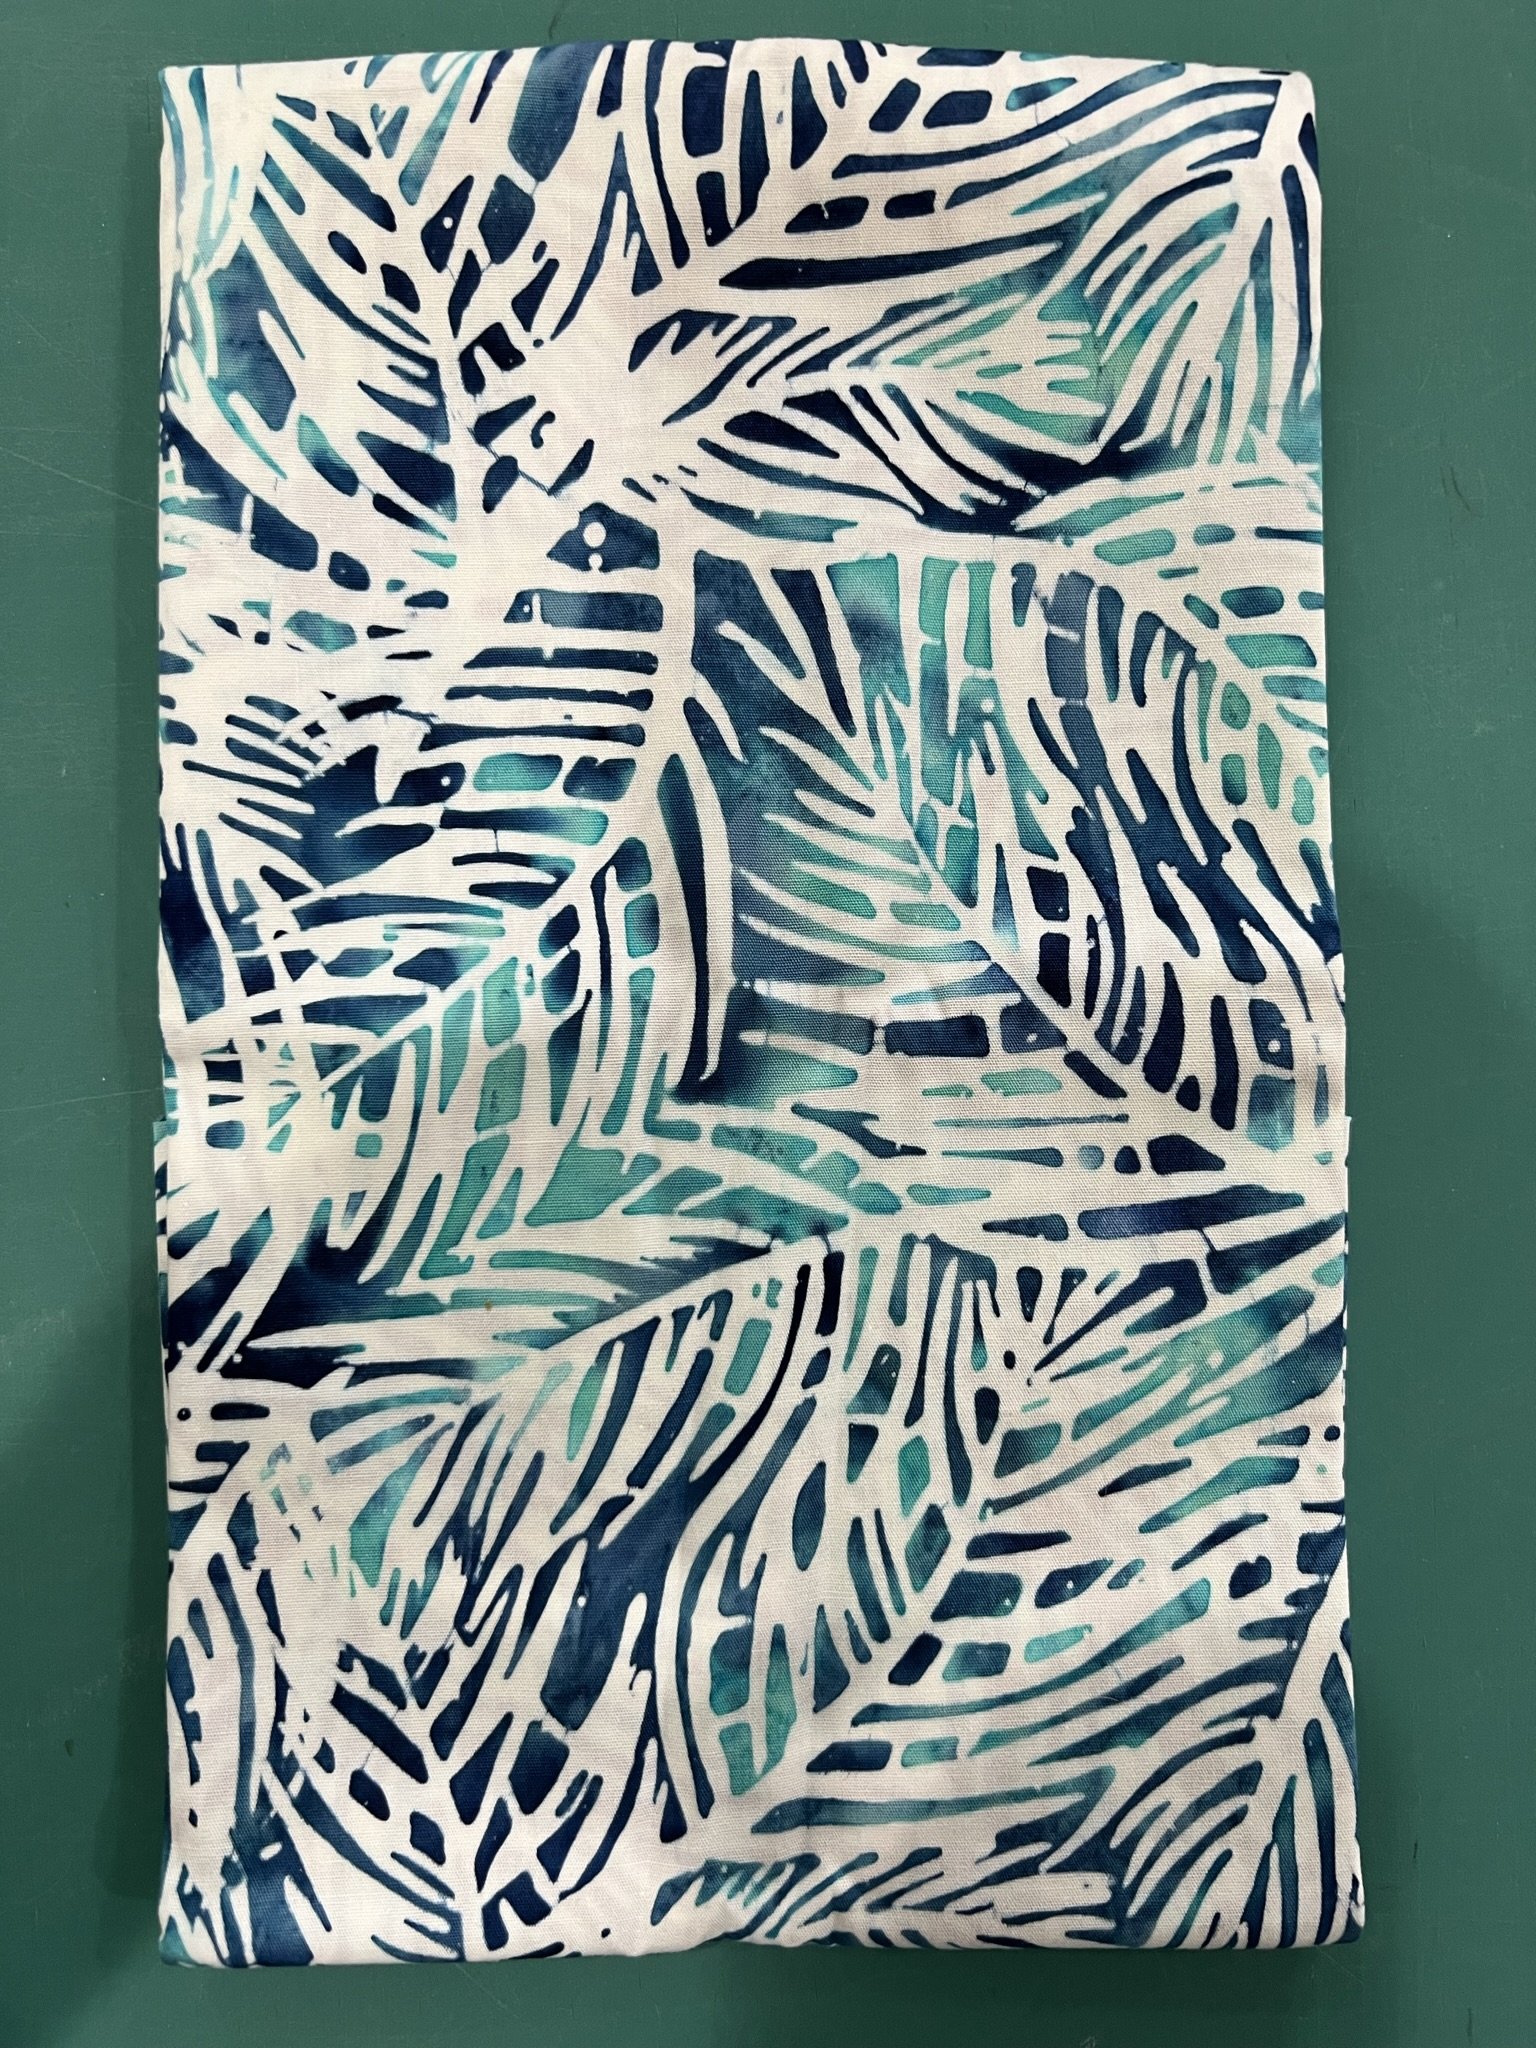
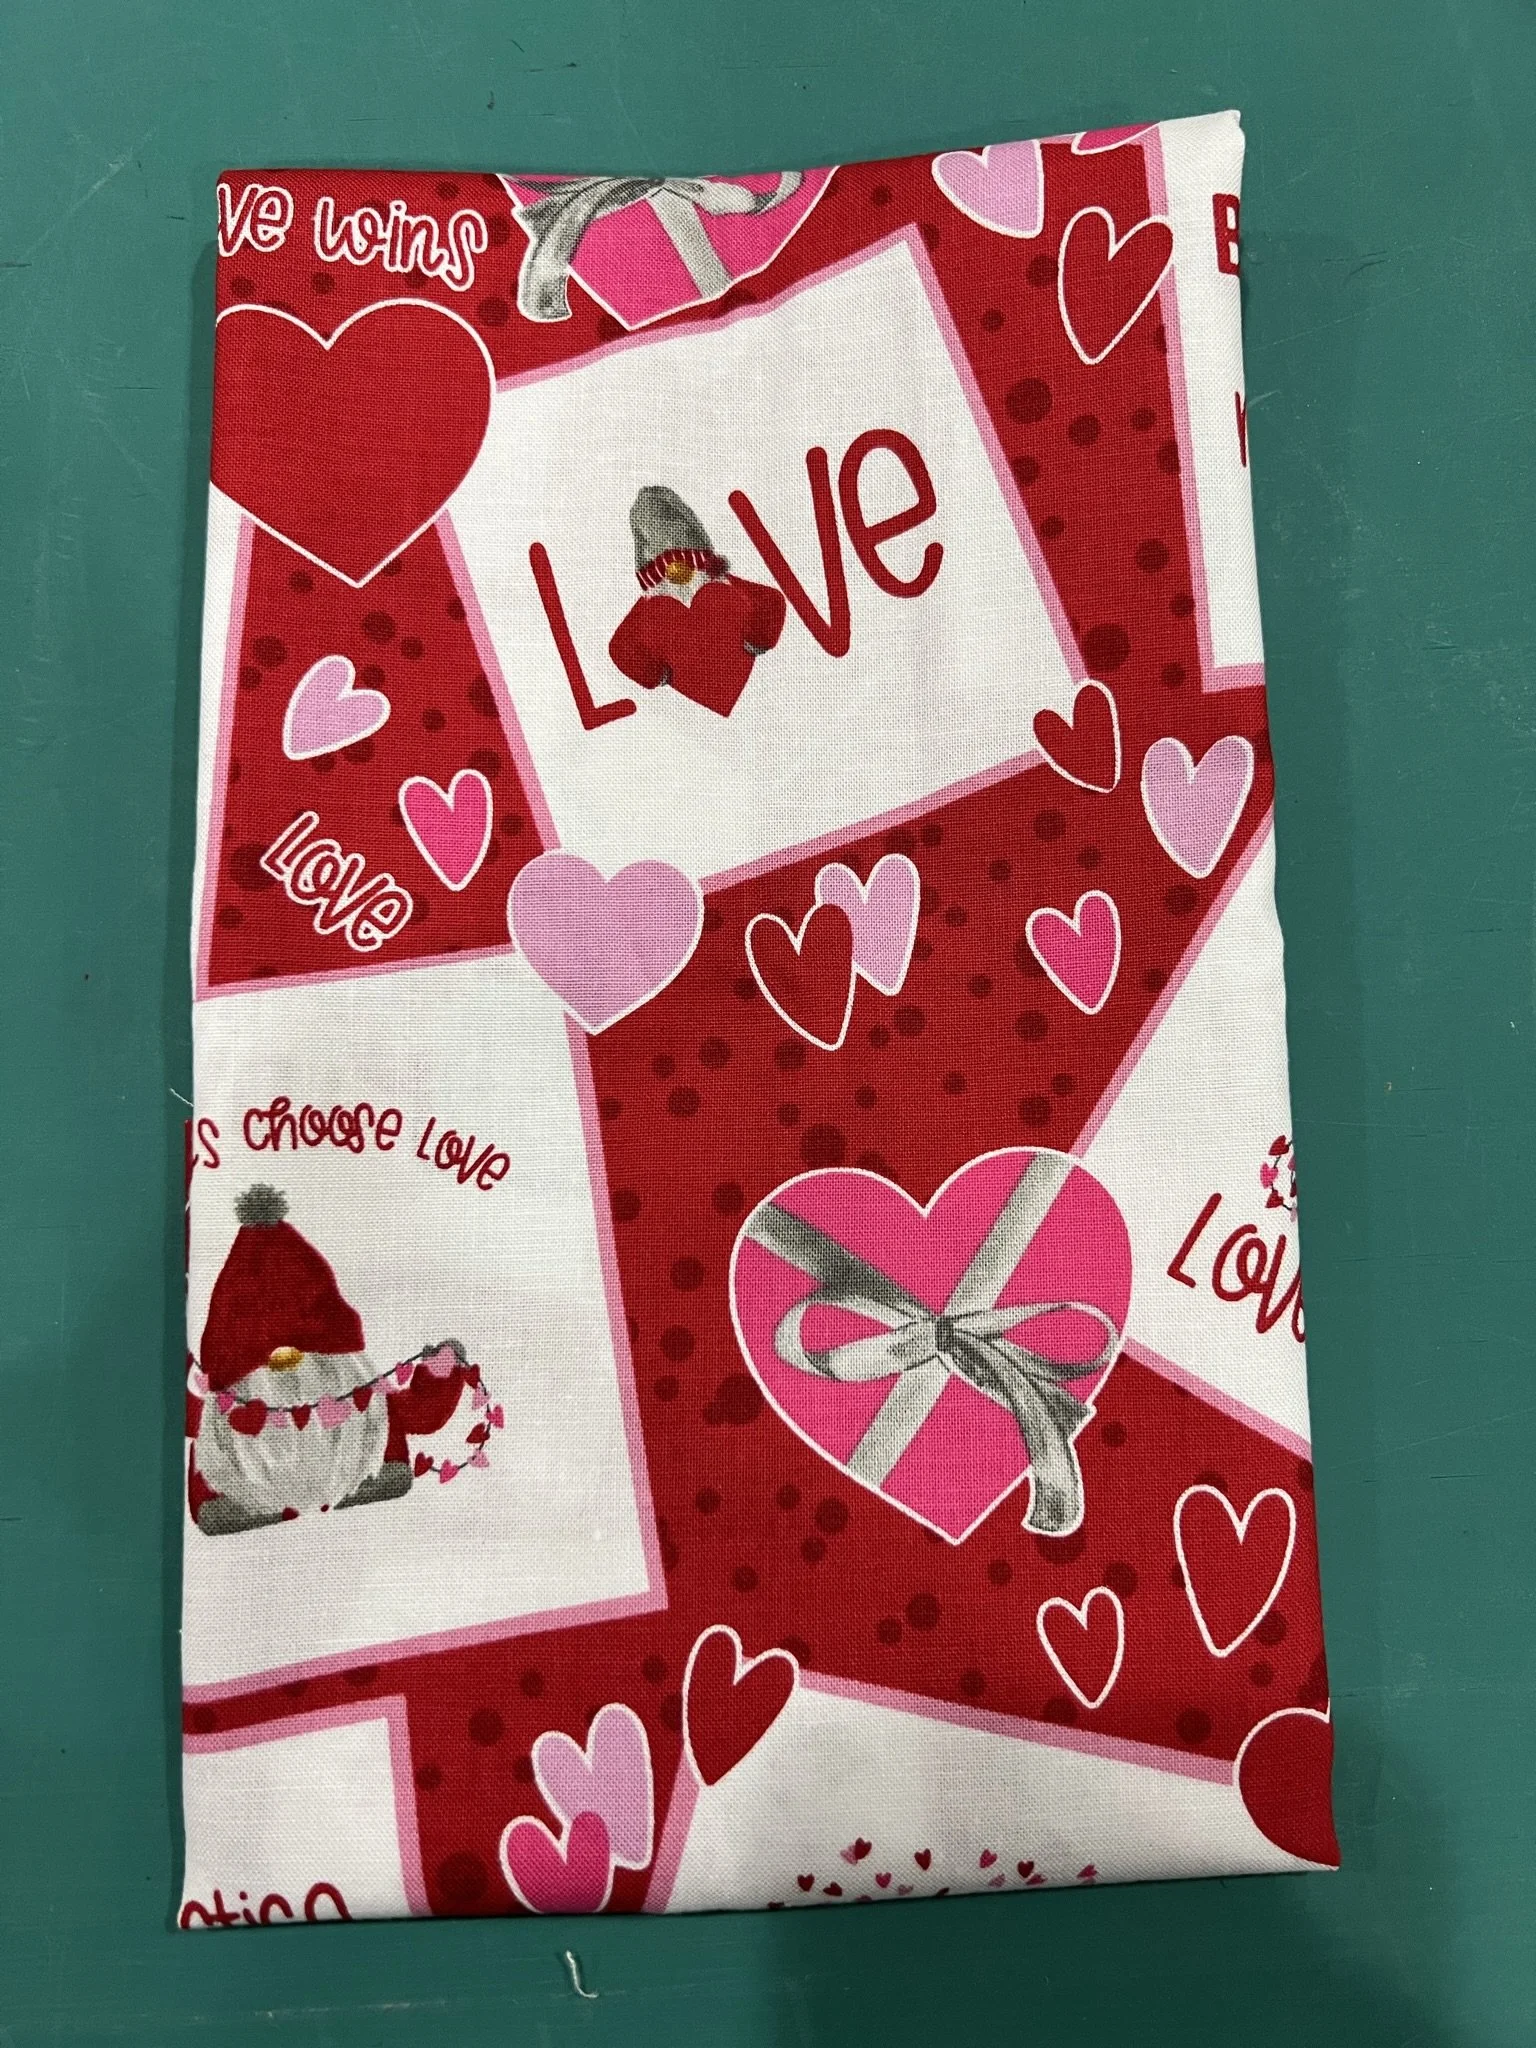
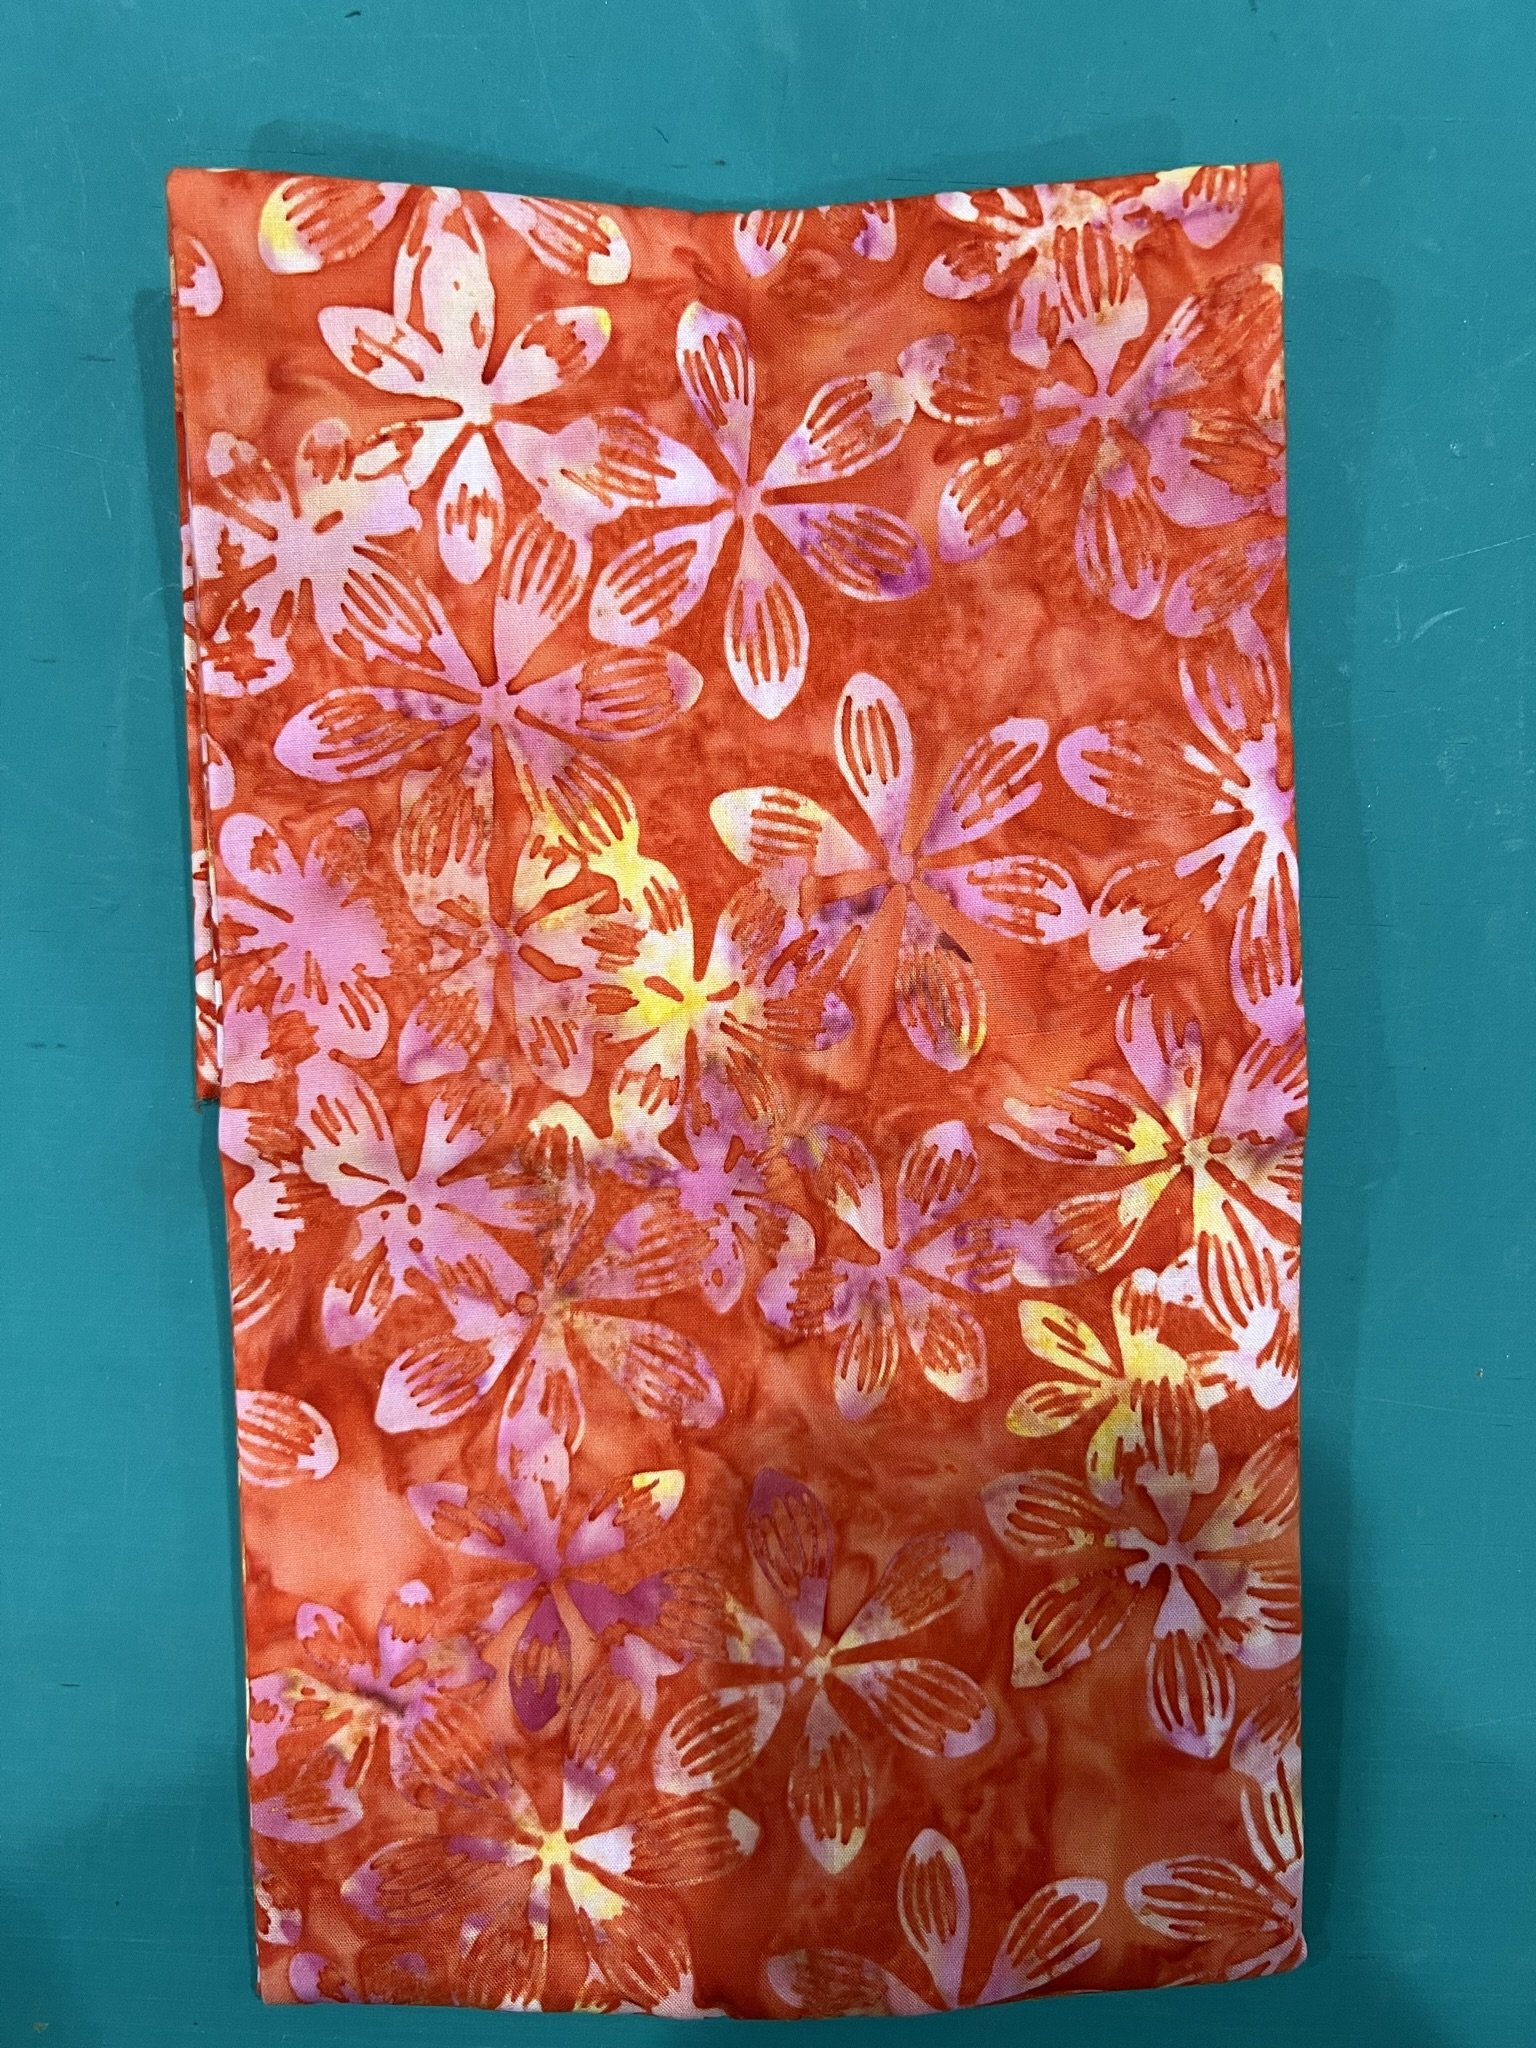
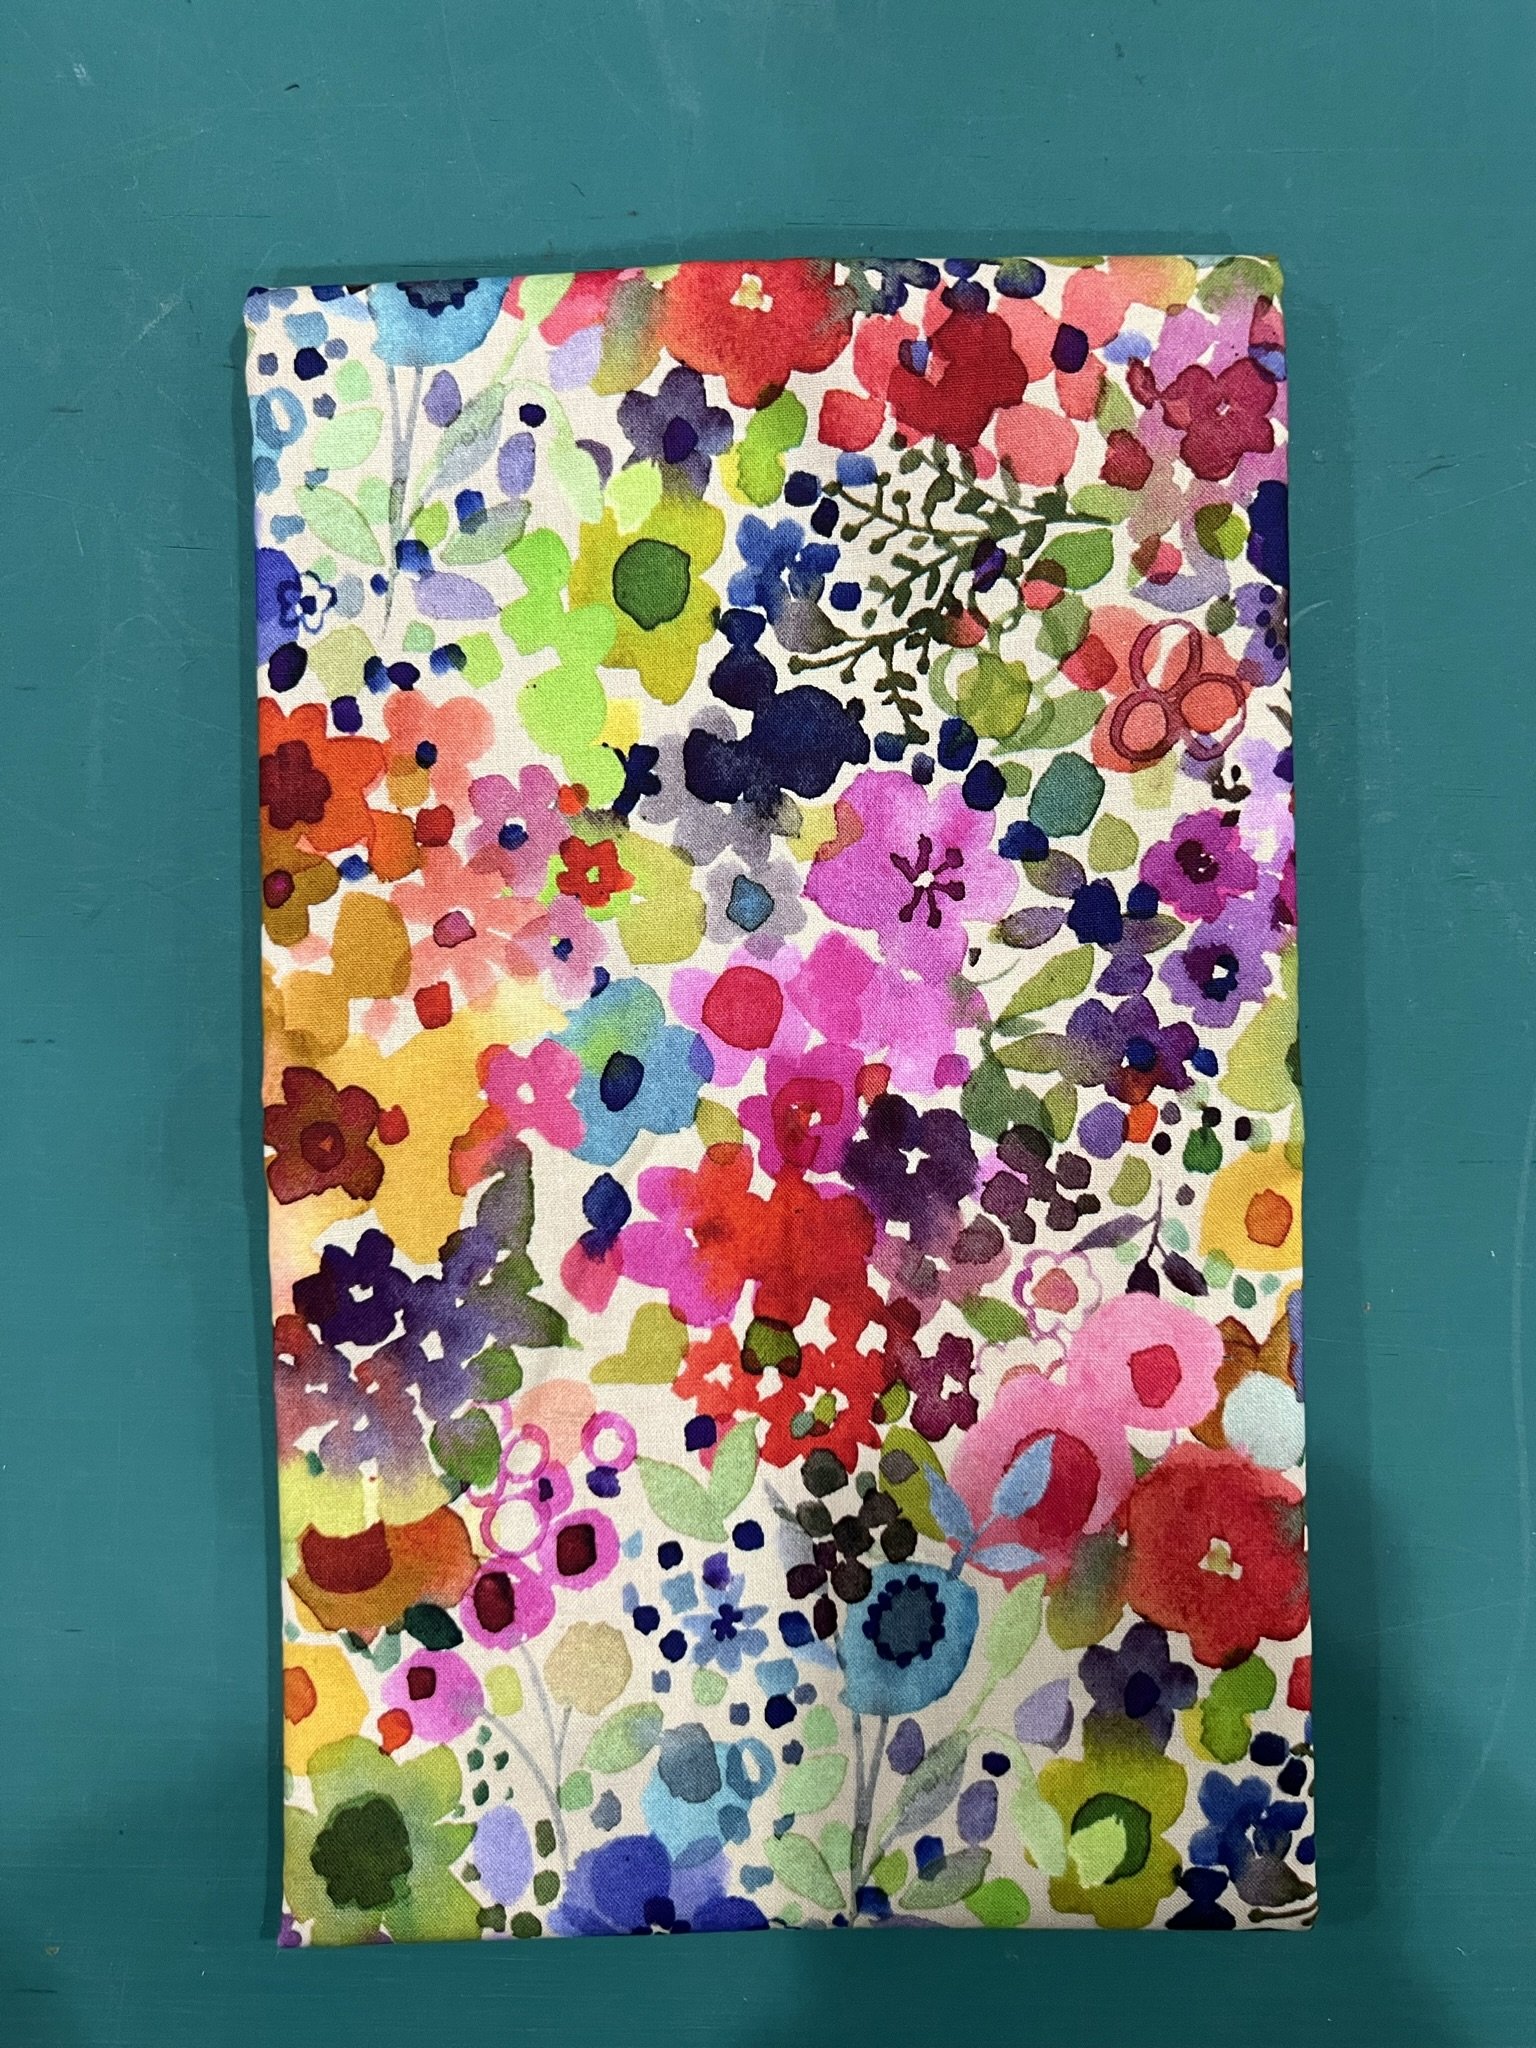
In order left to right: Gnomes in Love by Tara Reed for Riley Blake Designs; Bookworm by Lewis and Irene; both blenders from Sun Print Luminance by Alison Glass for Andover Fabrics; Bali Batiks by Hoffman Fabrics; Painted Patchwork by Sue Zipkin for Clothworks

So I’m not a huge fan of novelty fabrics. I had a thought when I resubscribed that maybe I’d be doing more baby and kid quilts which can be fun with novelties, but the two I got in this box aren’t really baby-quilt fodder. I’ll have to think about how to use them.

The two blenders are in colors that don’t really work with the rest of my stash. I’ll have to ponder those as well. (Those are definitely of the ilk of “if you just call it small enough” so I know if worse comes to worse they’ll become 2 1/2” squares or something.)

Love the batik—that definitely works.

And that “painterly” floral? Oh, I’m all about that. Adore it. And the candy was tasty too!

So, given I only loved two out of six, I cancelled the box again. It was a fun experiment but not worth keeping up. If you love modern fabrics, you’d probably love Cotton Cuts. I’m pretty eclectic in my fabric likes so I’m not against modern. But there are definitely color trends I’m just not a fan of.

I recently bought a small handful of new books (yes, I know, I just got rid of a bunch. But these are small and will help me de-stash).

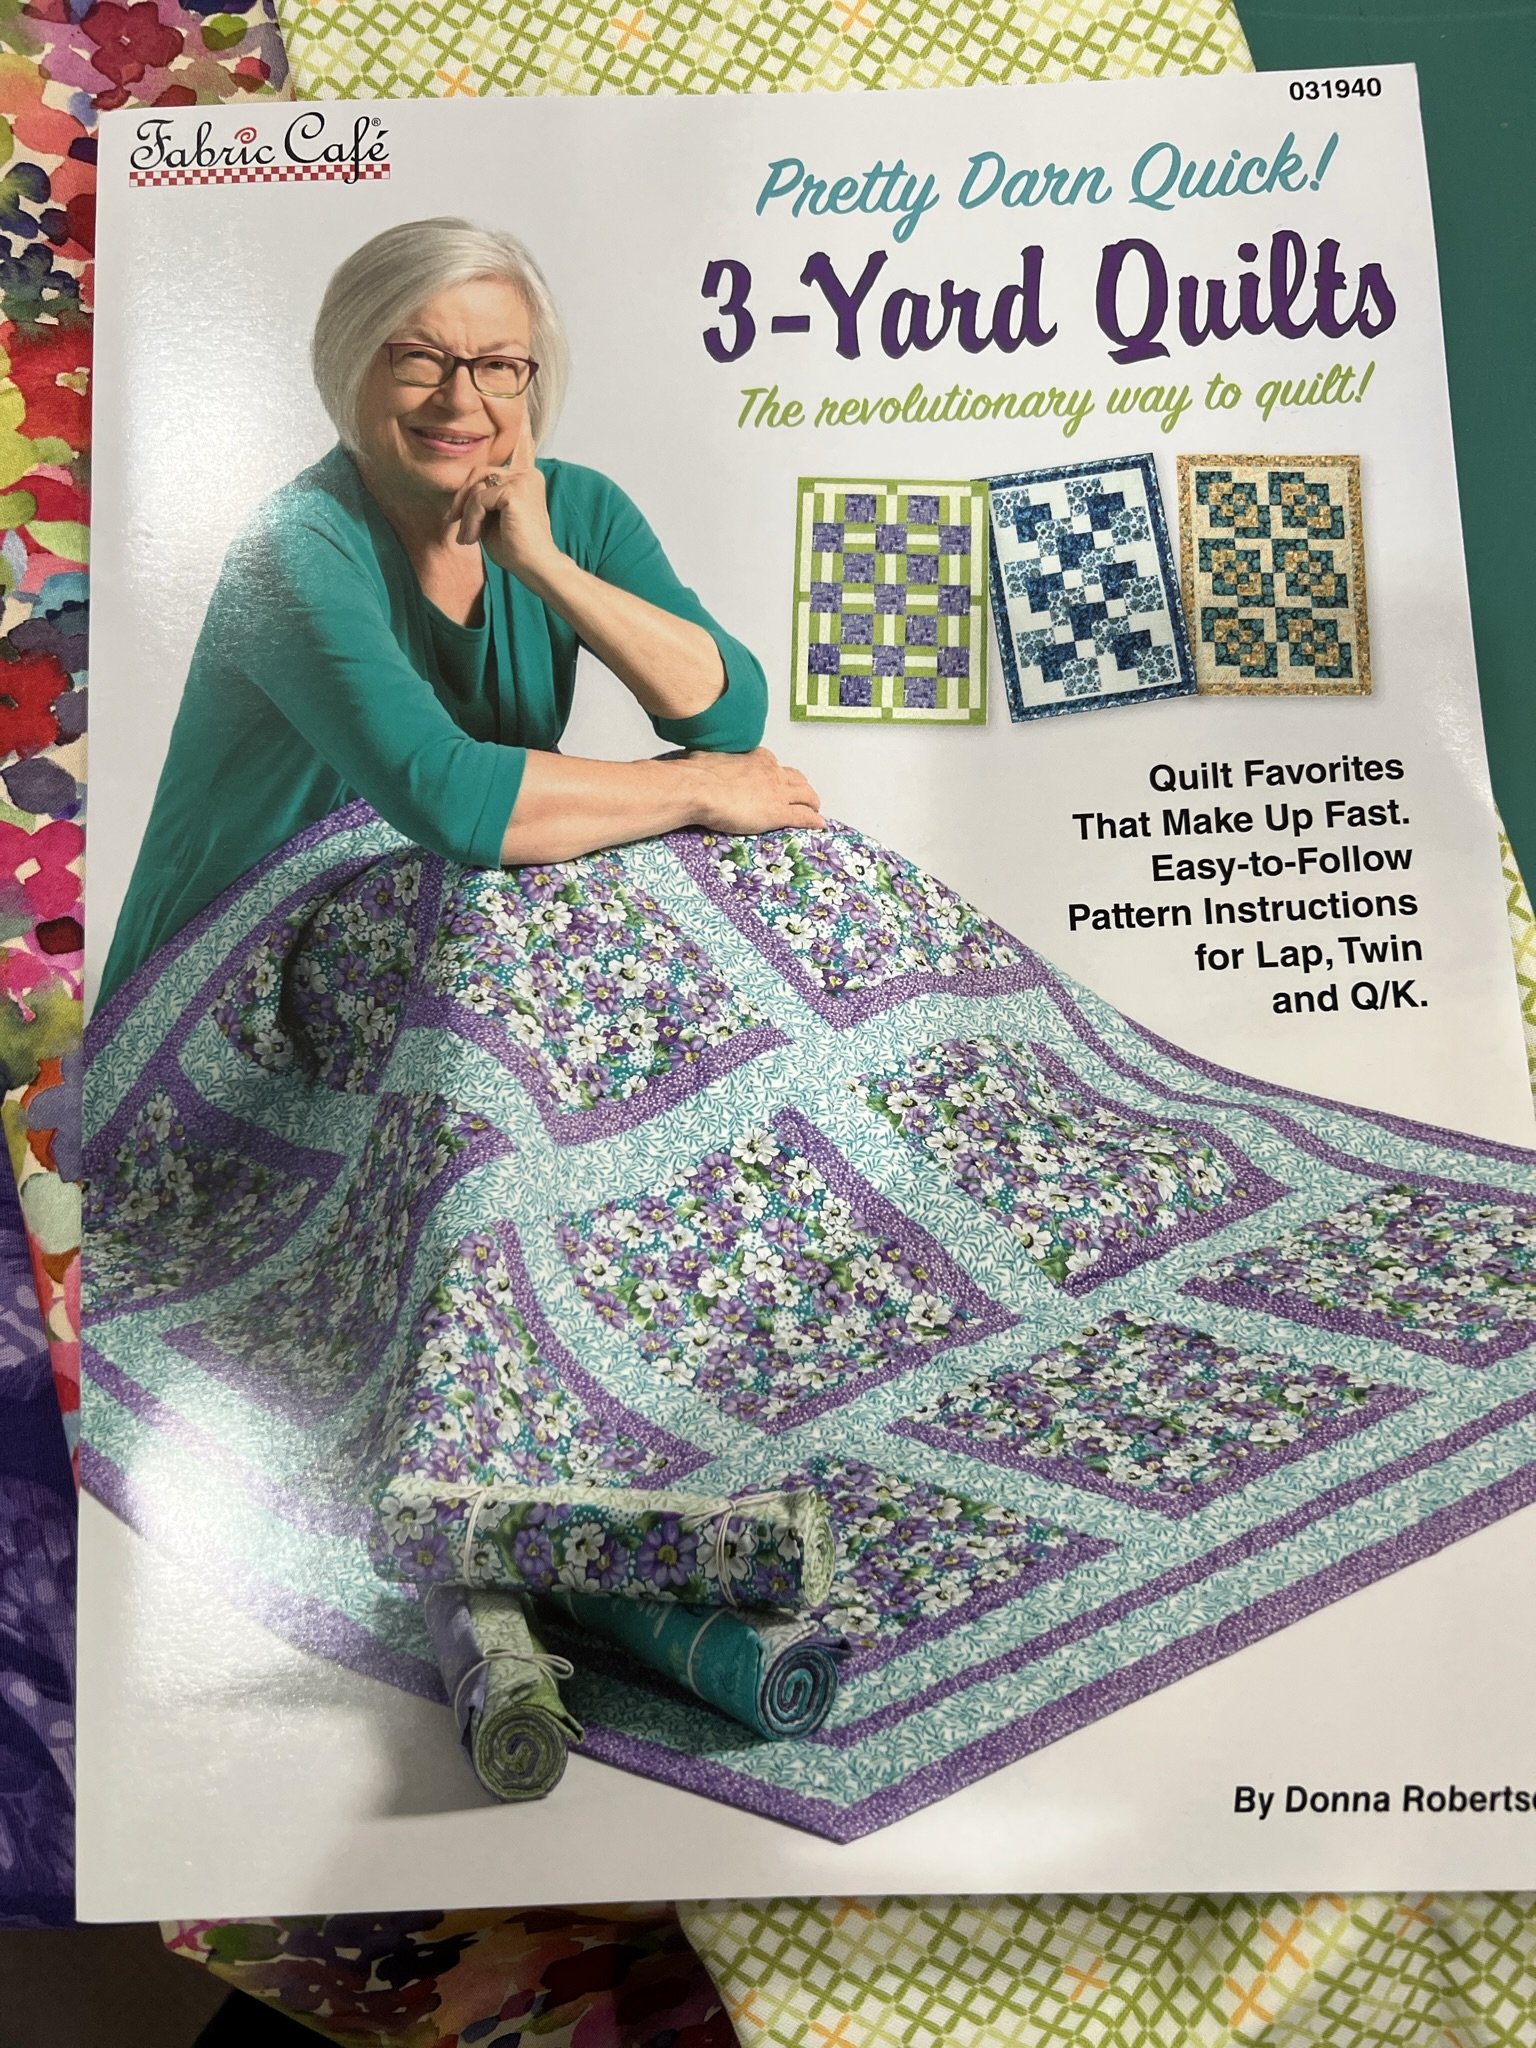
FabricCafe has several books with fast, simple patterns for three-yard quilts. These are quilts that require 1 yard of each of three yards of fabric for the entire quilt, plus backing. It makes a smallish throw quilt—they do have fabric requirements for larger sizes as well. I bought them thinking they’d be a fast way for me to deal with several fabrics in my stash that have large, beautiful prints that don’t work well cut into small pieces. Most of these three-yard quilts have one feature fabric that stays in pretty big pieces. So, seeing this floral in my Cotton Cuts box, I immediately thought of those books.

Thumbing through all of them quickly, I chose a pattern from the book pictured here. However, having only gotten a half yard of that lovely print in the subscription box, I immediately went online to buy another half yard. Sadly, Cotton Cuts no longer had it. I ended up buying a full yard from Hancocks of Paducah because a half yard wasn’t available. I’ll cut the half yard extra into strips or something. I also choose enough for backing from another print in the line that I thought was lovely. It’ll be a nice, spring-y project to work on in February when all is mucky and bleak outside my window.

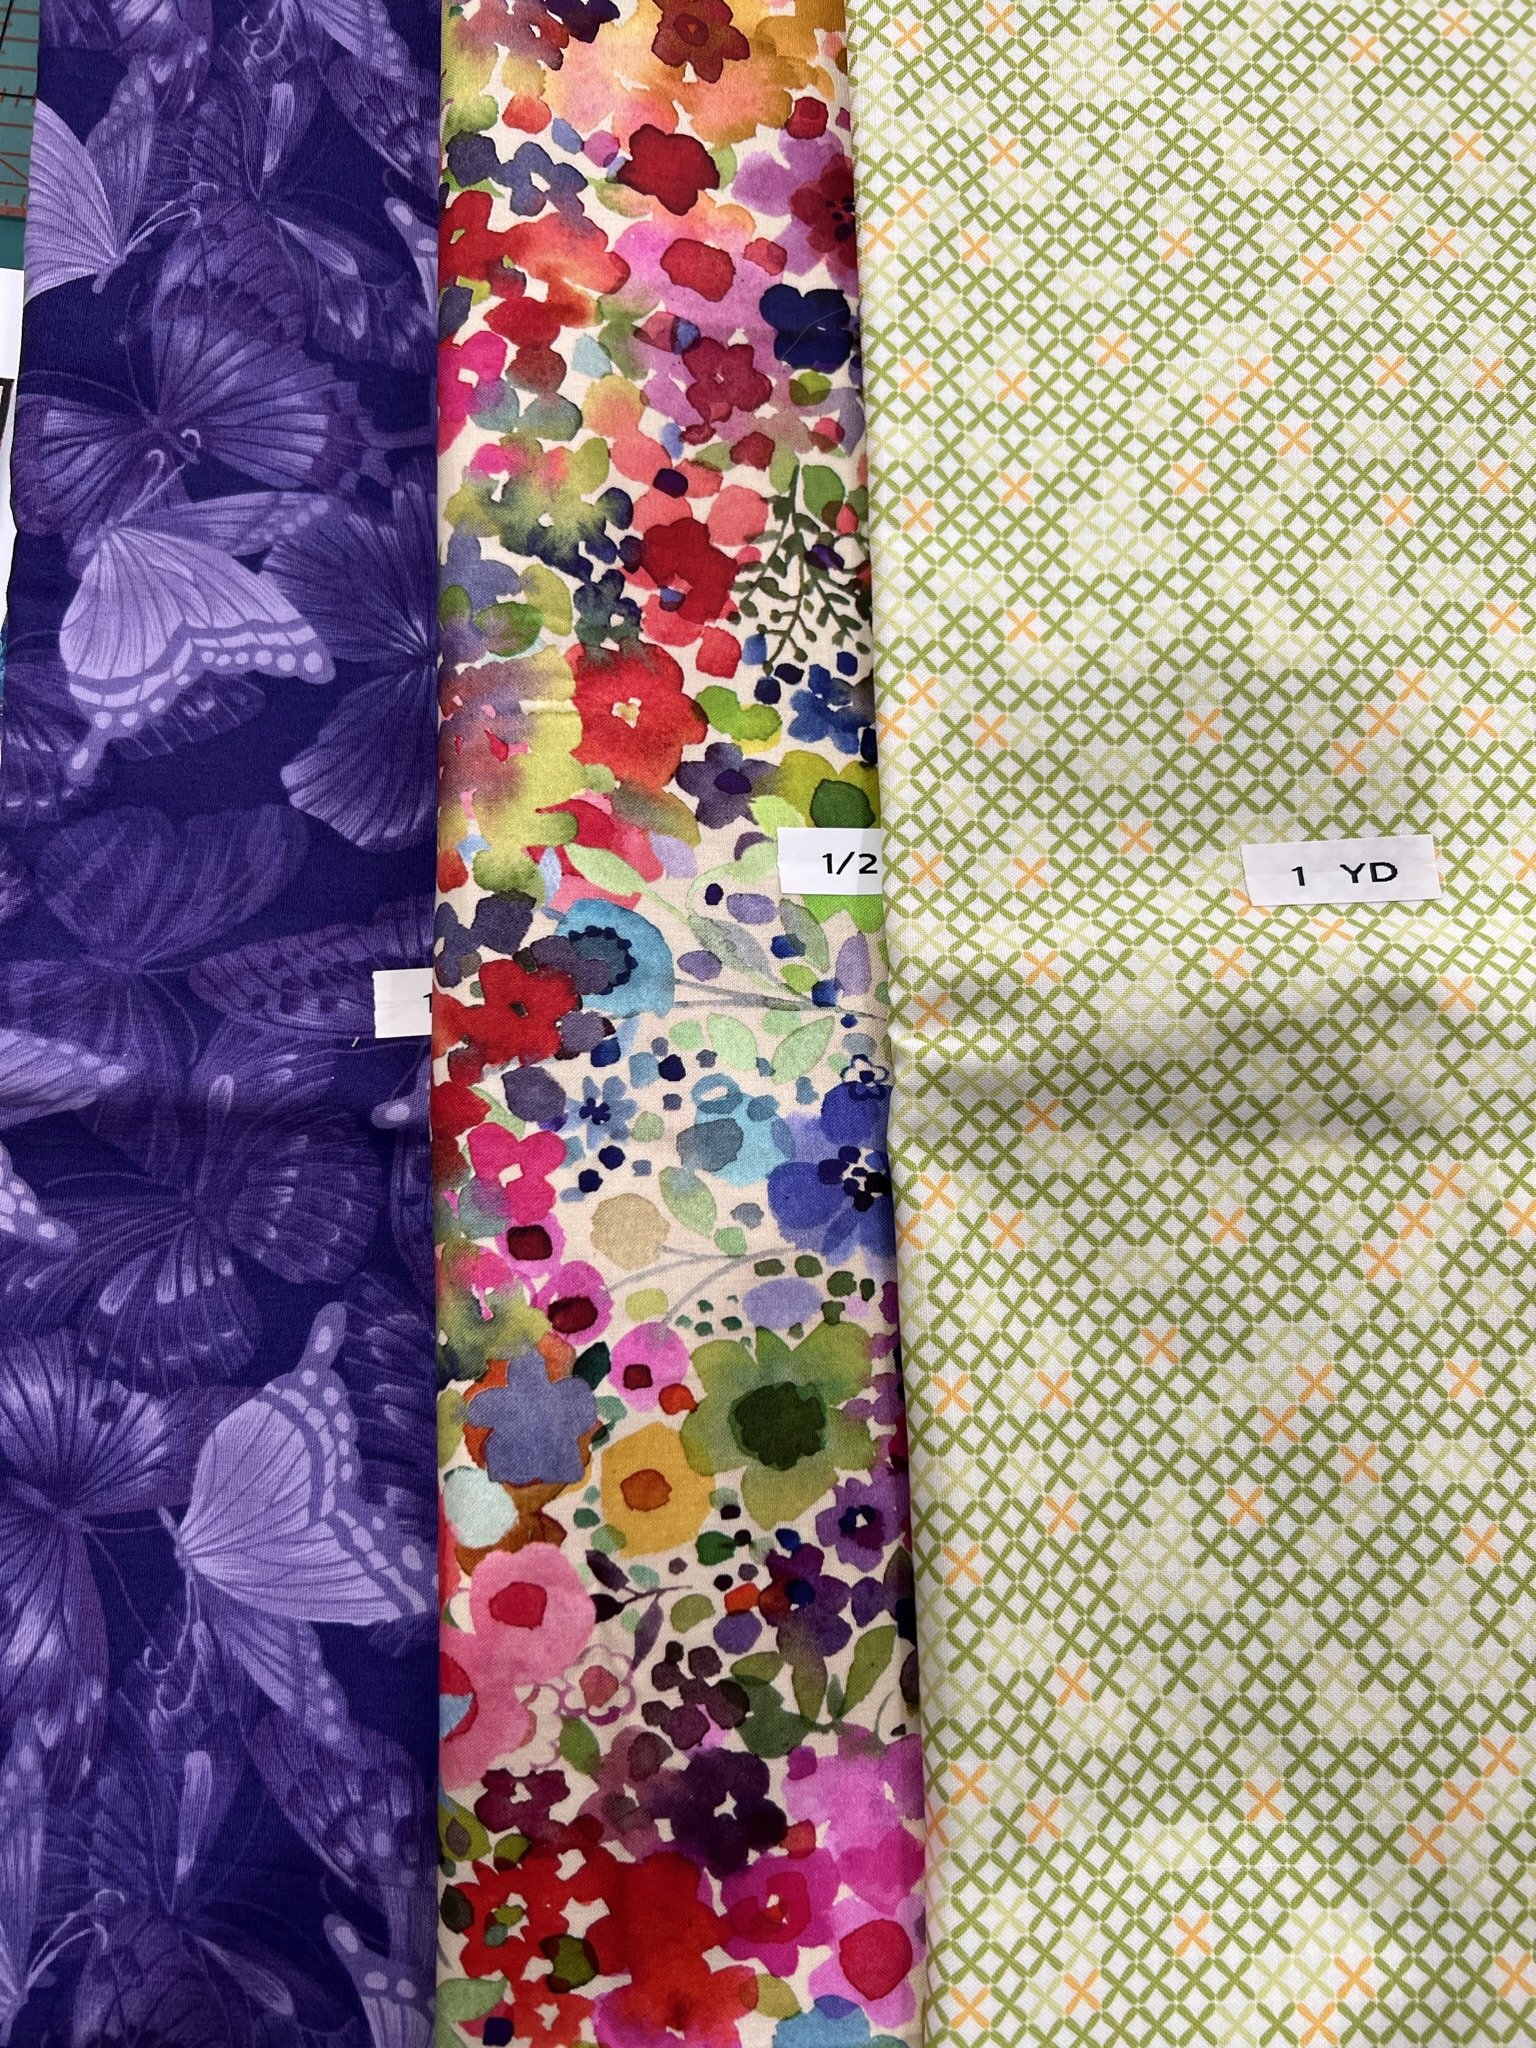
However, for the other two one-yard cuts, I shopped my stash. I found two perfect candidates for the accent and background (purple is accent, light green is background). This photo makes the background look a little more medium valued than it is—it’s not a pure light but I think it’ll be close enough.

I’ve had that purple butterfly fabric for-freakin’ ever. I think I may have inherited it from my Mom’s stash. The other is newer—seems like it probably came from a subscription box somewhere along the way as I haven’t bought yardage from shops in years. I think it’ll work really nicely for this design, though.

So I’ve set aside this fabric grouping, waiting for the rest to get mailed to me. Then this should be a weekend project to get done. Famous last words, I know.

I have been in the habit of buying half yard cuts of fabrics that just catch my eye, unless I immediately determine it’s going to be a border print, in which case I might buy a couple of yards of it. But I have very few one-yard cuts. I think most of the designs in the three-yard books could be adapted pretty easily to have two coordinating feature fabrics, coordinating accents, and coordinating backgrounds, if I decide I want to make more.

Meanwhile, I’m patting myself on the back for finding a way to immediately use a new book and some new fabric while still using up some stash. Even if I did end up having to buy four yards of fabric to use two out of my stash. But who’s counting?

Cry a little tear inside…it’s all about the books

Today was book day. Actually, I think yesterday may have been book day. Somehow I seem to have gotten off by a day. In any case, today was the day I finished work at a decent time and immediately turned on happy tunes and tackled my bookshelves.

As a reminder, here’s the “before” shot. I had books on every one of the shelves in the tall section, and then a bunch more on two shelves in the wider section.

The shelf in the middle where the magazine holder and Ott light are sitting also had books stacked in there, which is a bit of a problem as the light switch for the room is inside that shelf. (The shelves were put in a few years after we moved in.)

The books on the shelves in the wider section were very difficult to access and often ended up totally hidden behind stacks of things in that corner.

My first step was to do an initial fast sort into three piles: “Keep,” “Give,” and “?”. I thought “Give” sounded better for me emotionally than donate, as “give” makes me think of gifting these things to others who will really enjoy them. The question-mark pile was for the ones I couldn’t make a fast decision on, and seeing where the other two piles ended up gave me a sense of how many more I really should get rid of.

Once I finally got all the question-mark pile sorted as well, I was pleased to see that my Give pile was nearly as big as my Keep pile.

Top pic: Give pile. Most significant here is the set of Rodale quilt books (bottom of the back). Those were my Mom’s and I’ve been hanging onto them since she passed away in 2009. They reminded me of her so I had a lot of sentiment around them early on. I realized this week that the sentiment was pretty much gone—I have other quilty things from my Mom (most significantly, my sewing machine) and I can let the Rodales go now. I hope someone finds them really helpful.

Lower pic: Keep pile.

Yep, it looks big, but not nearly as big as the stack of books off the shelves in the first place!

The ones that were toughest to figure out were all my art quilting and hand-dyeing books. I started out thinking, “Have I gotten everything I need out of these books? Will I be doing any of this again anytime soon given my schedule?”

But when I pictured myself getting rid of them, I realized I wasn’t quite ready to get rid of that part of me yet—that part of me that enjoys exploration, experimenting, and playing. So I kept them. They make me happy.

Finally, I re-sorted the books that are staying and put them back on the shelves.

Look how neat and organized. And I can get at my light switch again. Those two wide shelves in the back can now be used for something else.

And there’s room … because I will keep buying books—I know me too well!

Next: Patterns. That should go fast. I don’t plan on keeping much. Stay tuned.

Decluttering Goals

If you’ve listed to Episode 207, you’ll know that I’m participating in the 21-Day Decluttering Challenge run by Karen Brown of Just Get It Done Quilts. (Today, day 3, is magazine day—I’ve already gotten rid of most of mine but have a few I’ll go through this afternoon after work; then we’re supposed to spend 30 minutes on a UFO. I have a couple of tablerunners that need sandwiching and machine quilting; that might make a nice break from the Storm at Sea Saga.)

I thought I should clarify for myself what my end-goal for this decluttering challenge is as, if you visited my sewing room today, you wouldn’t think it was overly cluttered. It’s FULL, mind you, wall to wall storage units, but organized. I did have one pile of stuff in a corner that got taken care of on day 1, and a few things that had fallen off the wall that I took care of on day 2. But once I get the day’s assignment done I’m using the remaining 30 minutes to move forward on other organizational goals as well. (Waiting with apprehension for Karen gets to the book day and the tools/notions day, LOL. Stuff is in drawers that hasn’t surfaced in years.) So, in my usual mode of using y’all to keep me accountable, here are my goals for this project.

As I said in Episode 207, one big issue for me is moving my office stuff back to my external (region) office and reclaiming the space for personal use at home. Some of that will take a long time as it involves breaking down my current L-shaped desk and finding one with a much smaller footprint that will still suit the task. Meanwhile, I’m going to pare down office supplies, cord storage, work-related books, and so forth.

The quilting-related big issue for me is that, now that I’m doing scrap quilts with regularity, my scrap storage system is woefully insufficient. It’s organized, but in a way that makes it hard to use.

  1. In the gallery below you’ll see a photo of my current scrap storage solution—a nice set of shelves on wheels in which I’ve got my scraps mostly sorted by color (uncut) and then by cut size when I trim them down. Seemed like a great idea at the time. But it drives me nuts every time I go to use it. The drawers just really aren’t big enough, and I think I’d rather sort everything by size and get all the random pieces cut down to usable sizes to begin with. (Yay, Accuquilt!) That means in the long run I’ll need fewer but larger containers. So that drawer unit? It’s got to go. As an “oh yeah, and…” item, I have another variation on this drawer unit that I use to hold all sorts of embellishment laces, specialty yarns, and such when I was art quilting. I have to go through it to see if I’ll actually use any of it. If not, I may vote that unit off the island as well. I’m a little more hesitant on that one at the moment and it’s not really in the way, so it’s not high priority.

  2. Meanwhile you’ll see that the storage cubbies on my cutting table are being woefully under-utilized. My plan is to get those cleaned out and then either use the cubbies for project bins of ongoing projects and UFOs, or for bins of scraps. Also, the pull out fabric containers that came with the storage shelves are cute but useless. I’m visual—I need to see what’s inside a bin. Otherwise they become what these are—random dumps of stuff that I don’t know where else to store and, well, out of sight out of mind. Several of them are pretty much empty but as I like categories, once I throw a couple of things that seem to go together into a bin I don’t want to put anything else in there. Hence, I’d far rather have clear plastic bins that I can label but will also show me at a glance what’s in it.

  3. Also, when the office stuff is purged, I’ll have more room on the one set of shelves that’s still half-office and half-quilting. I may use that for my scrap storage instead. It all depends on how much space I can get cleared off.

  4. The other two photos are my shelves of quilt books that needs another culling of the herd, and then my fabric stash which just needs to be cleaned up once I get some of the project bins and other space-hogs off the shelves. I’ve got two bags hanging from my strip hanger (tie rack) at the moment that will be leaving in the next couple so that corner will look much better than it does in the pic.

  5. As another goal that I actually think will happen naturally once all this gets worked out, I have several quilt-tool-travel-bags that I inherited from my Mom that I hate to get rid of. I know what those things cost and they’re still in good condition. The problem is that they sat piled in her basement for years when she stopped being able to travel to classes and retreats, so they need a really good cleaning. I just haven’t ever taken the time to do that, so they’ve now spent 10 years stashed on the floor under one of my shelves. I want to get them cleaned up and then placed somewhere that will make them easy to grab when I’m packing for a retreat.

And yes, you’re seeing tangles of cords in a couple of places. That’s another thing that will magically get better once I get some of this other stuff taken care of. Baby steps.

So them’s my goals. Here’s to being able to get some stuff done!

Use the link in the top paragraph to join up with Karen’s decluttering challenge yourself! Leave comments here about your own clutter-magnet spaces or your scrap organizational system.