...because I need to focus on getting some other quilty projects done!
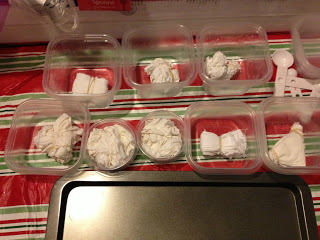
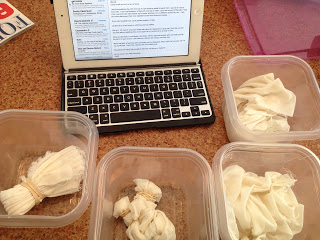
First, the "parfaits."
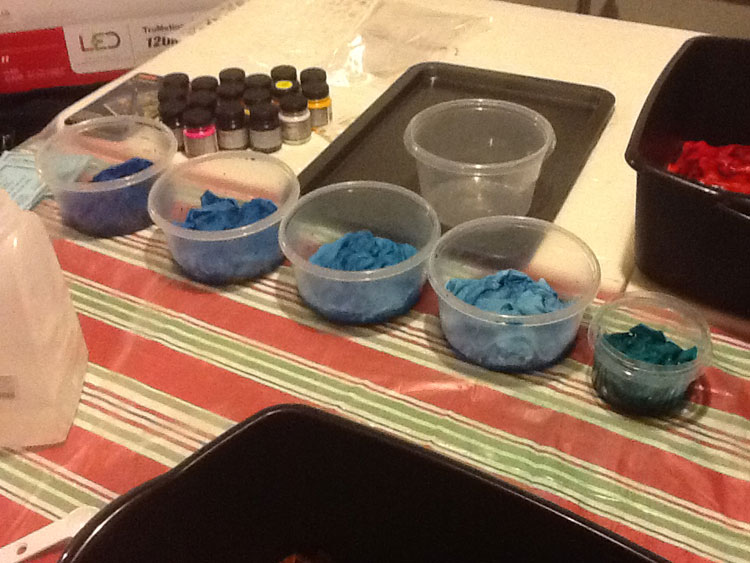
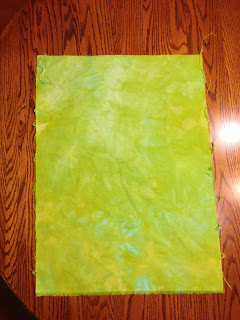
Experimental Technique #1: "Value Parfait"
In this method, you use a tall, narrow container. Fabric #1 goes in the bottom with the dye of choice for a few minutes. Then you pour on some soda ash water; wait another few minutes, add fabric #2. You don't add anymore dye but, after a few minutes, you do add some more soda ash. Then you add fabric #3--still no more dye, just the soda ash. Let it sit for some number of hours (I let mine go 24 since I had life to live), remove, rinse, and you get dark, medium, and light.
"Value Parfait" using Mixing Red. Or maybe it was Strongest Red. Sorry--I forget now.
It worked like a charm--loved this method! Far simpler than measuring out different concentrations like I did last time, although the previous method is great if you want a bunch of fabric all of the same value.
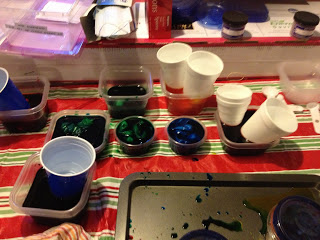
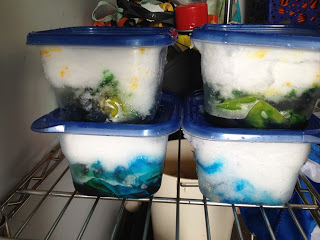
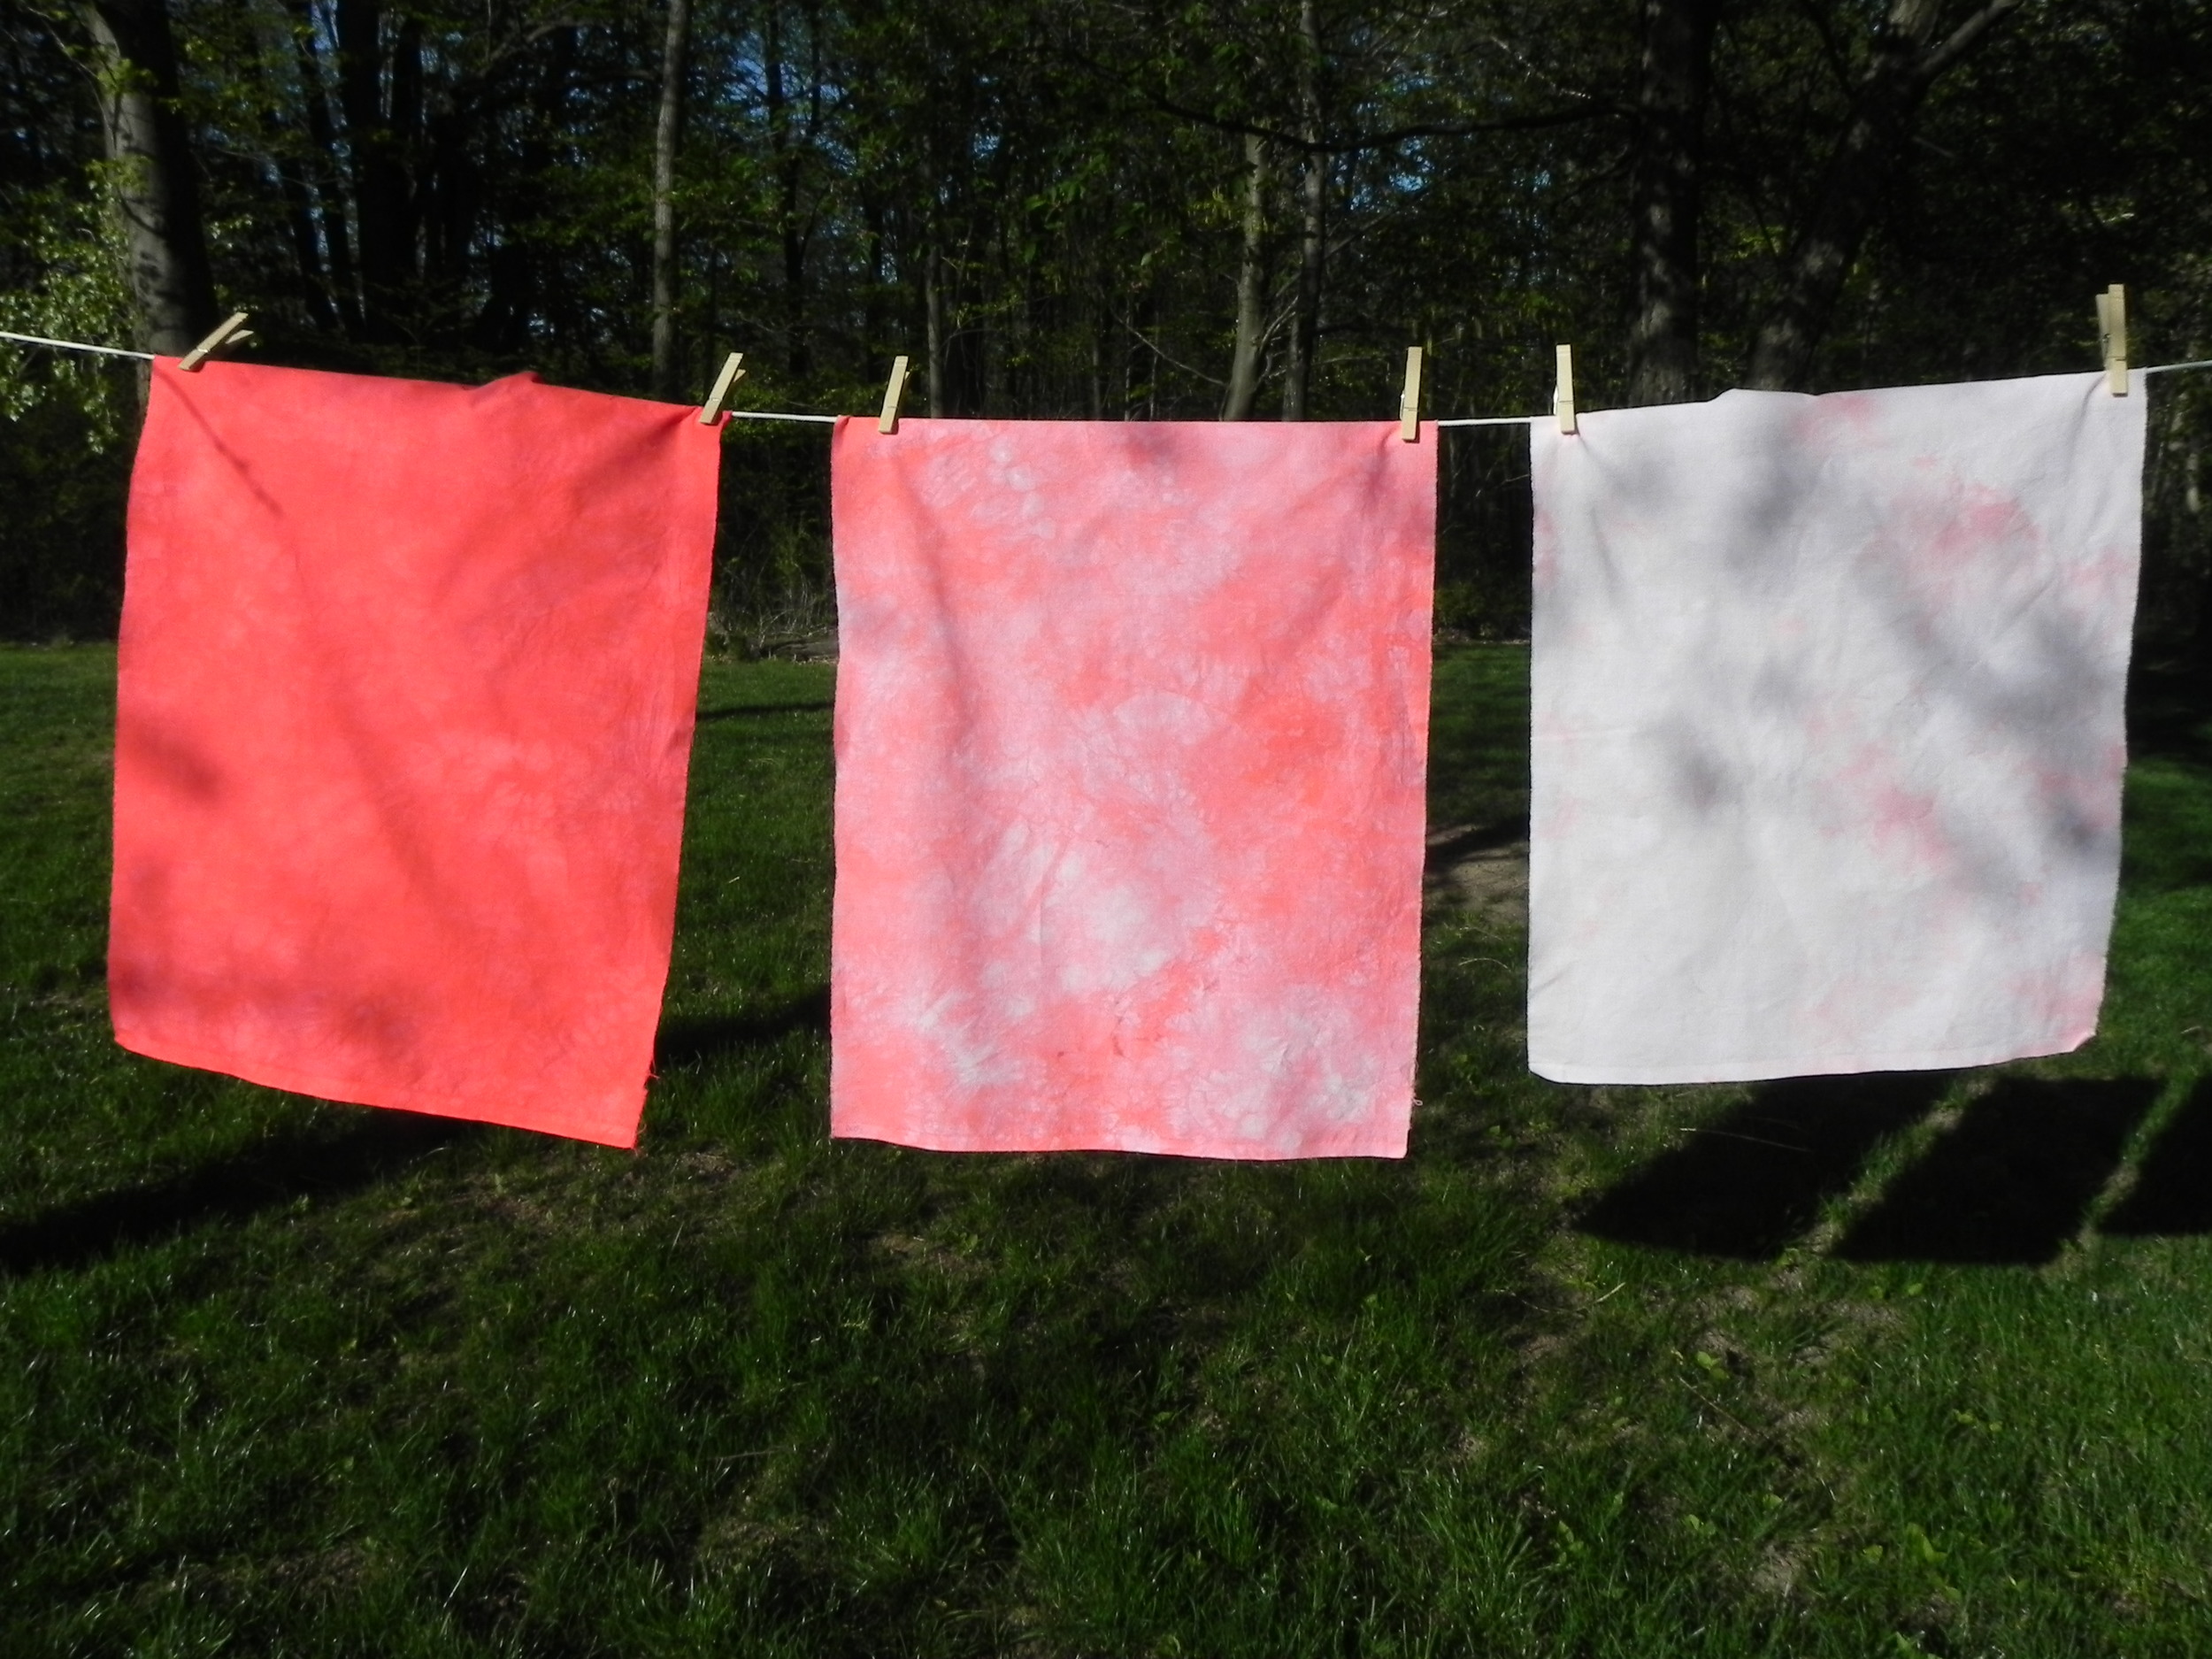
Experimental Technique #2: "Color Parfait"
This is basically the same concept as above, but for each fabric you add a different color. Fabric #1 and one color goes in the bottom--wait a few minutes, add soda ash. After a few more minutes, Fabric #2 gets added, then second color poured in--wait a few minutes, add soda ash. A few more minutes, Fabric #3, dye number #3, soda ash, hang out for at least four hours (again, I did 24).

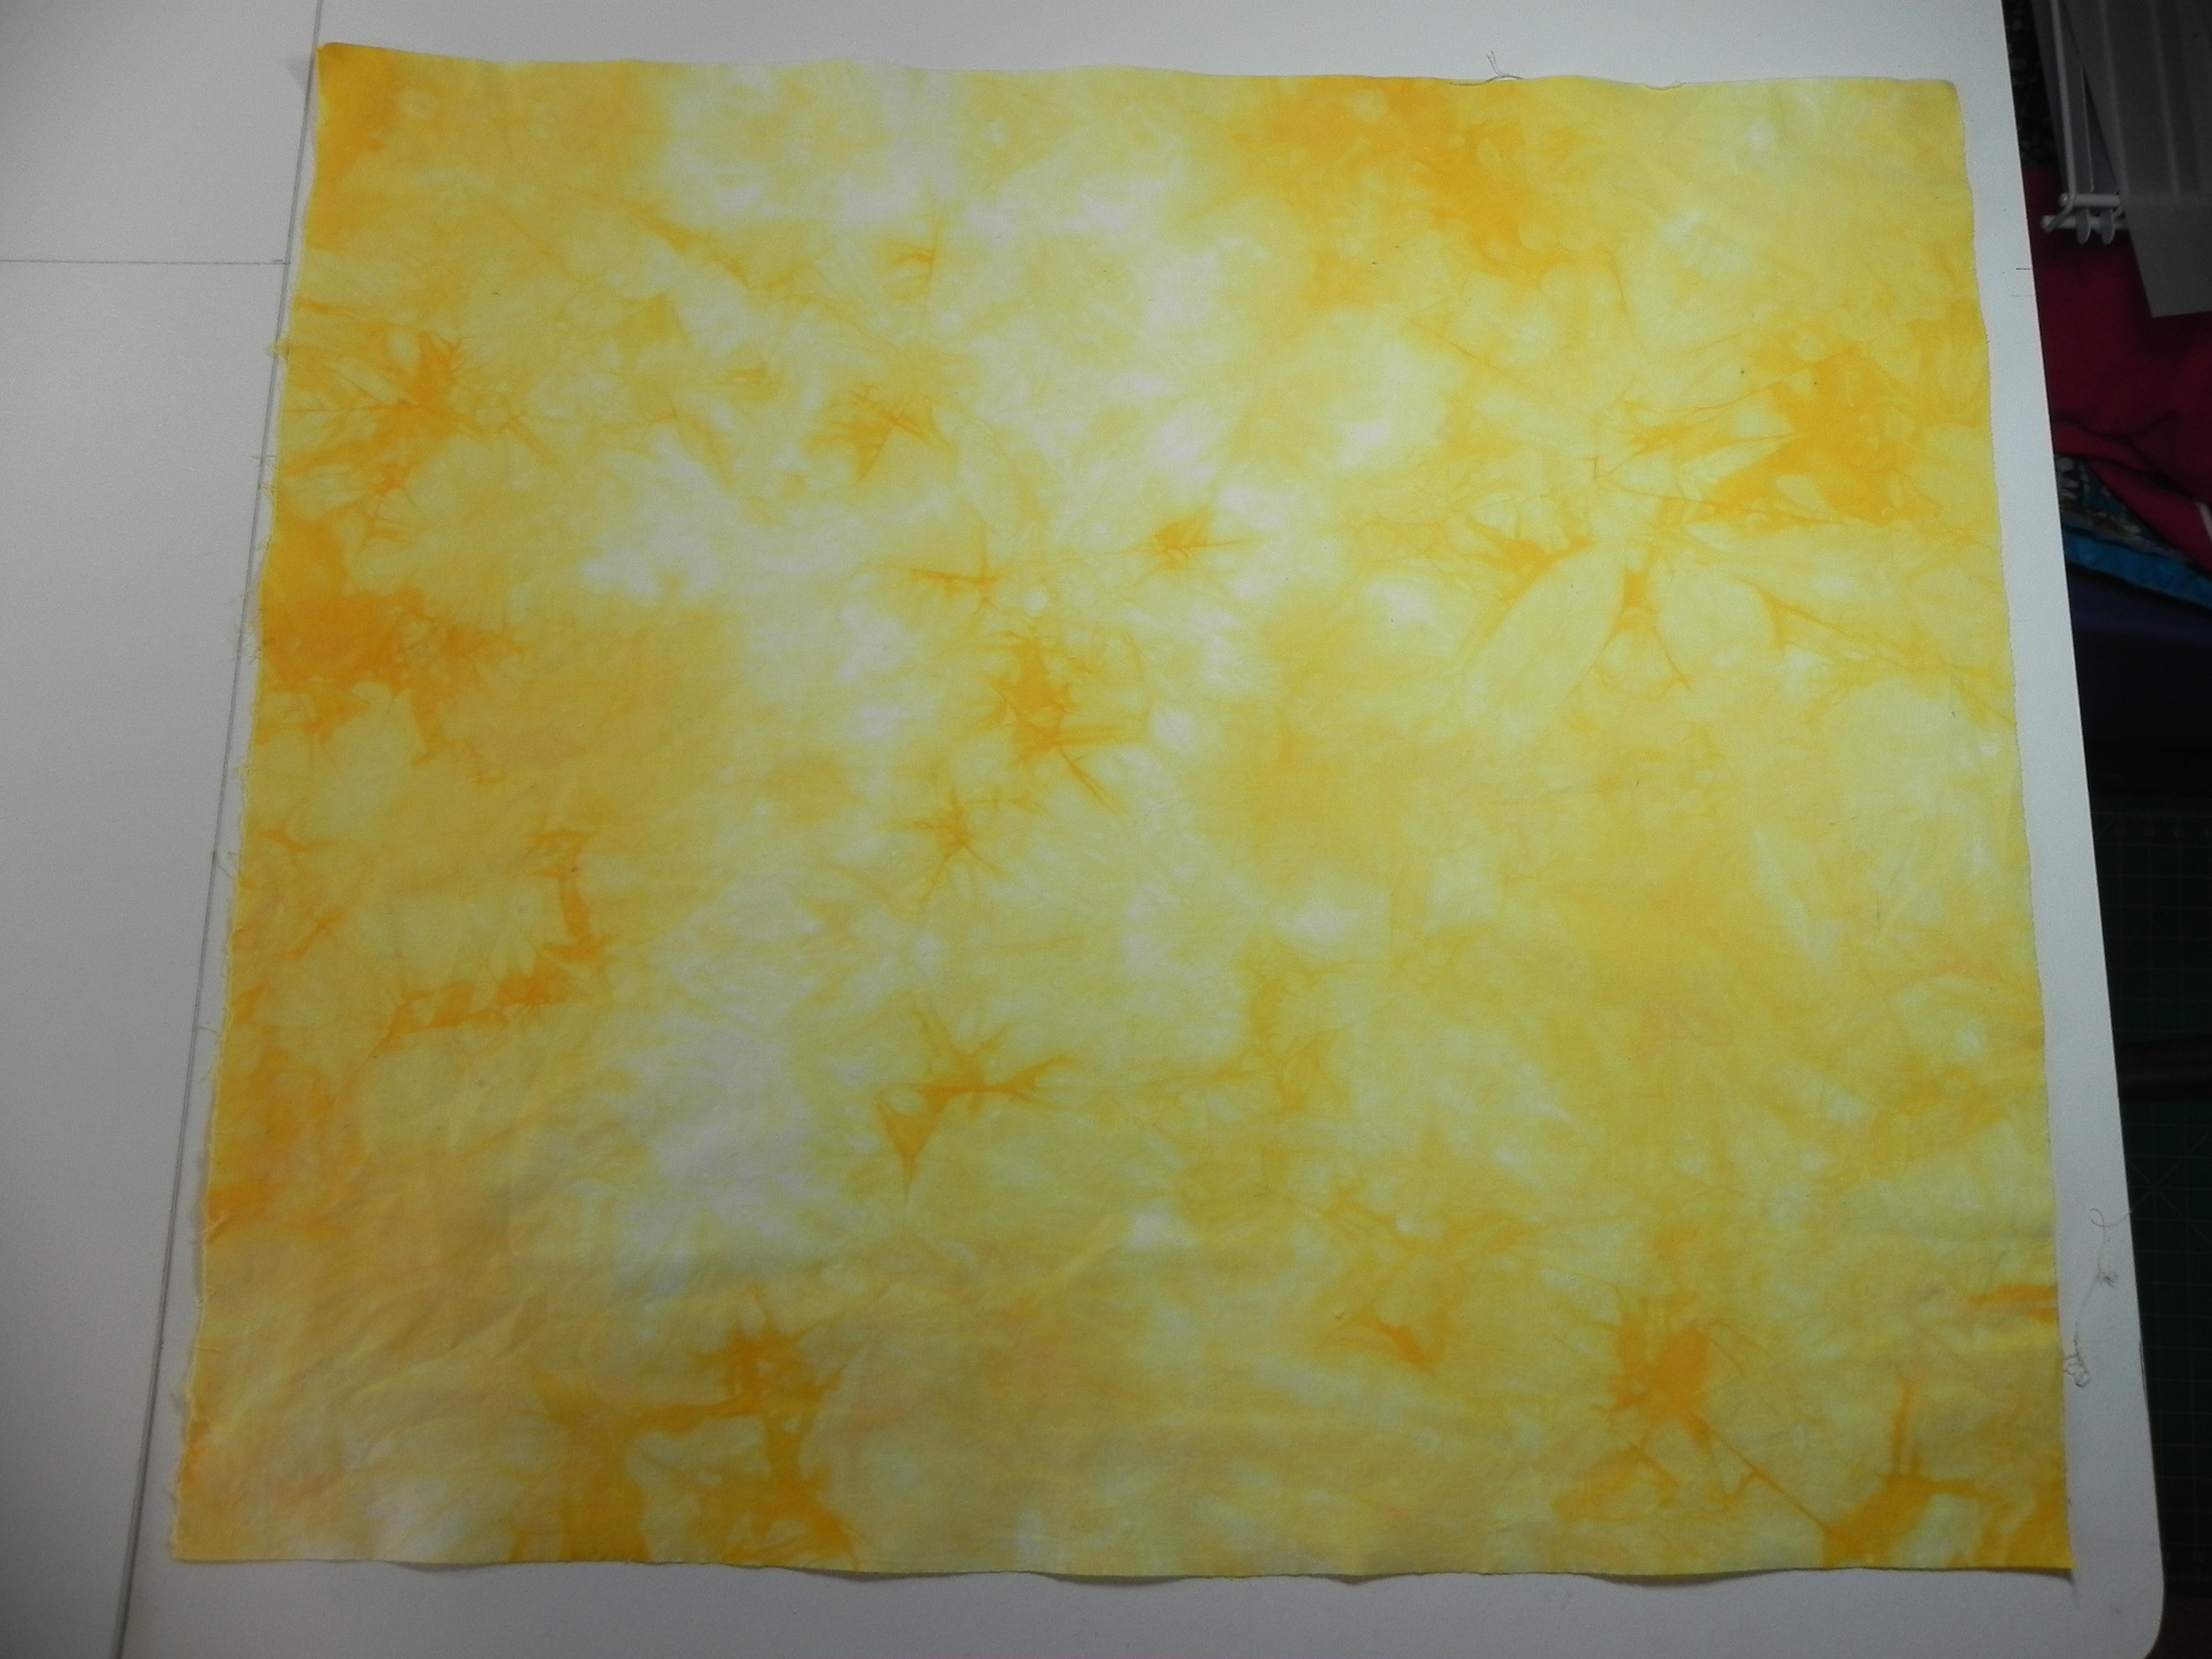
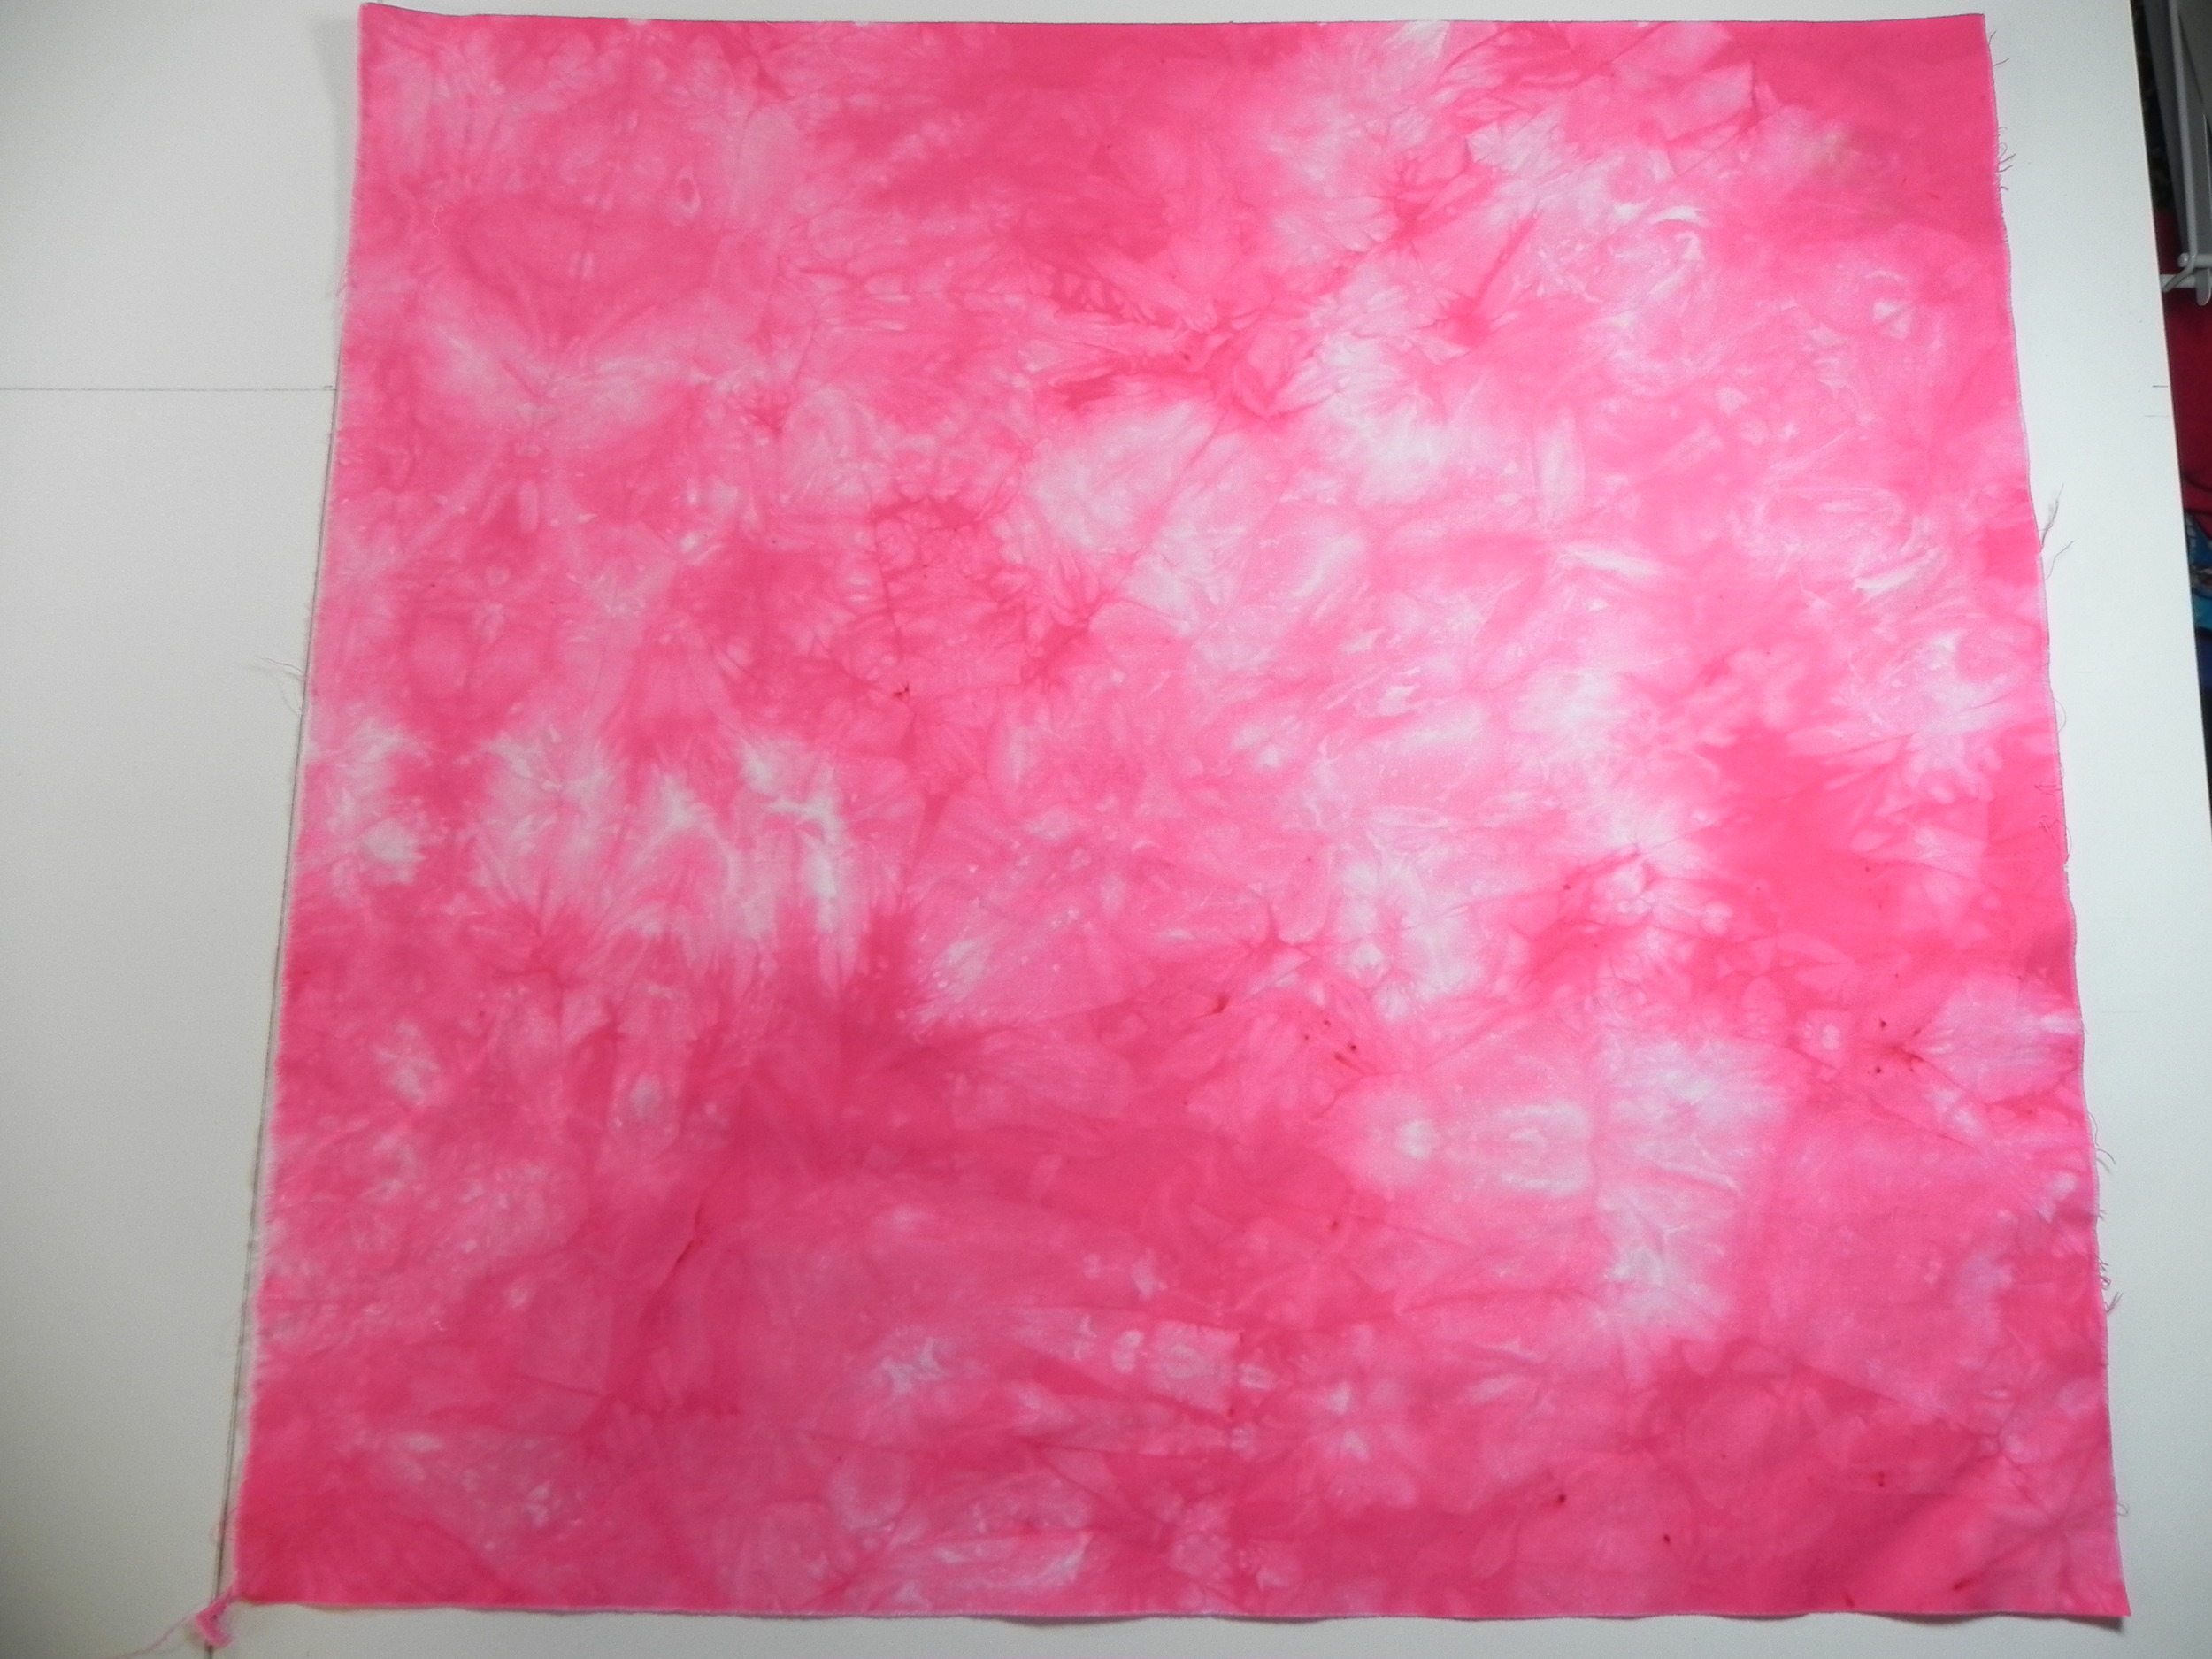
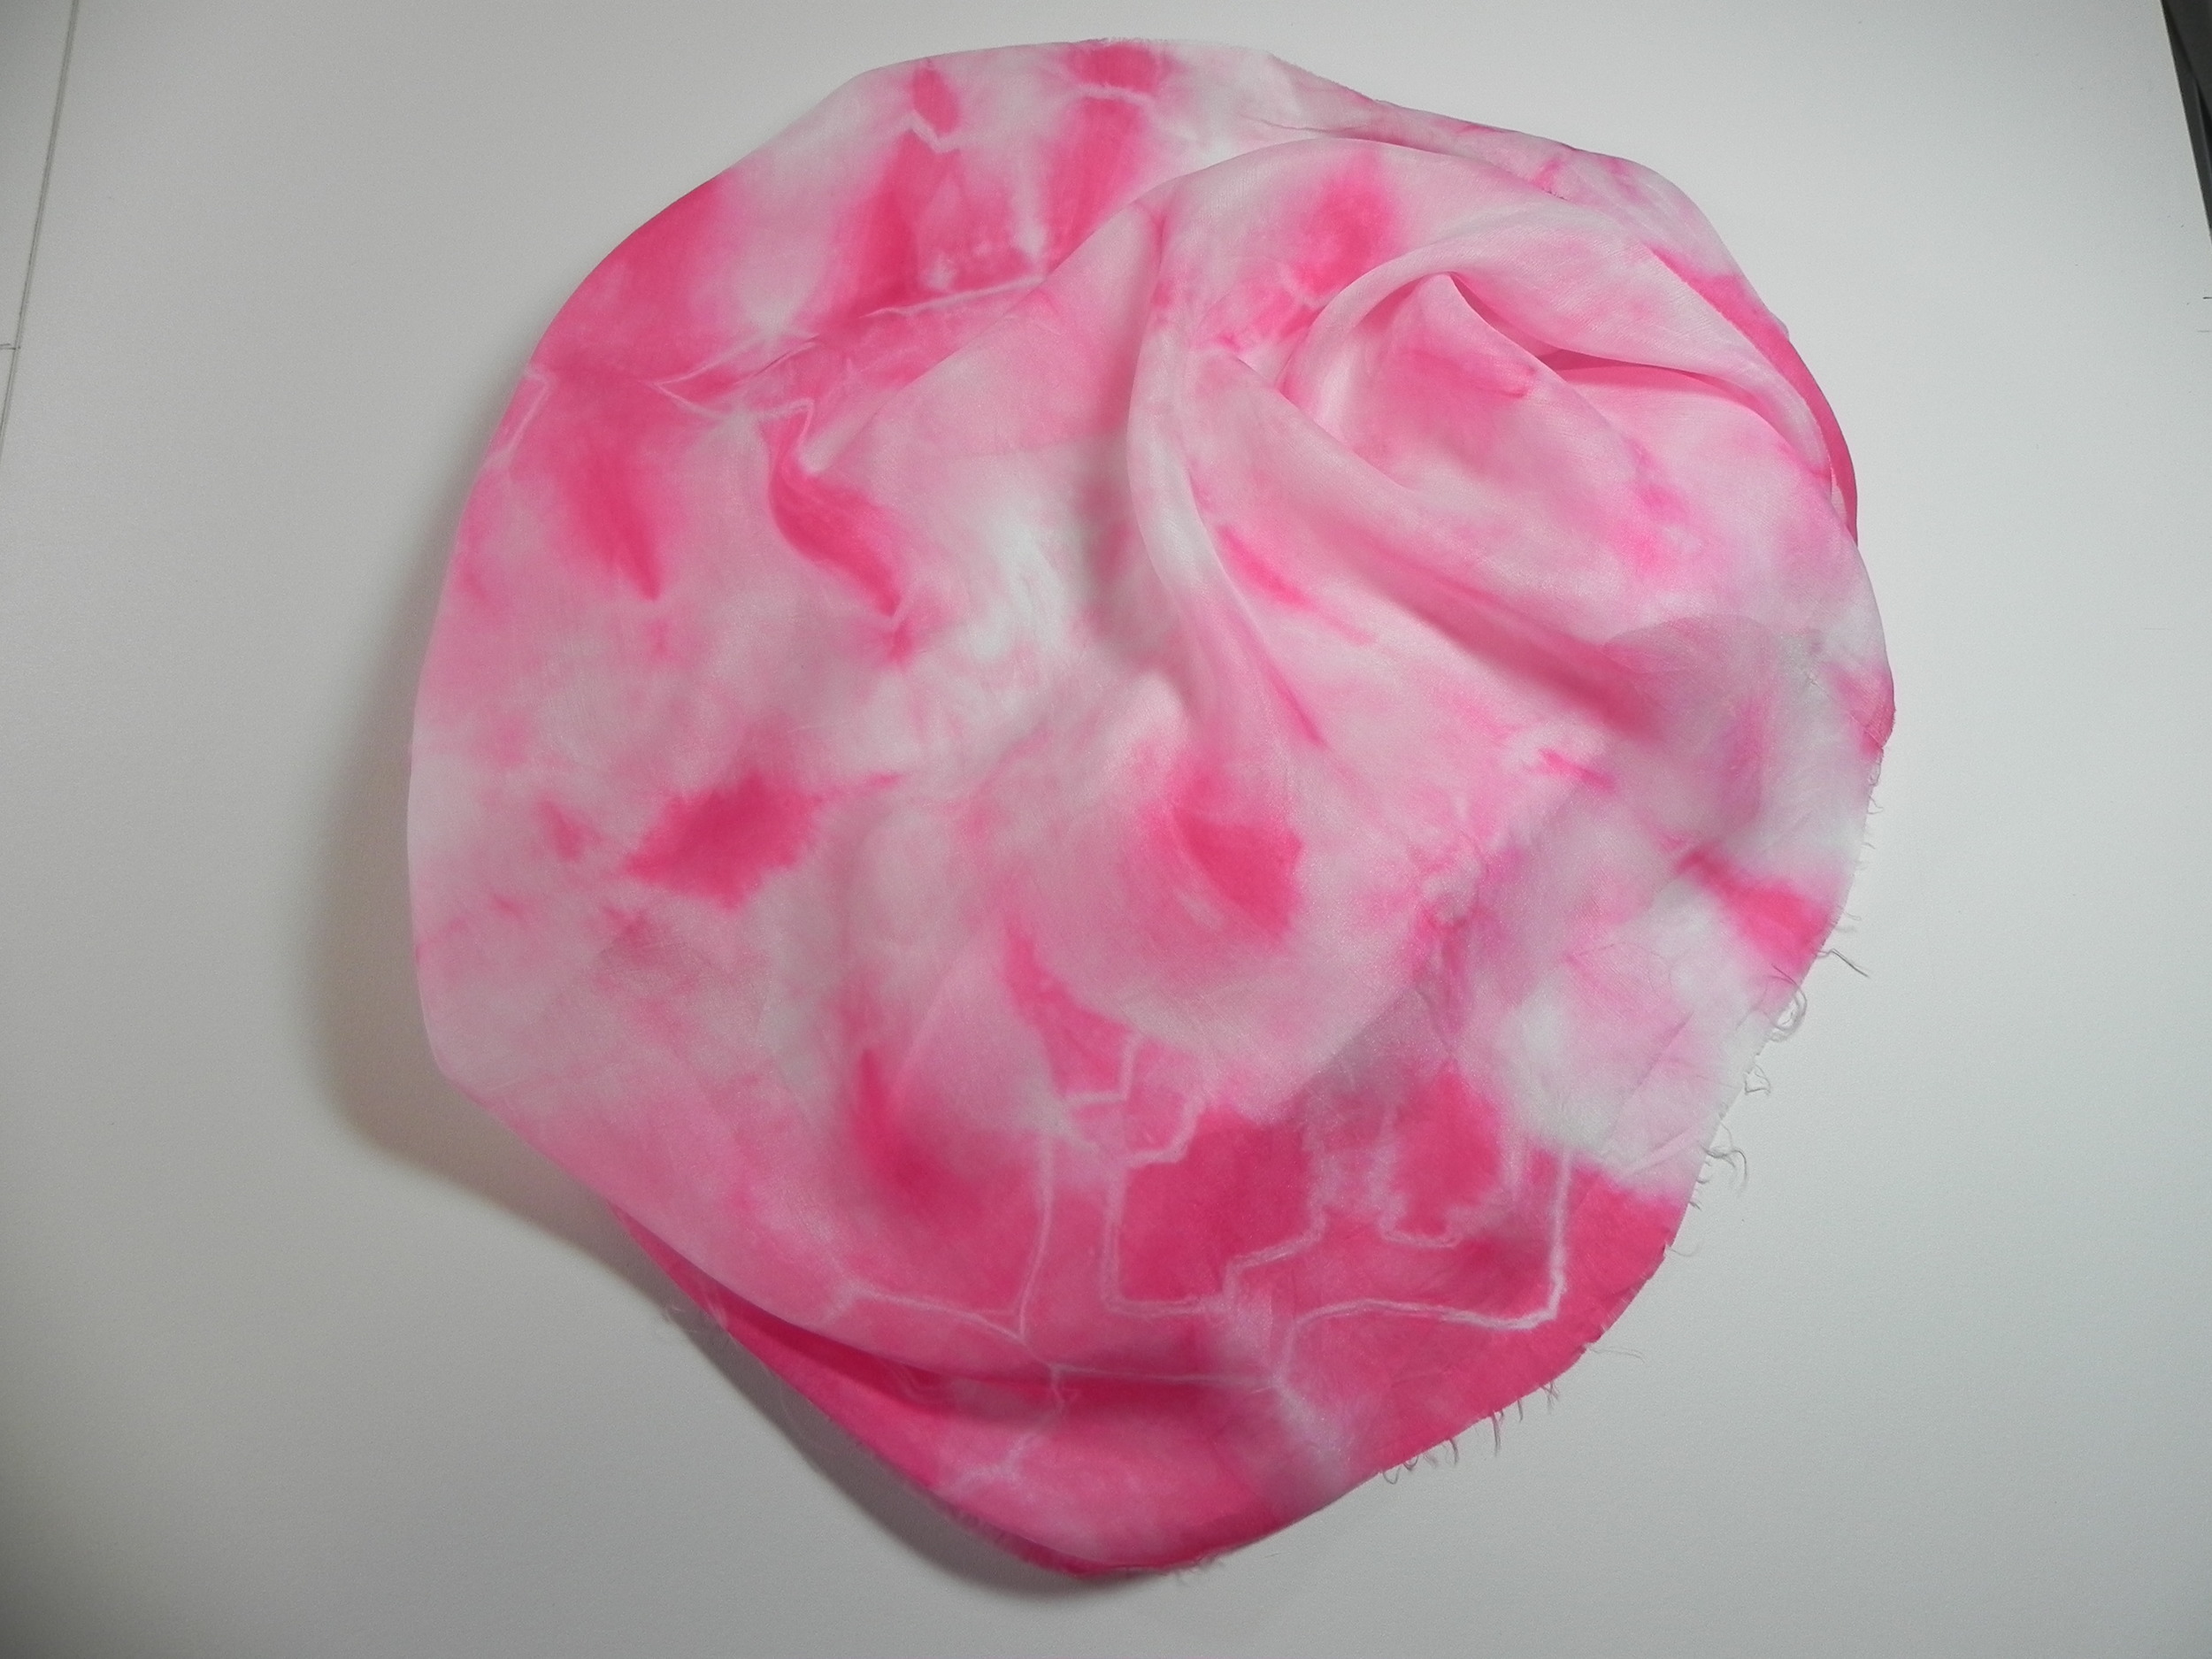
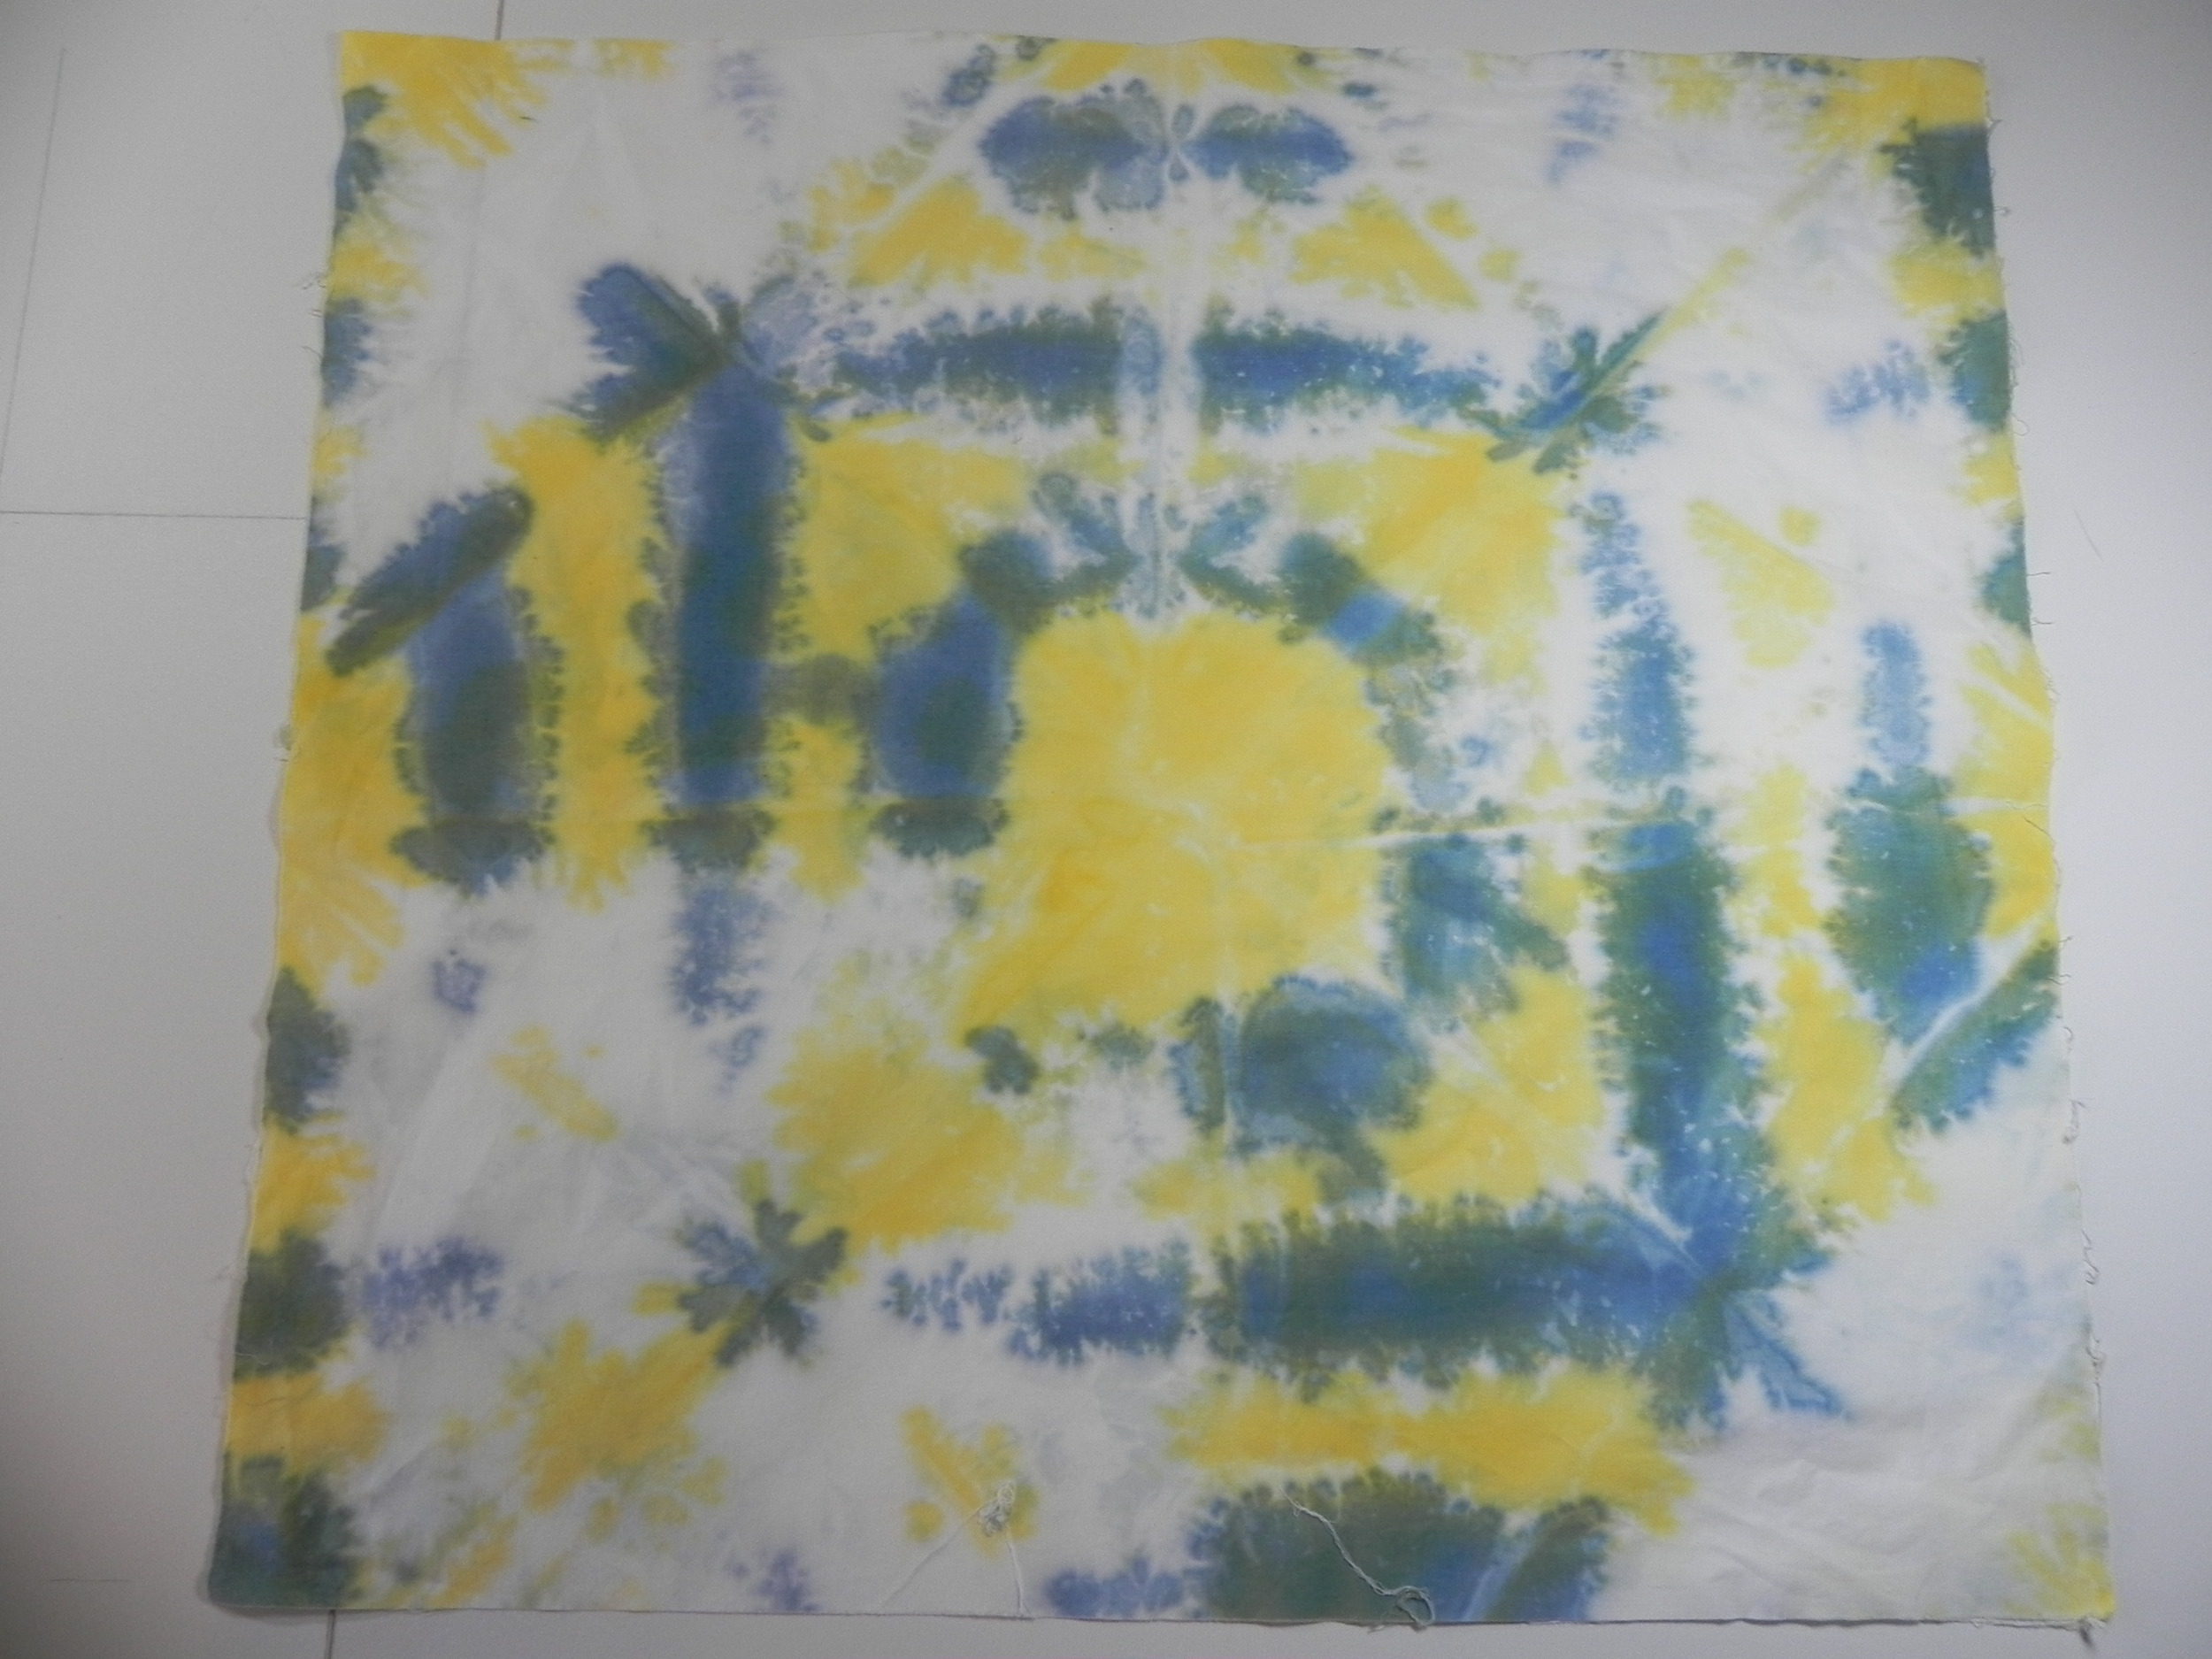
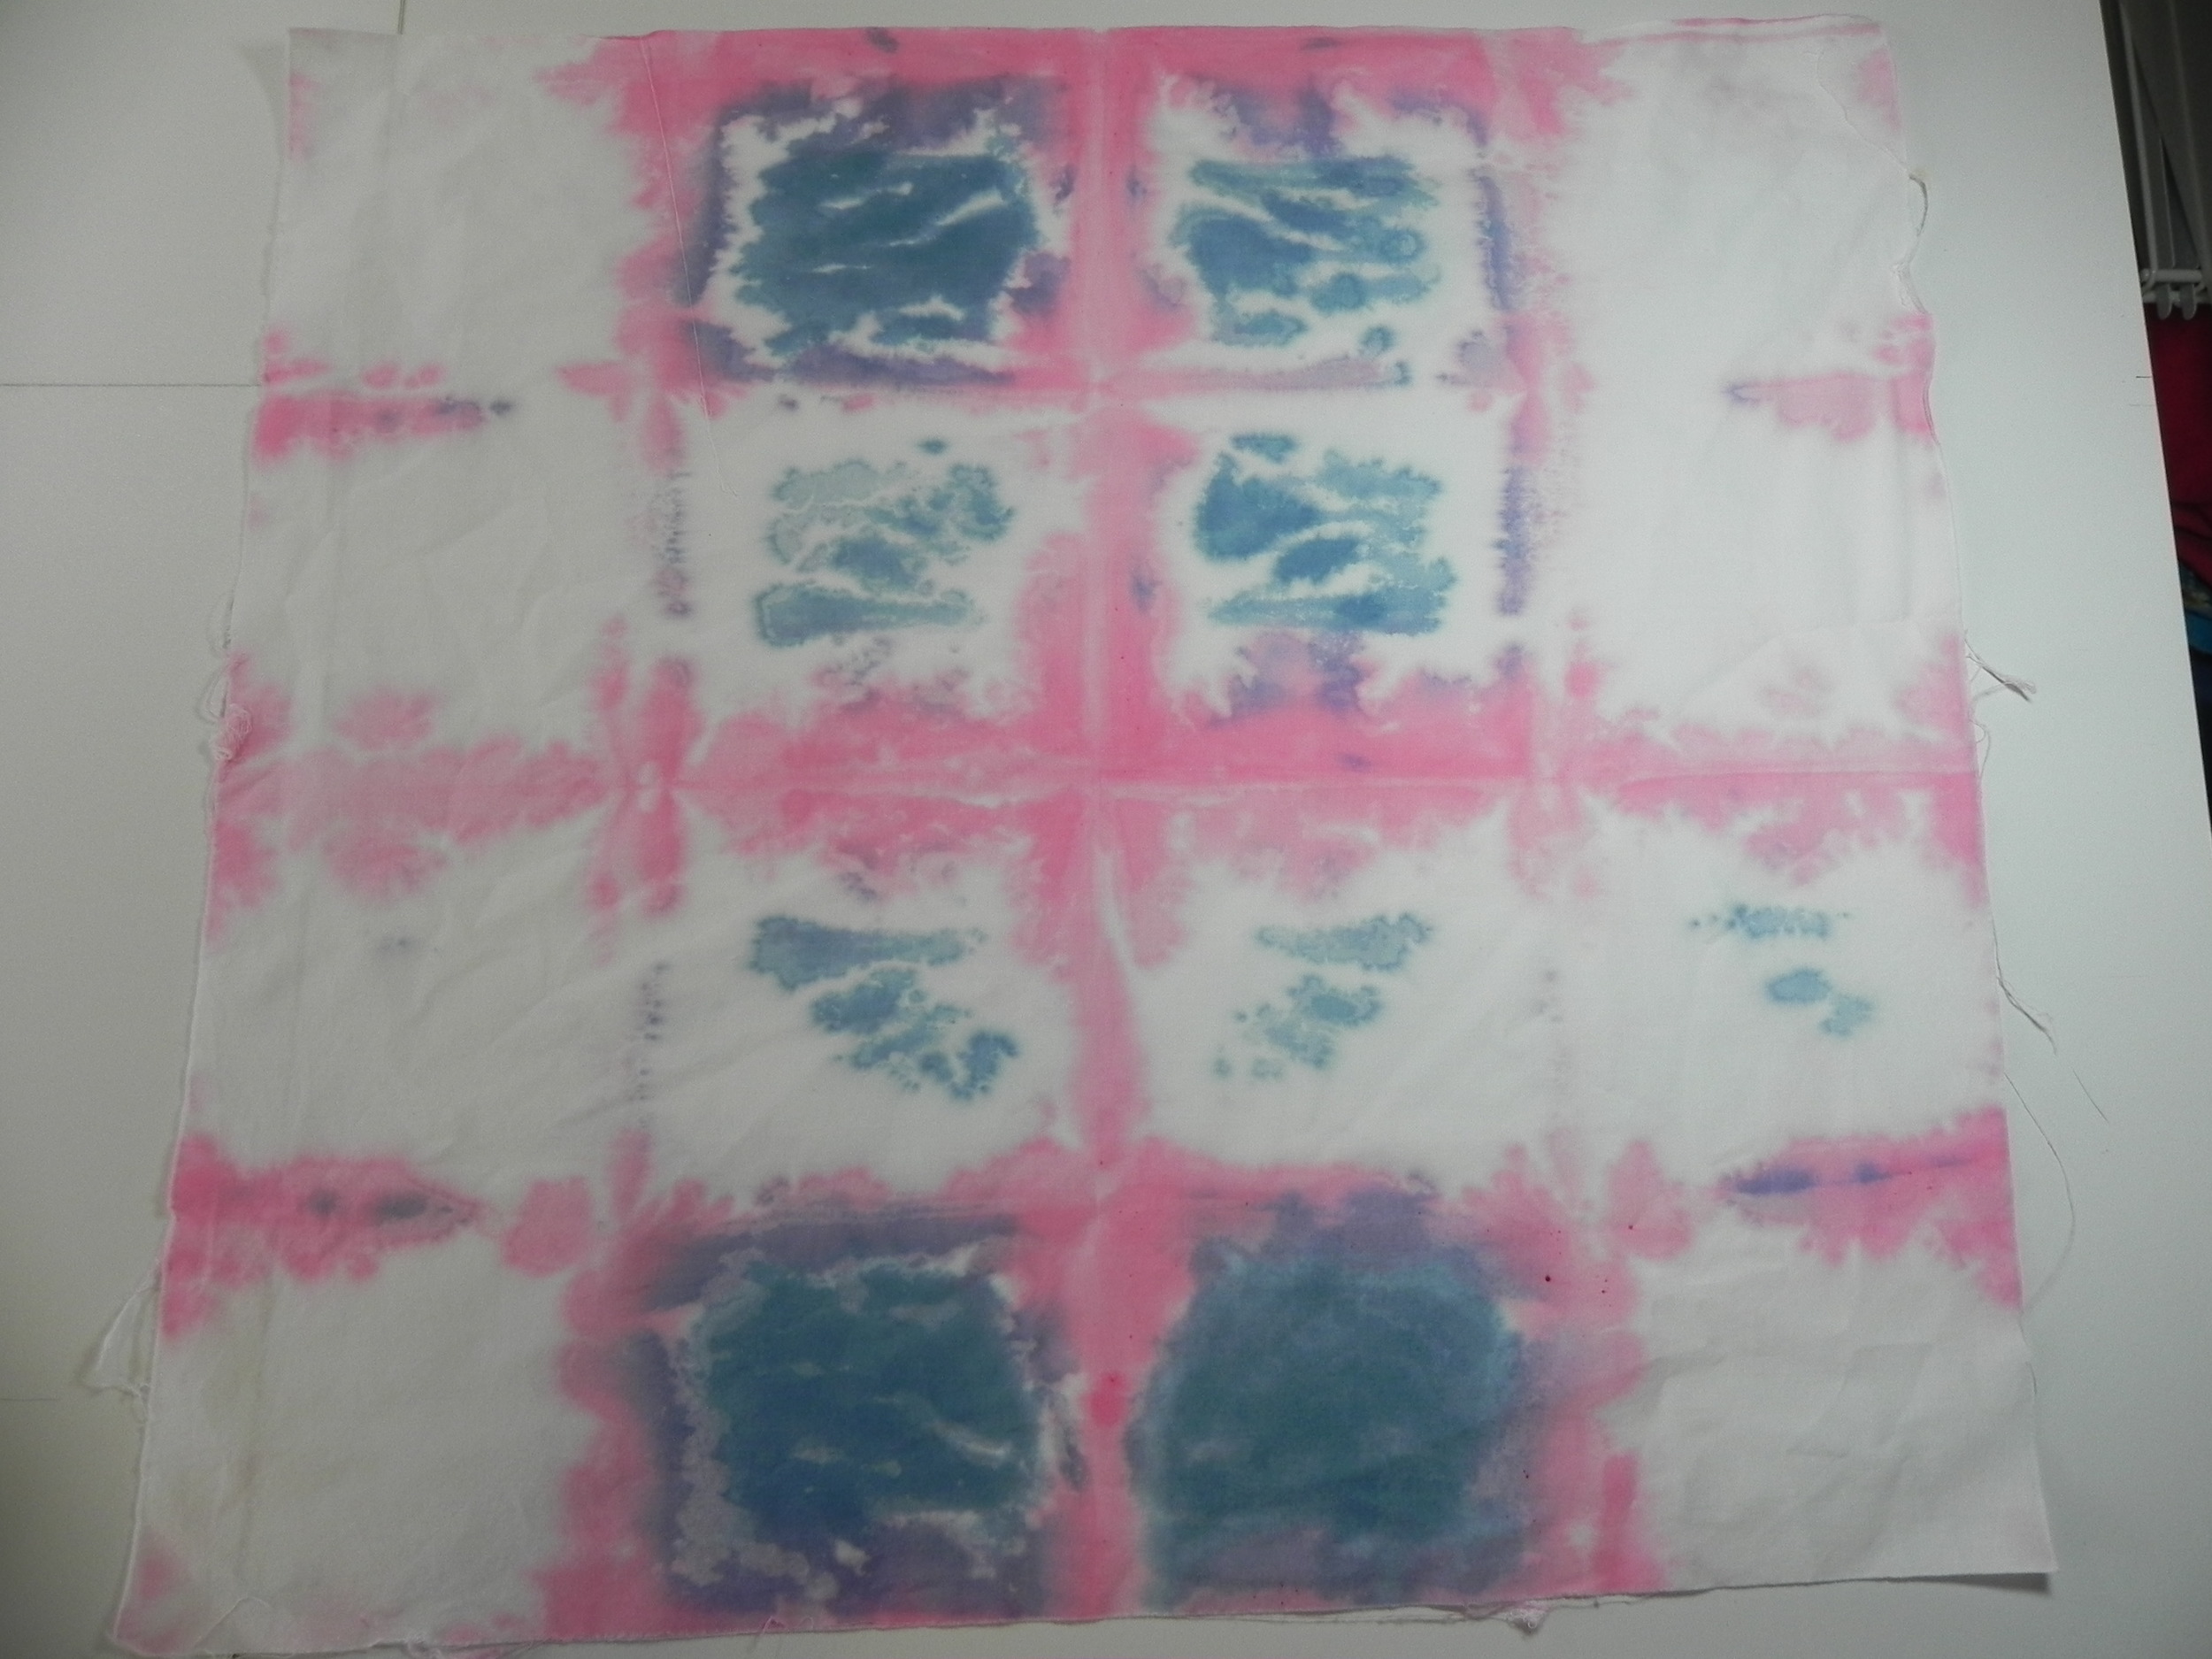
Color Parfait #1: Fabric #1 (on bottom): Turquoise. Fabric #2 (middle): Fushia. Fabric #3 (on top): Sunny Yellow

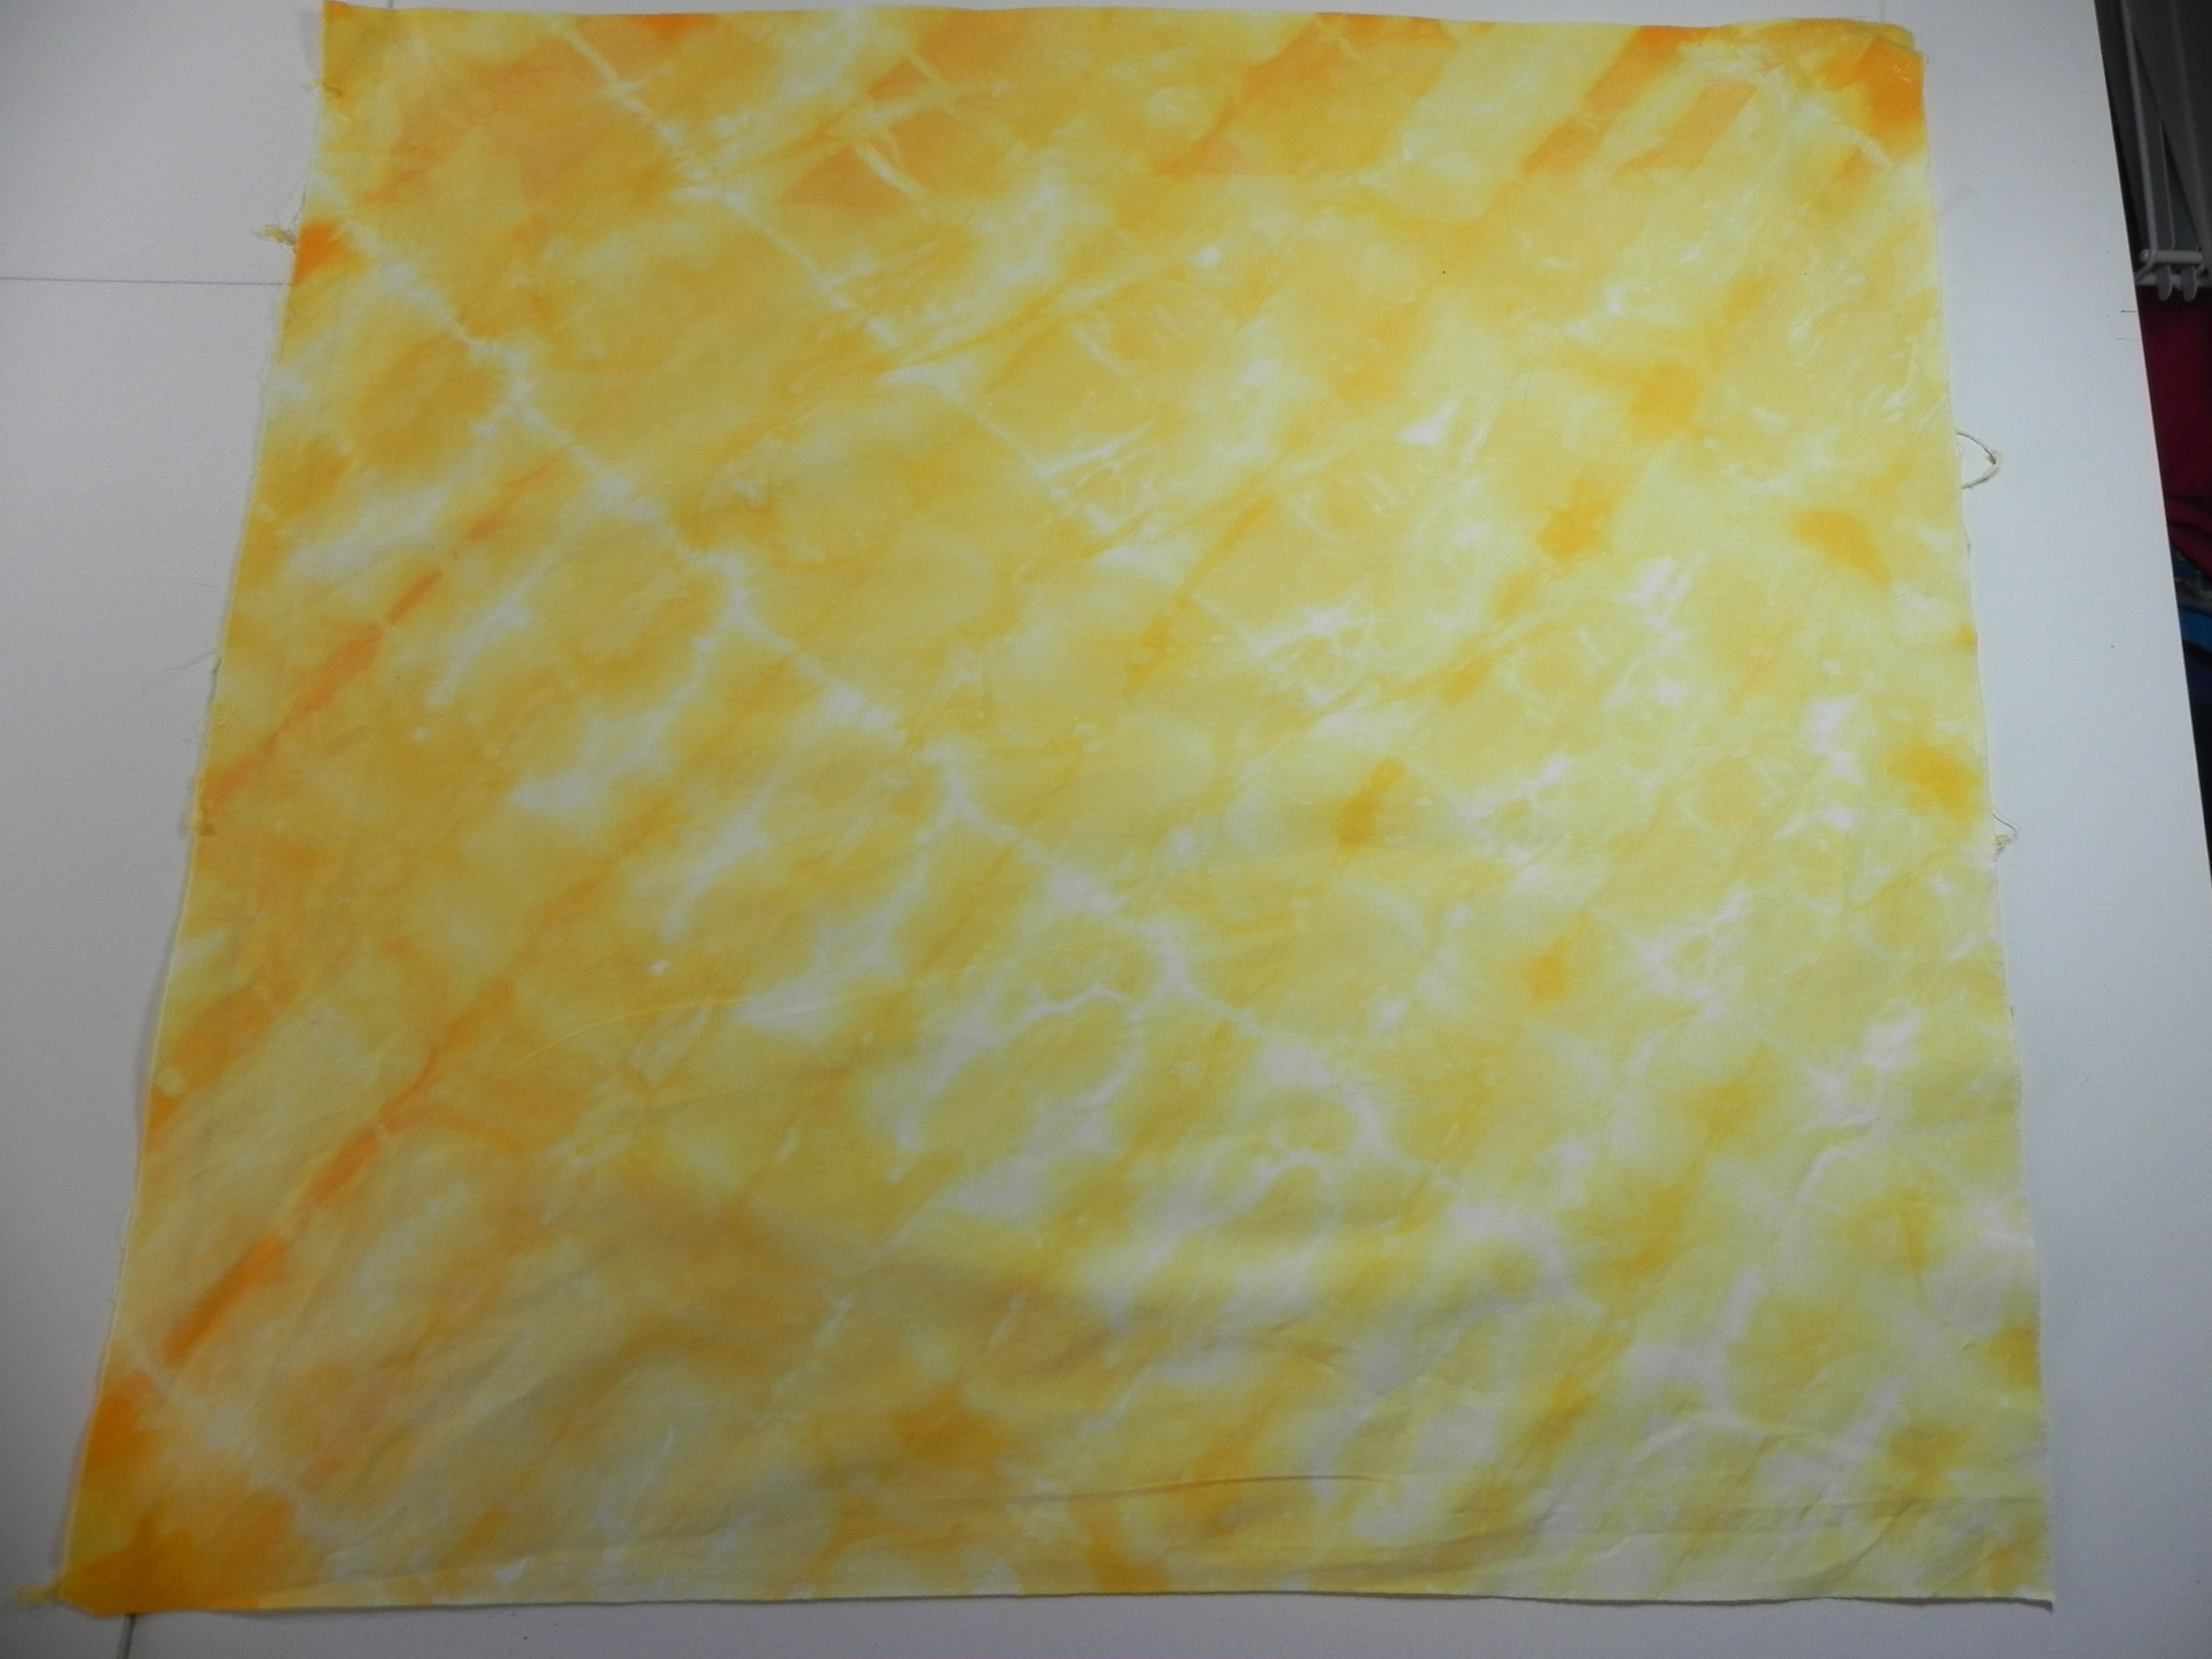
Color Parfait #2: 1 is Red, 2 is Golden Yellow, 3 is Sunny Yellow.
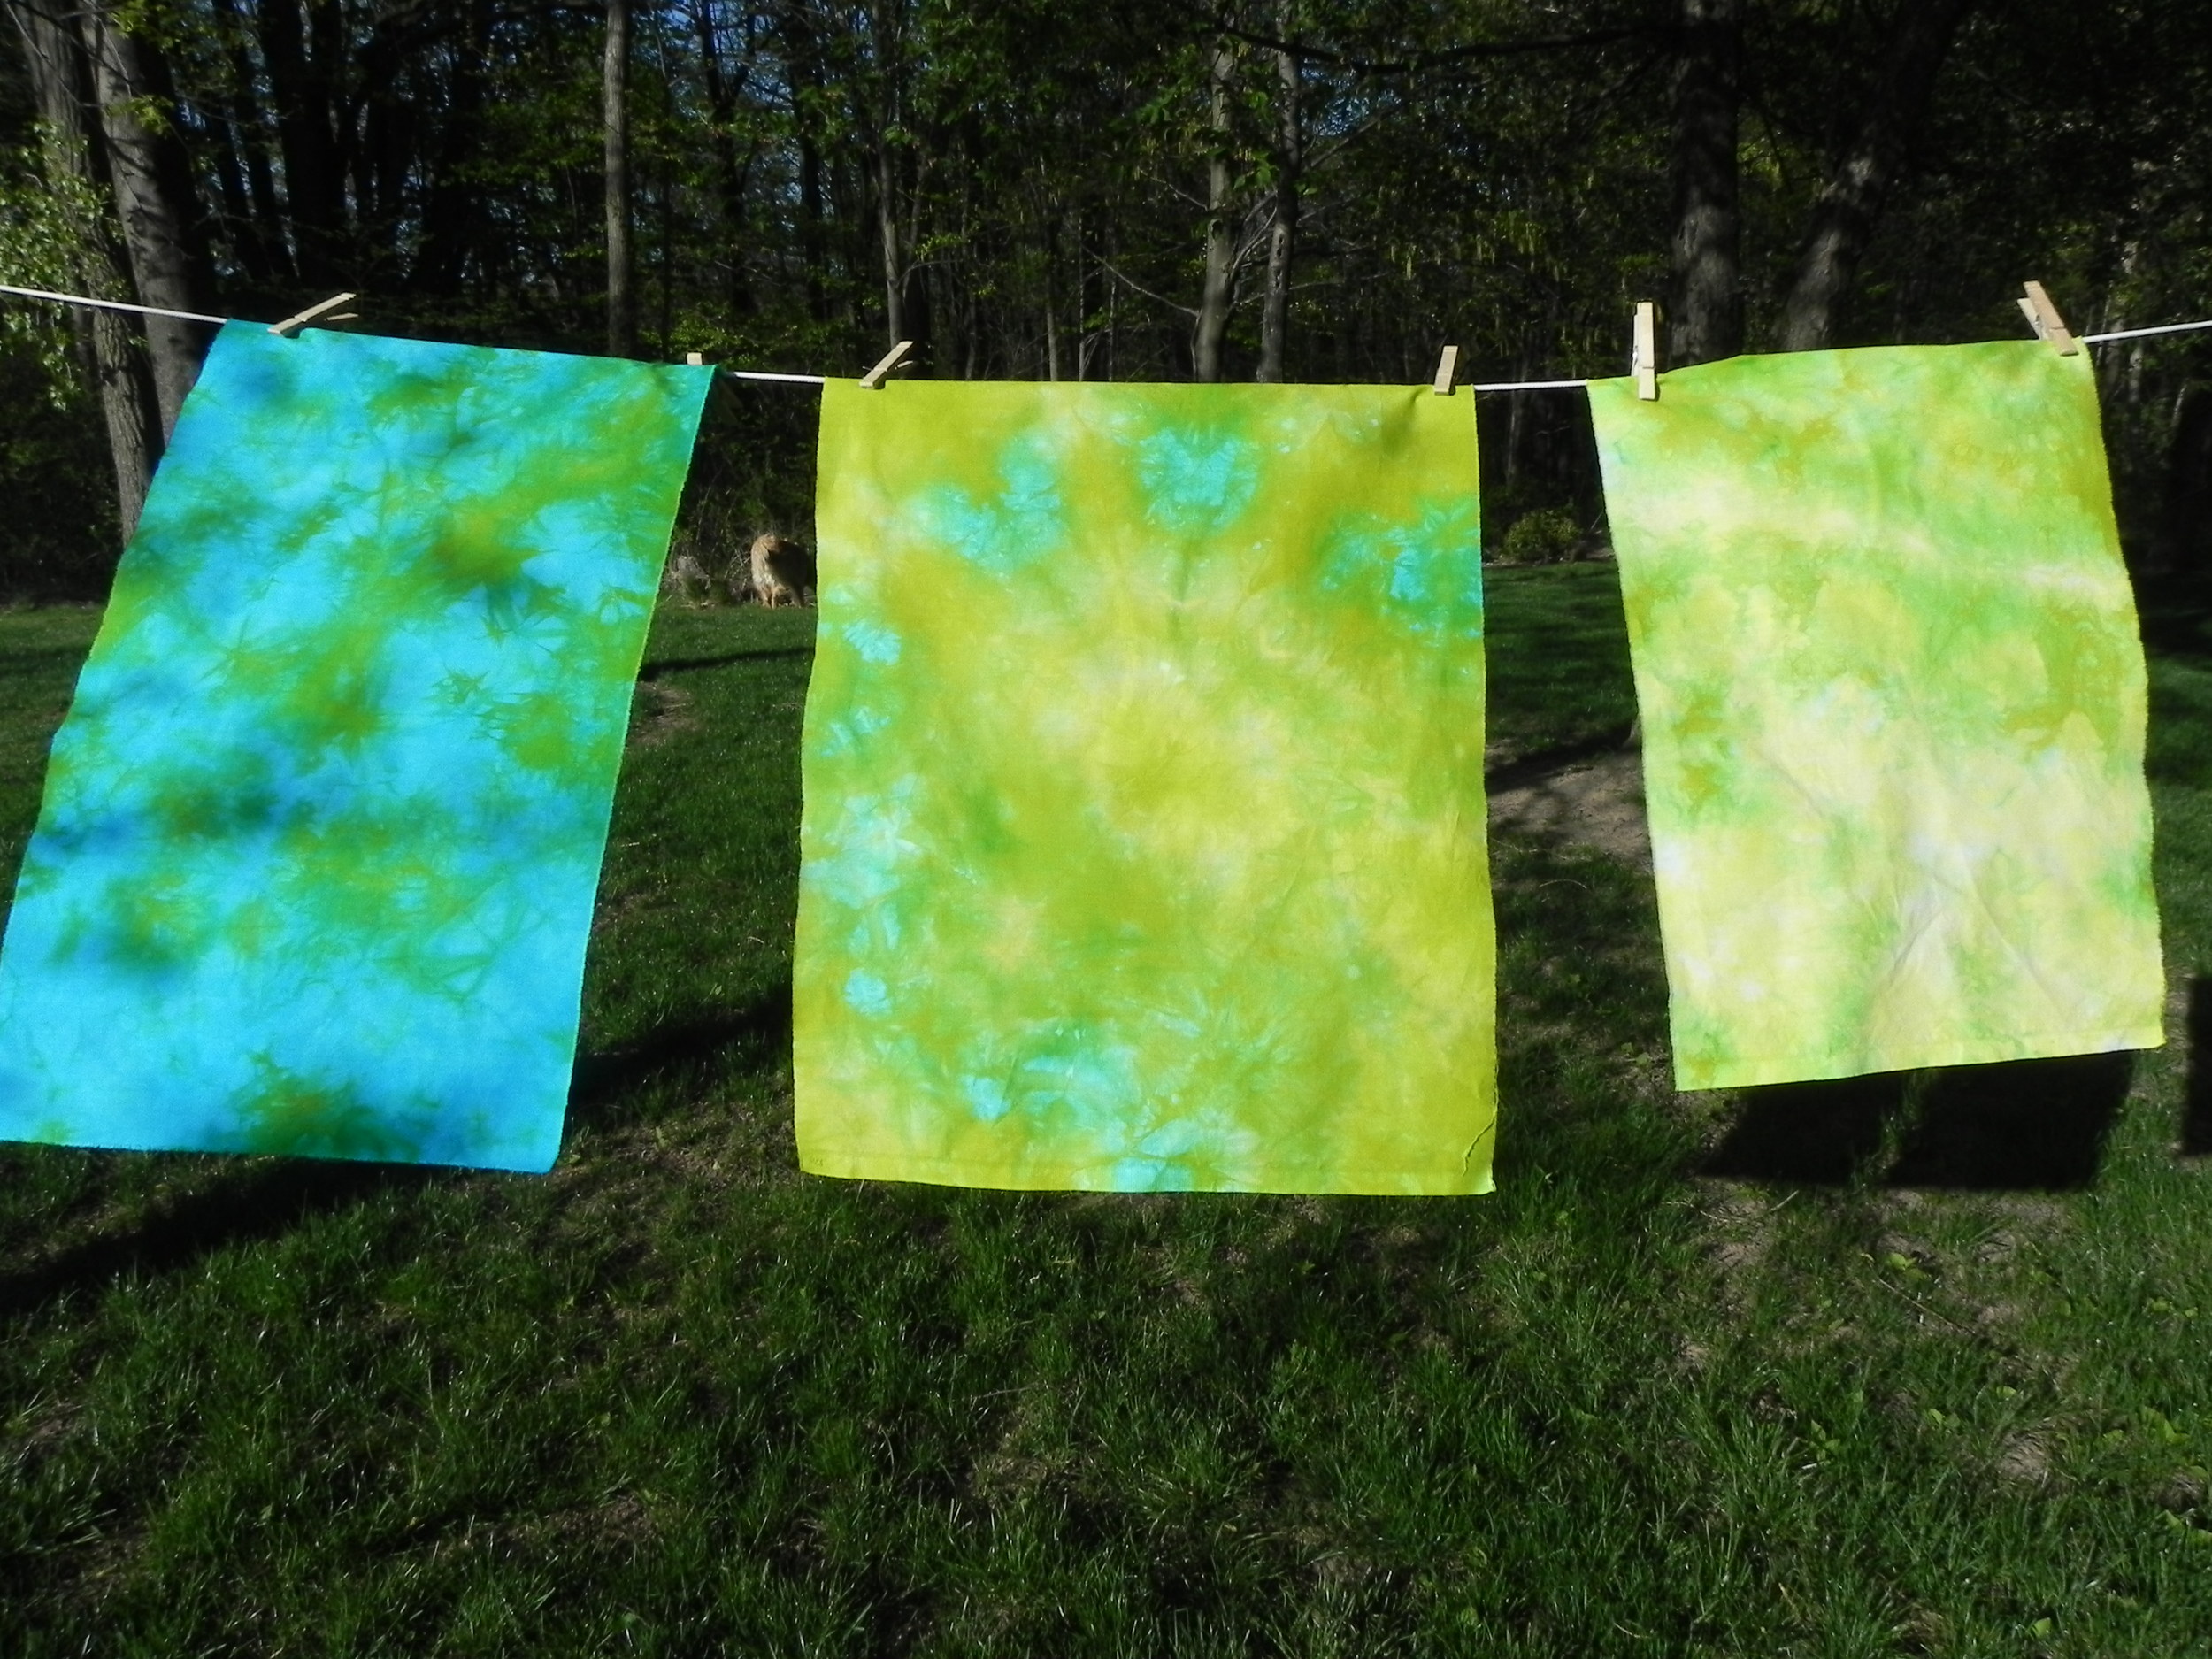
Color Parfait #2: 1 is Intense Blue, 2 is Golden Yellow, 3 is Sunny Yellow.
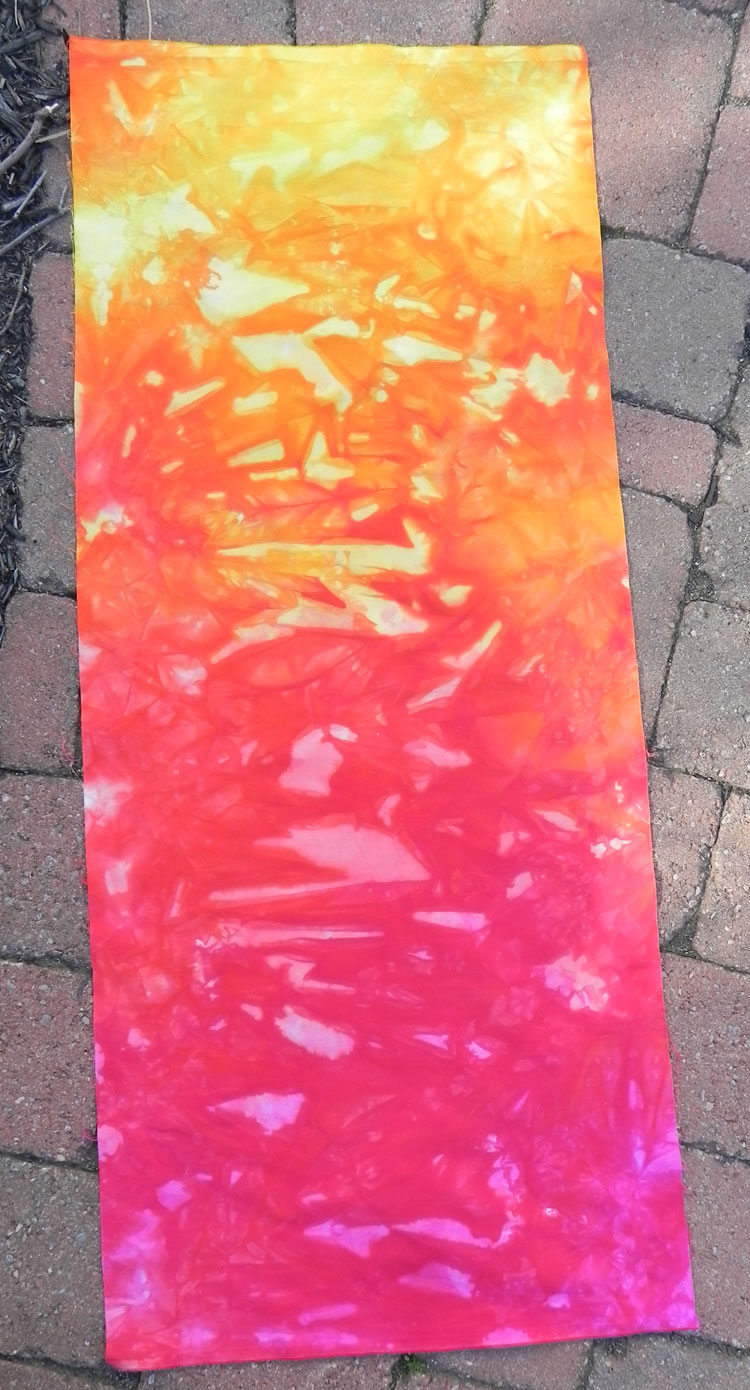
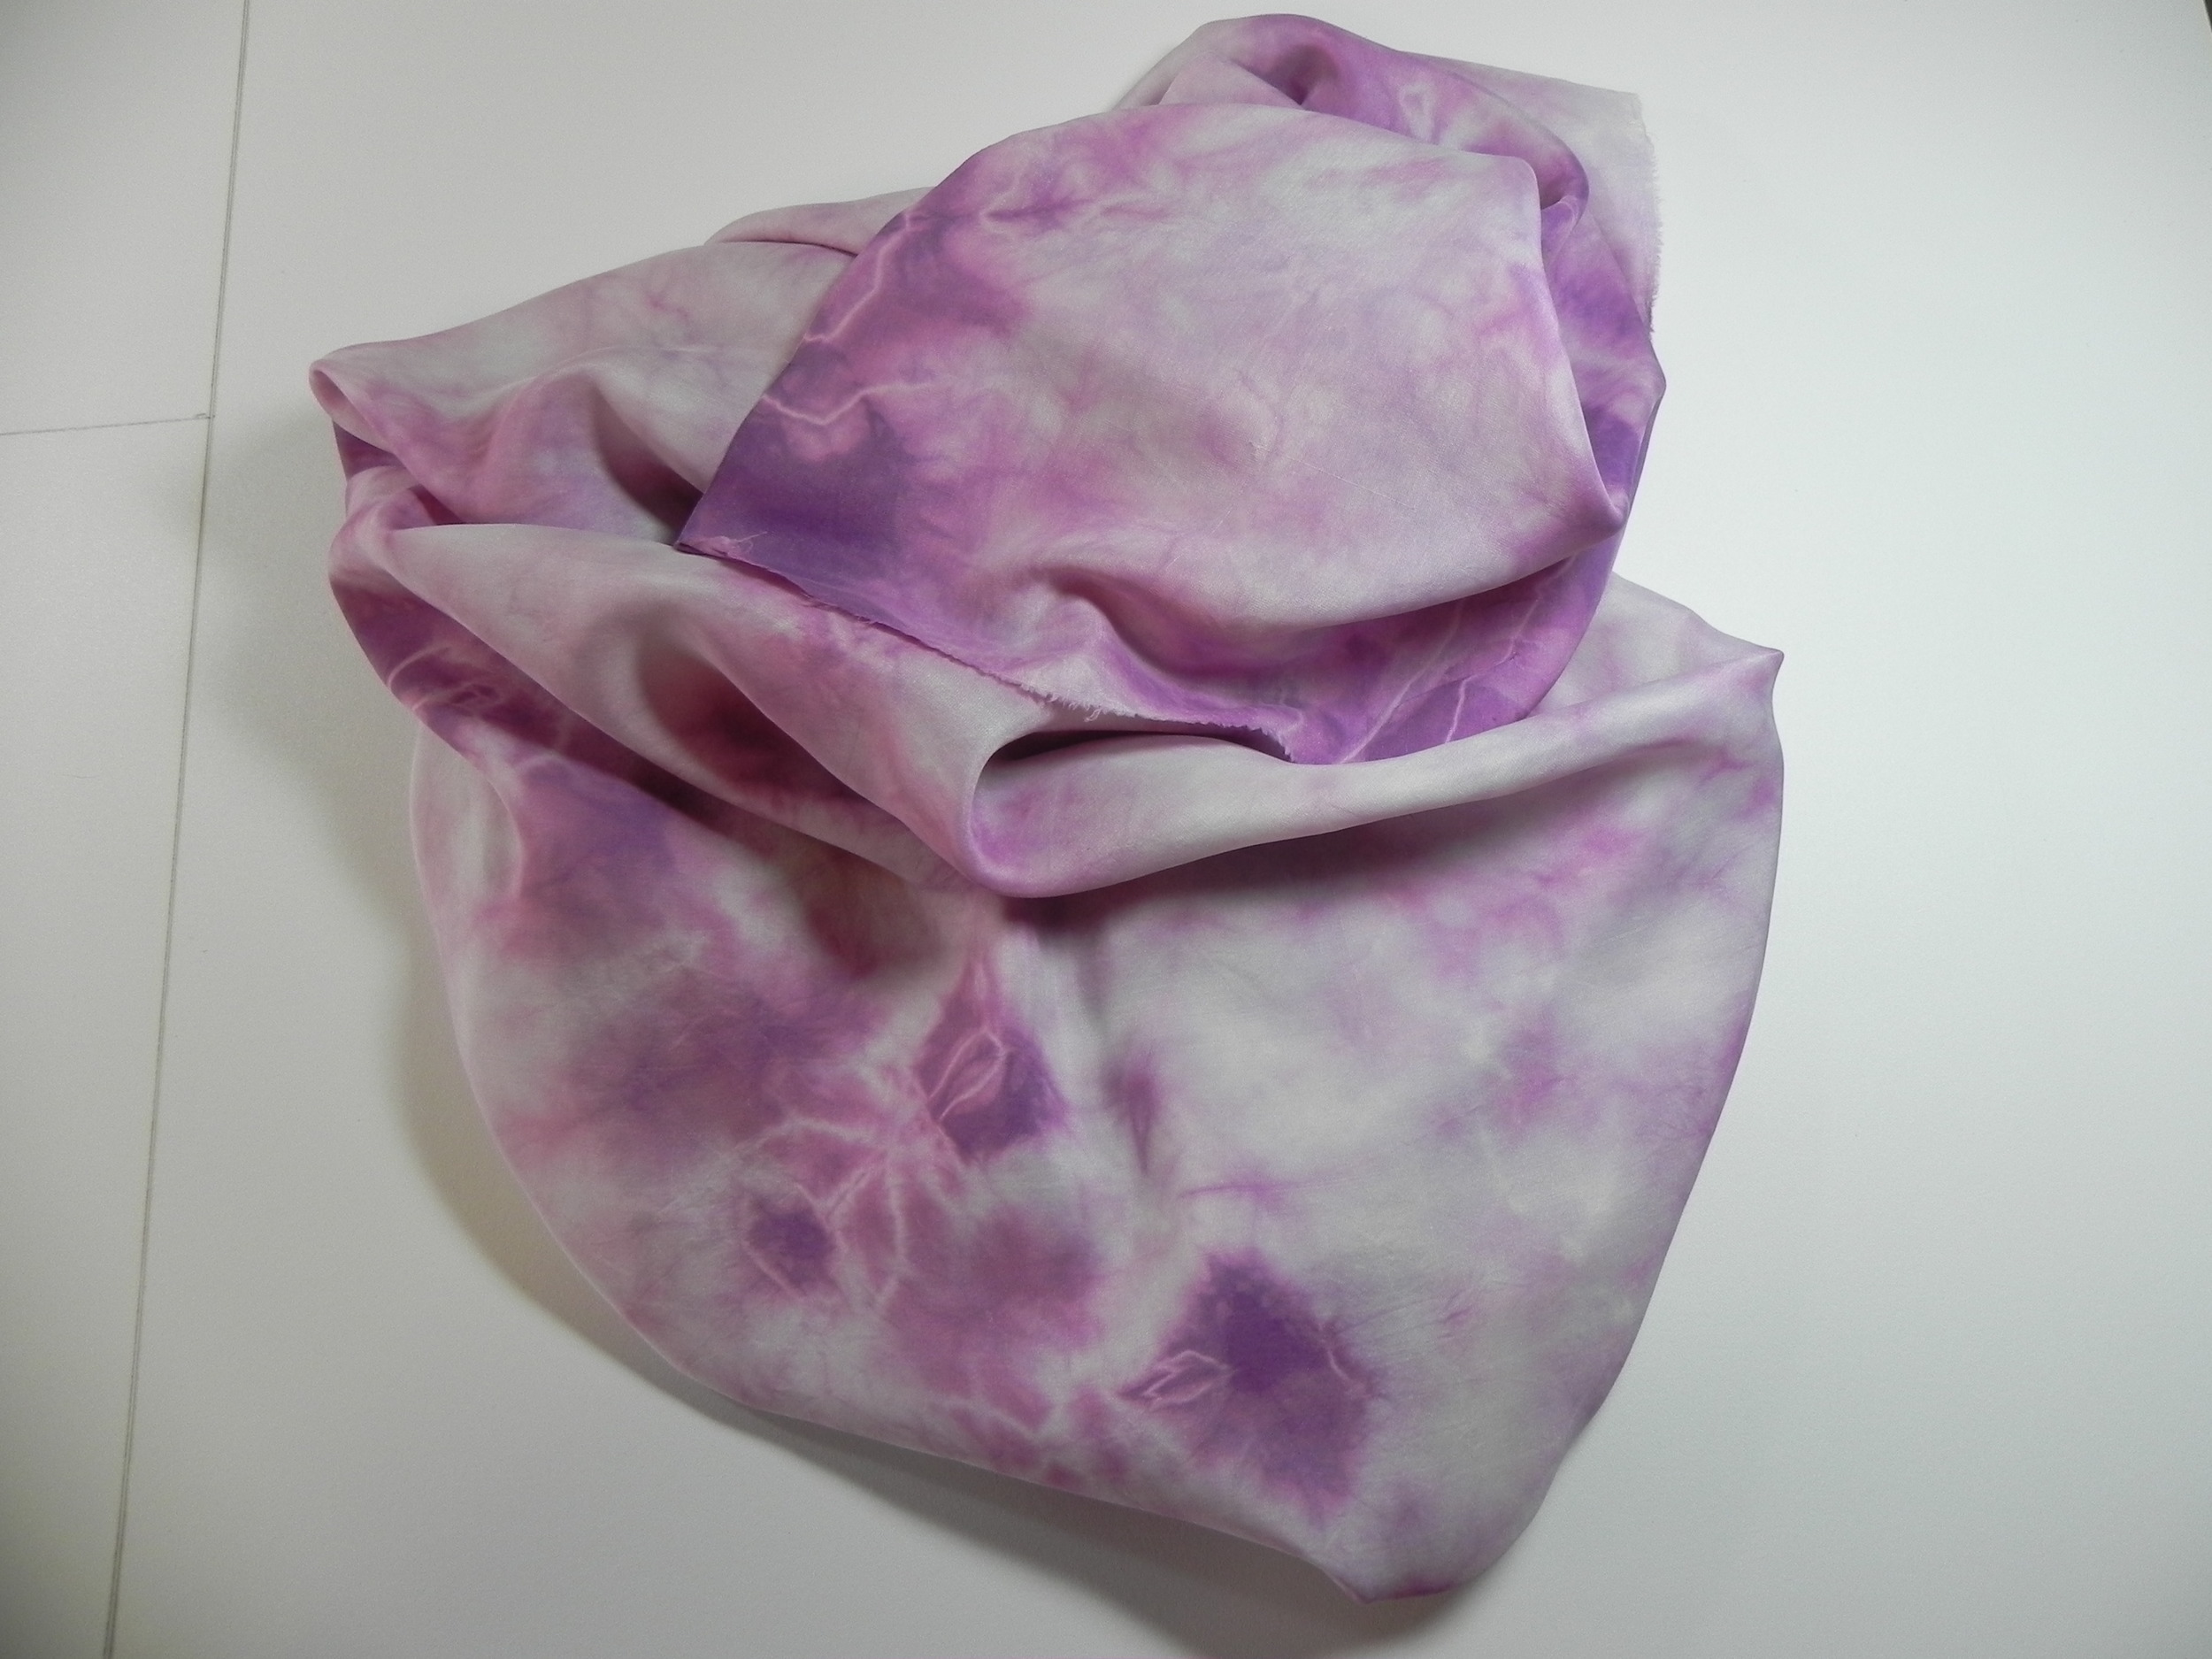
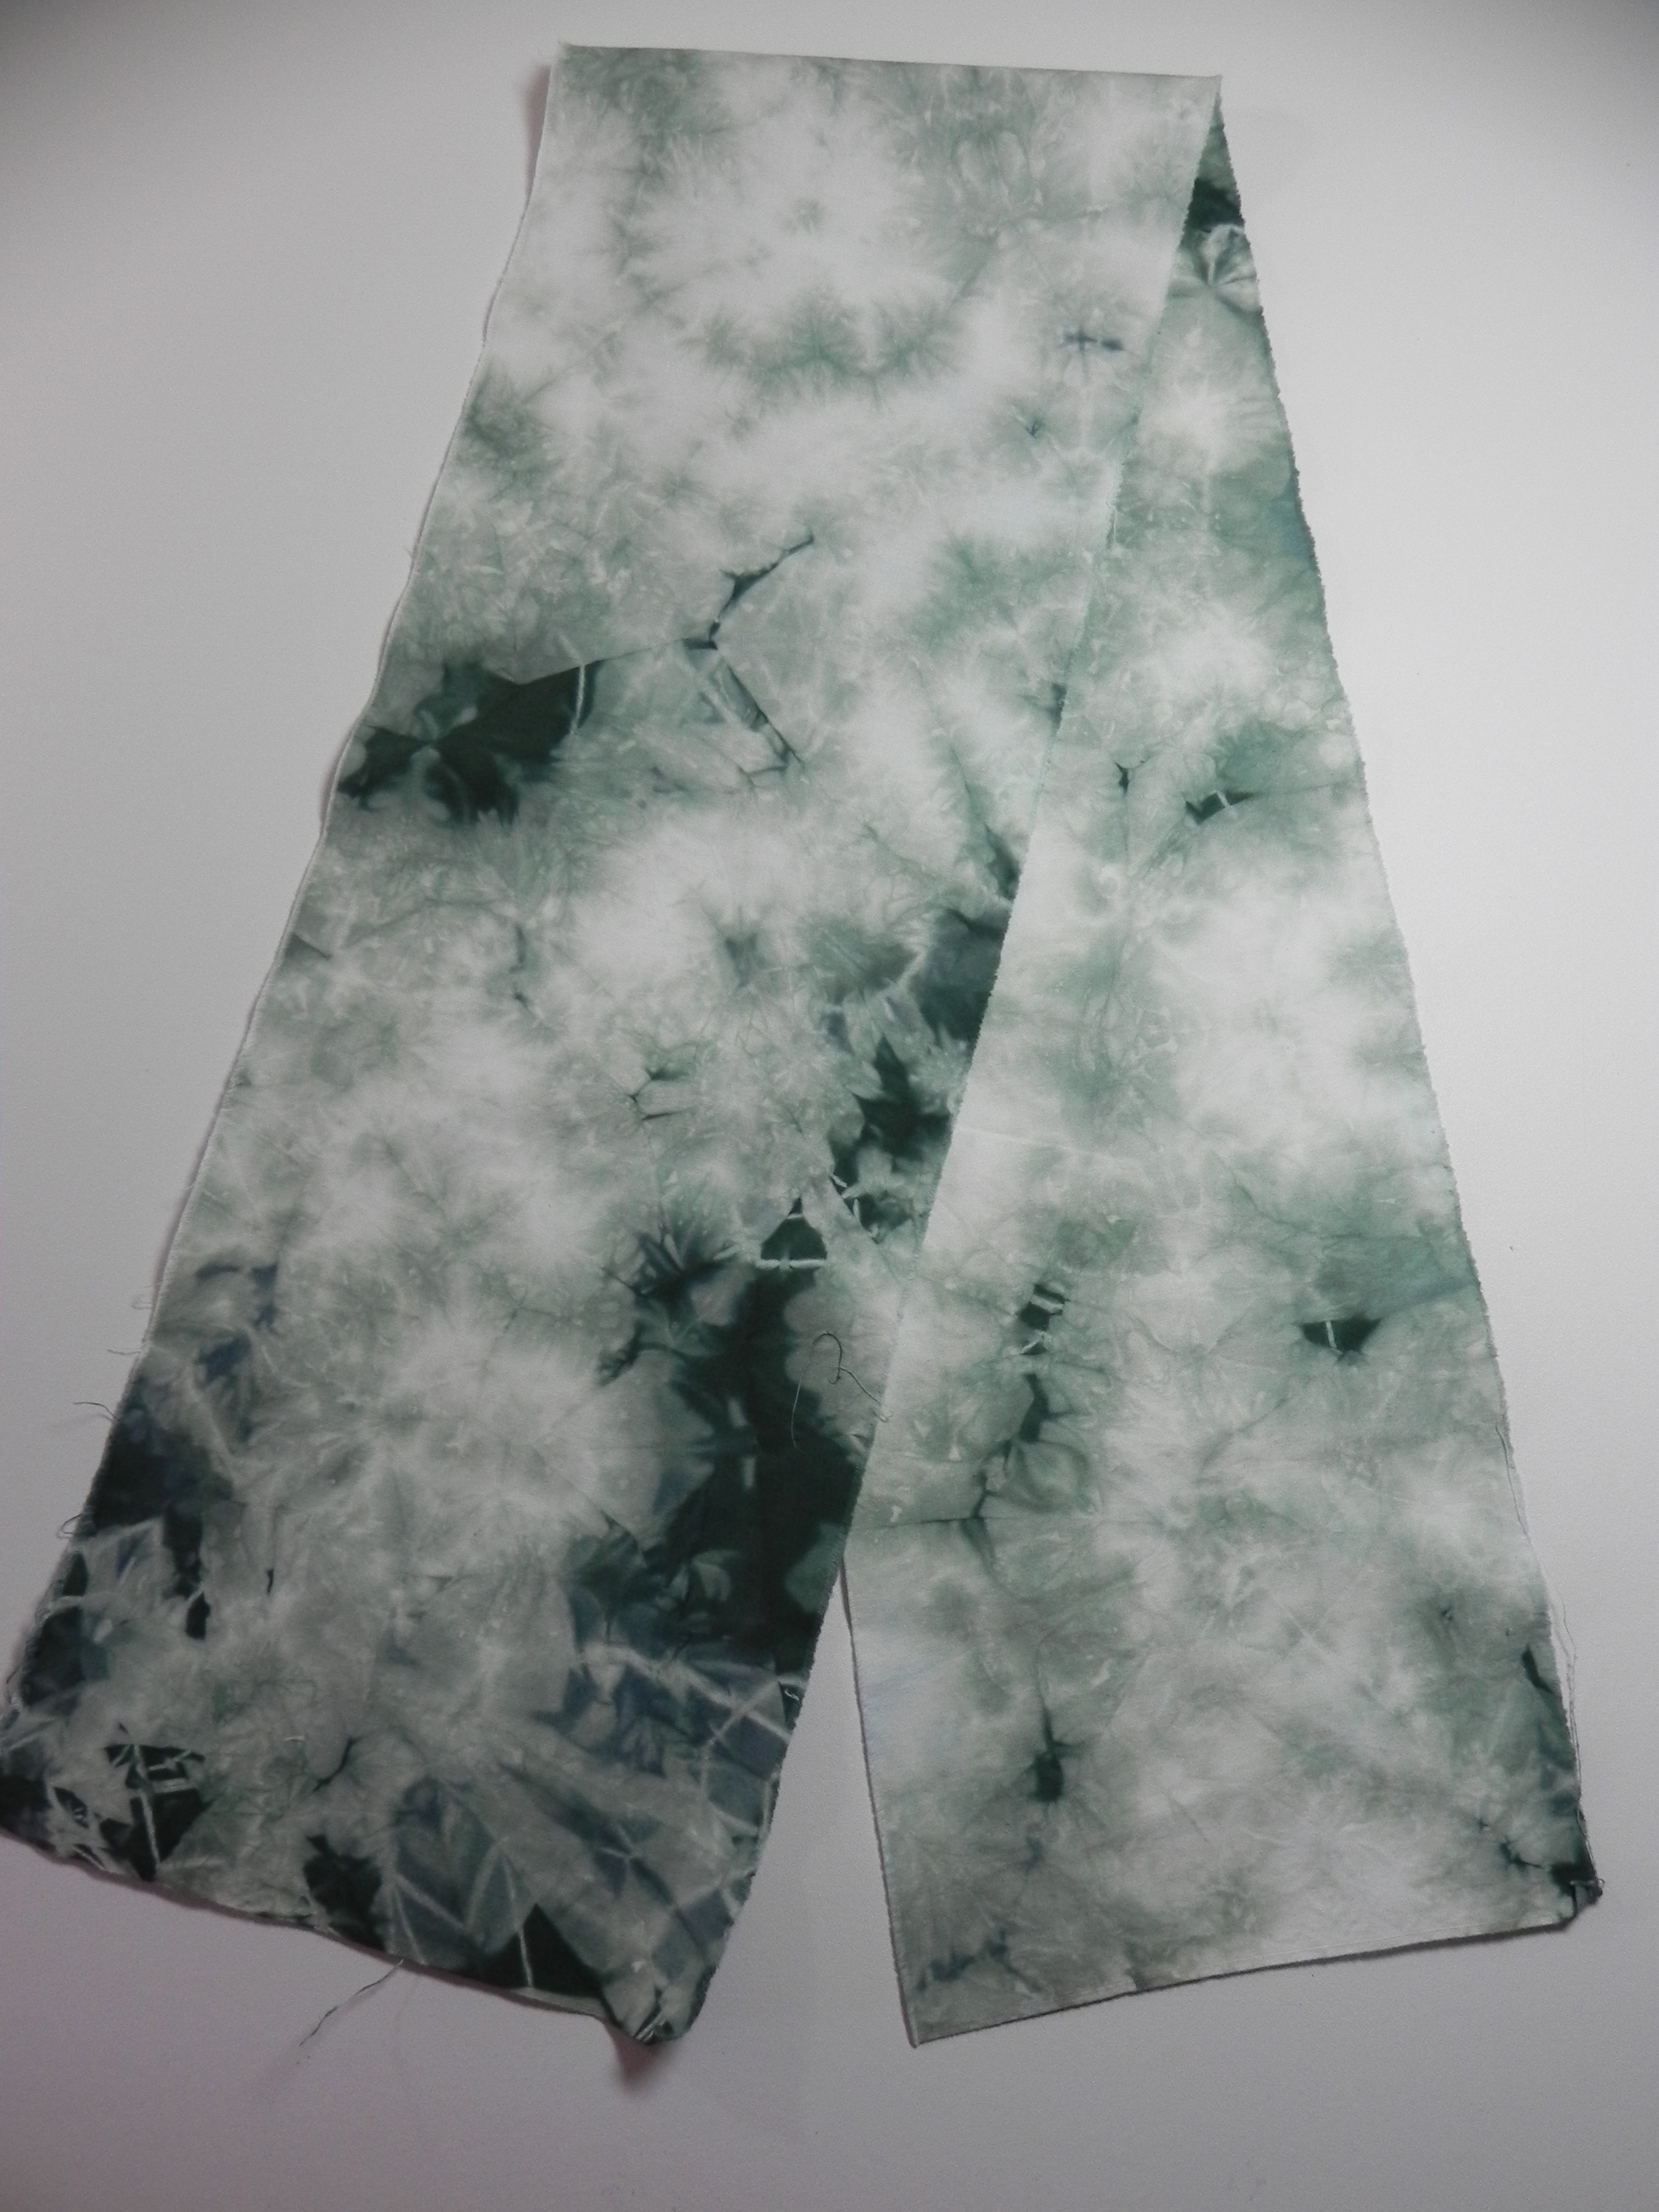
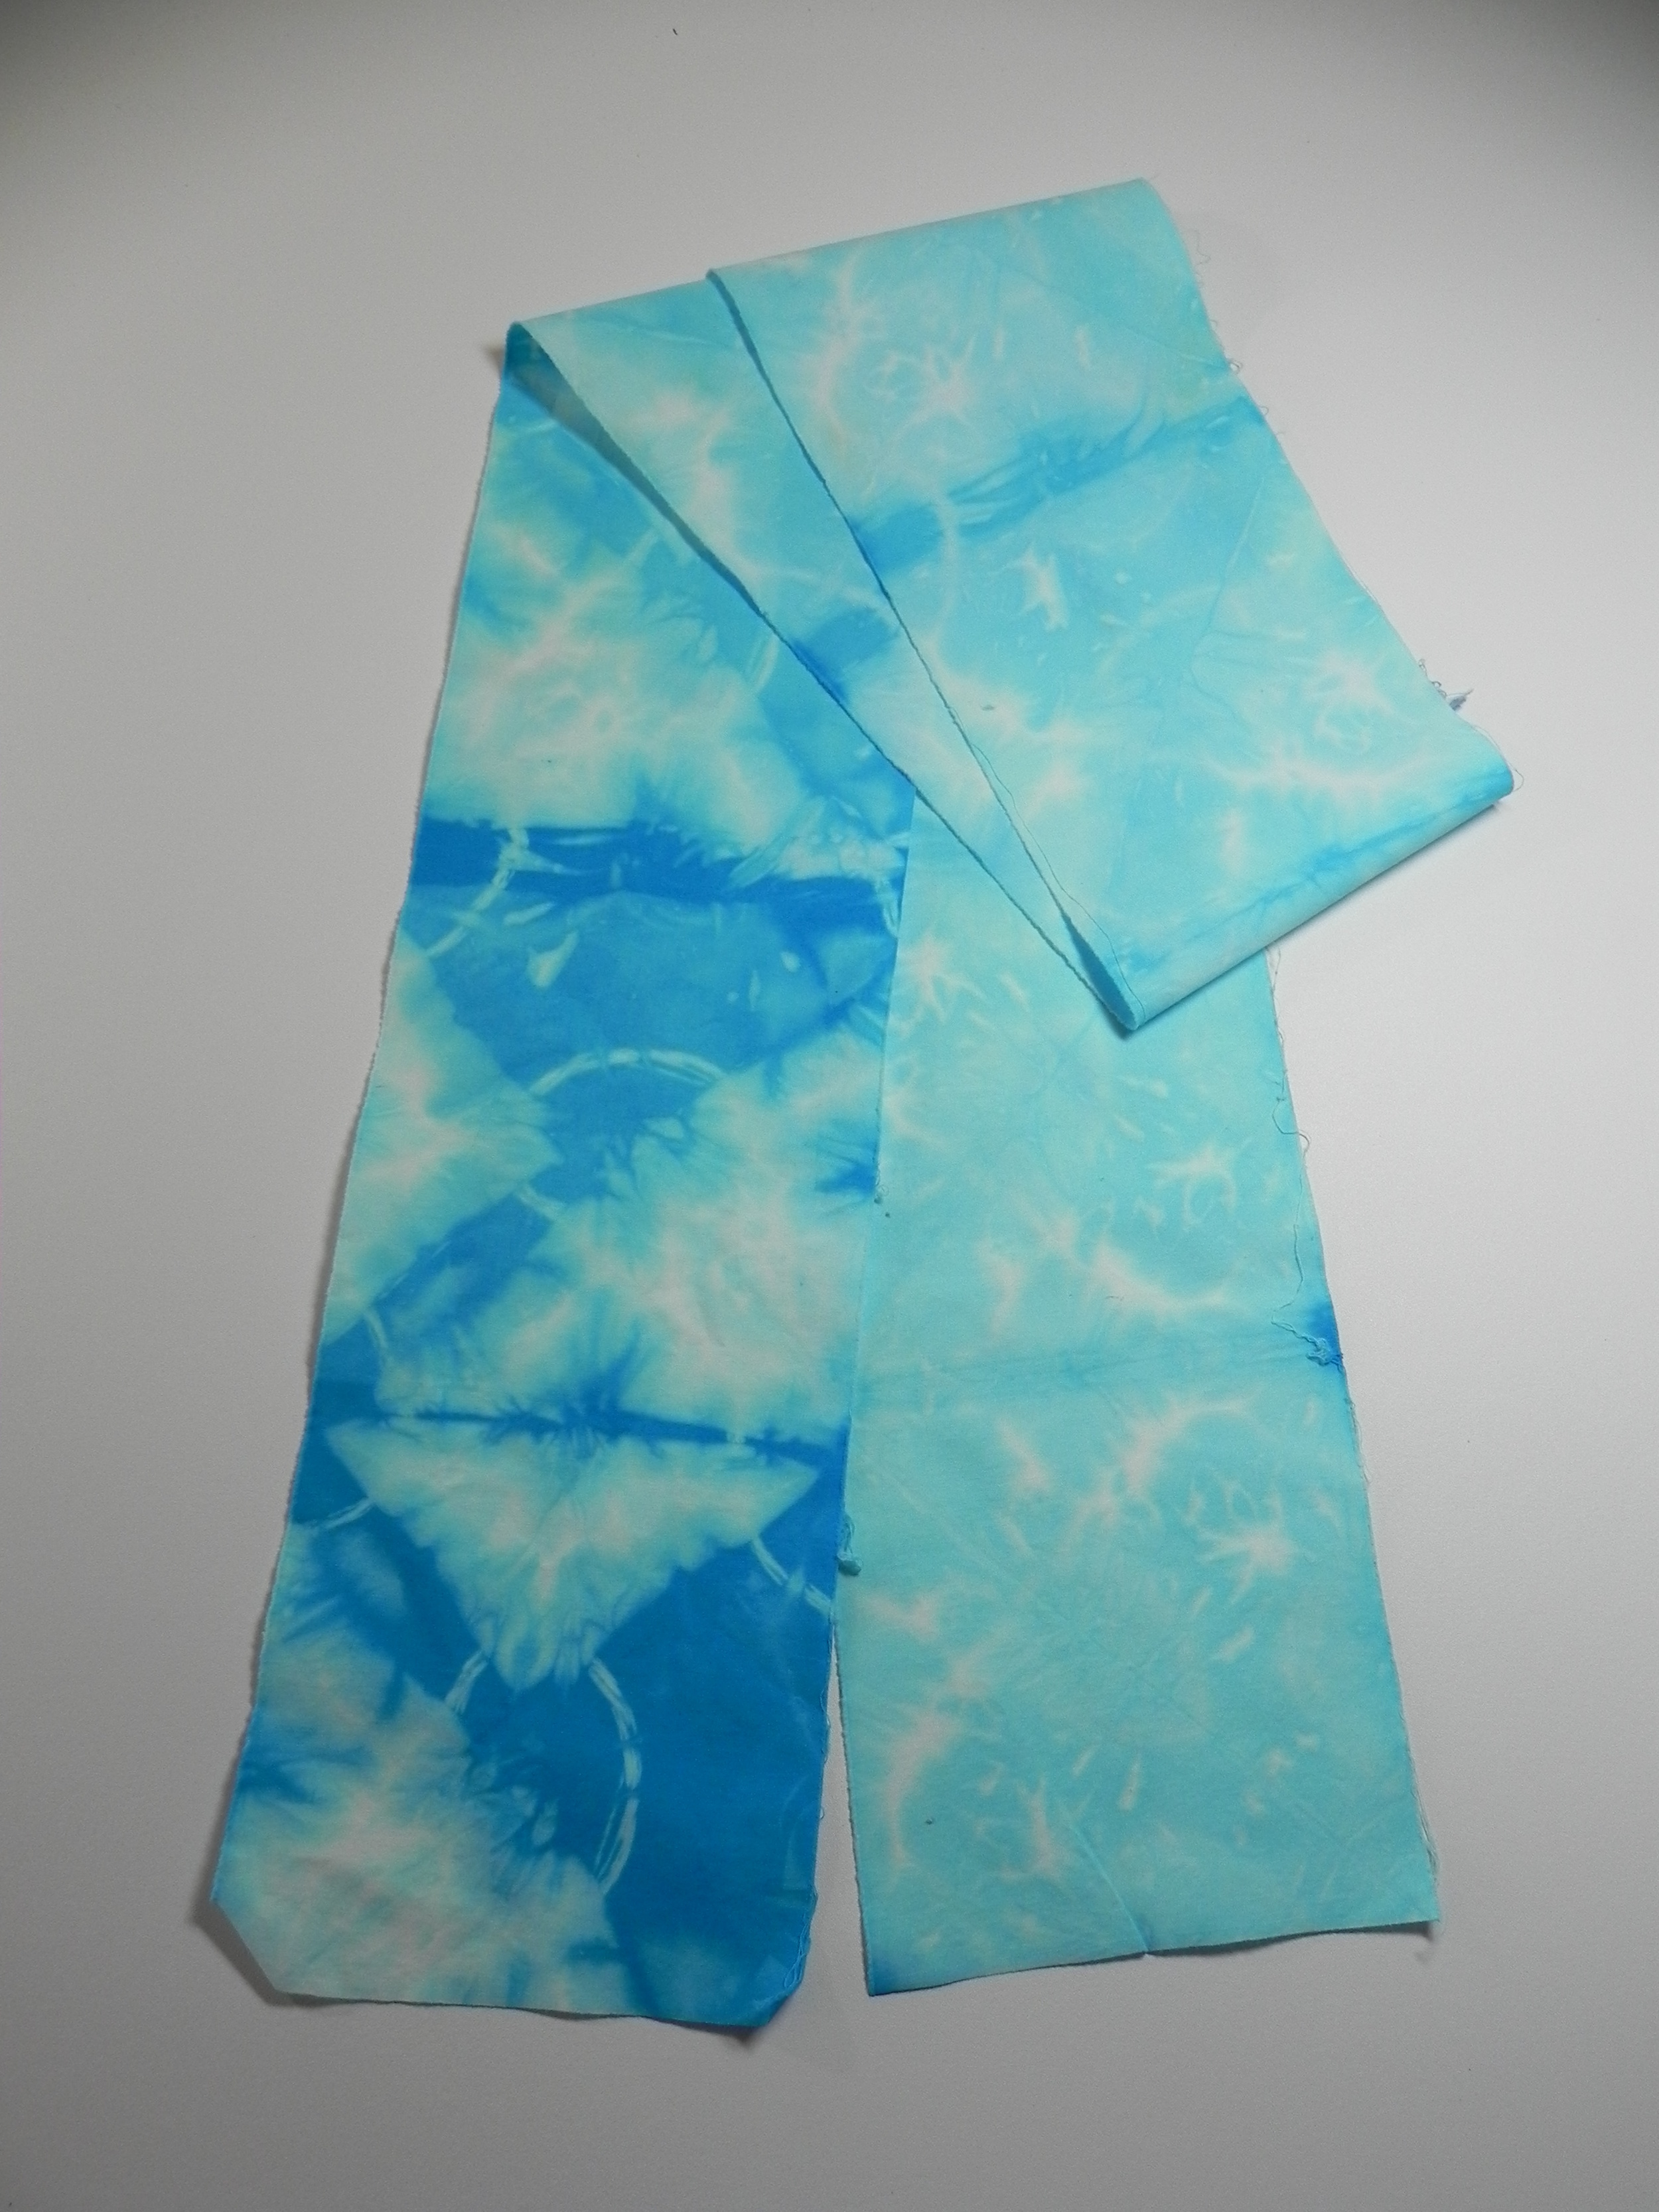
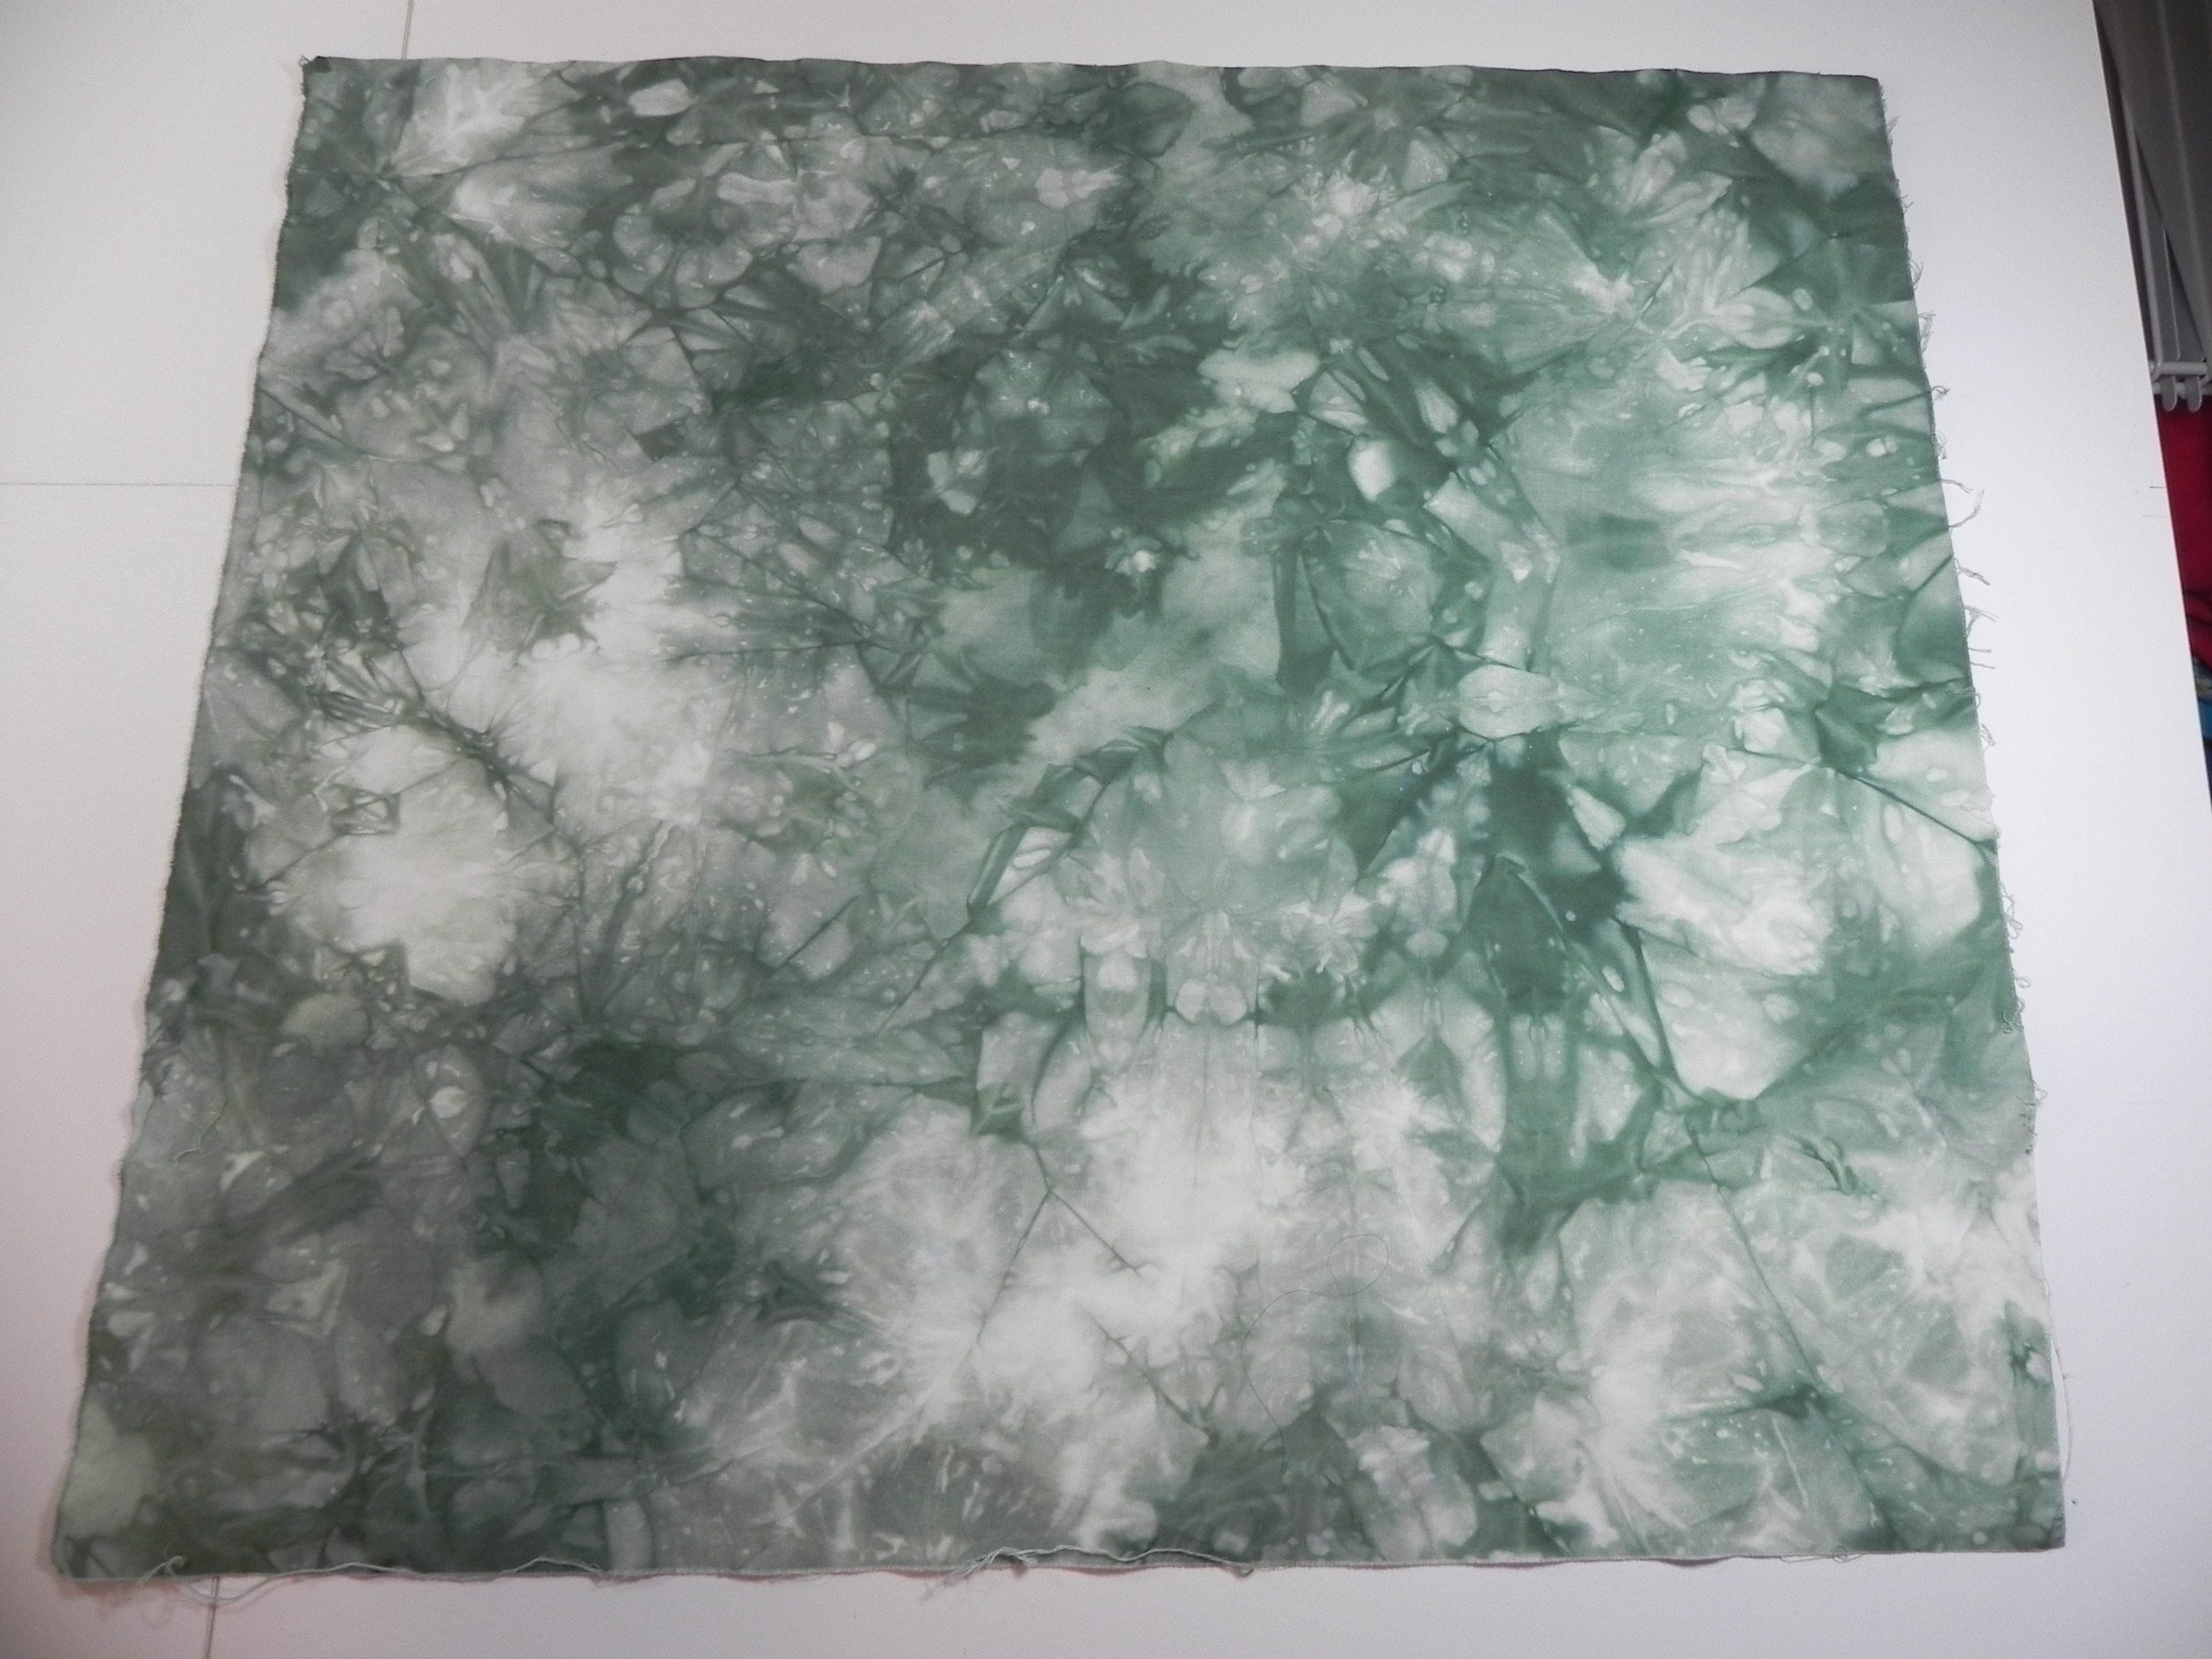
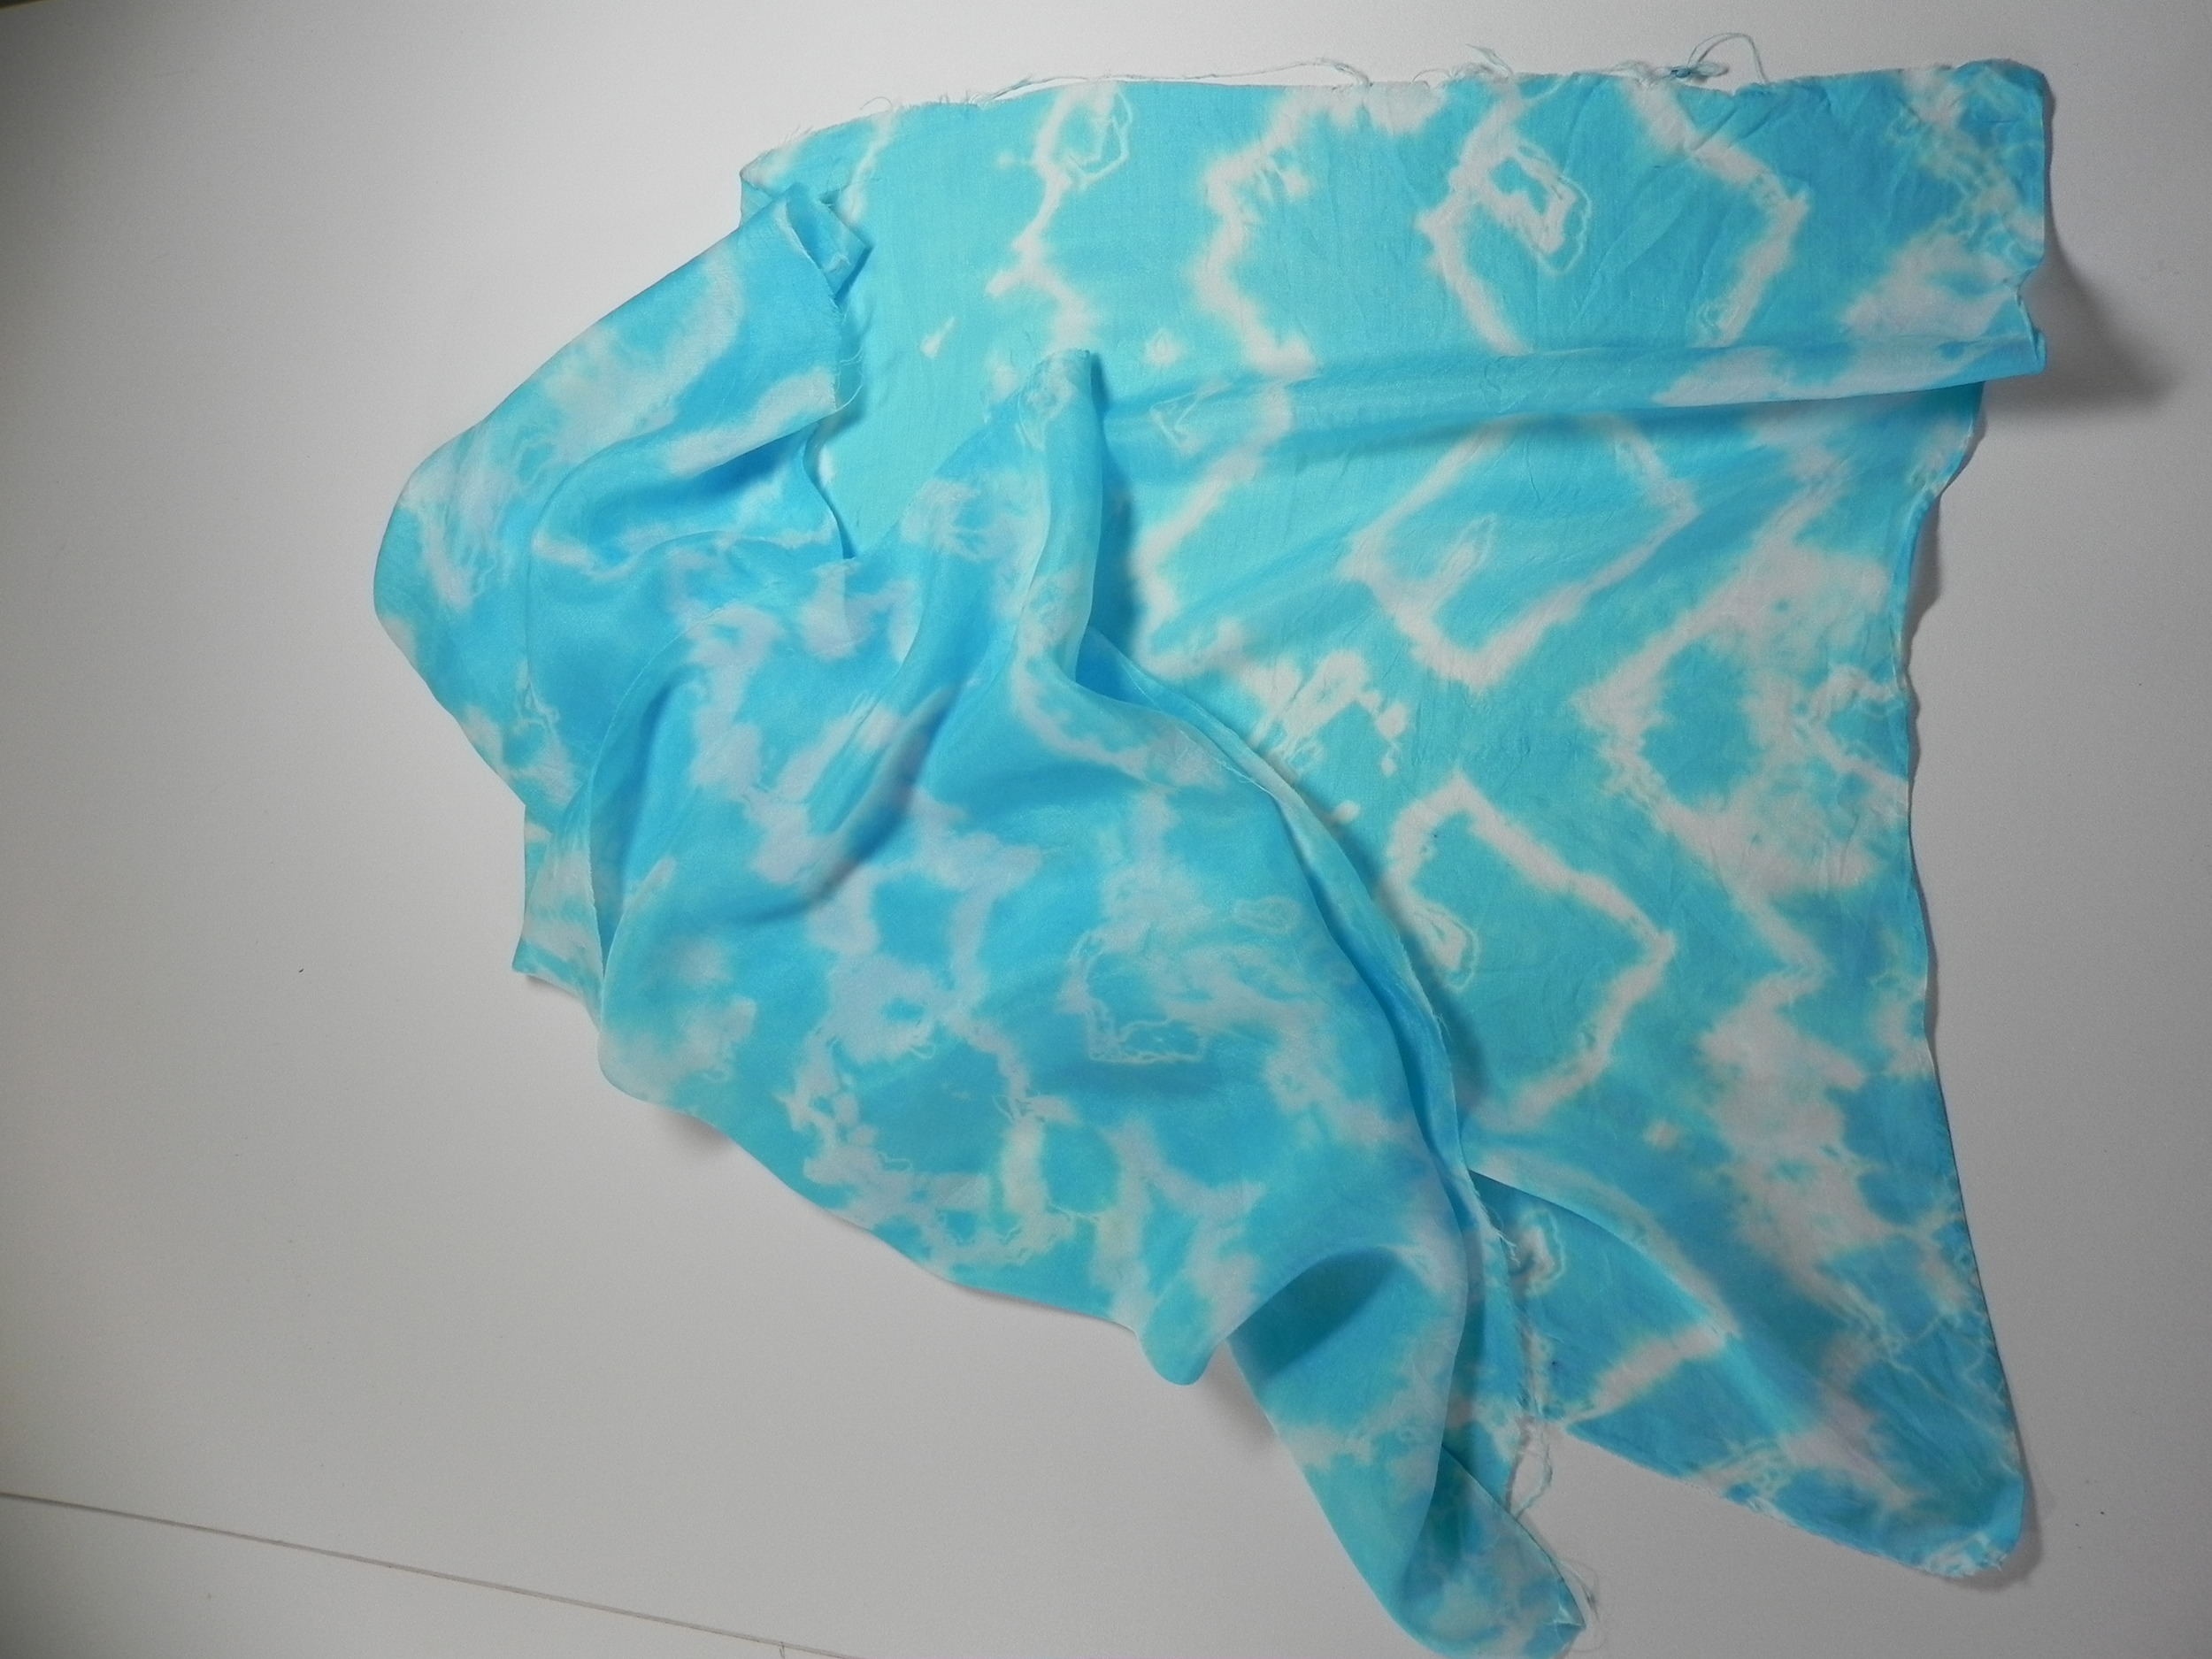
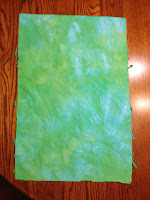
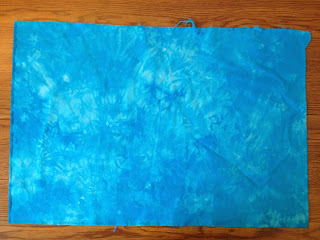
And then I did more of what I've come to call, my "tapestries." These are longer lengths that I dye flat in a bin. Well, "flat" being a relative term. I scrunch them up and so forth, but there's more surface area available to work with. For the most part, I see myself leaving these as full, long pieces--not cutting into smaller bits. But we'll see-- a couple of these might lend themselves well to being cut, but mostly I love the size of them.

All of the newer tapestries. (See my last hand-dyed post for my first two.)
Okay, sure--you wanna see those a little closer? I do!

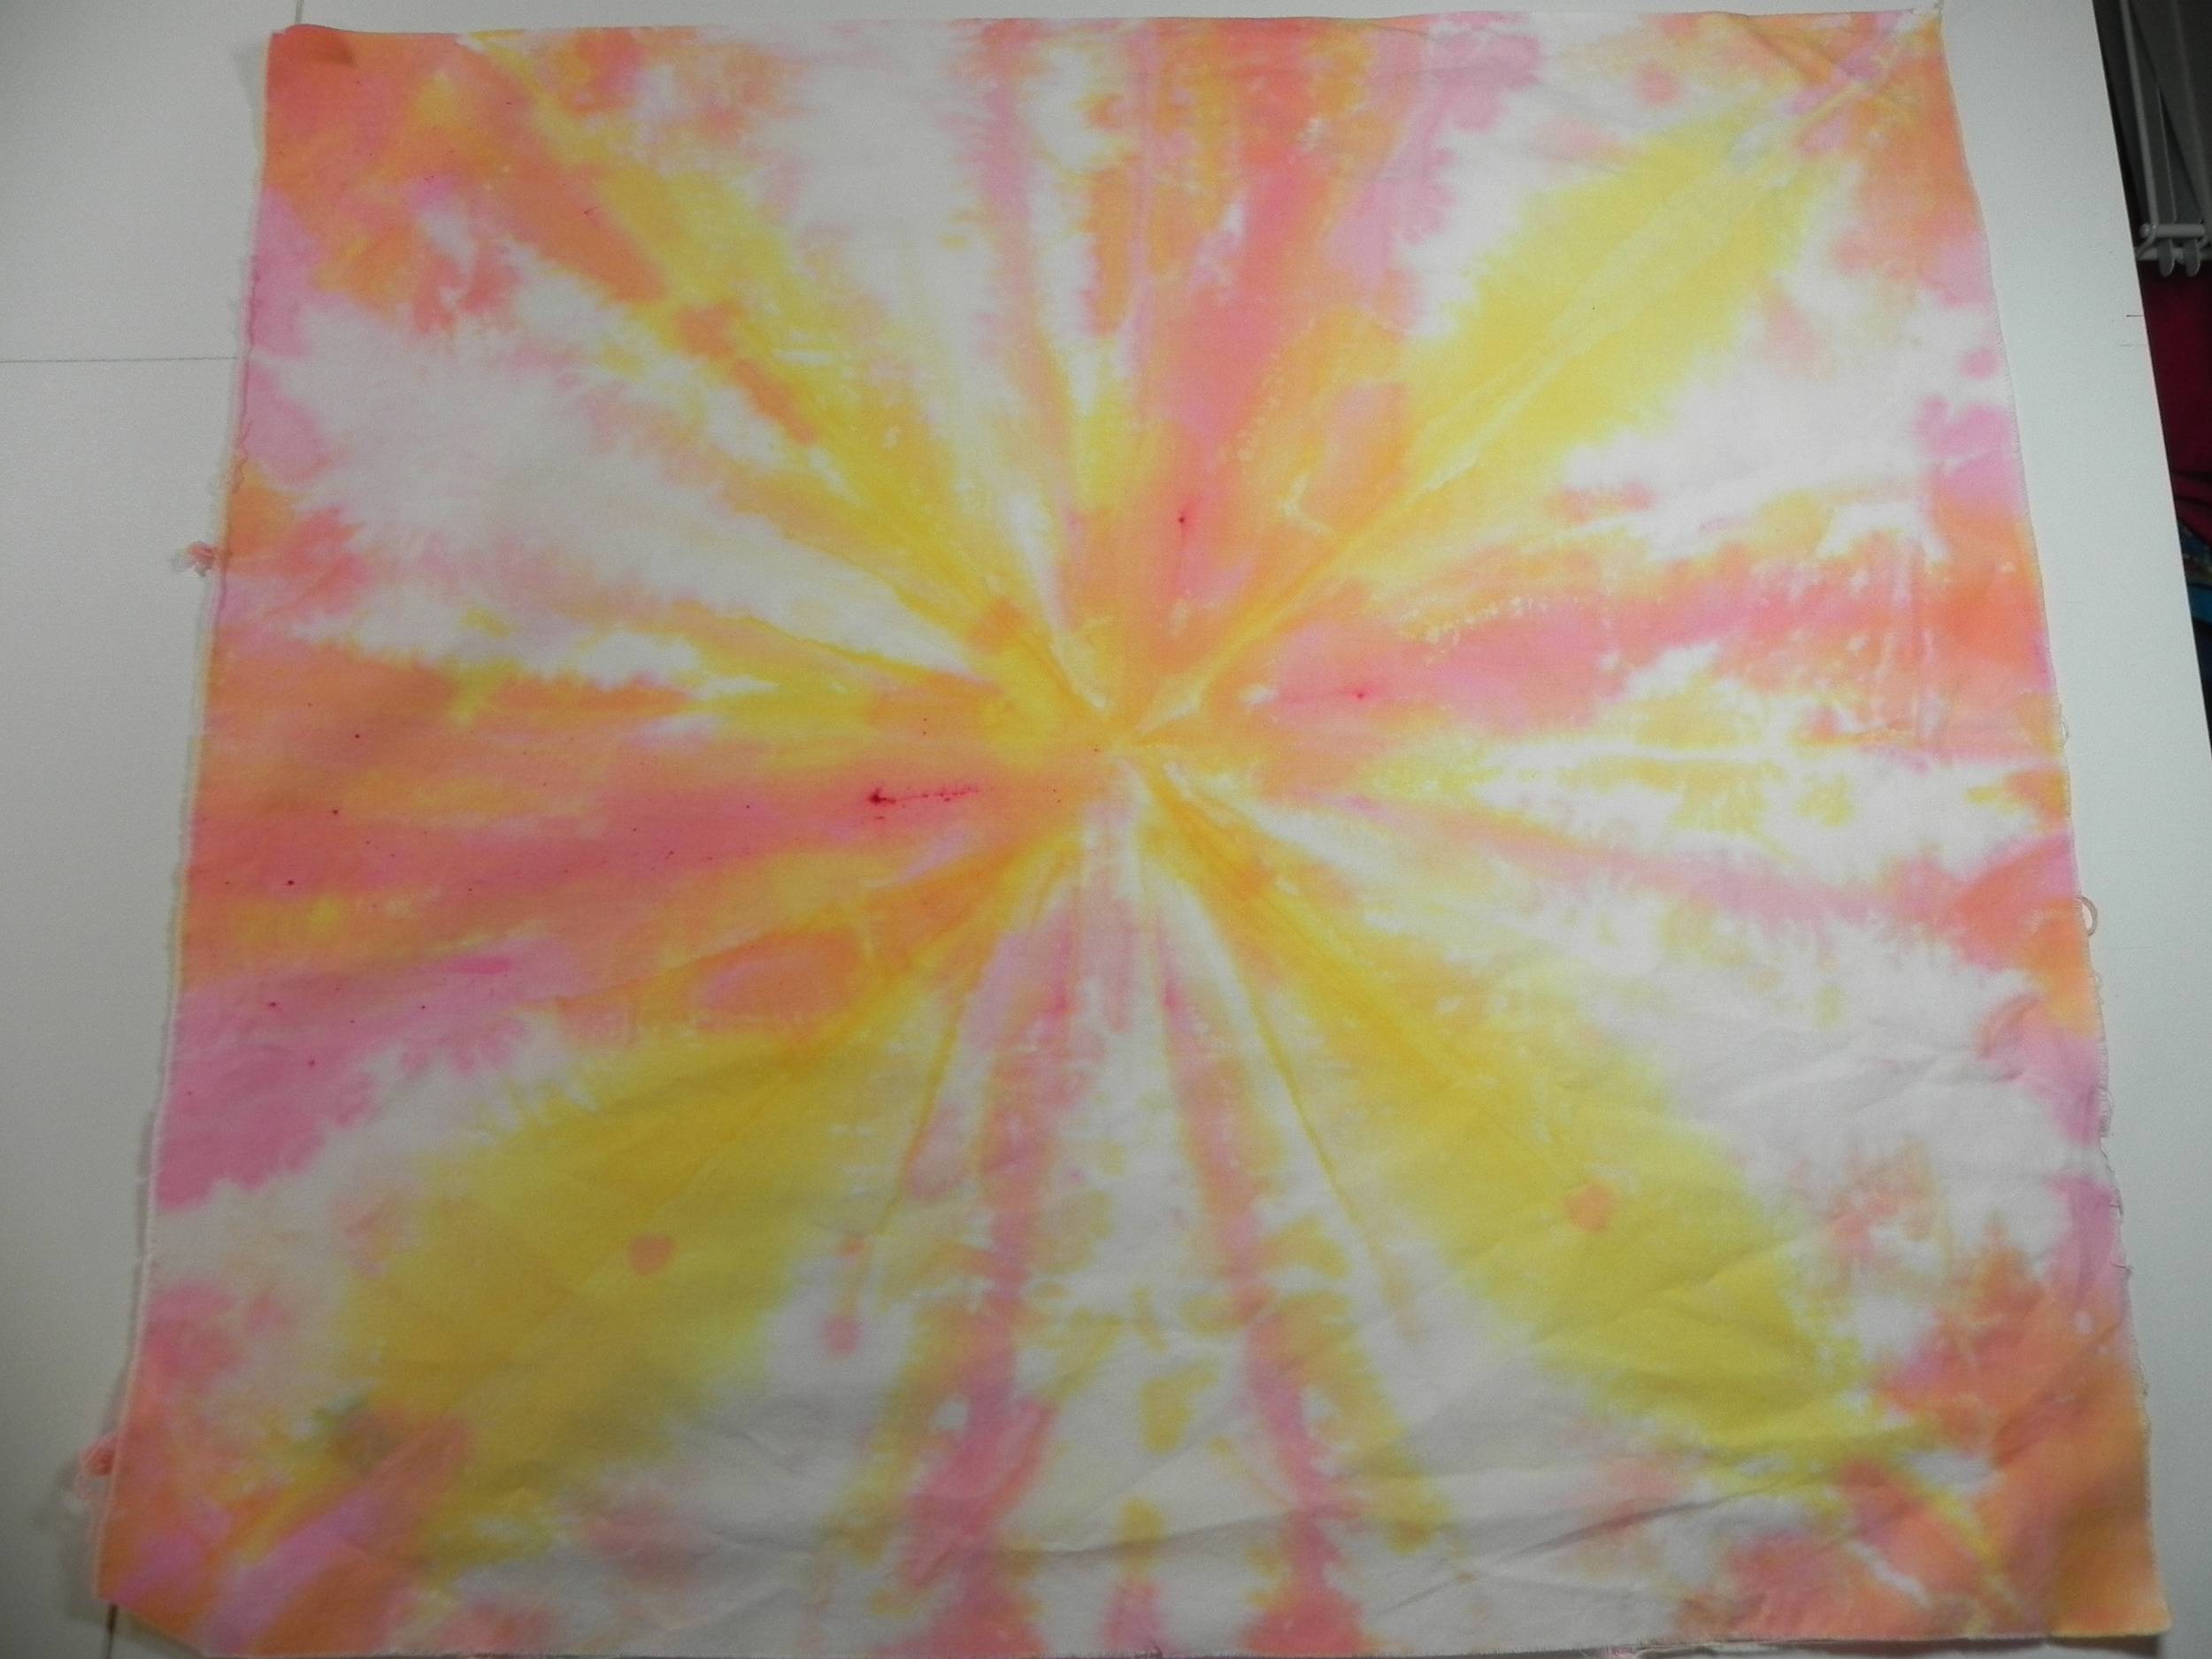
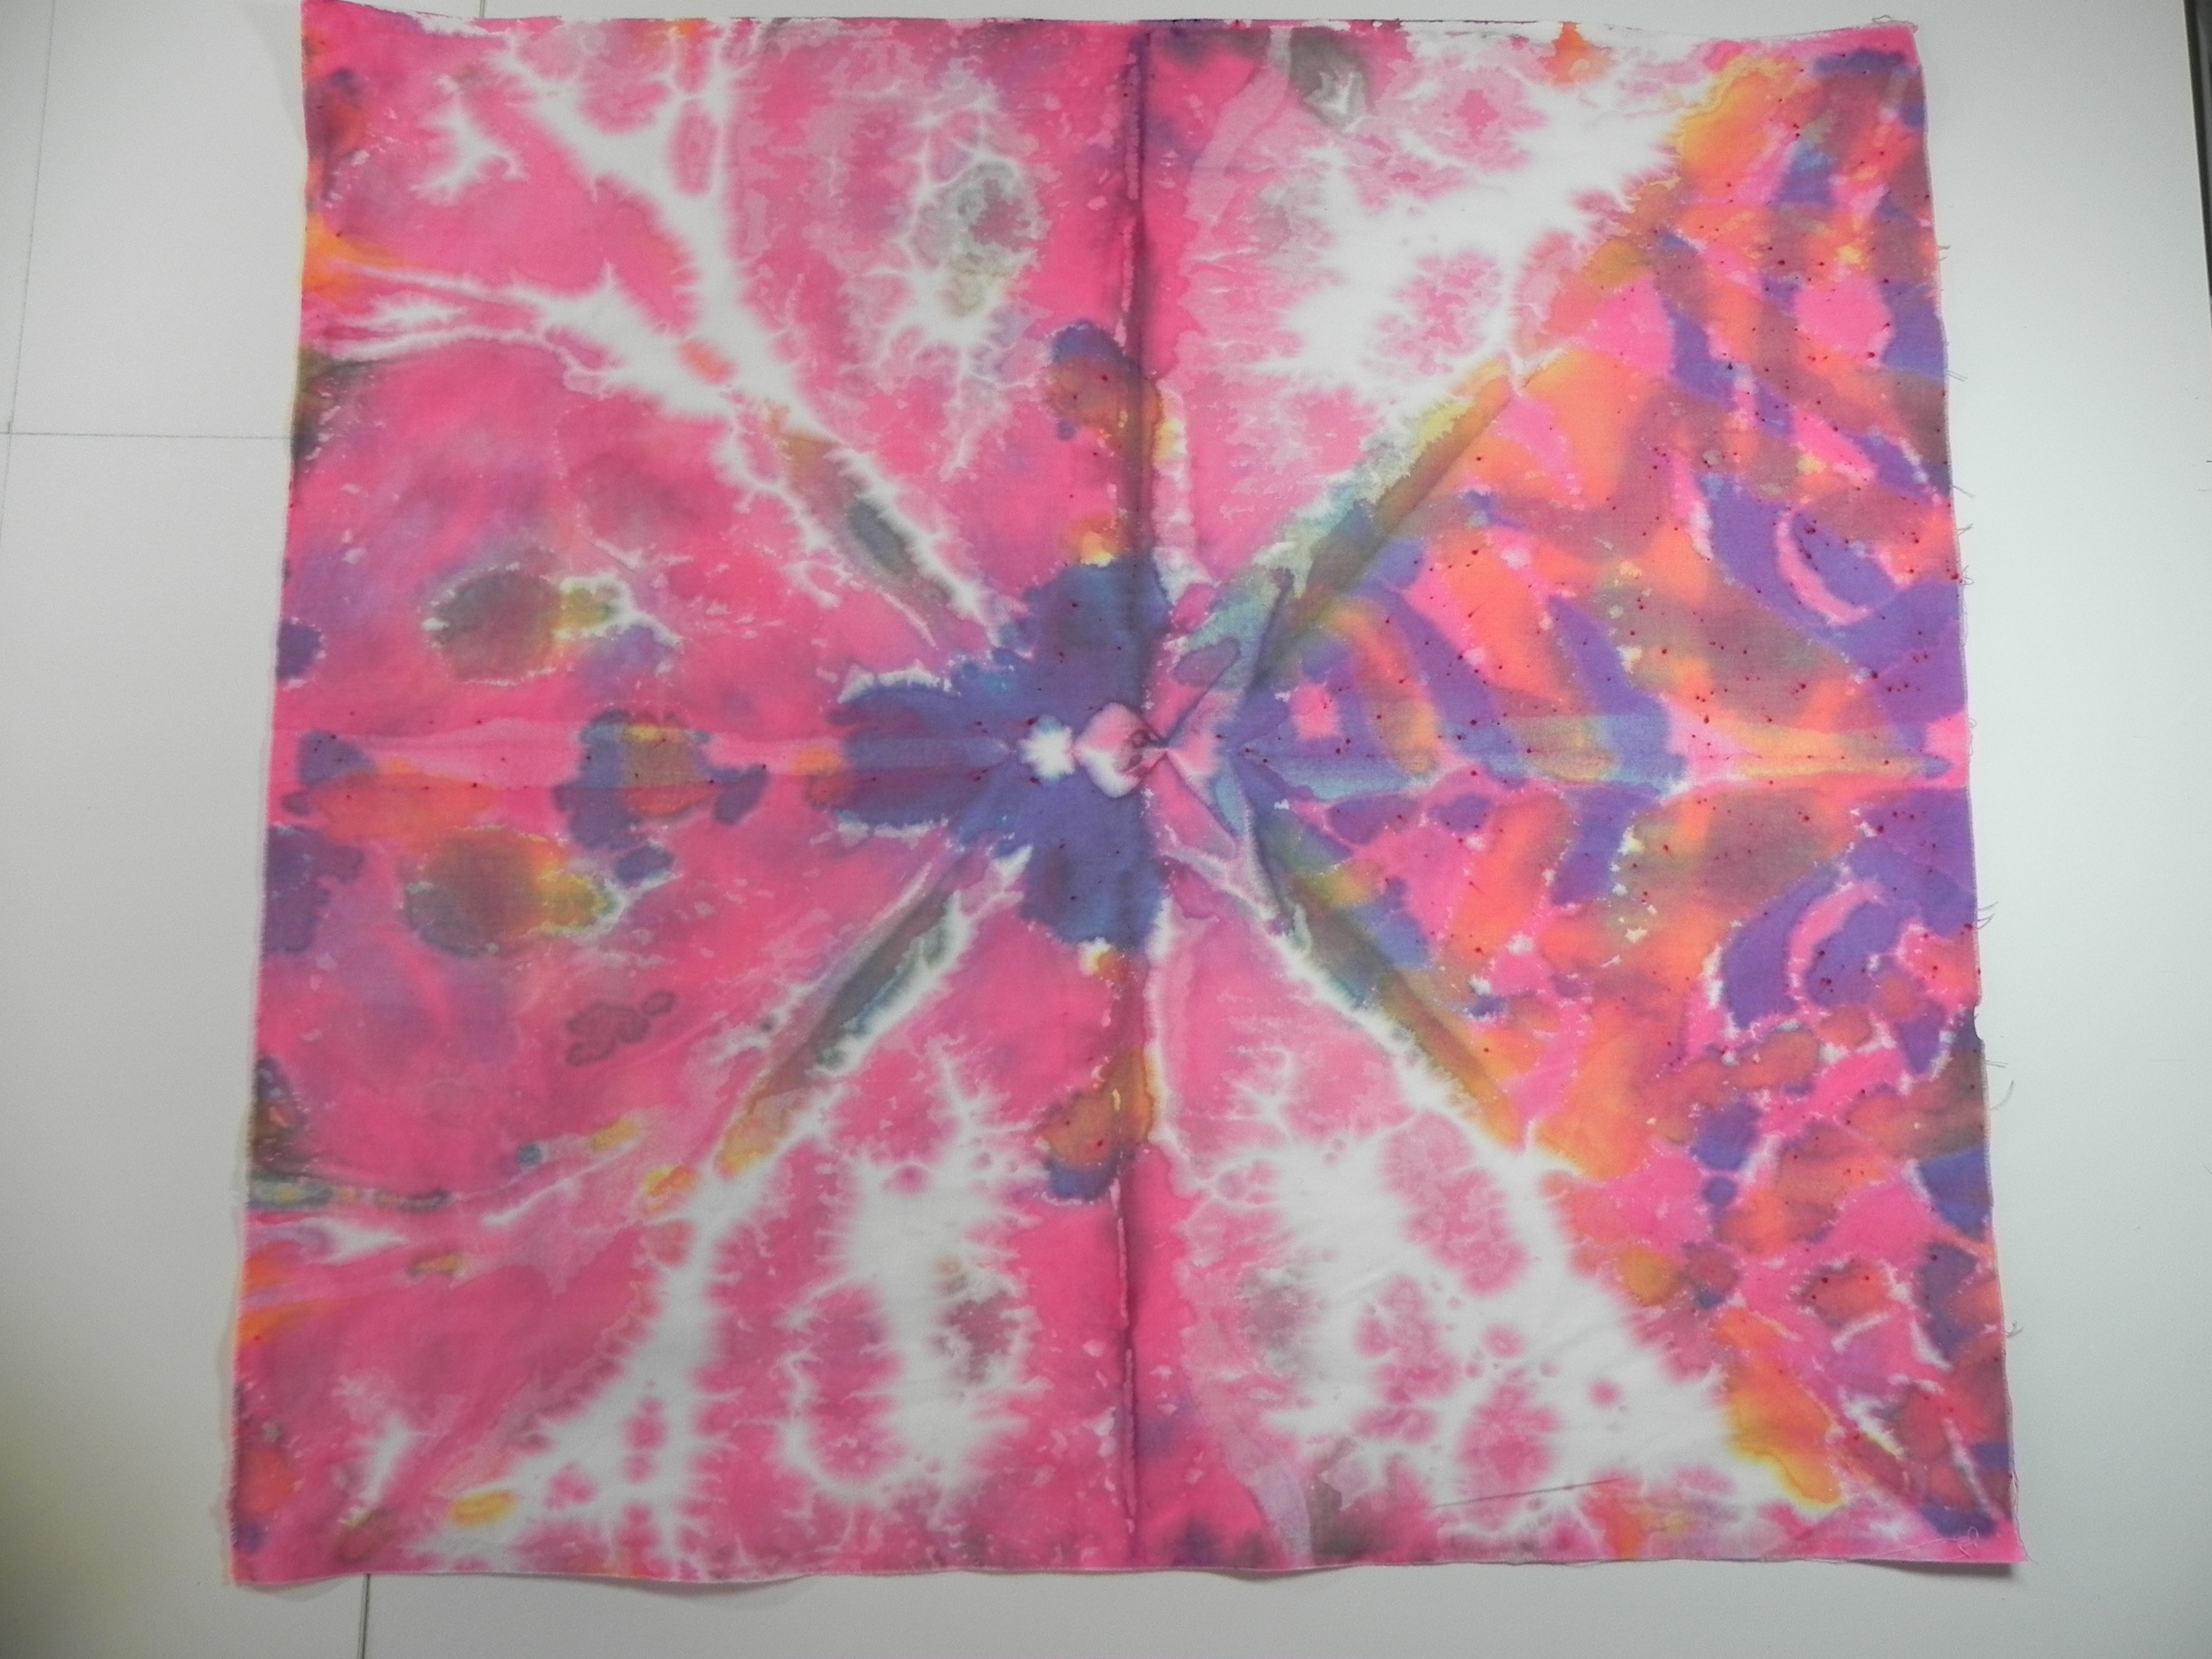
Tapestry 1 (Fuschia, Lemon Yellow, Red)

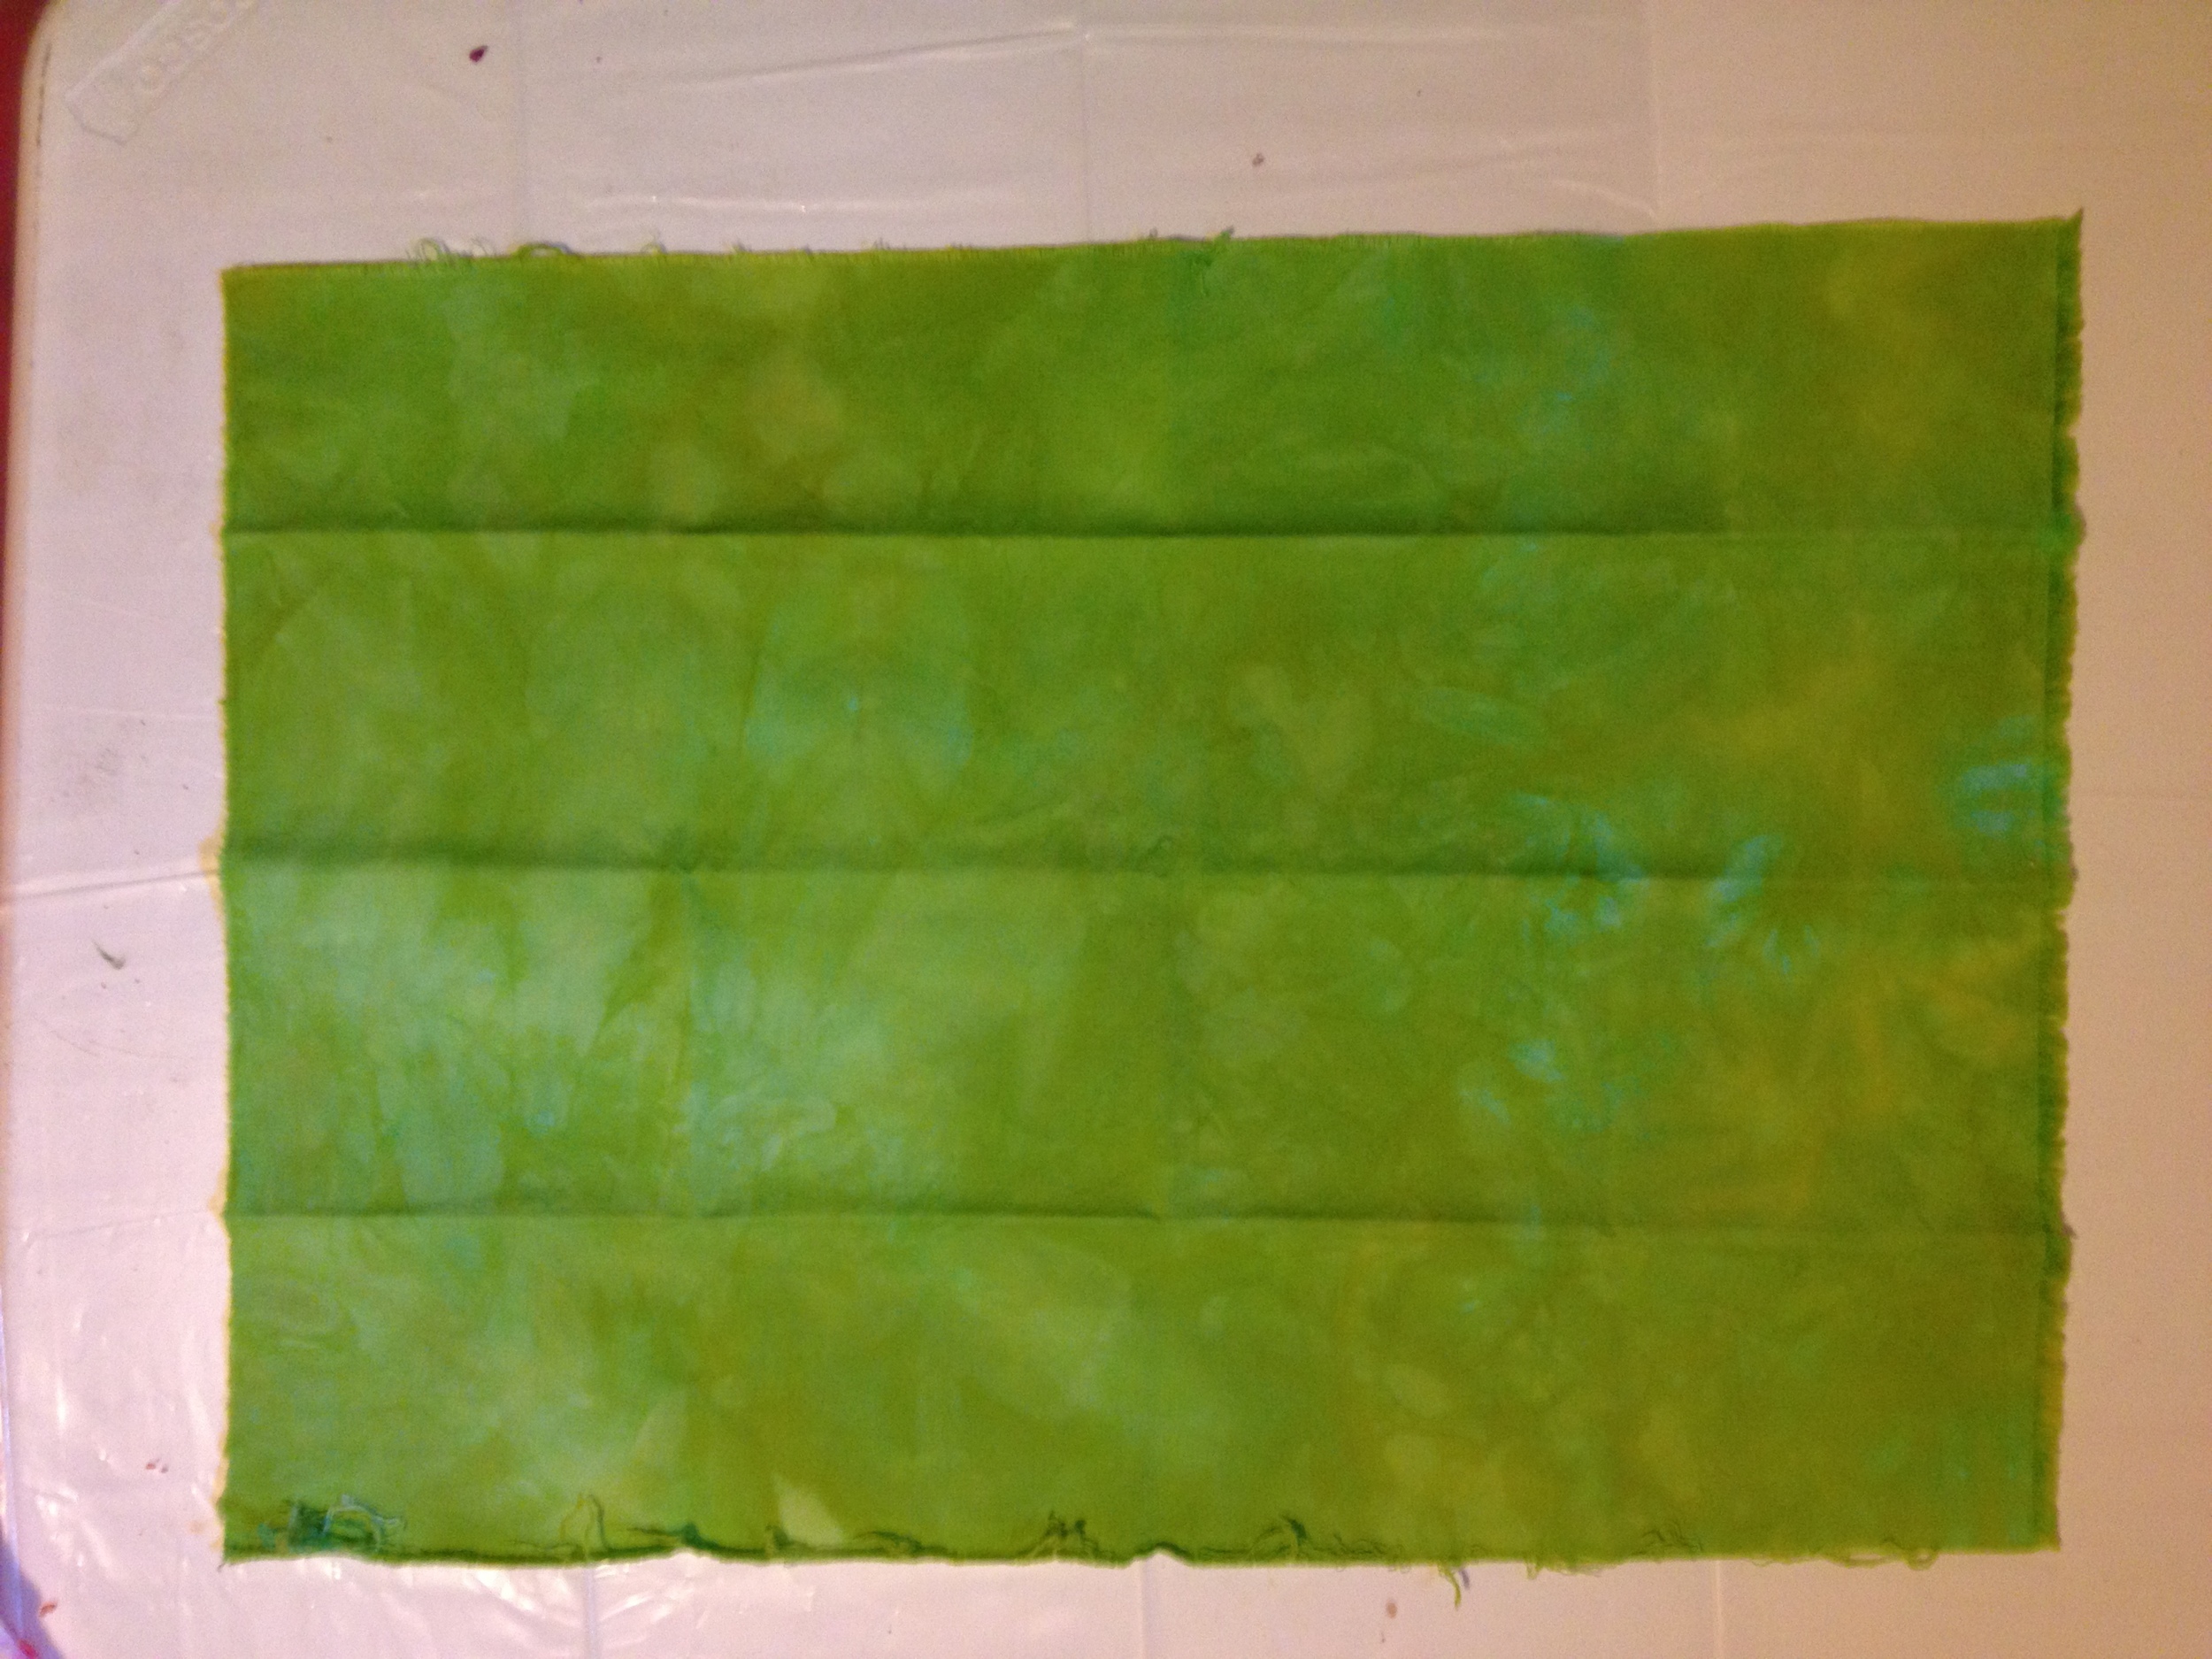
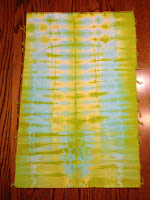
Turquoise, Red, Golden Yellow, dyed sideways instead of top-to-bottom.
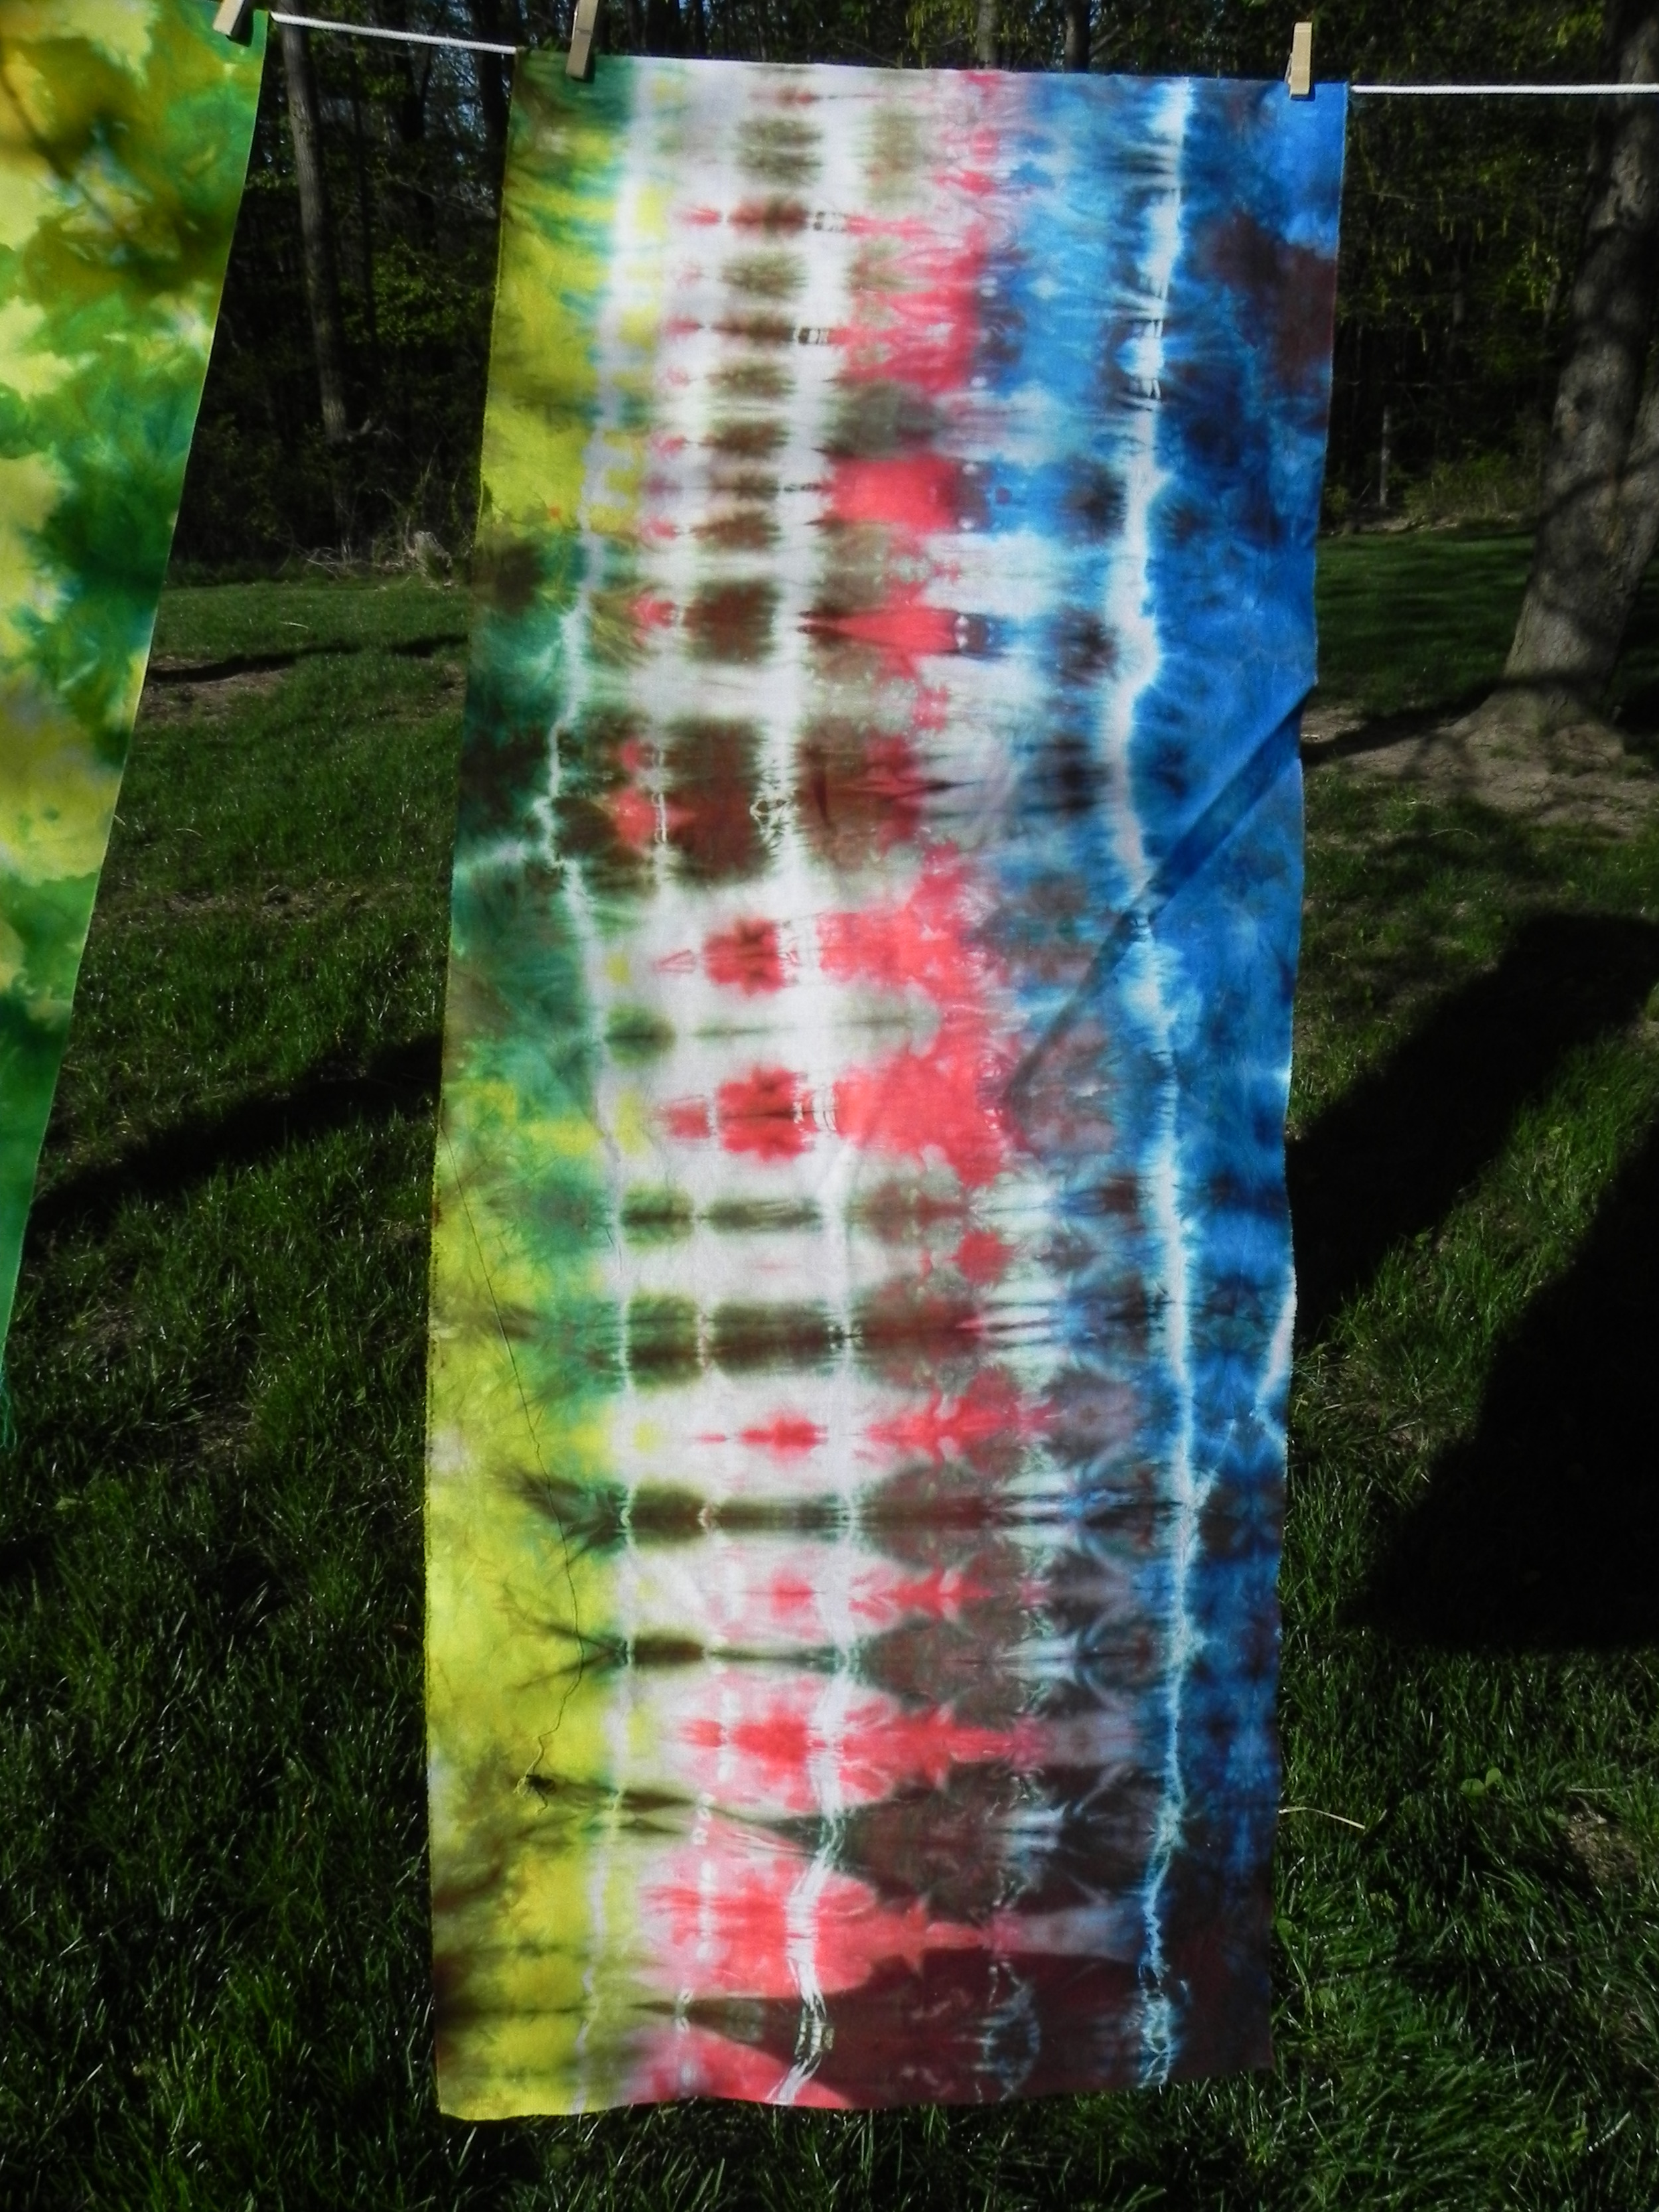
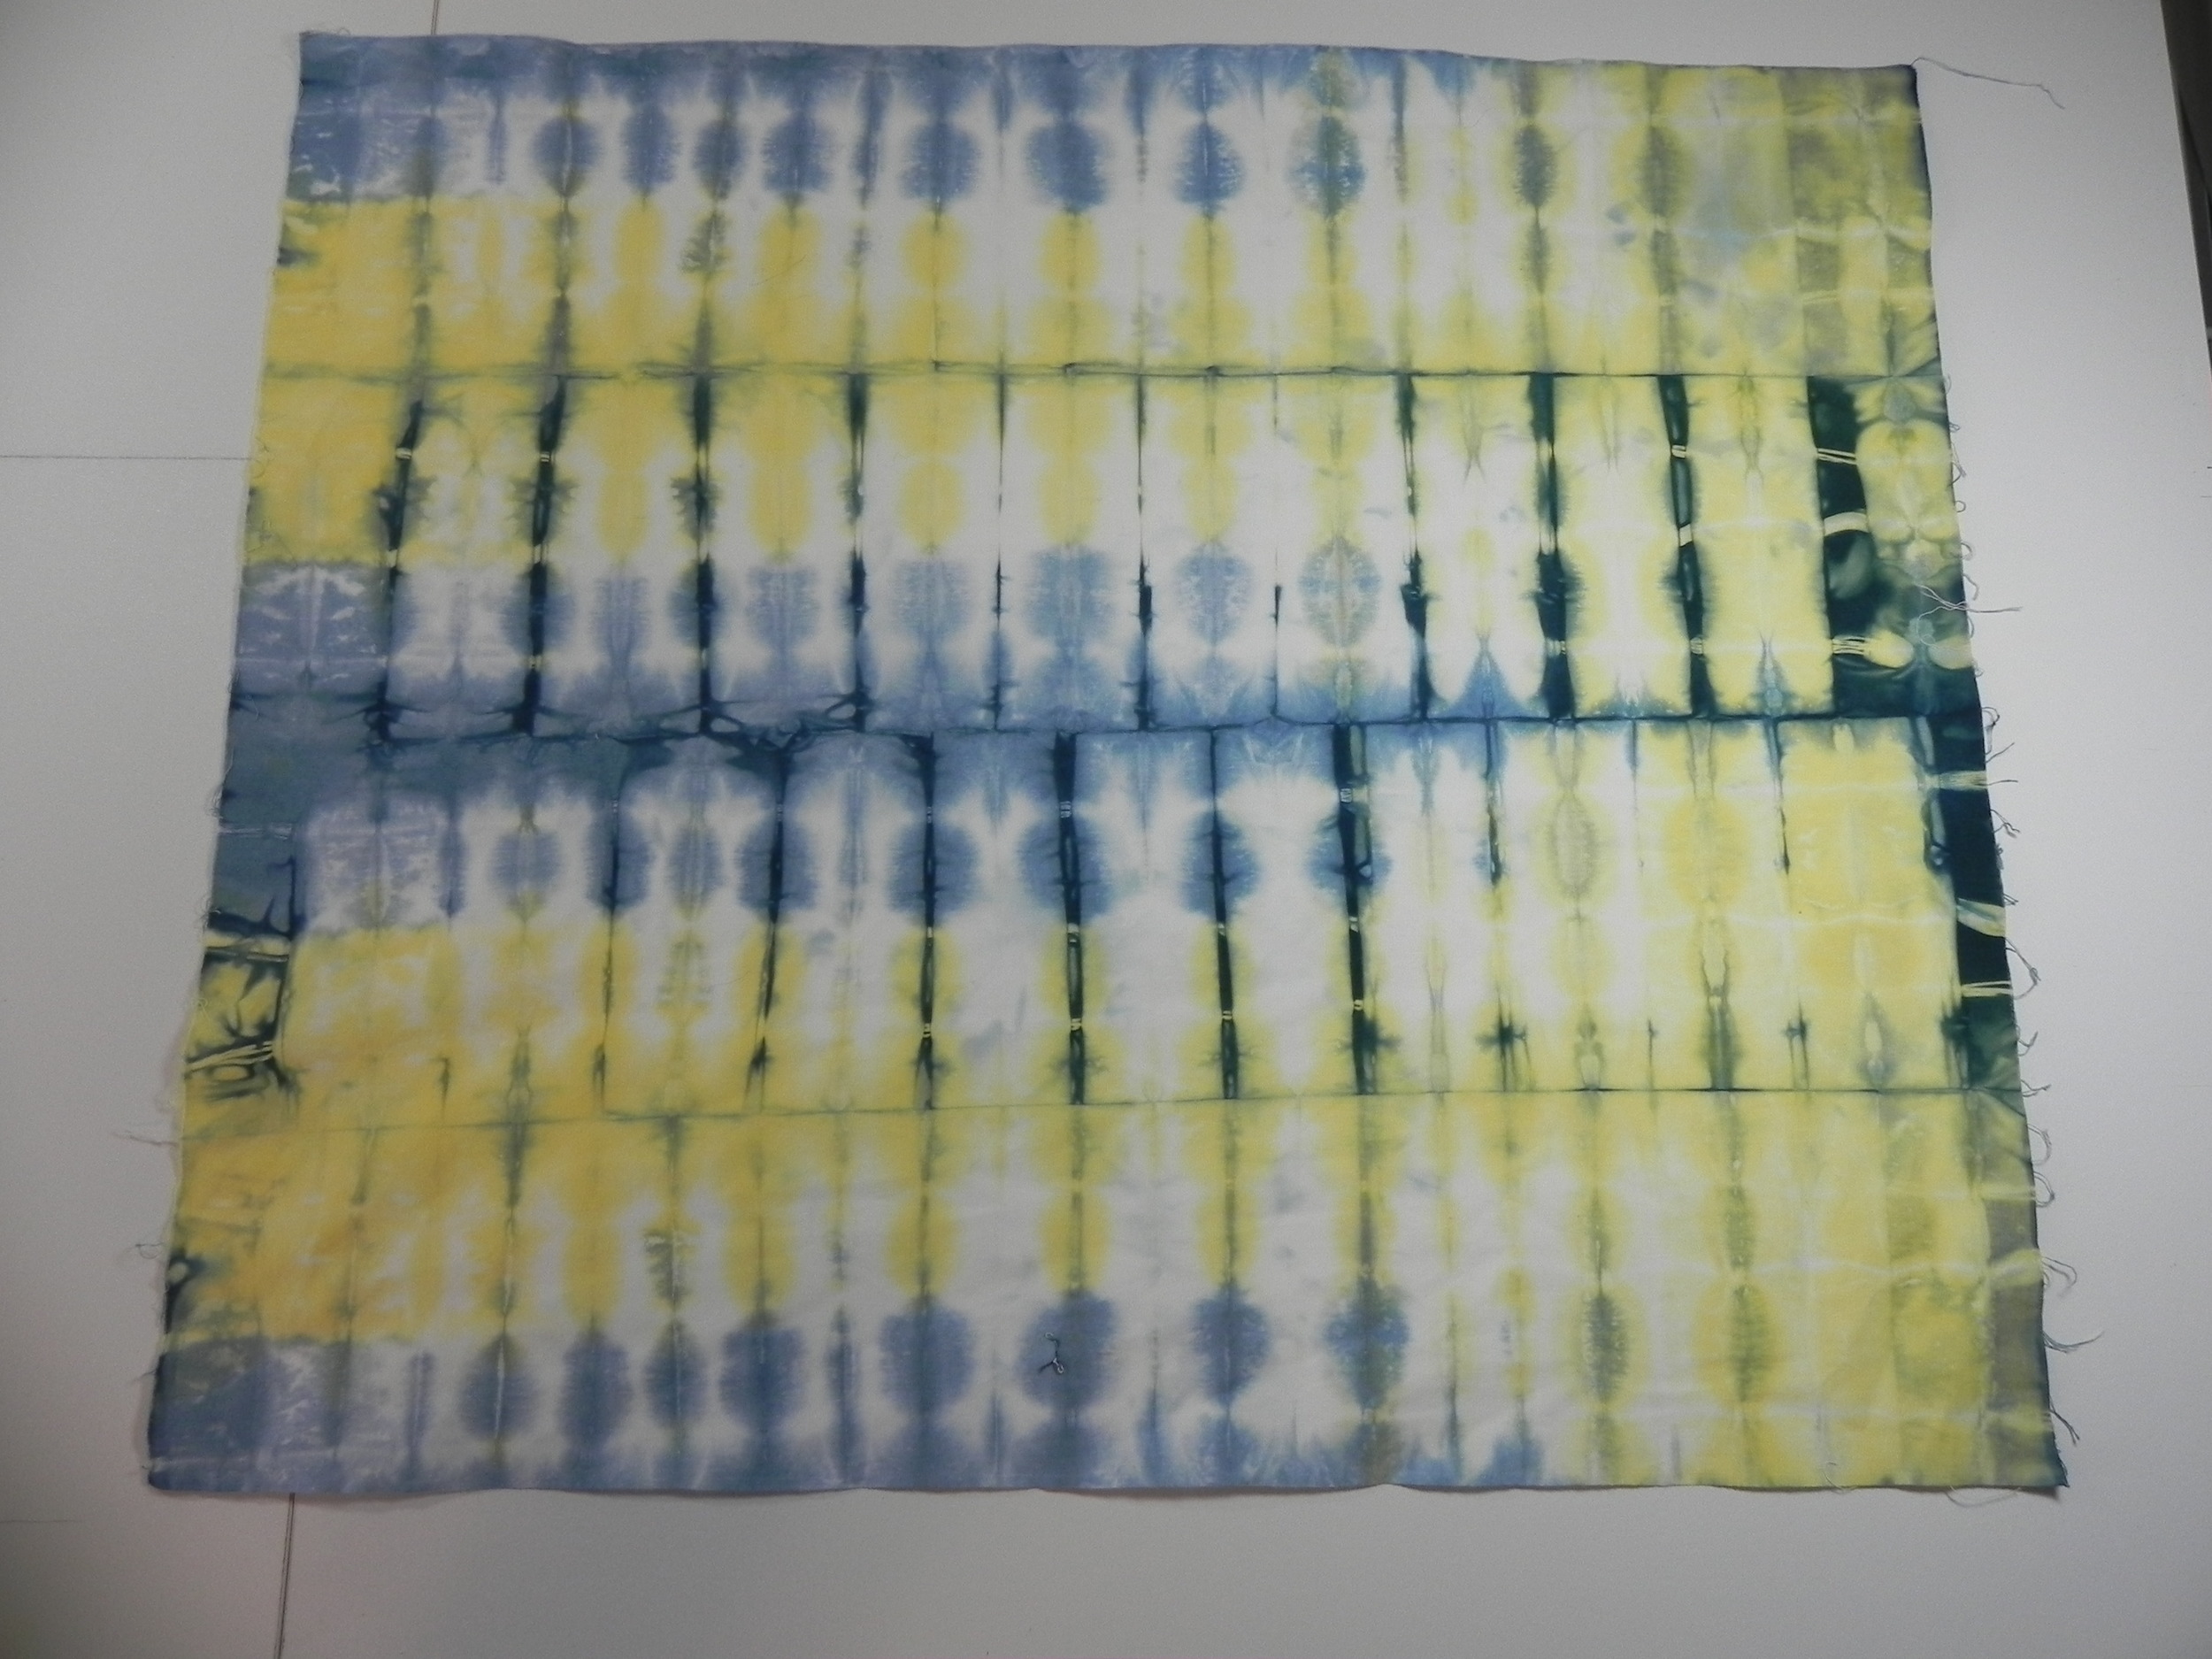
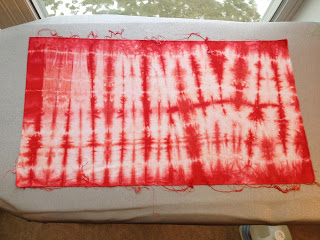
Tapestry #2, aka "snake skin"--shared the same dye bin as the previous one, but folded and wrapped with rubber bands.

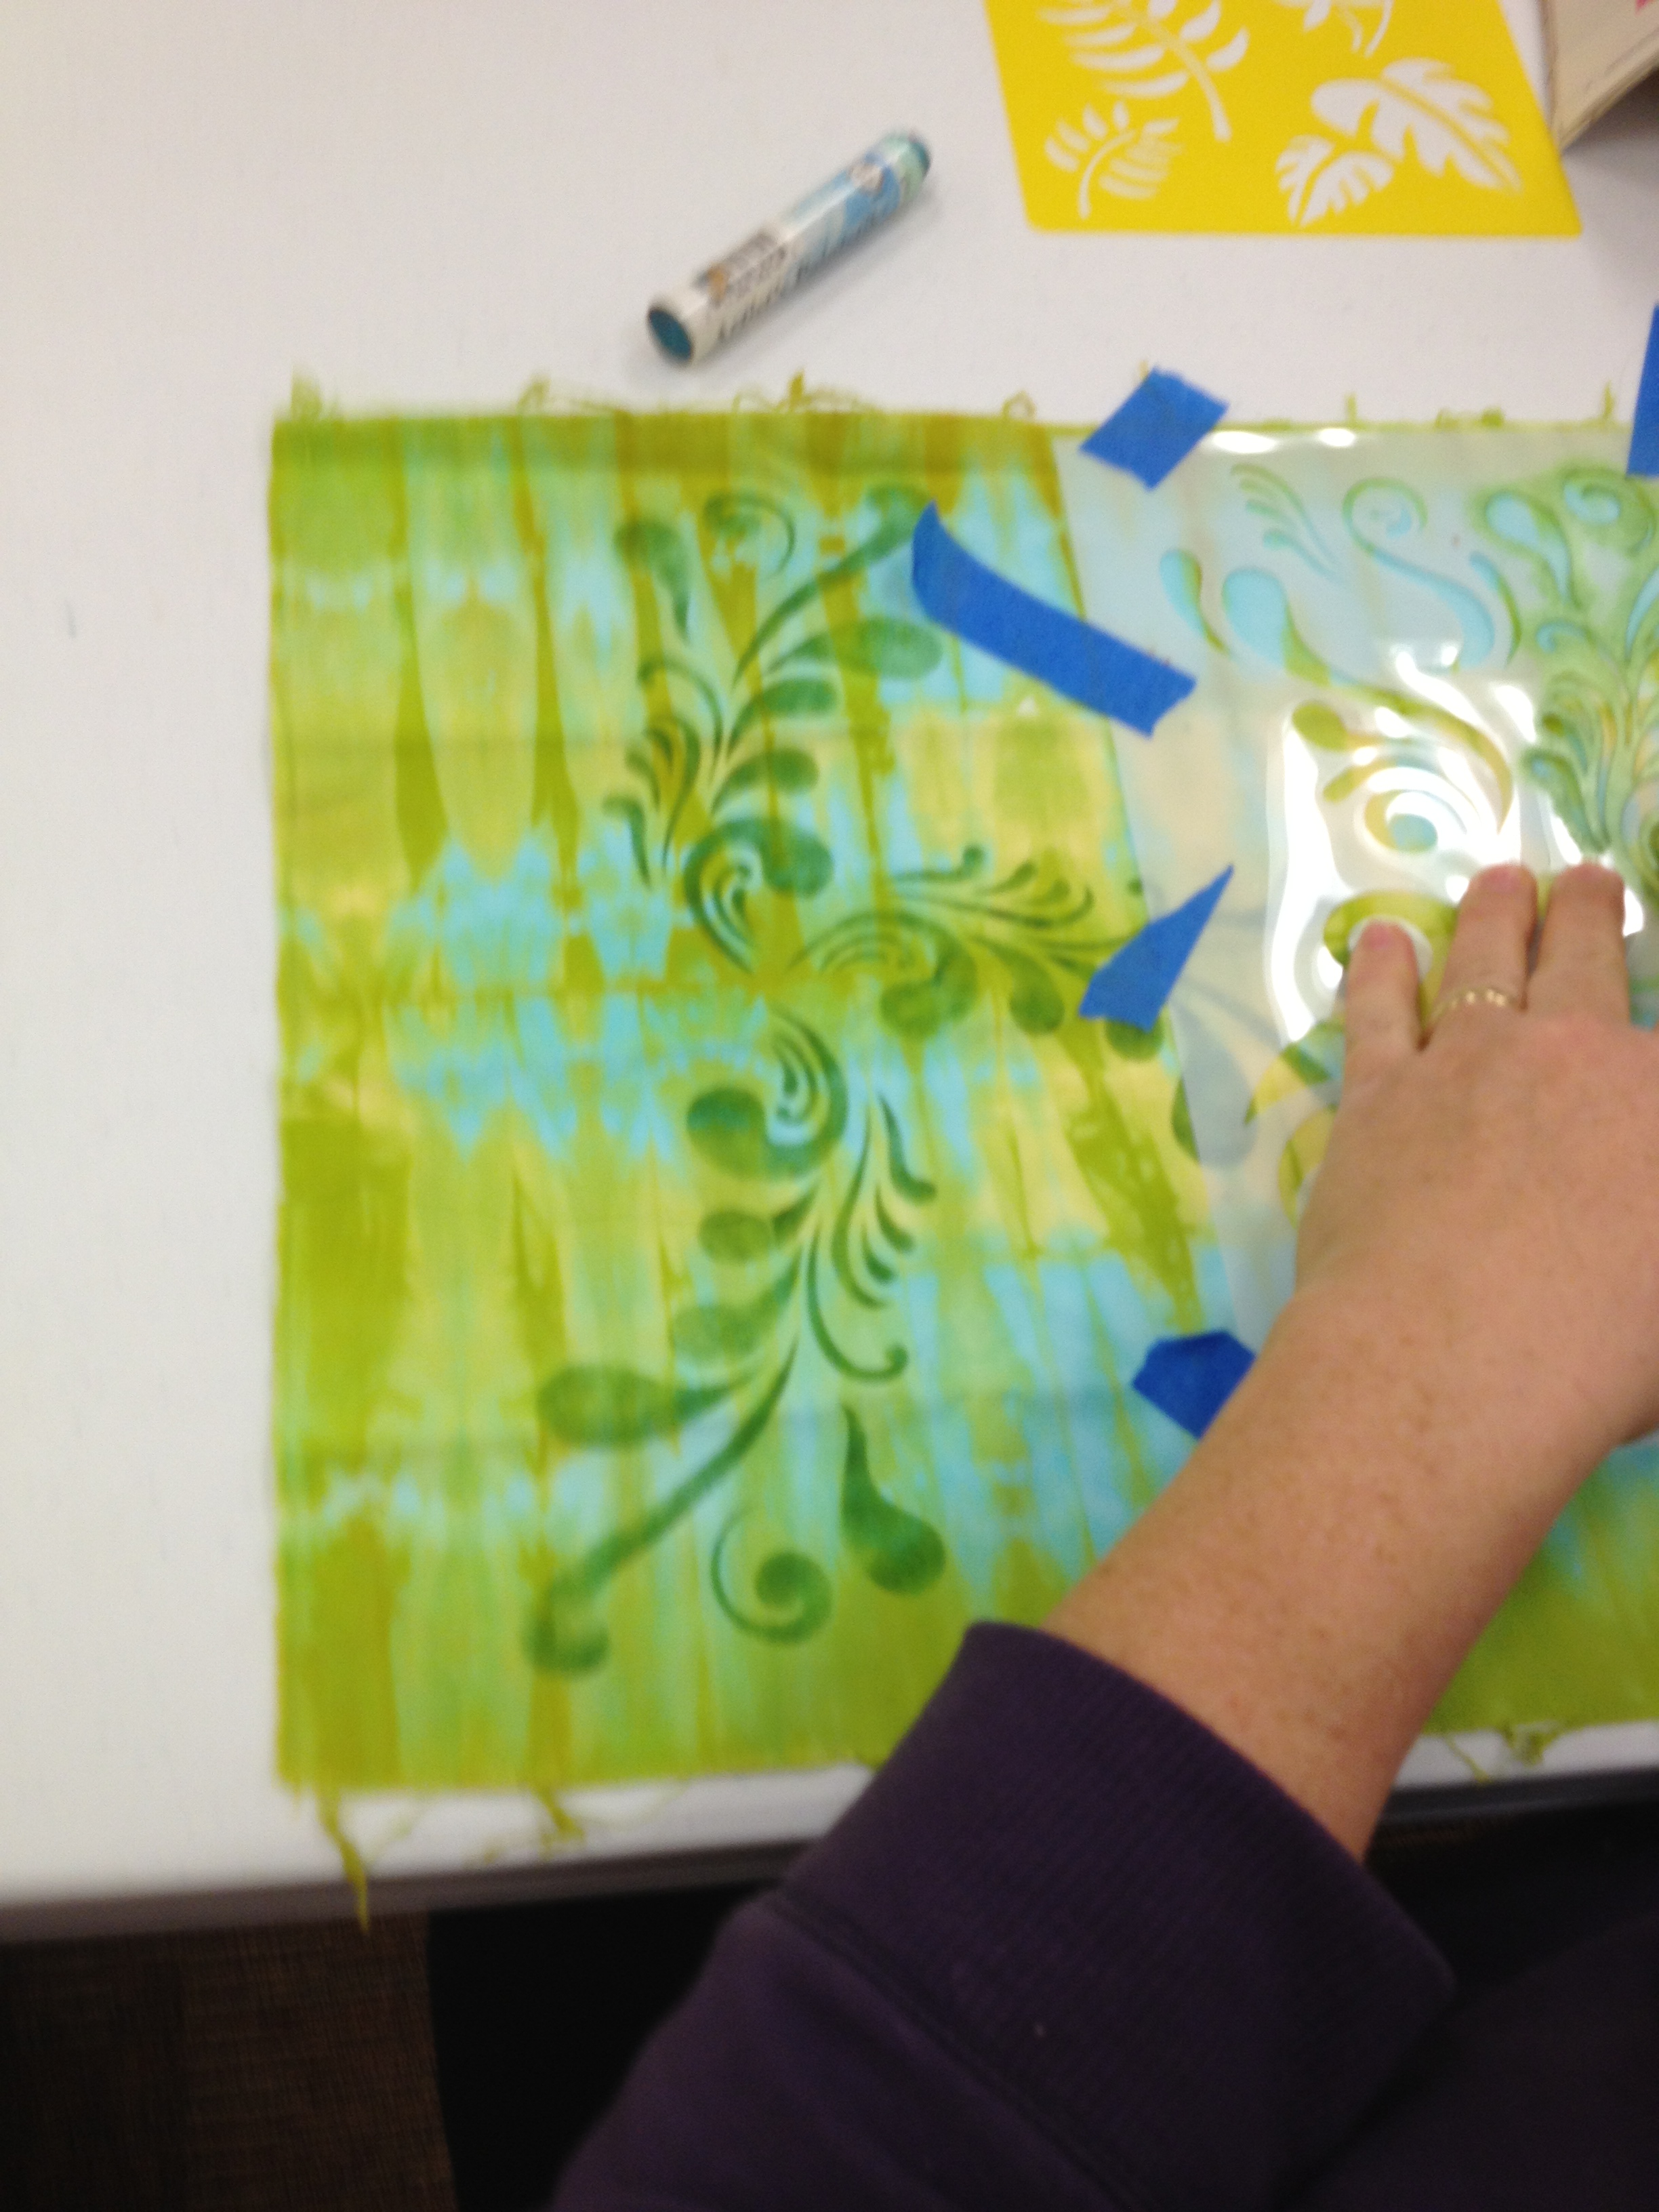
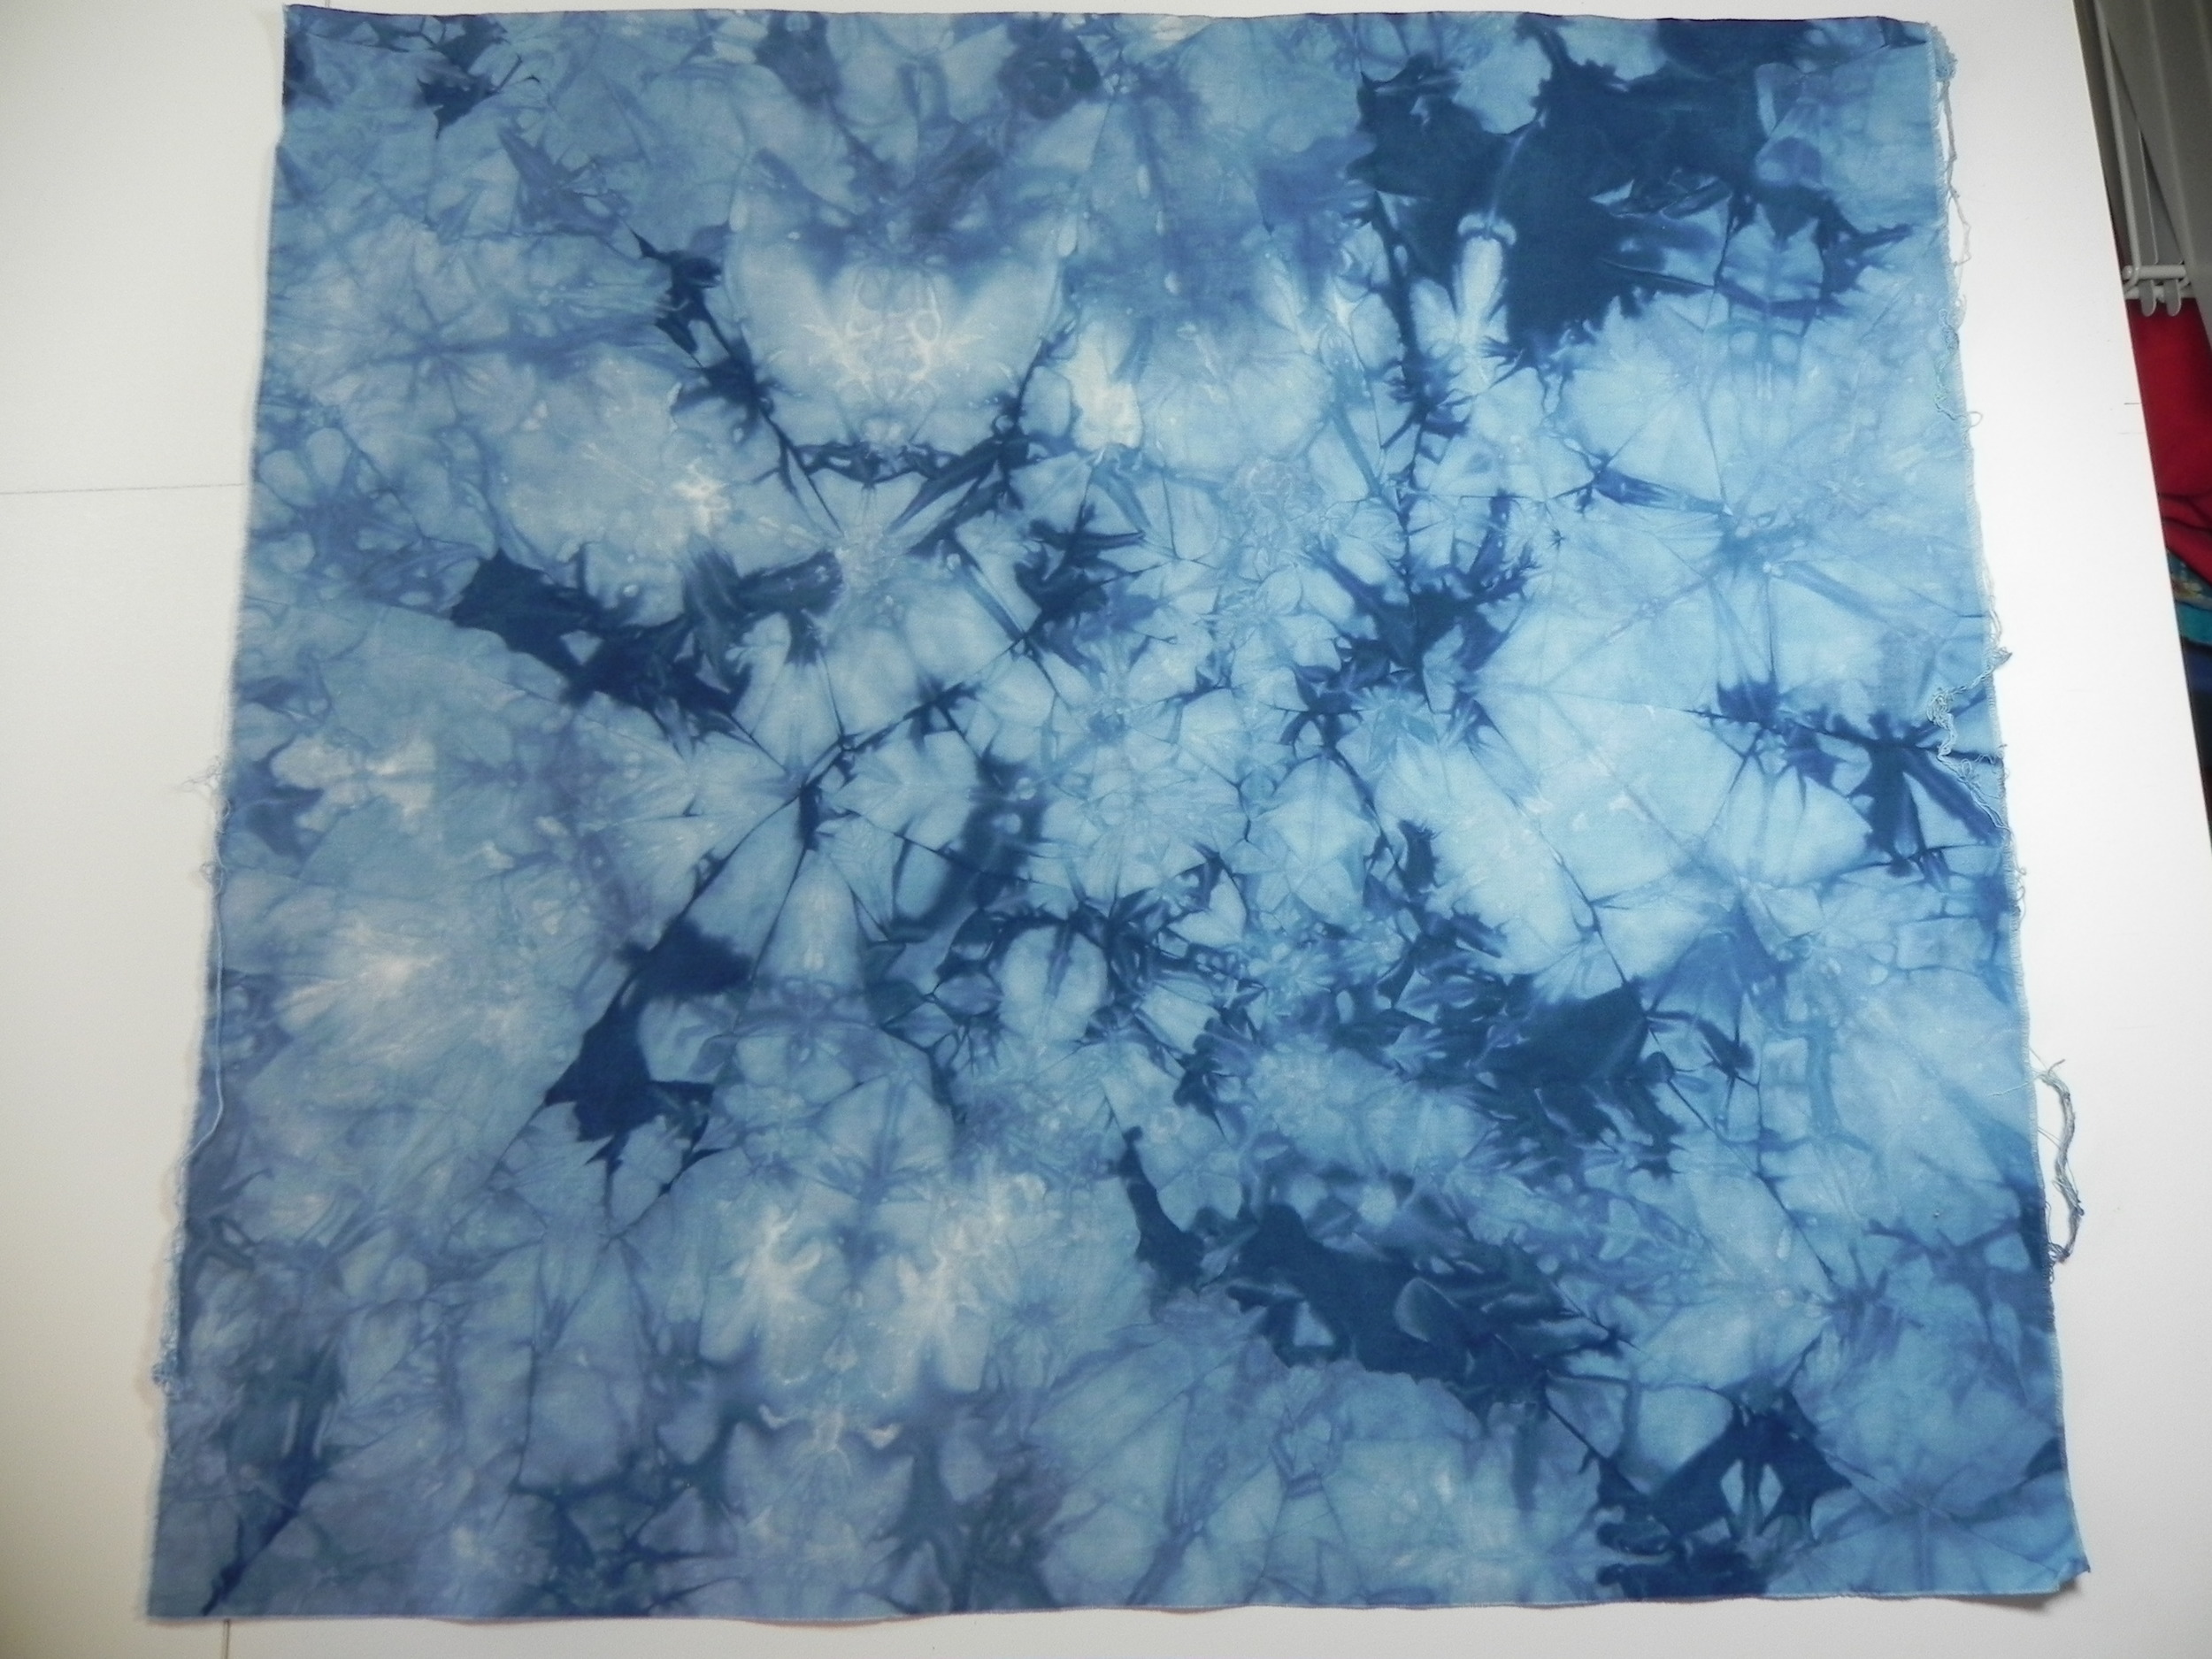
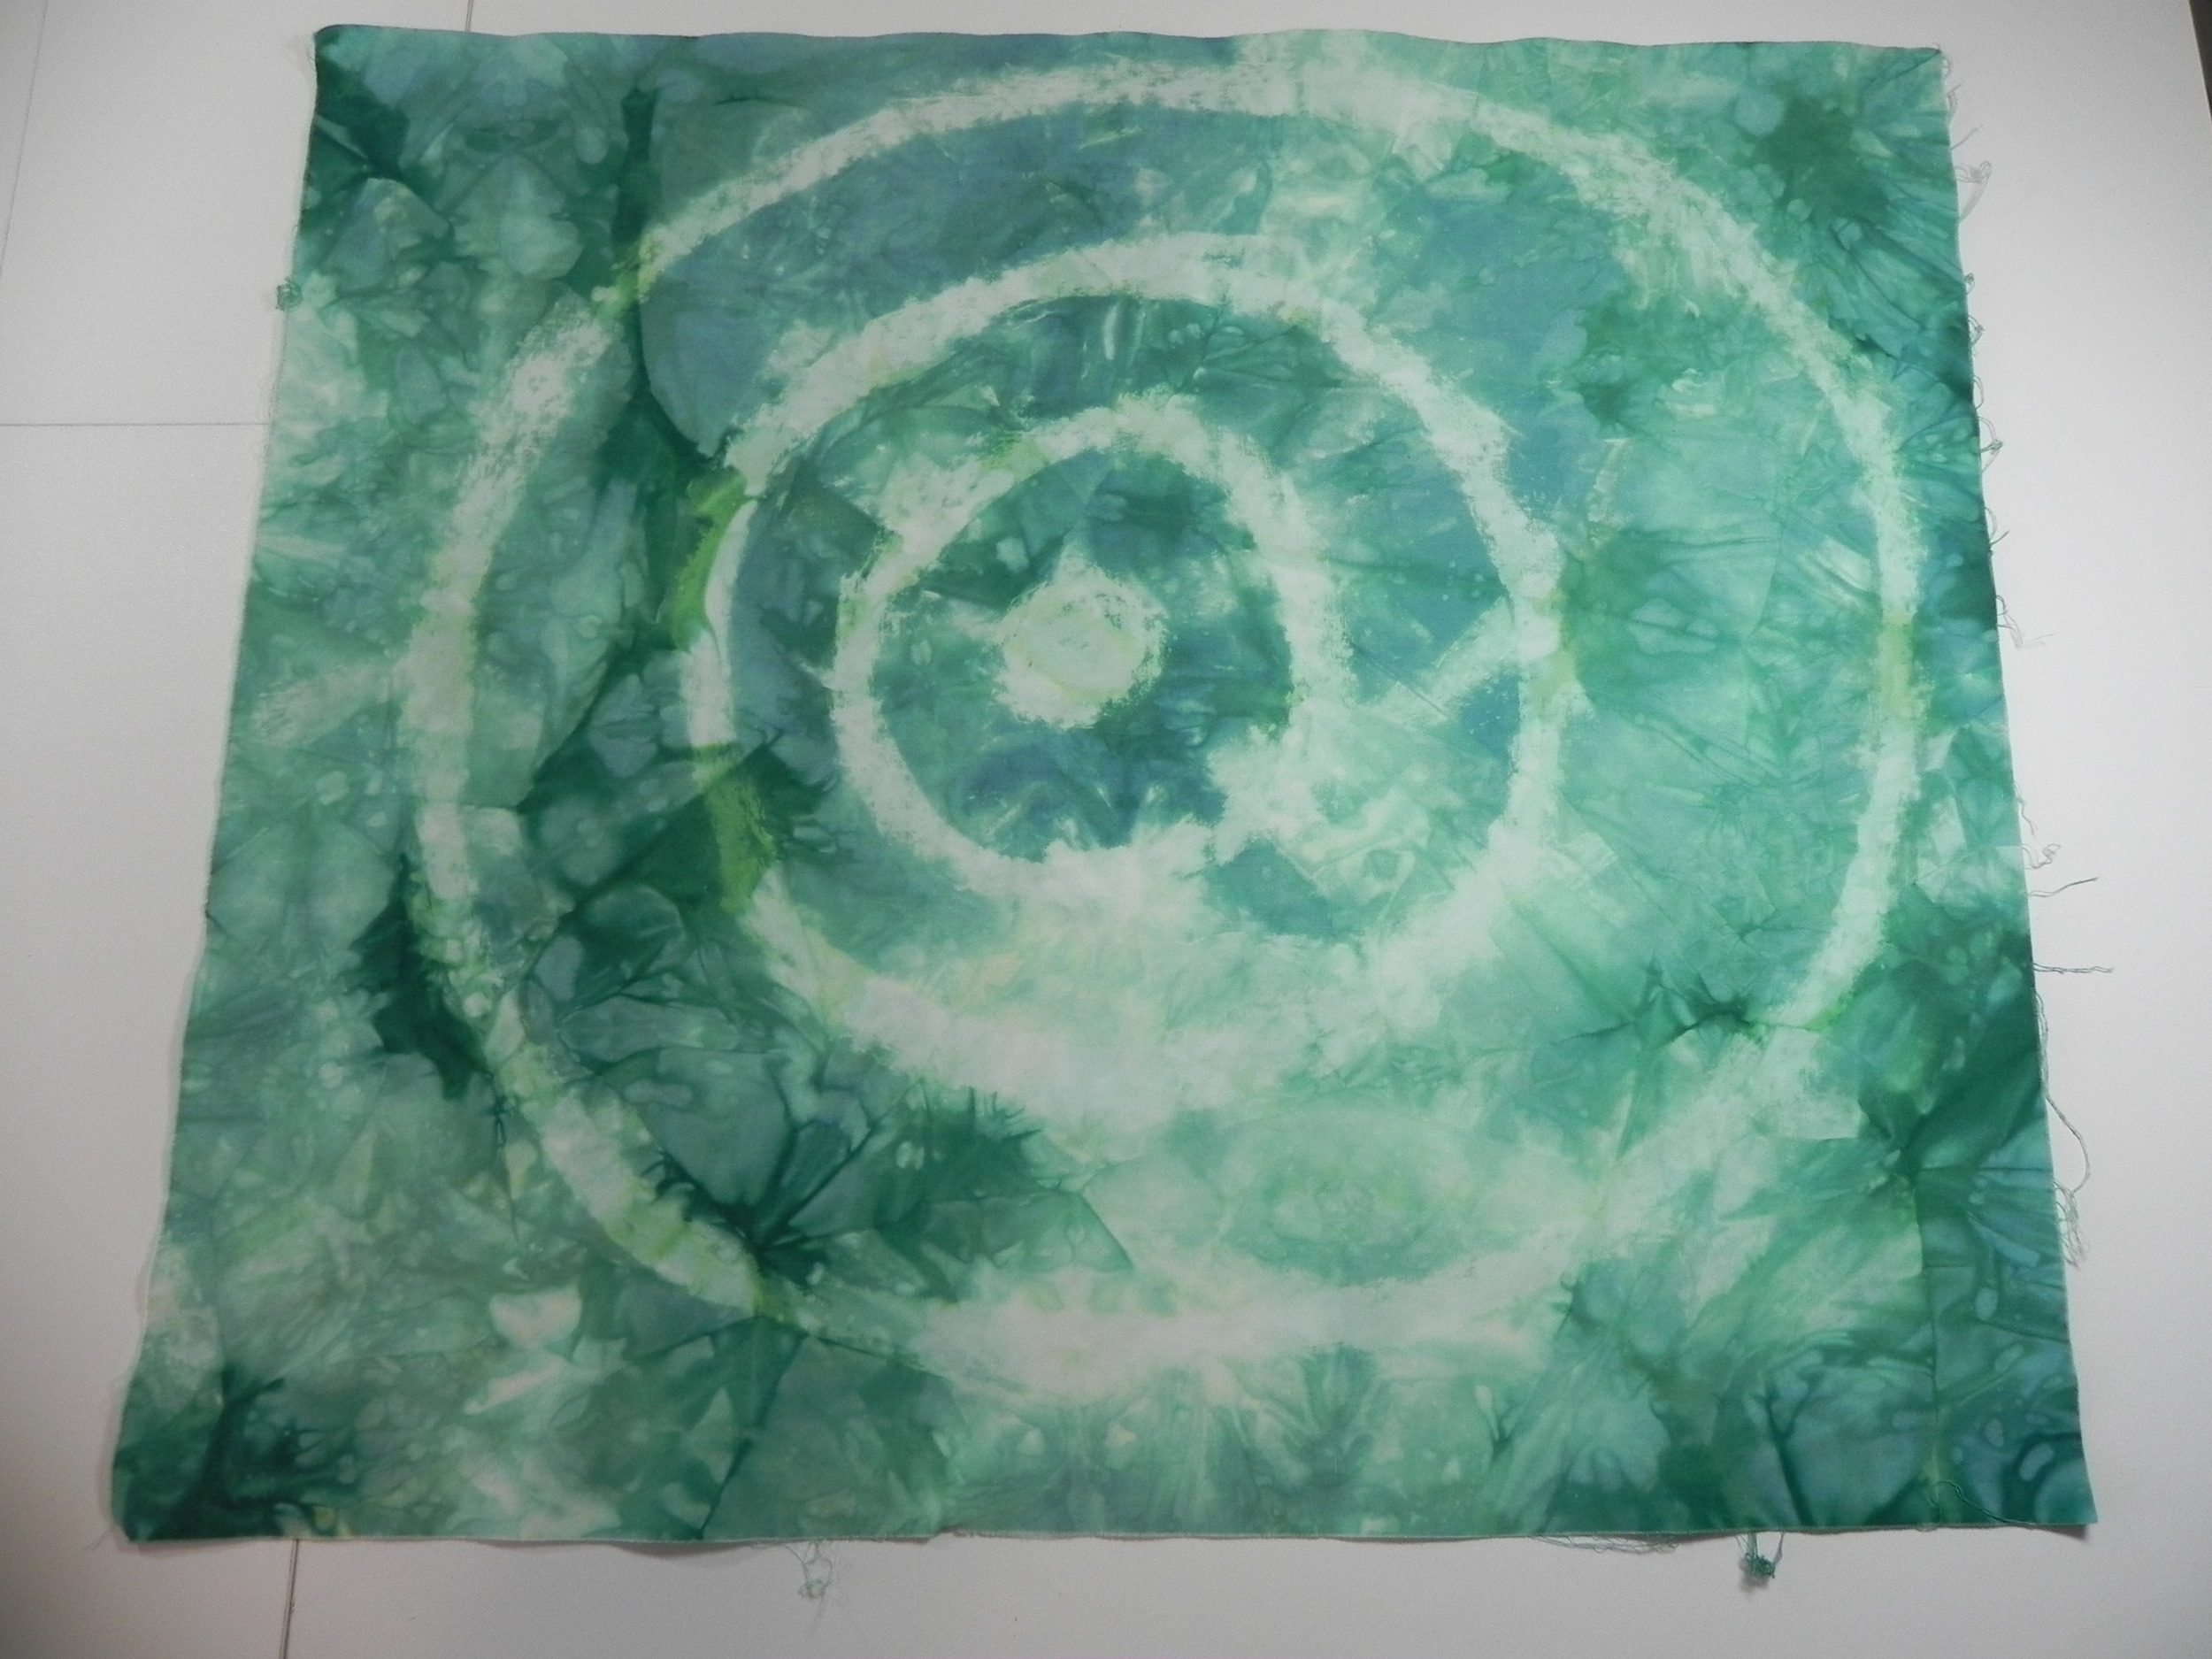
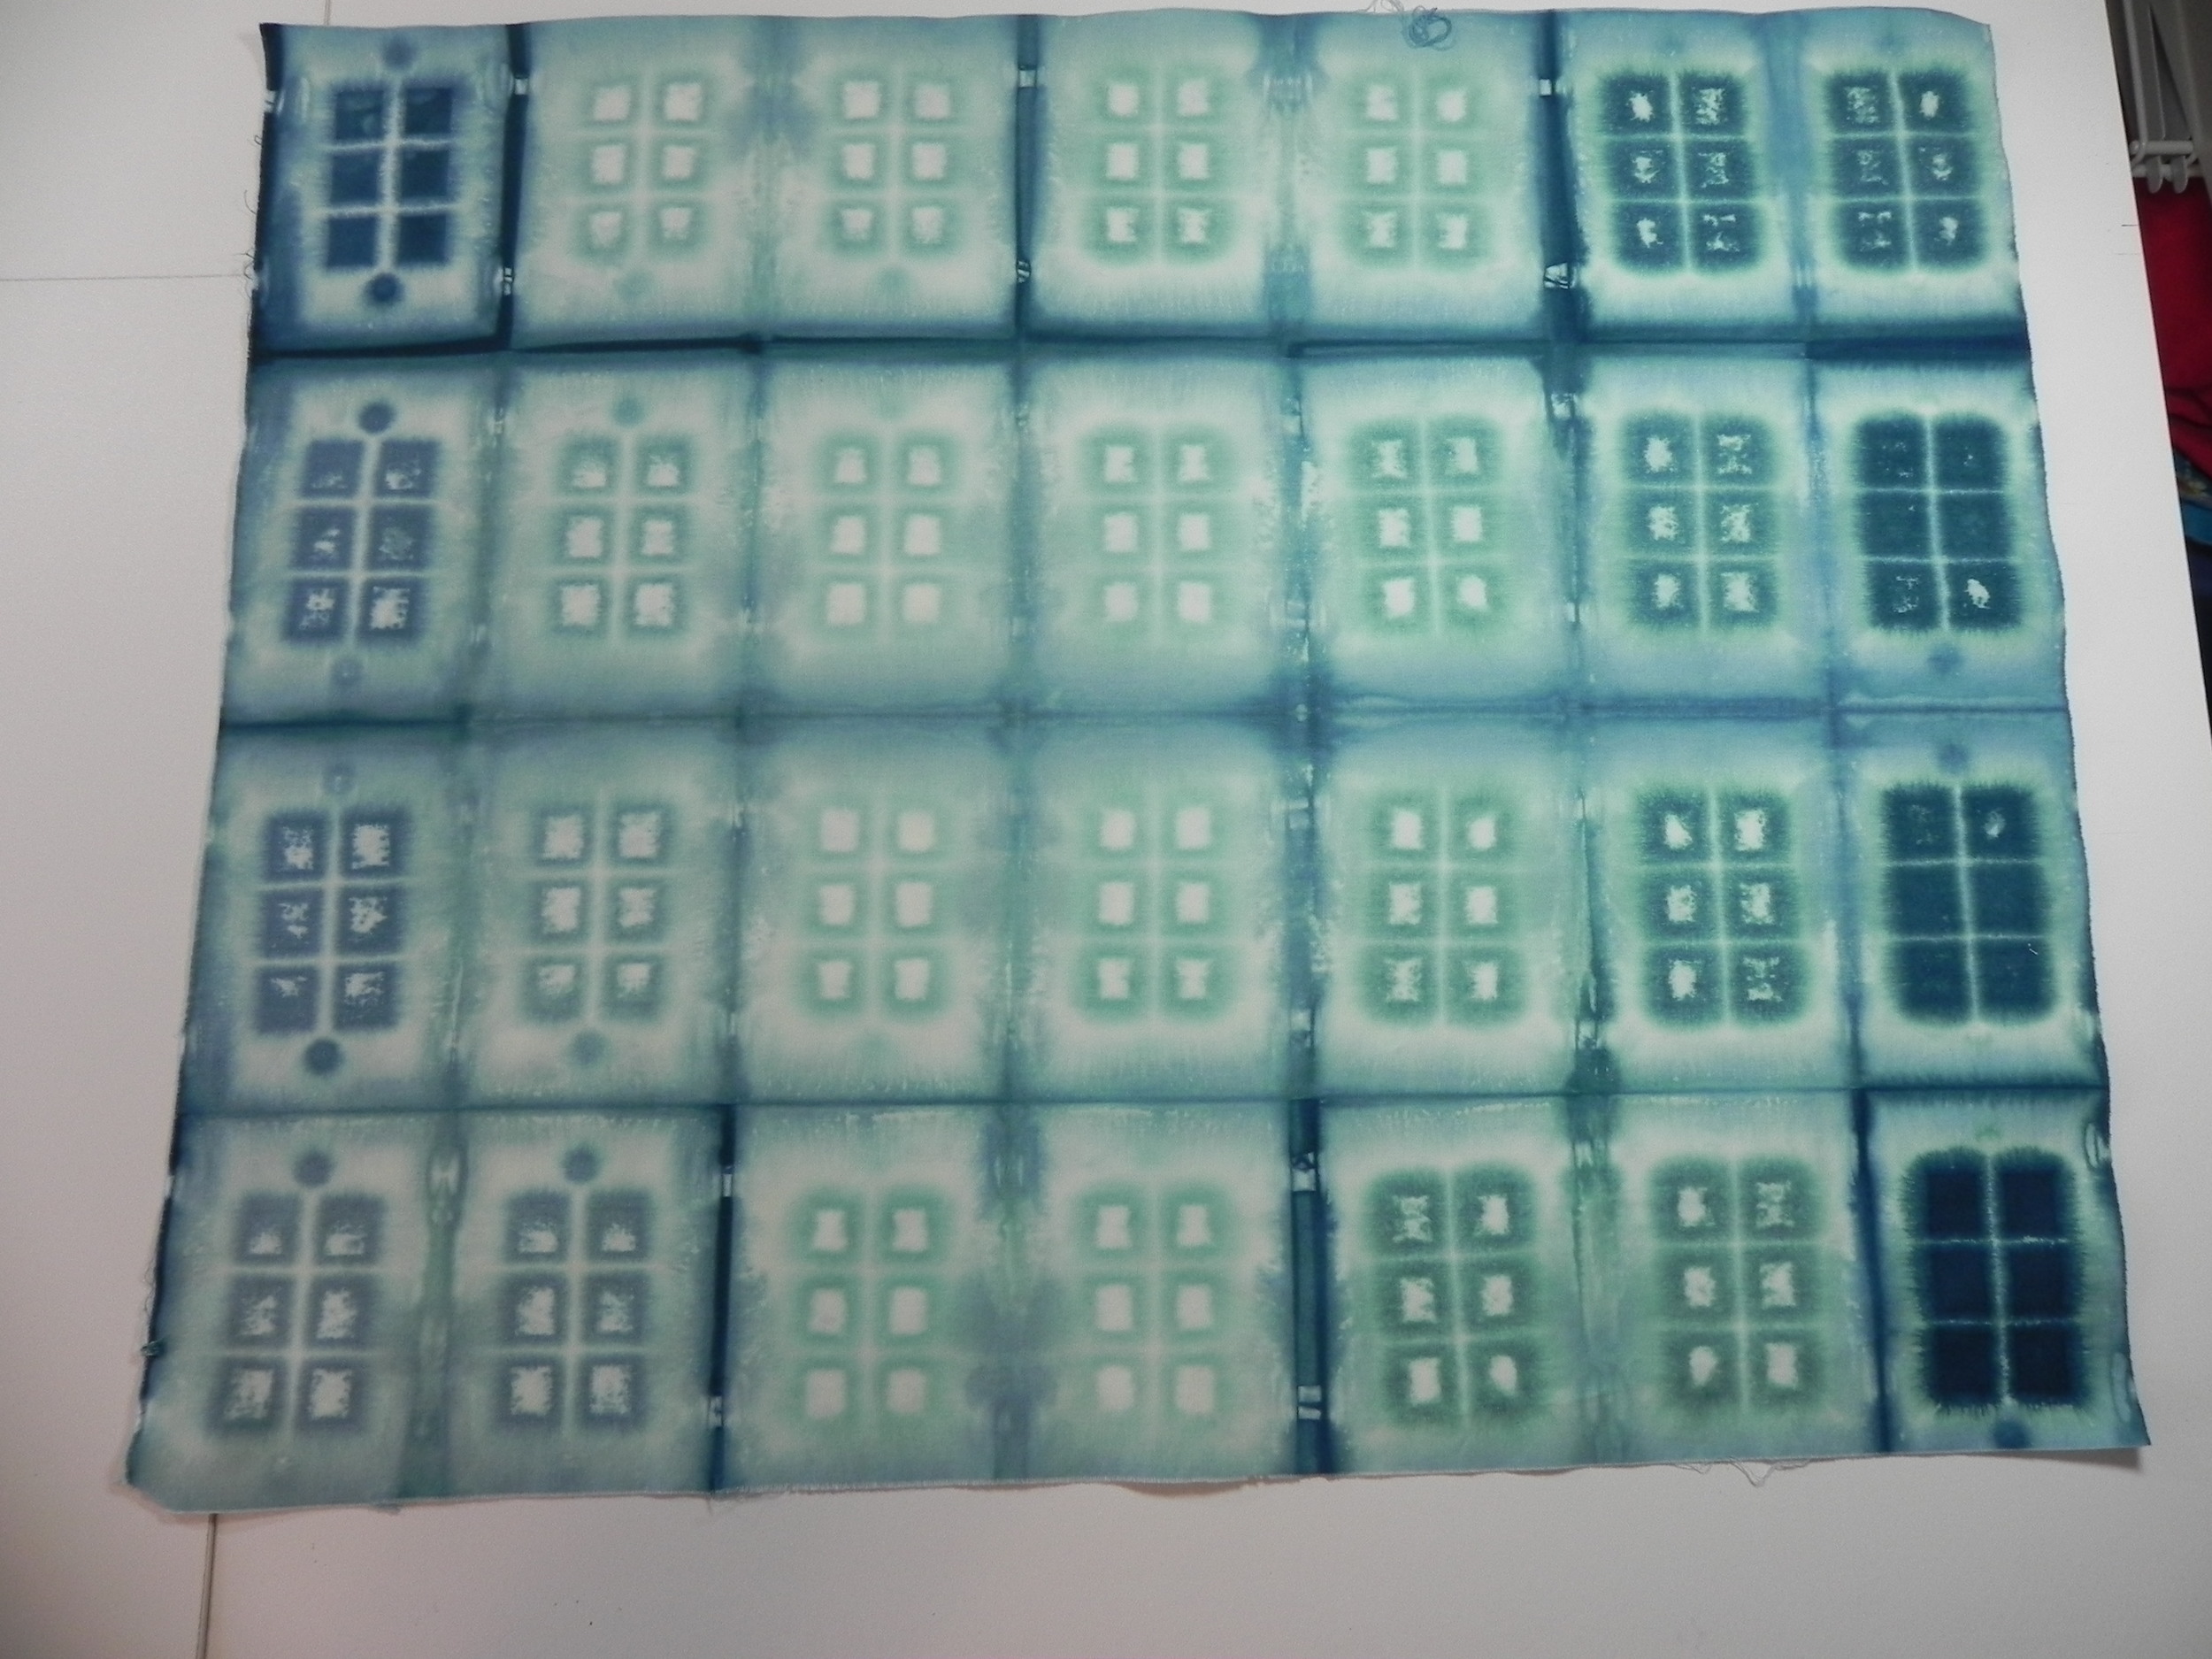
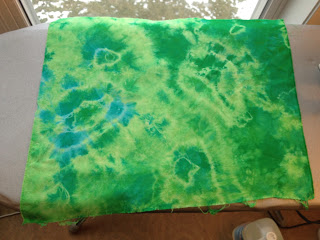
Tapestry #4, aka "Forest Scene." (LOVE this one. Could just walk right into it!) Intense blue, Golden yellow, Sunny Yellow.
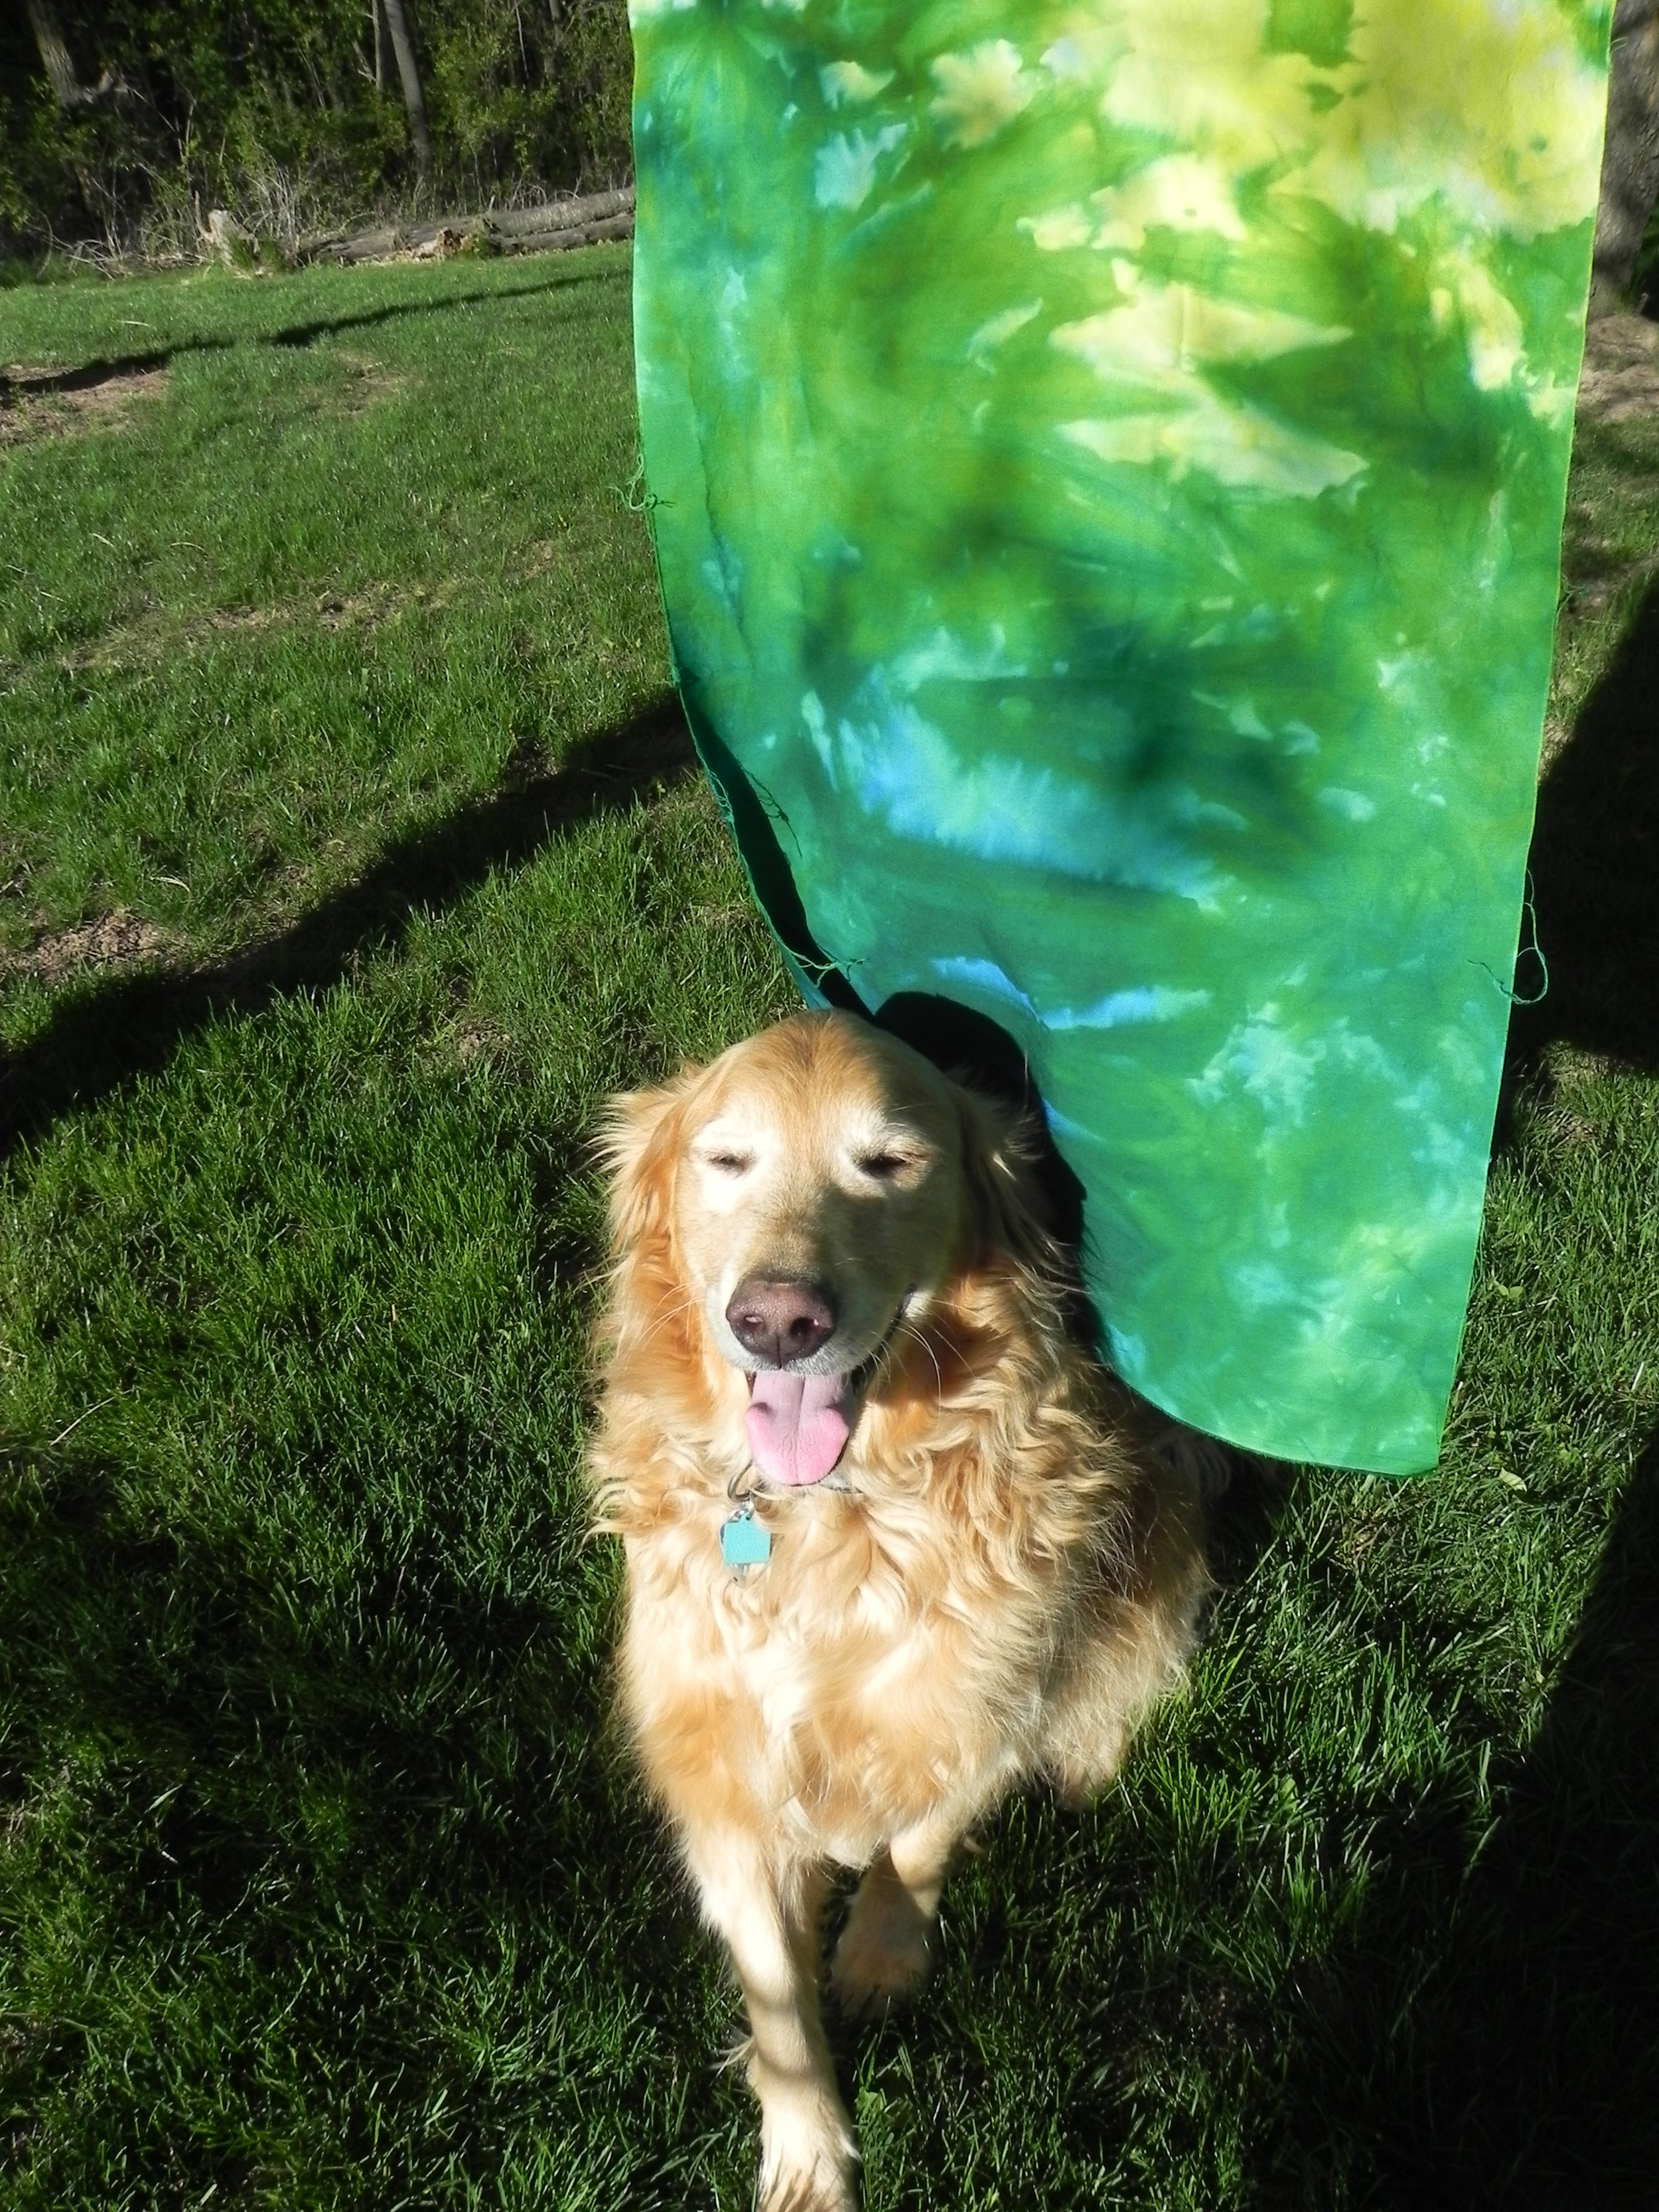
And, of course, the Doofus.